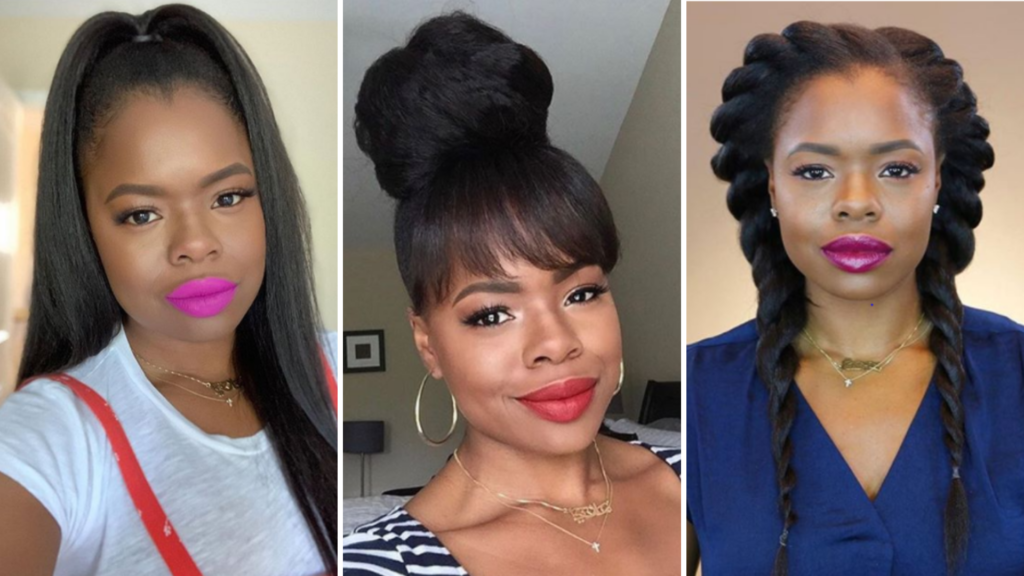
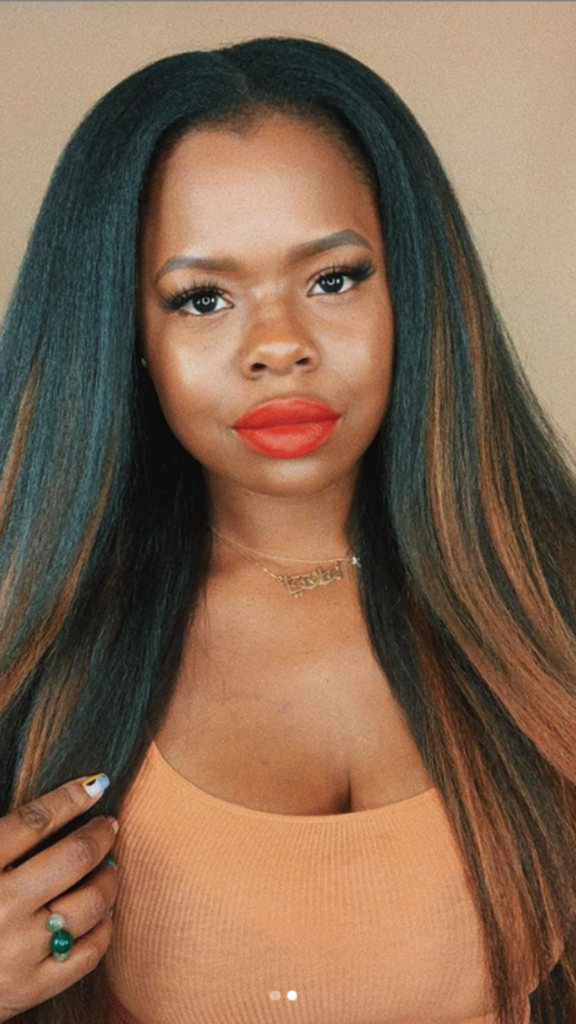
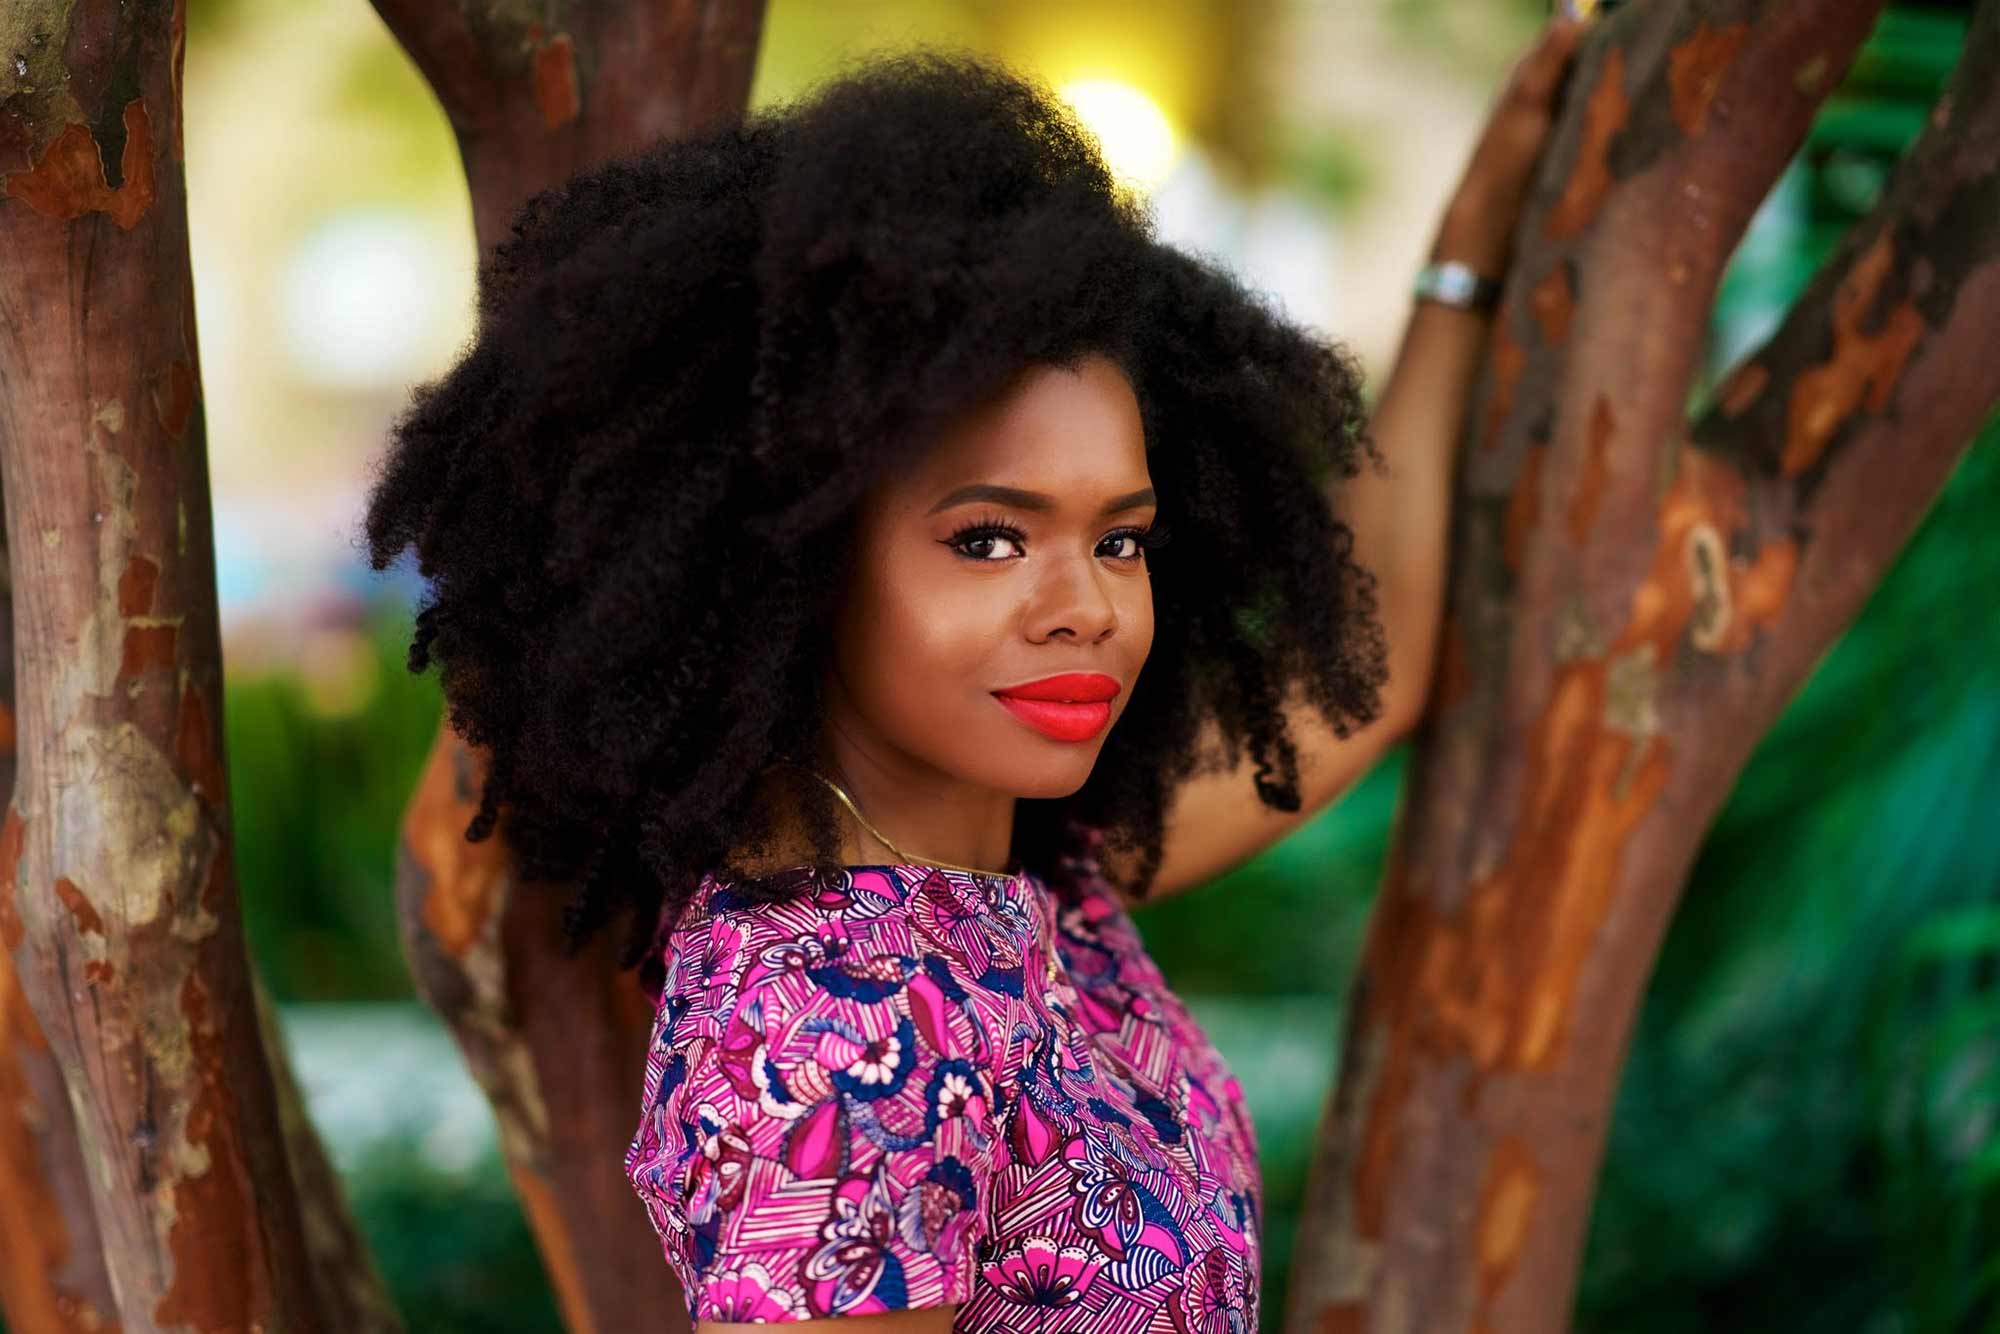
Clip-in extensions really are a girls’ best friend. They’re perfect for quickly adding length, volume, or saving possible bad hair days. They’re easy to install, style, and maintain. In a previous post, we talked about all the reasons why clip-ins are for everyone but in this post, we’re going to talk about how to style clip-in extensions, specifically my line of clip-ins, Royal Prerogative Clips.
My clips come in two different styles: Blown Away and Curl. Each comes in six different colors and is made with our signature SynLUXE® fibers. They are soft, lightweight, and versatile. These clip-ins can be styled with heat tools of temperatures up to 400 degrees. There are 8 pieces of RP Clips per package but it will take two packages for a full head.
These nine styles I’m about to show you take about 20 minutes or less to achieve which is great when you’re on the go. So no matter which style clip you choose RP clip-ins will have you looking your best for your next zoom meeting or outdoor brunch. Happy styling!
Twist Out
View this post on Instagram
How to achieve this look: You’ll need RP Curl Clips
Step 1 – Separate clip-in hair to desired fullness
Step 2 – Section hair starting at the back of your neck
Step 3 – Attach clip-in extensions to your entire head stopping before any front or side parts for coverage
Step 4 – Fluff
Blow Out
How to achieve this look: You’ll need RP Blown Away Clips
Step 1 – Comb extension through
Step 2 – Flat iron at 350 degrees
Step 3 – Section starting at the back of your neck
Step 4 – Attach the clip-in extension starting at the back moving forward to the front stopping just before your center or side part
Step 5 – Comb through to blend
Sleek High Pony
View this post on Instagram
How to achieve this look: You’ll need RP Blown Away Clips
Step 1 – Brush your hair up into a high pony and secure with a small hairband
Step 2 – Wrap clip-in around pony tightly and clip into place
Step 3 – Take a small amount of hair from under ponytail and wrap around the base of the ponytail
Step 4 – Secure with pin underneath ponytail
Step 5 – Comb through to blend
Low Puff Pony
View this post on Instagram
How to achieve this look: You’ll need RP Curl Clips
Step 1 – Brush your hair back into a low pony and secure with a small hairband
Step 2 – Separate clip-in hair to desired fullness
Step 3 – Wrap clip-in around pony tightly and clip into place
Step 4 – Fluff again for even more fullness
Step 5 – *Optional: Add a decorative band/scarf around your ponytail
High Bun with Bangs
View this post on Instagram
How to achieve this look: You’ll need RP Blown Away Clips
Step 1 – Brush your hair up into a high pony and secure with a hairband
Step 2 – Wrap clip-in around pony tightly and clip into place
Step 3 – Attach one clip-in at the front base of your pony for your bang
Step 4 – Holding the pony in place wrap hair all the way around
Step 5 – Secure with a hairband or decorative scarf
Twists
View this post on Instagram
How to achieve this look: You’ll need RP Blown Away Clips
Step 1 – Part hair vertically starting in the front slightly to the left but straightening out down the center towards the back
Step 2 – Flat iron at 350 degrees
Step 3 – Starting on one side, section hair vertically and attach clip-ins just before the part for coverage
Step 4 – Comb through to blend
Step 5 – Then loosely flat twist or cornrow the hair and secure ends
Step 6 – Move to the other side of your head and repeat steps 1-5
Half Up Half Down
View this post on Instagram
How to achieve this look: You can use RP Blown Away Clips (curly) OR RP Curl Clips (sleek)
Part hair horizontally starting at the top of your ears and section it off into two parts
Section One: The Top Knot
Step 1 – Brush your hair up into a high pony and secure
Step 2 – Wrap clip-in around pony tightly and clip into place
Step 3 – Holding the pony in place wrap hair all the way around creating a large bun
Step 4 – Secure with a hairband
Section Two: The Back
Step 1 – Comb extension through
Step 2 – Flat iron at 350 degrees
Step 3 – Section starting at the back of your neck
Step 4 – Attach the clip-in extension starting at the back and stopping just before the part for leave out coverage
Step 5 – Comb through to blend
Two Buns
View this post on Instagram
How to achieve this look: You can use RP Blown Away Clips (curly buns) OR RP Curl Clips (smooth sleek buns)
Step 1 – Part hair vertically from front to back starting at the center of your head and section it off into two parts
Step 2 – Brush your hair up into a high pony and secure
Step 3 – Wrap clip-in around pony tightly and clip into place
Step 4 – Holding the pony in place wrap hair all the way around creating a large bun
Step 5 – Secure with a hairband
Step 6 – Move to the next side and repeat steps 1-4
High Puff
View this post on Instagram
How to achieve this look: You’ll need RP Curl Clips
Step 1 – Brush your hair into a high pony and secure with a hairband
Step 2 – Separate clip-in hair to desired fullness
Step 3 – Wrap clip-in around pony tightly and clip into place
Step 4 – Secure with a band fluff for even more fullness
Step 5 – *Optional: Add a decorative band/scarf around your ponytail
Which style was your favorite? What are some of your go-to ways to style clip-in extensions? Share with me in the comments below.
Latest posts by Maria Antoinette (see all)
- 10 Romantic Date Night Ideas For Any Time of The Year - January 26, 2023
- Tips To Help You Reconnect With What Brings You Joy - January 19, 2023
- Planning A Road Trip? Here Are Some Key Tips You Should Know - January 12, 2023


