
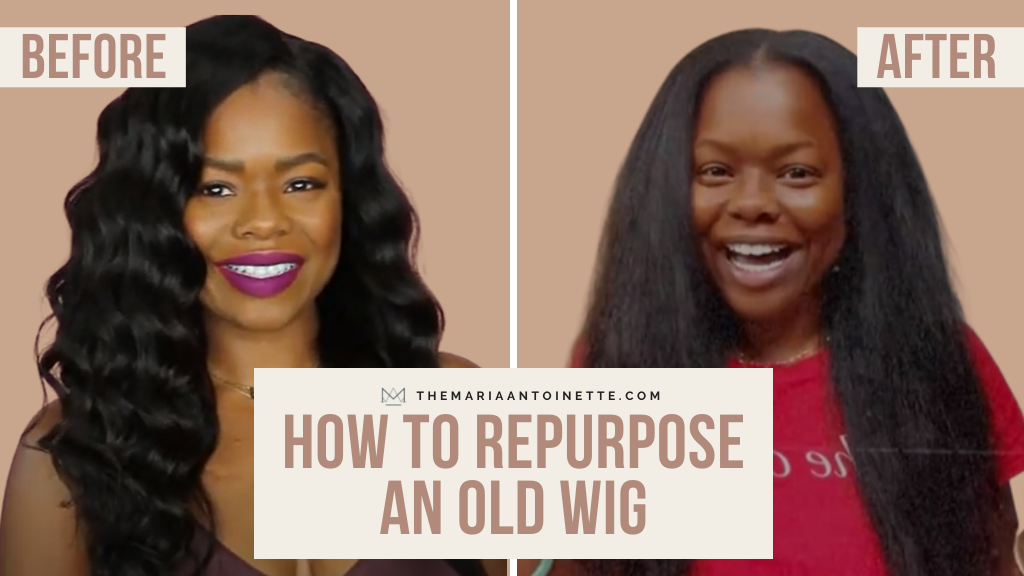
Raise your hand if you have a wig in a closet or dresser drawer that you haven’t worn in a long time. It could be put away because it’s an older style, you didn’t like how the style looked on you, or you haven’t quite figured out how to wear a wig. But what if I told you those wigs don’t have to remain in the back of the closet, and what if I also told you that with a snip here and there you can bring that old wig back to life.
For this DIY we’re going to be kitchen beauticians. Remember, the wig is old and you’re not wearing it so if you mess it up nothing is lost as you weren’t wearing it anyway. But I promise you, by following this hack coupled with doing it the way you envisioned the gains are unmeasurable.
Original Wig
Before we get started let’s quickly rewind back to when I first got this wig. I reviewed this wig line back in 2019 and in the video below you’ll see that I’m trying on two different wigs. One wavy the other straight. I will be repurposing the straight wig. I didn’t have a problem with either wig but as someone who has a lot of wigs, I put them up and forget about them. But one should never let a good wig go to waste.
Steps For Repurposing An Old Wig
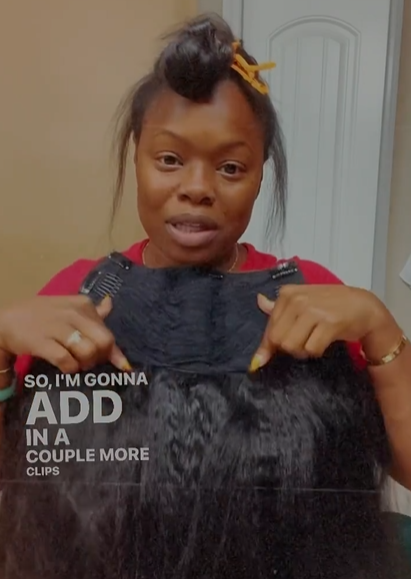
Your very first step is to cornrow your hair. Don’t forget to give yourself leave out for u-part coverage. Then wash your old wig and decide how you want to repurpose it. For the purpose of this DIY, I will be transforming this full wig into a u-part wig. Now before you grab your old wig and start cutting you need to plan out the style. Put the wig on and play with it. Style it how you envision it. Then map out how you plan to cut it. Don’t rush it, especially if you’ve never done this before. Take your time. Remember if you get it wrong it’s ok because it’s an old wig. If you do mess up a little just add some clip-ins to cover any mistakes.
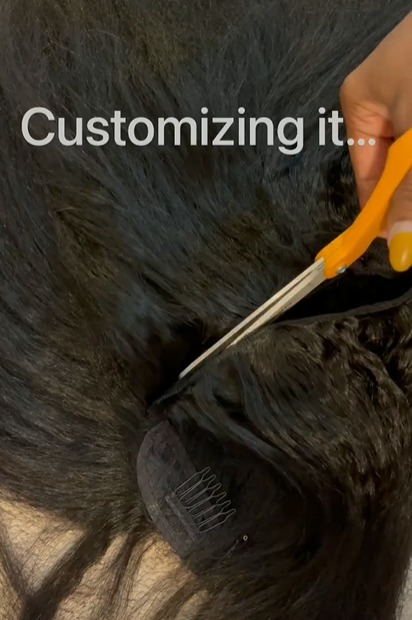
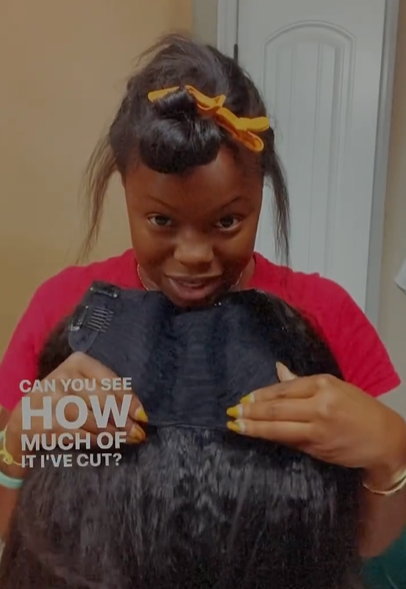
If you’re going to make a u-part wig begin by cutting the lace to create a customized front. Next, and this is optional, I cut the bottom part off the wig because it wouldn’t serve me in its original form. To make up for the missing section I added a couple of clip-ins at the bottom. Now attach your newly repurposed wig, plus your clip-ins (if you cut off the back part as I did), release your sectioned-off leave out, and come through to blend. Voila! You have just repurposed an old wig into something brand new.
Step-by-step process:


Check Out This Hair Hack On IG
View this post on Instagram
Now that you know what to do go grab that old wig get to customizing. Save yourself some time this week and your pocketbook some change by repurposing all of your old wigs.

What are your thoughts on repurposing an old wig? Is it worth it? Are you going to try it? Share with me in the comments and tag me in your repurposed wig posts on social using #TMABlog.
Latest posts by Maria Antoinette (see all)
- 10 Romantic Date Night Ideas For Any Time of The Year - January 26, 2023
- Tips To Help You Reconnect With What Brings You Joy - January 19, 2023
- Planning A Road Trip? Here Are Some Key Tips You Should Know - January 12, 2023


