
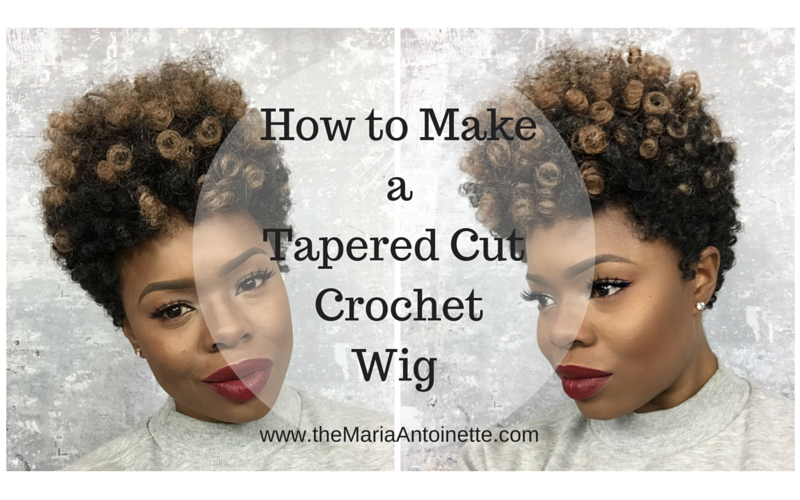
When it comes to switching up my look I definitely lean towards wigs. I have been itching to cut my hair, but we all know how that goes…Cut your hair and in a week want it all back!!! Tapered cuts are all the rave right now and I knew I just couldn’t make that commitment to cut my hair. So I got super creative and came up with this natural looking wig made with Curlkalon Hair. When creating a tapered cut wig there are a lot of things that have to be considered to make it look natural this step by step tutorial should help the beginner to the master crocheter master this look!
[ctt title=”Tapered cuts are all the rave right now and I knew I just couldn\’t make that commitment to cut my hair.” tweet=”Tapered cuts are all the rave right now & I knew I couldn’t commit to cutting my hair. http://ctt.ec/7j934+ @tmablog #TaperedWig” coverup=”7j934″]
What you will need:
- wig cap
- wig block
- wig stand
- cutting shears
- crochet latch hook
- 5 boxes of Curlkalon hair in different textures. Head over to Curlkalon and use checkout code MA15 to save 15% off your order. This Checkout code expires January 24, 2016.
- 2 boxes 10″ Toni Curl – IB
- 2 boxes 10″ Carrie Curl – TT27
- 1 Box 10″ Saniya Curl – TT27
Directions:
Start with 1.5 boxes of 10″ Toni Curl in color 1B
- Separate each piece of hair before weaving through the wig cap
- Each box of Curlkalon comes with 20 curls, splitting the curls create a softer effect and doubles the curls.
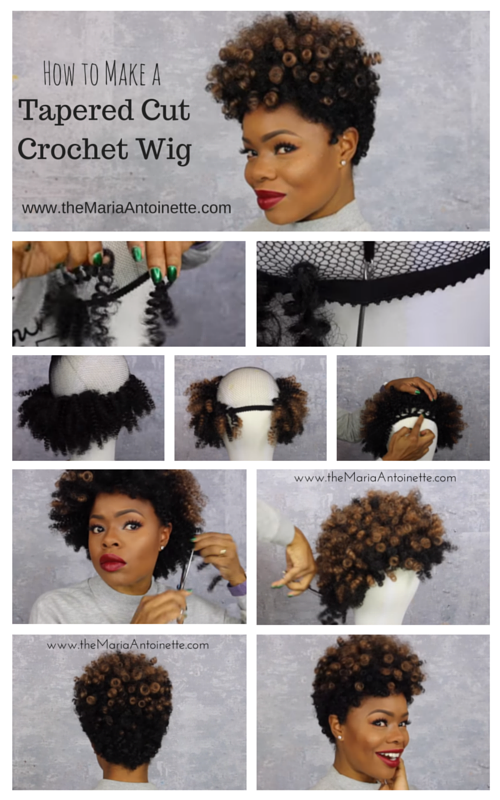
- Insert the crochet hook under the edge of the wig cap . Then use a hook and latch method. Stick crochet hook through the top of the wig band and pull it back through. This latch and hook technique assures the hair stays in place. Repeat all around perimeter of wig cap (back and sides only). Leave space so the hair isn’t too dense/thick.
- Go back in and build on top of that layer using a brick method, laying them in between each space until about 1/3 of the hair is done in the back and sides.
*Place the unused half box of curls to the side…you will use them later.
Next move to the 10″ Carrie Curl in color TT27 you will use 2 boxes of this curl
- Separate the hair just as with the first couple of layers for a more natural look
- splitting the hair will leave you with 80 curls
- Following the Brick laying method until you get to the top of the wig cap
- Fill in the front perimeter just as you did on the back and sides
- Use few of the Toni Curl 10” color 1B
Lastly use 1 box of 10″ Saniya Curl in color TT27
- Separate each curl and begin filling in the front perimeter
- Complete the crown of the wig with the remaining hair
With the construction of the wig almost complete, check for any sparse sections and fill in as needed with the remaining hair. I focused on using the Toni Curl hair around the gaps in the perimeter since it’s a a smaller curl and mimics the tightness of natural hair around the perimeter of your head.
To prep your real hair I suggest cornrowing it down and placing a black wig cap on top of your cornrowed hair. The black wig cap will assure that all gaps are undetectable and also protect your real hair. Click here to learn how to cornrow
.
Now to focus on the cut, I started cutting this wig on my head to get a foundation on how short I needed to go. After I got one side cut I removed the wig place it back on the wig block and finished cutting the back and sides. I placed the wig back on my head to finish the top, I took the sides and back lower. I suggest placing the wig on the block and on your head as many times as you feel necessary to get the proper cut. It took me 30 plus minutes to get the cut to fit my face the way I wanted it to. So take you time and cut longer because you can always cut shorter, once it cut it’s cut so take your time.
You know I have you all covered on all aspects of learning! Check out this step by step video of the process.
So can you totally see yourself rocking this Tapered Cut Crochet Wig? Chime in below I would love to hear from you! I would like to invite you to sign up for my newsletter, this way you will always be in the know with all things MA if newsletters aren’t your thing simply download my App
!
~MA
*Disclosure: This post contains affiliate links. All opinions are my own.*
Latest posts by Maria Antoinette (see all)
- 10 Romantic Date Night Ideas For Any Time of The Year - January 26, 2023
- Tips To Help You Reconnect With What Brings You Joy - January 19, 2023
- Planning A Road Trip? Here Are Some Key Tips You Should Know - January 12, 2023


Beautiful I’m gonna try this and see how it comes out may need your help a little thanks
Do you make the cork tapered wig for people.
No ma’am.