
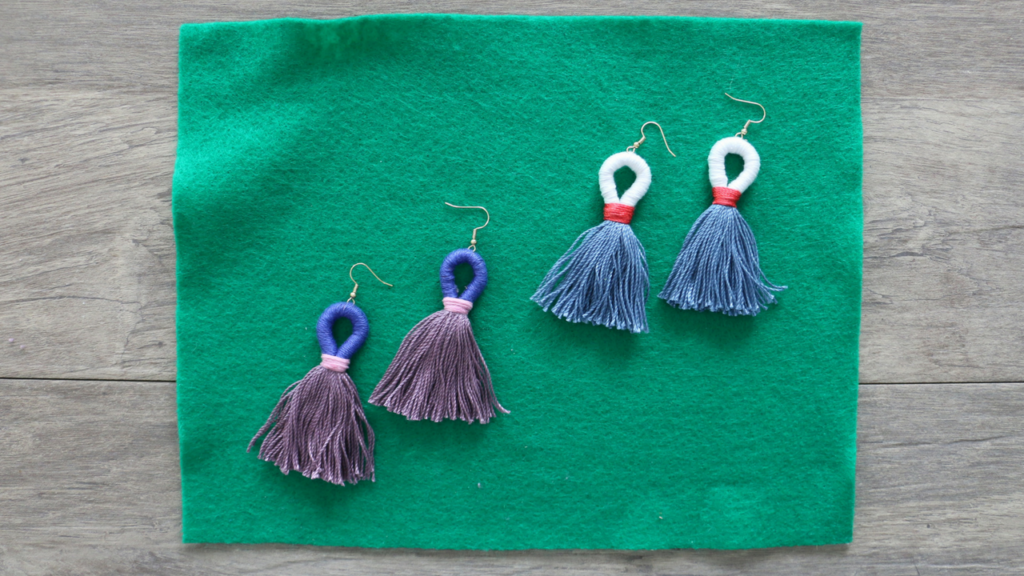
Today, I’m going to show you how to make loop tassel earrings.
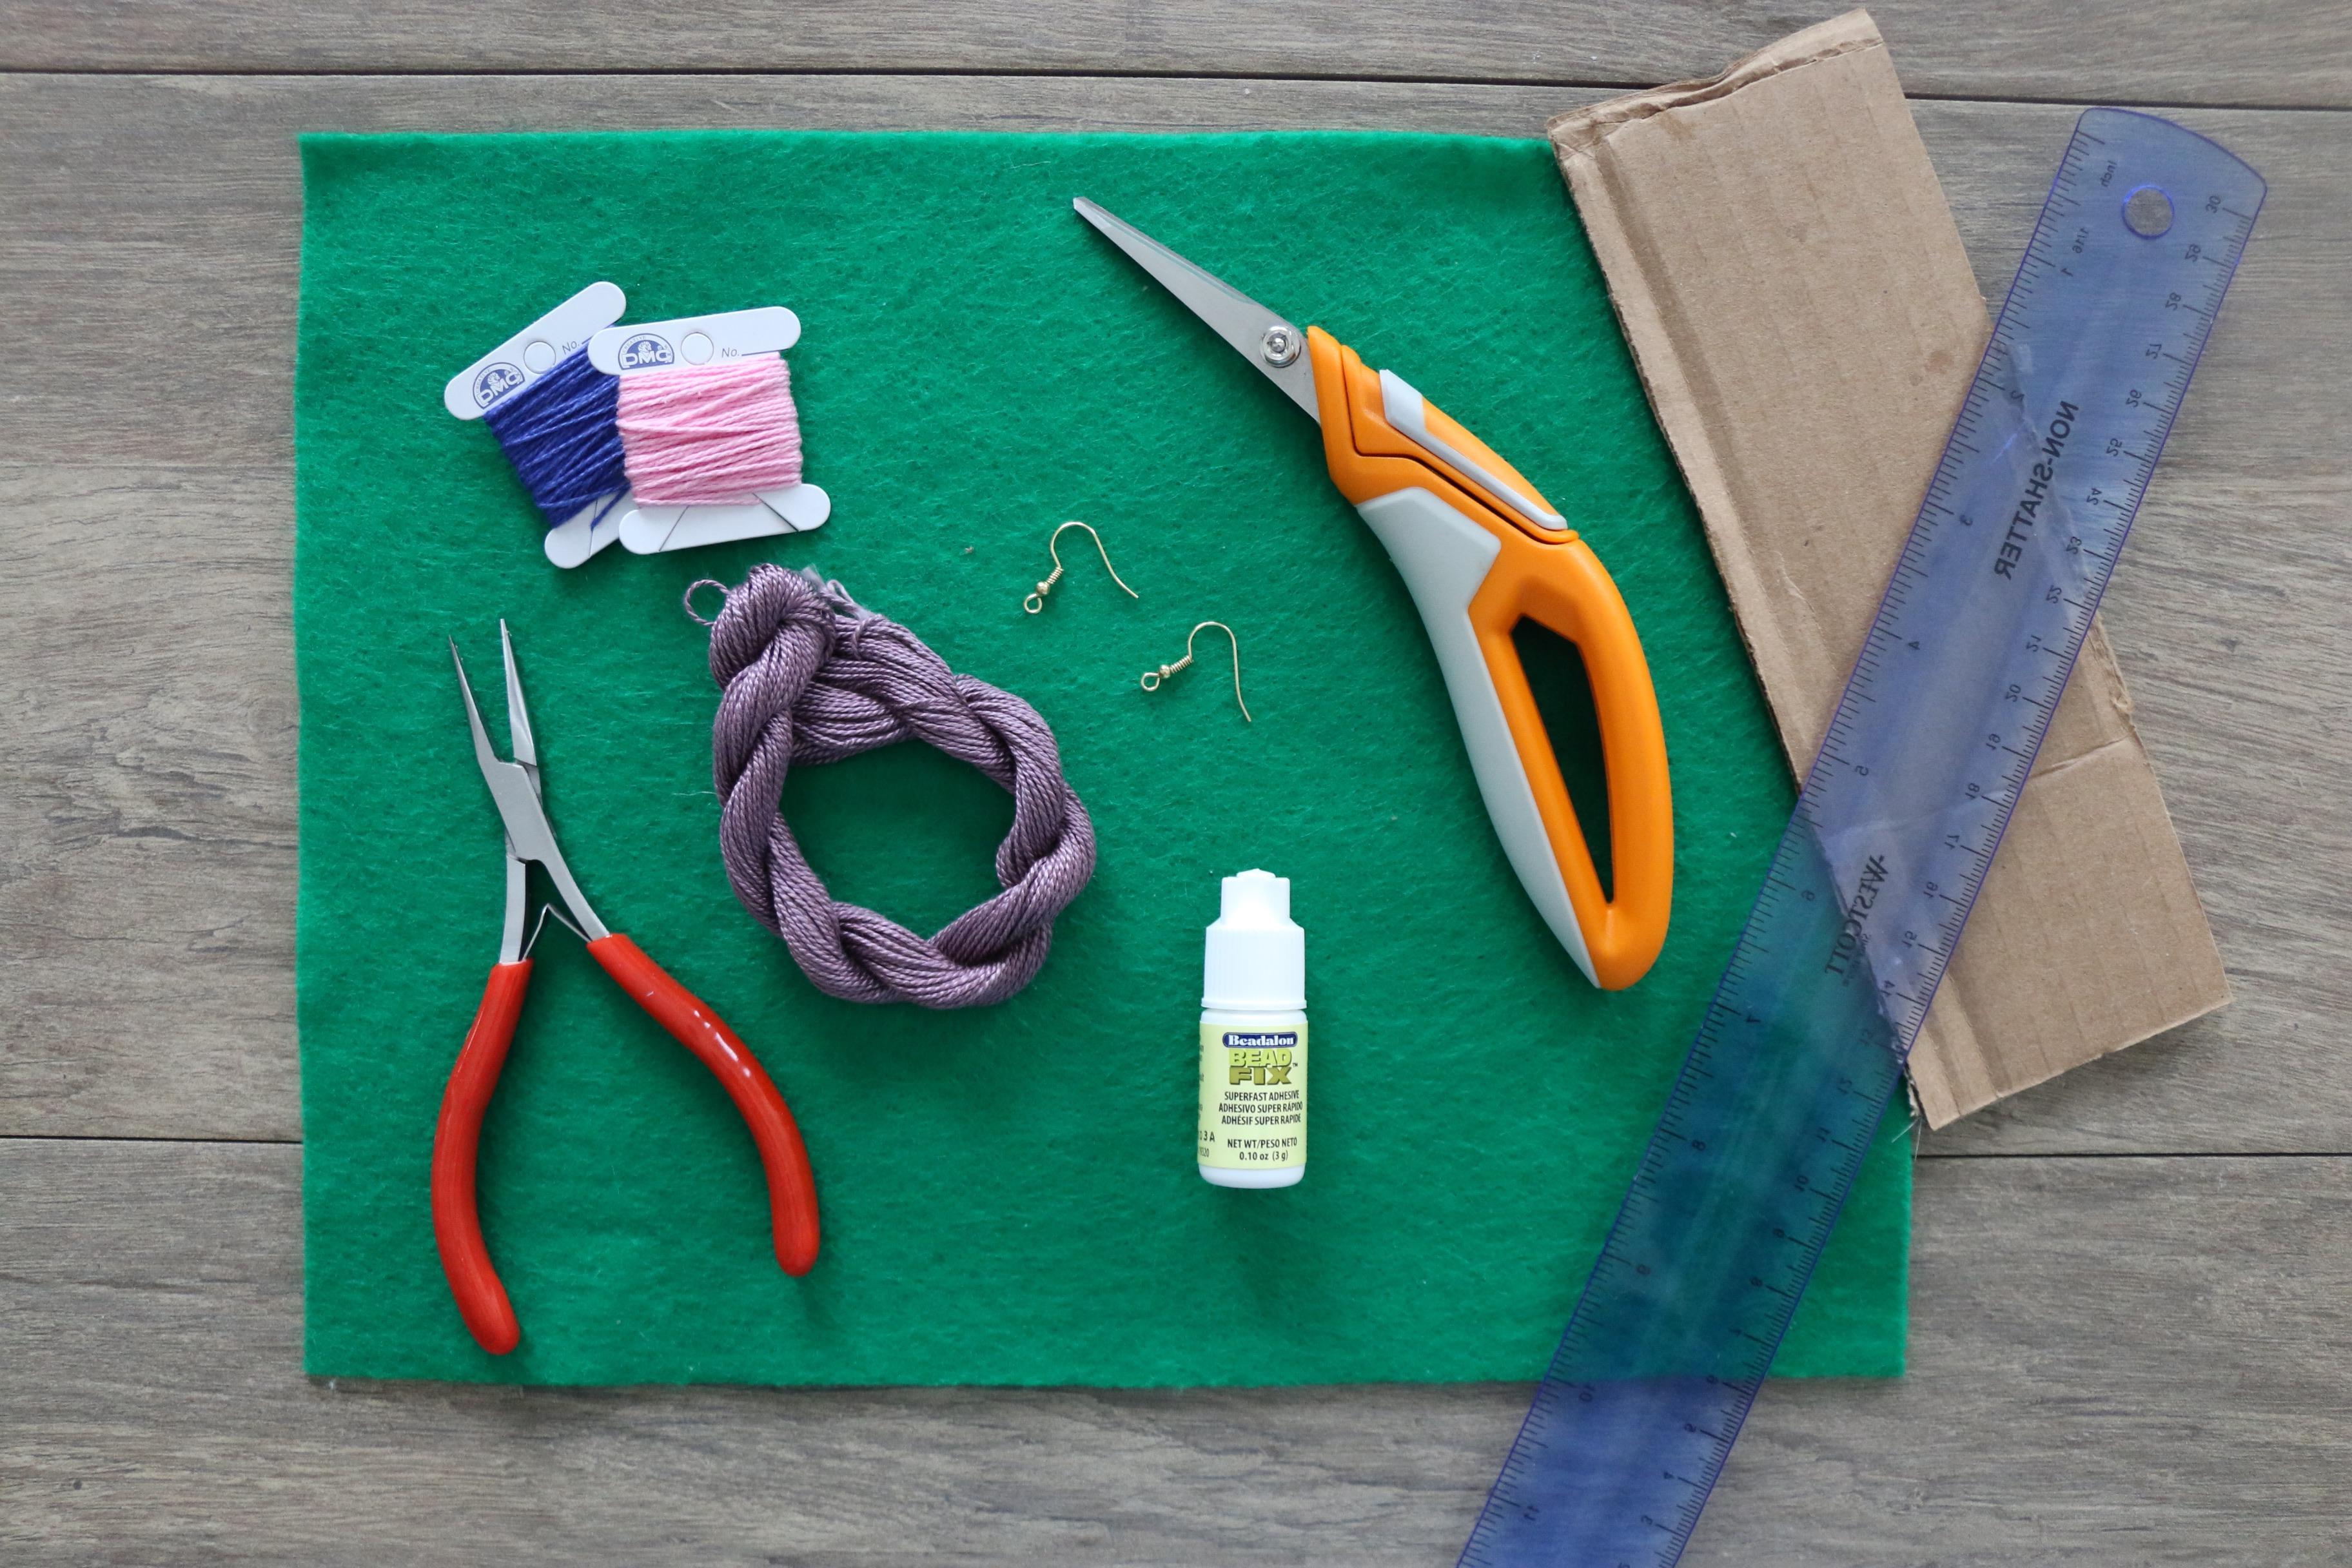
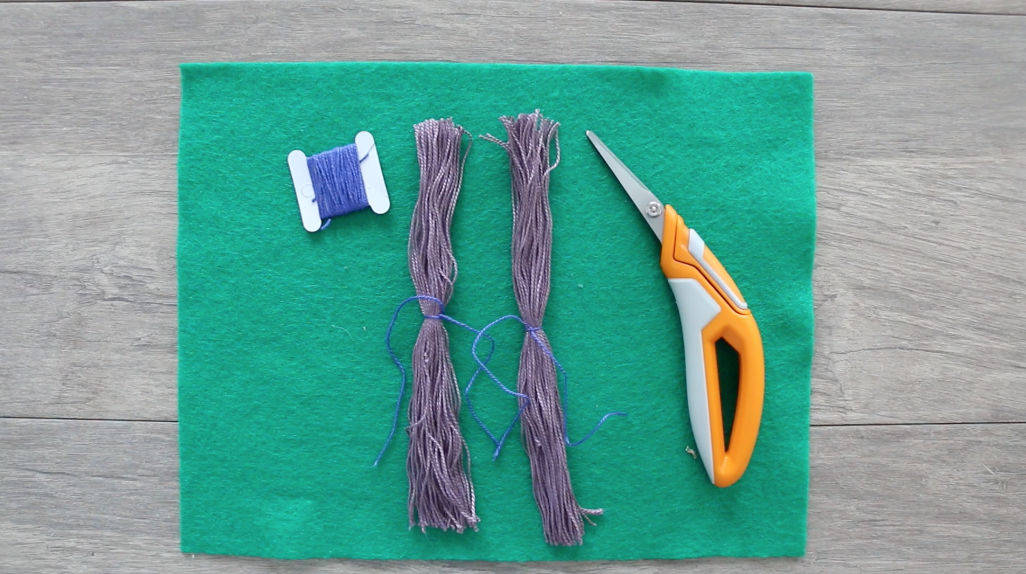
Here’s what you’ll need:
Step One:
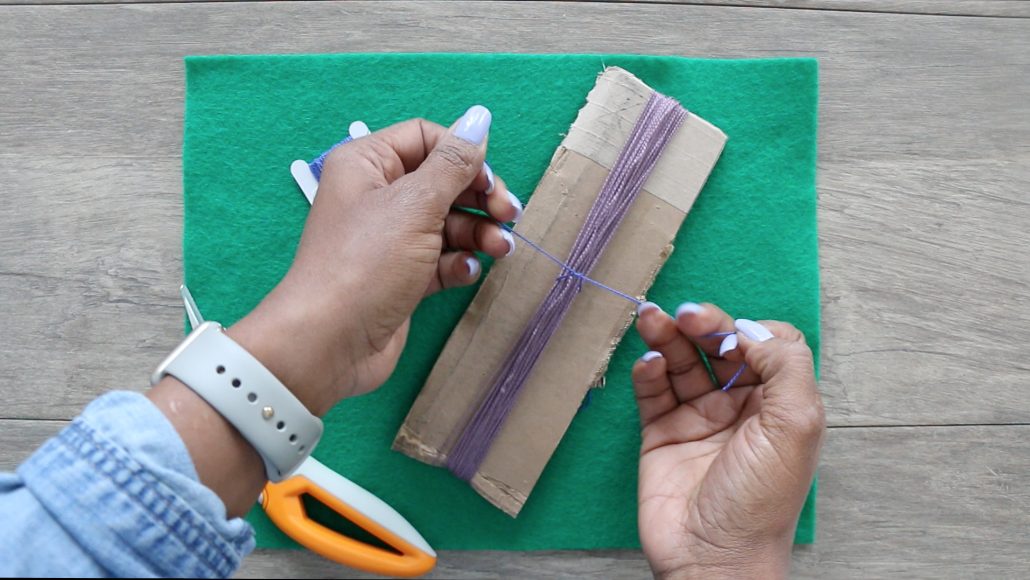
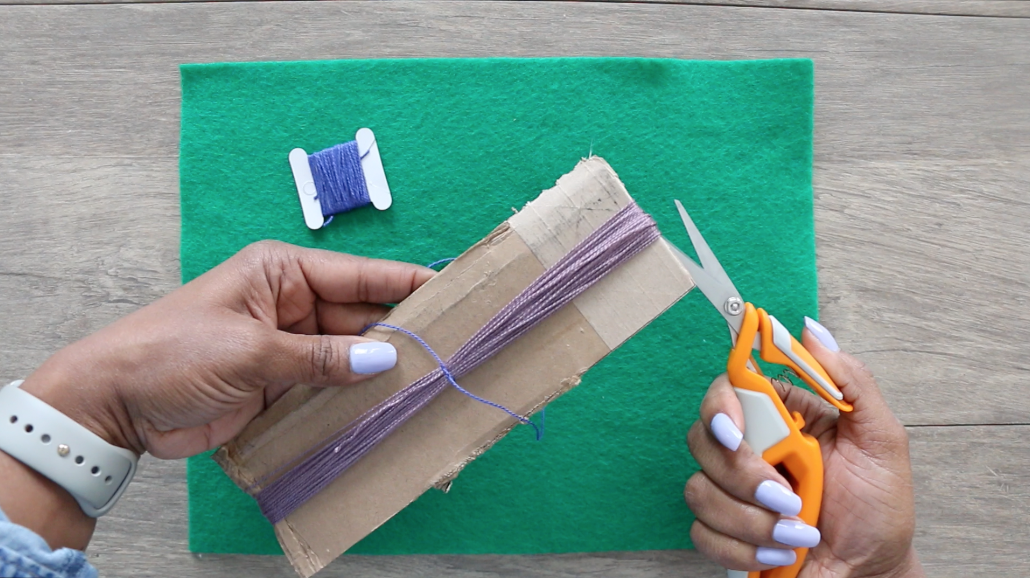
Unwind your first embroidery string. Unwind it all the way to get the tangles out. Get an 8in by 3in cardboard cut out to wrap the string around. Take your second embroidery string and knot it twice in the center on both sides. Yes, that’s right tie the knot on one side, flip it and tie the knot on the other side in the same spot. Now cut the tops of the edges off of your first embroidery string. You’re going to do this on both ends.
Ta-daaa!!
Step Two:
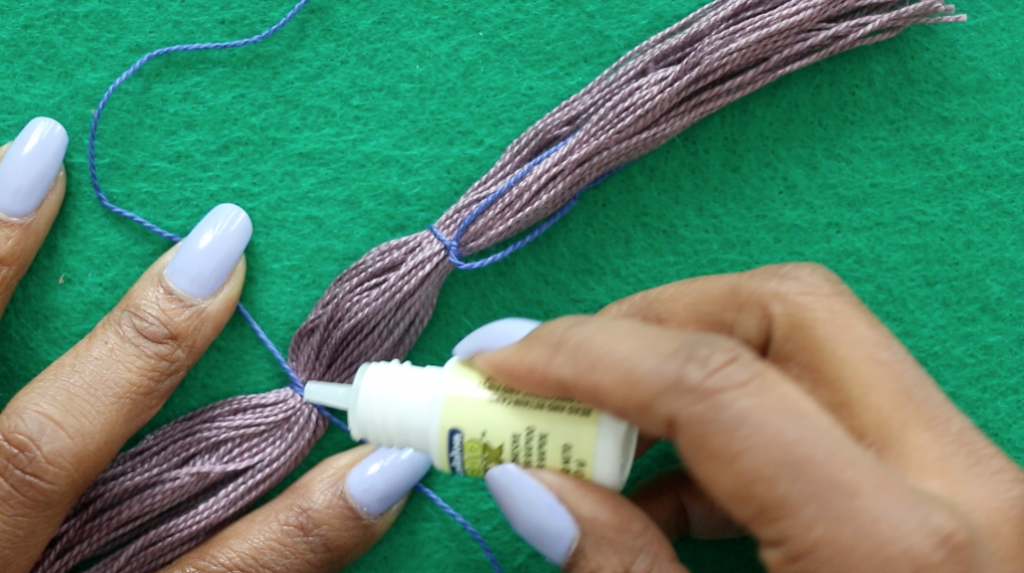
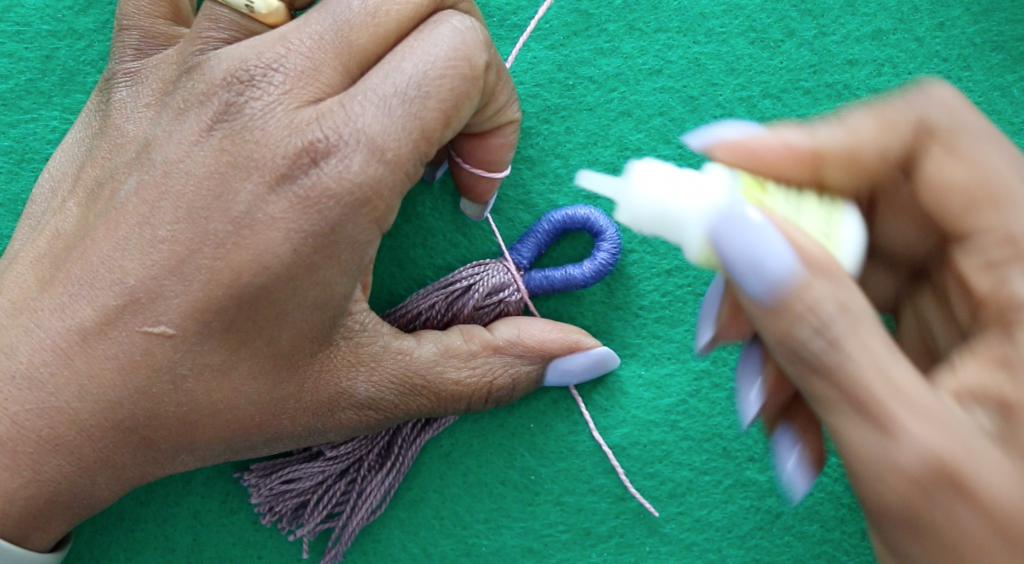
Now take your ruler and measure one and a half inches away from the center on both sides of the knot. Choose the string for your loop and make a single knot at your measurement marks and add a drop of Bead Fix adhesive (it dries quick), and start the wrapping process.

Step Three:
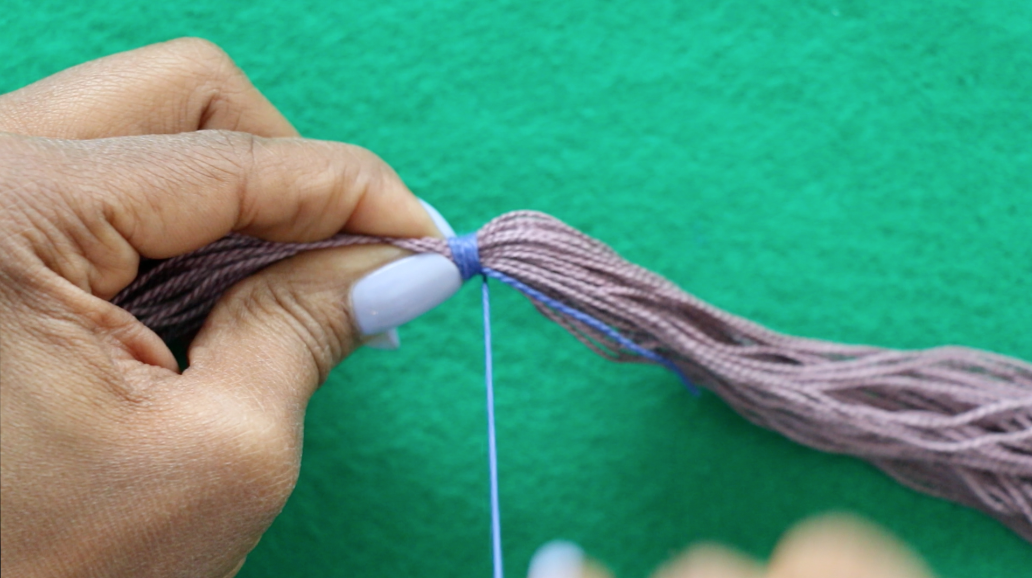
Take the short end of the string you’re going to wrap and lay it flat. Begin tightly wrapping around it with the longer piece. You’ll need to make sure each loop of the wrap lays right next to each other. There should be no gaps. The wrapping should be so tight that it’s hard to bend the earring. When you get to the end of the one and a half inch on the other side add a drop of the Bead Fix adhesive and cut the tip. Don’t worry it won’t unravel. The adhesive glue made it secure.
Step Four:
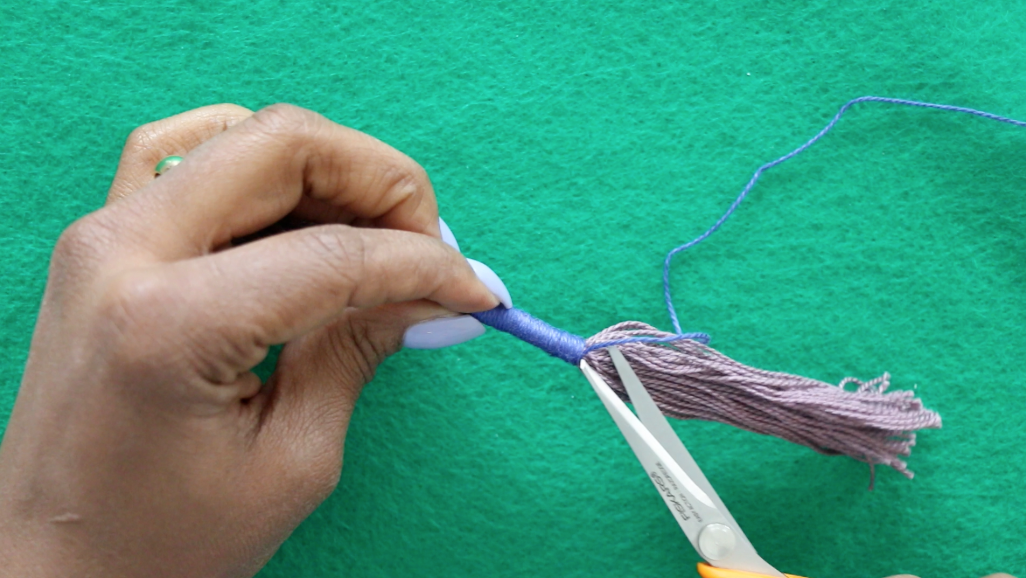
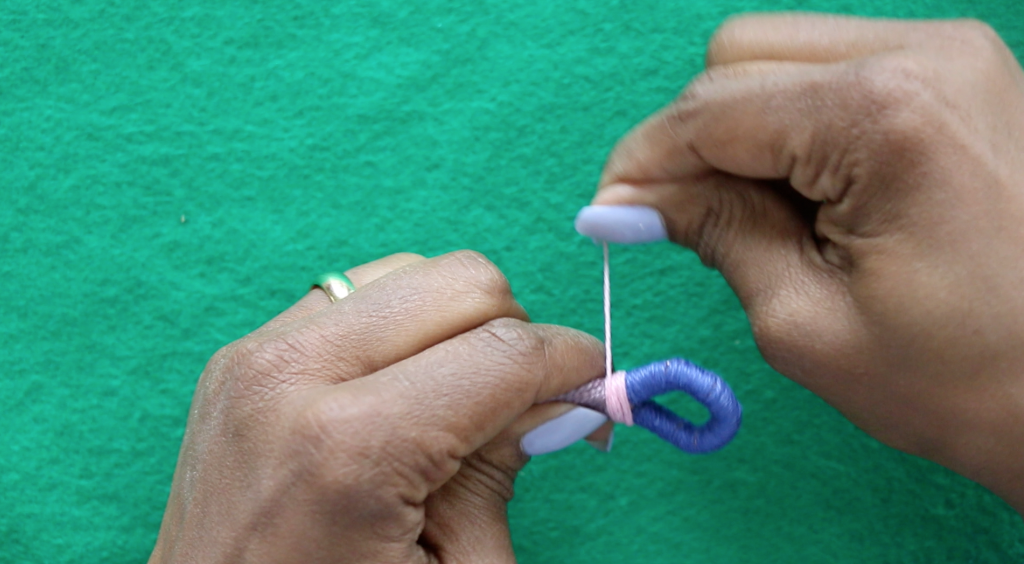
The ends of your first string should be exposed equally on both sides. Now bend the earring in the center. Choose a third complementary embroidery string, make a single knot and add a dot of Bead Fix adhesive. Cut off the loose string end and wrap the other at the base of the second embroidery string. You can make the wrap as wide as you like. When you’re done add a drop of more Bead Fix adhesive and after it dries cut the end off.
Final Step:
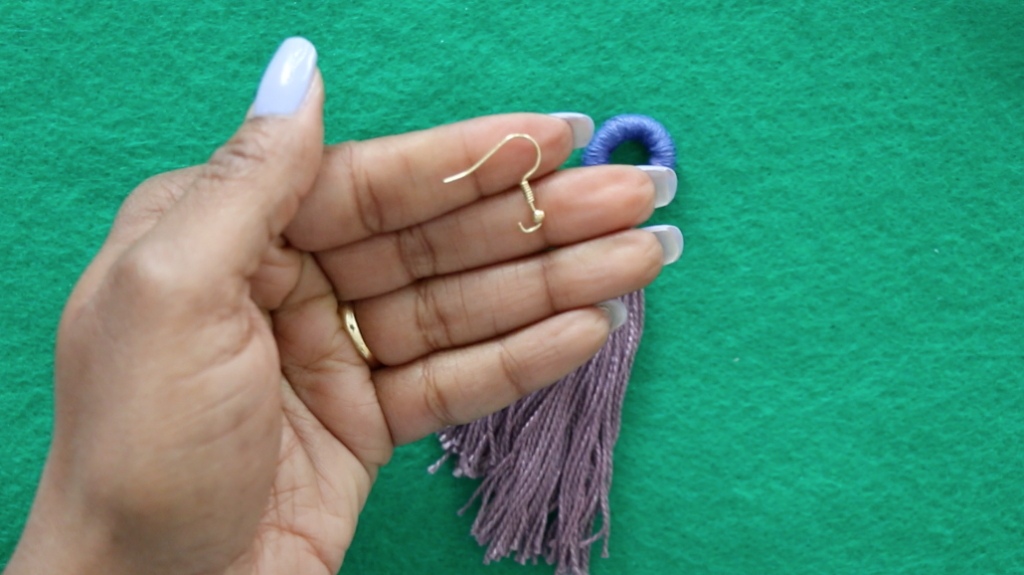
Now it’s time to add the ear wire. Open the end that will hook into the earring with needle nose pliers, hook into the center of the top loop string and close. The excess fray at the bottom might not be even. That’s okay. Just cut it to make it even and you’re all done! Repeat these steps on the second earring and you’re ready to rock your brand new DIY tassel loop earrings.
Watch the video below to see these steps in action.
I want to see your DIY tassel earrings so share them on social using #TMABlog. Thanks for watching!
Latest posts by Maria Antoinette (see all)
- 10 Romantic Date Night Ideas For Any Time of The Year - January 26, 2023
- Tips To Help You Reconnect With What Brings You Joy - January 19, 2023
- Planning A Road Trip? Here Are Some Key Tips You Should Know - January 12, 2023


Love this DIY tutorial!!! Great gift ideas for my besties!!! They’re always looking for me to create them something special!!!
Love this tutorial and a must try for me. ?