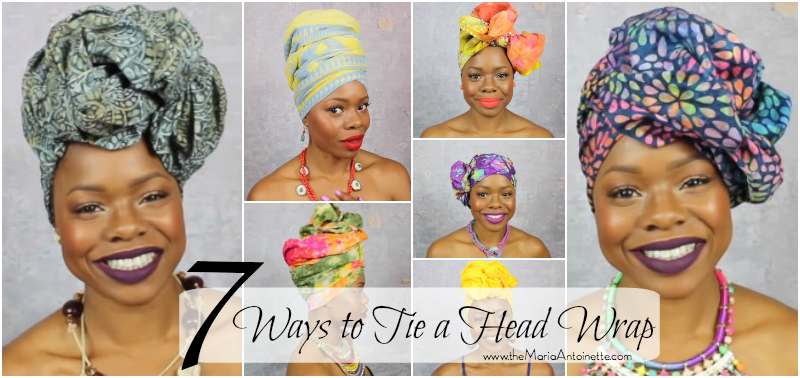
Beautiful hair scarves are an excellent option to maintain moisture and overall healthy hair during colder seasons. You can even deep condition underneath and no one will be the wiser! Today I’ll be sharing 7 ways to tie a headwrap that will have you looking fabulous all year round! Remember to not over think tying the wraps and let the fabric do all of the work!
Materials used for this look:
- Yellow Batik Fabric – Joann’s Fabric (M) 43.5×34
- Earrings – Forever 21
- Lashes: MAC 35
- Lippie: NYC Lipliner in Expresso (lined outer lip) & Brown (filled in inner lip)
To achieve this look:
- Gather hair into a top-knot
- Fold a large, square scarf into a triangle and place the folded part at the nap of the neck
- Place head down letting the middle section fall toward the face and grab the 2 tails and place them in a loose knot
- Take the fabric that was in the middle, tuck back and adjust as needed
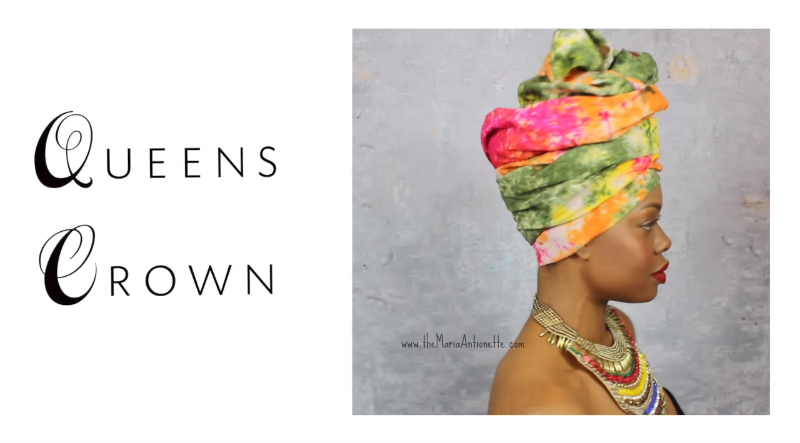
Materials used for this look:
- Multi Color Hand Died Fabric – Novelty Shop(M) 77×20
- Statement Necklace – DIY steps on how to make one
- Lashes: MAC 35
- Lippie: MAC Cherry Lipliner full lip , Sephora Creme Lip stain 01
To achieve this look:
- Gather hair in a top knot
- Start with a long, narrow fabric and place at nape of neck
- Gather the 2 ties (off-centered) and crisscross
- Pull out excess material and stuff in the open, center portion
- Take remaining section and wrap around head lightly, but securely and adjust as needed
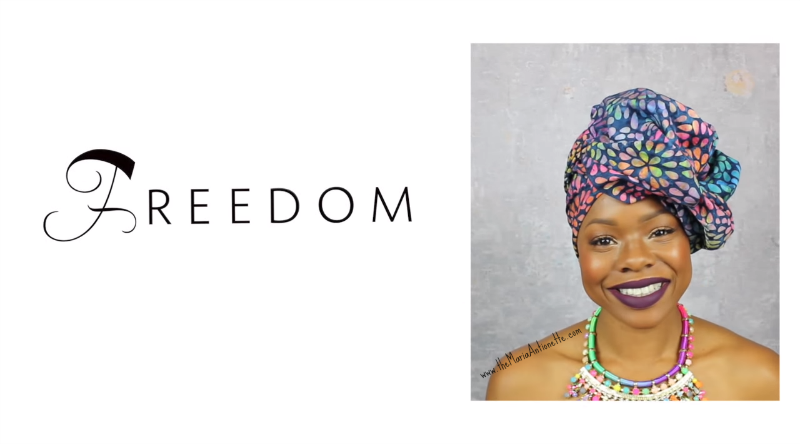
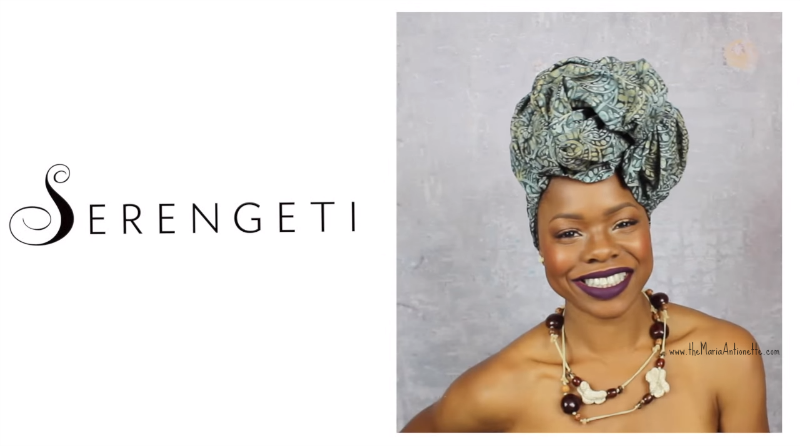
- Fabric – (M) 44×44
- Statment Necklace
- Lashes: MAC 35
- Lippie: Coloured Raine – Raine Fever
To achieve this look:
- Gather hair in a top knot
- Fold square fabric into a perfect triangle
- Tie and make 2 tails leaving one over the eye
- Adjust and wrap both tails (one at a time) around the top knot and tuck underneath each tail
- Take the middle part that is coming forward and separate
- Play around with them and tuck under sections of the scarf that were already wrapped
Advertisement
Materials used for this look:
- Scarf – (M) 43.5×34
- Statement Necklace – Found while traveling
- Lashes: MAC 35
- Lippie: MAC Cherry Lipliner full lip, Sephora Creme Lip stain 01
To achieve this look:
- Gather hair in a top knot
- For this look you will need a long, narrow scarf folded in half
- Wrap one end around the head like a normal turban and crisscross in the front. Make sure and keep middle section contained.
- Continue wrapping and tuck end in the middle and adjust as needed
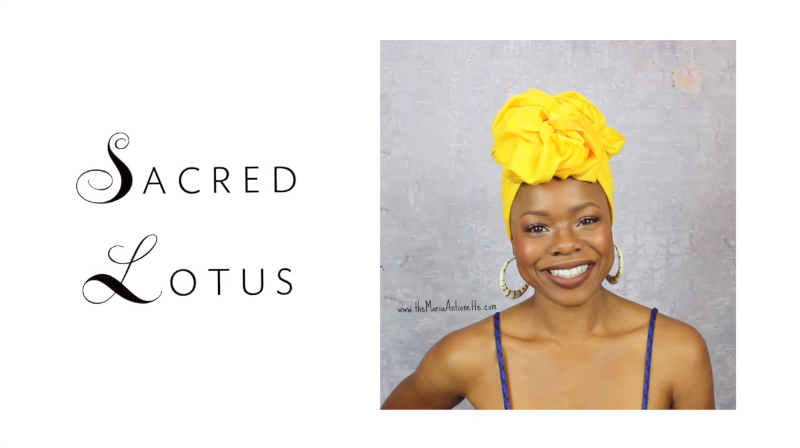
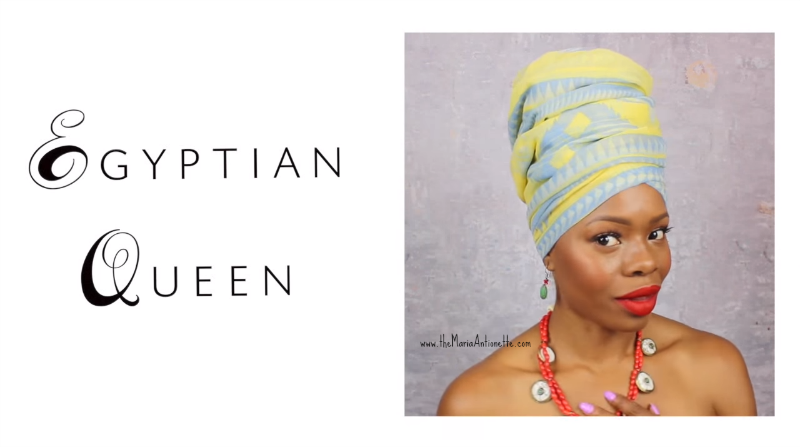
Materials used for this look:
- Blue/Tan Batik Fabric – Similar here (M) 40×44
- Statement Necklace – Express
- Lashes: MAC 35
- Lippie: Coloured Raine – Raine Fever
To achieve this look:
- Gather hair in a top knot
- Fold a square scarf into a triangle. Gather the ties, but this time grab the middle and pull up so that it is on top of the 2 ties
- Tie a knot and take the 2 tails and tuck behind the section that left out in the front/middle
- Take pieces of the end and tuck back into the fabric and into the folds and adjust as needed
Materials used for this look:
- Fabric – Similar here 37.5×44.5
- Statement Necklace – Boutique
- Lashes: MAC 35
- Lippie: Revlon Colorburst Matte Balm – Shamless mixed with MAC Heroine
To achieve this look:
- Gather hair in a low bun
- Use a long, narrow scarf and fold in half
- Place fold on forehead this time and tie at the back and secure short tail in a knot
- Take longer tail and wrap around the bun and then take smaller tail and tie together with the longer tail
- Once wrap is secure, take the excess piece from the tail and open it up
- Tuck the ends from the open tail and viola you have a flower
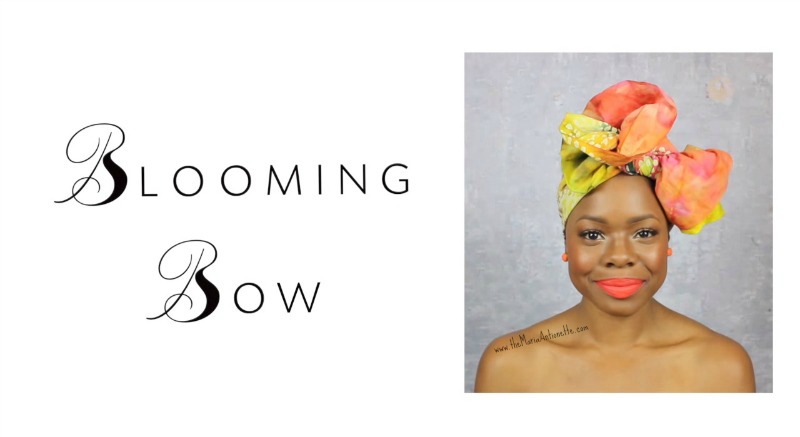
Materials used for this look:
- Fabric – (M) 45×26
- Lashes: MAC 35
- Lippie: NYX Soft Matte Lip Cream – Morocco
To achieve this look:
- Gather hair in a top know
- Using a long, narrow scarf fold in half, fold in again…and one more time
- Make sure material is even at the ends and then tie off center.
- Tie the 2 tails into one tight knot then one loose knot
- Adjust on the sides to give texture where the scarf is flat
- Open up the two tails and your bow is now blooming
When shopping for your fabric make sure you are using a big/long enough pieces to create the desired look. Also make sure the fabric is right for the look. I find Batik Cotton to be wonderful to work with…some people like wax cotton as well. In all honesty you can use any fabric you have. So have fun get creative and start wrapping your head!!!
Here is the step by step video:
Which one of these styles can you see yourself wearing?!?!? I hope you found these steps to be helpful I know it seems like a lot just remember to let the fabric move the way it moves and you will have an amazing head wrap! I would like to invite you to sign up for my newsletter
, this way you will always be in the know with all things MA!
~MA
Latest posts by Maria Antoinette (see all)
- 10 Romantic Date Night Ideas For Any Time of The Year - January 26, 2023
- Tips To Help You Reconnect With What Brings You Joy - January 19, 2023
- Planning A Road Trip? Here Are Some Key Tips You Should Know - January 12, 2023


That was a truly ALL TIME AWESOME tutorial ♡
Love your pation, time, patience & affect!!!!
Sincerely “LIZ”?
Thank you so much Liz!!! I am so happy it was helpful!
I love all the wraps and I would rock every one of them.
Thank you for stopping by…glad you liked the post!
Thanks for the material size. I watch u-tube videos regarding head wraps and they never give the actual size of the fabric to wrap your hair.
You are welcome…I try my hardest to share as much info as possible. I know when I want to learn I want all details! Glad this was helpful!
one of the best tutorials I have seen to date! clear,fast instructions and no idle chit chat! LUV IT!
Aww thank you for stopping by!!! I am glad the post was helpful!
Gorgeous wraps! And I love the Batik fabrics! Thanks for sharing!
Wow I love all of the styles, I love the Egyptian the most!!! Thanks so much for sharing them all.