
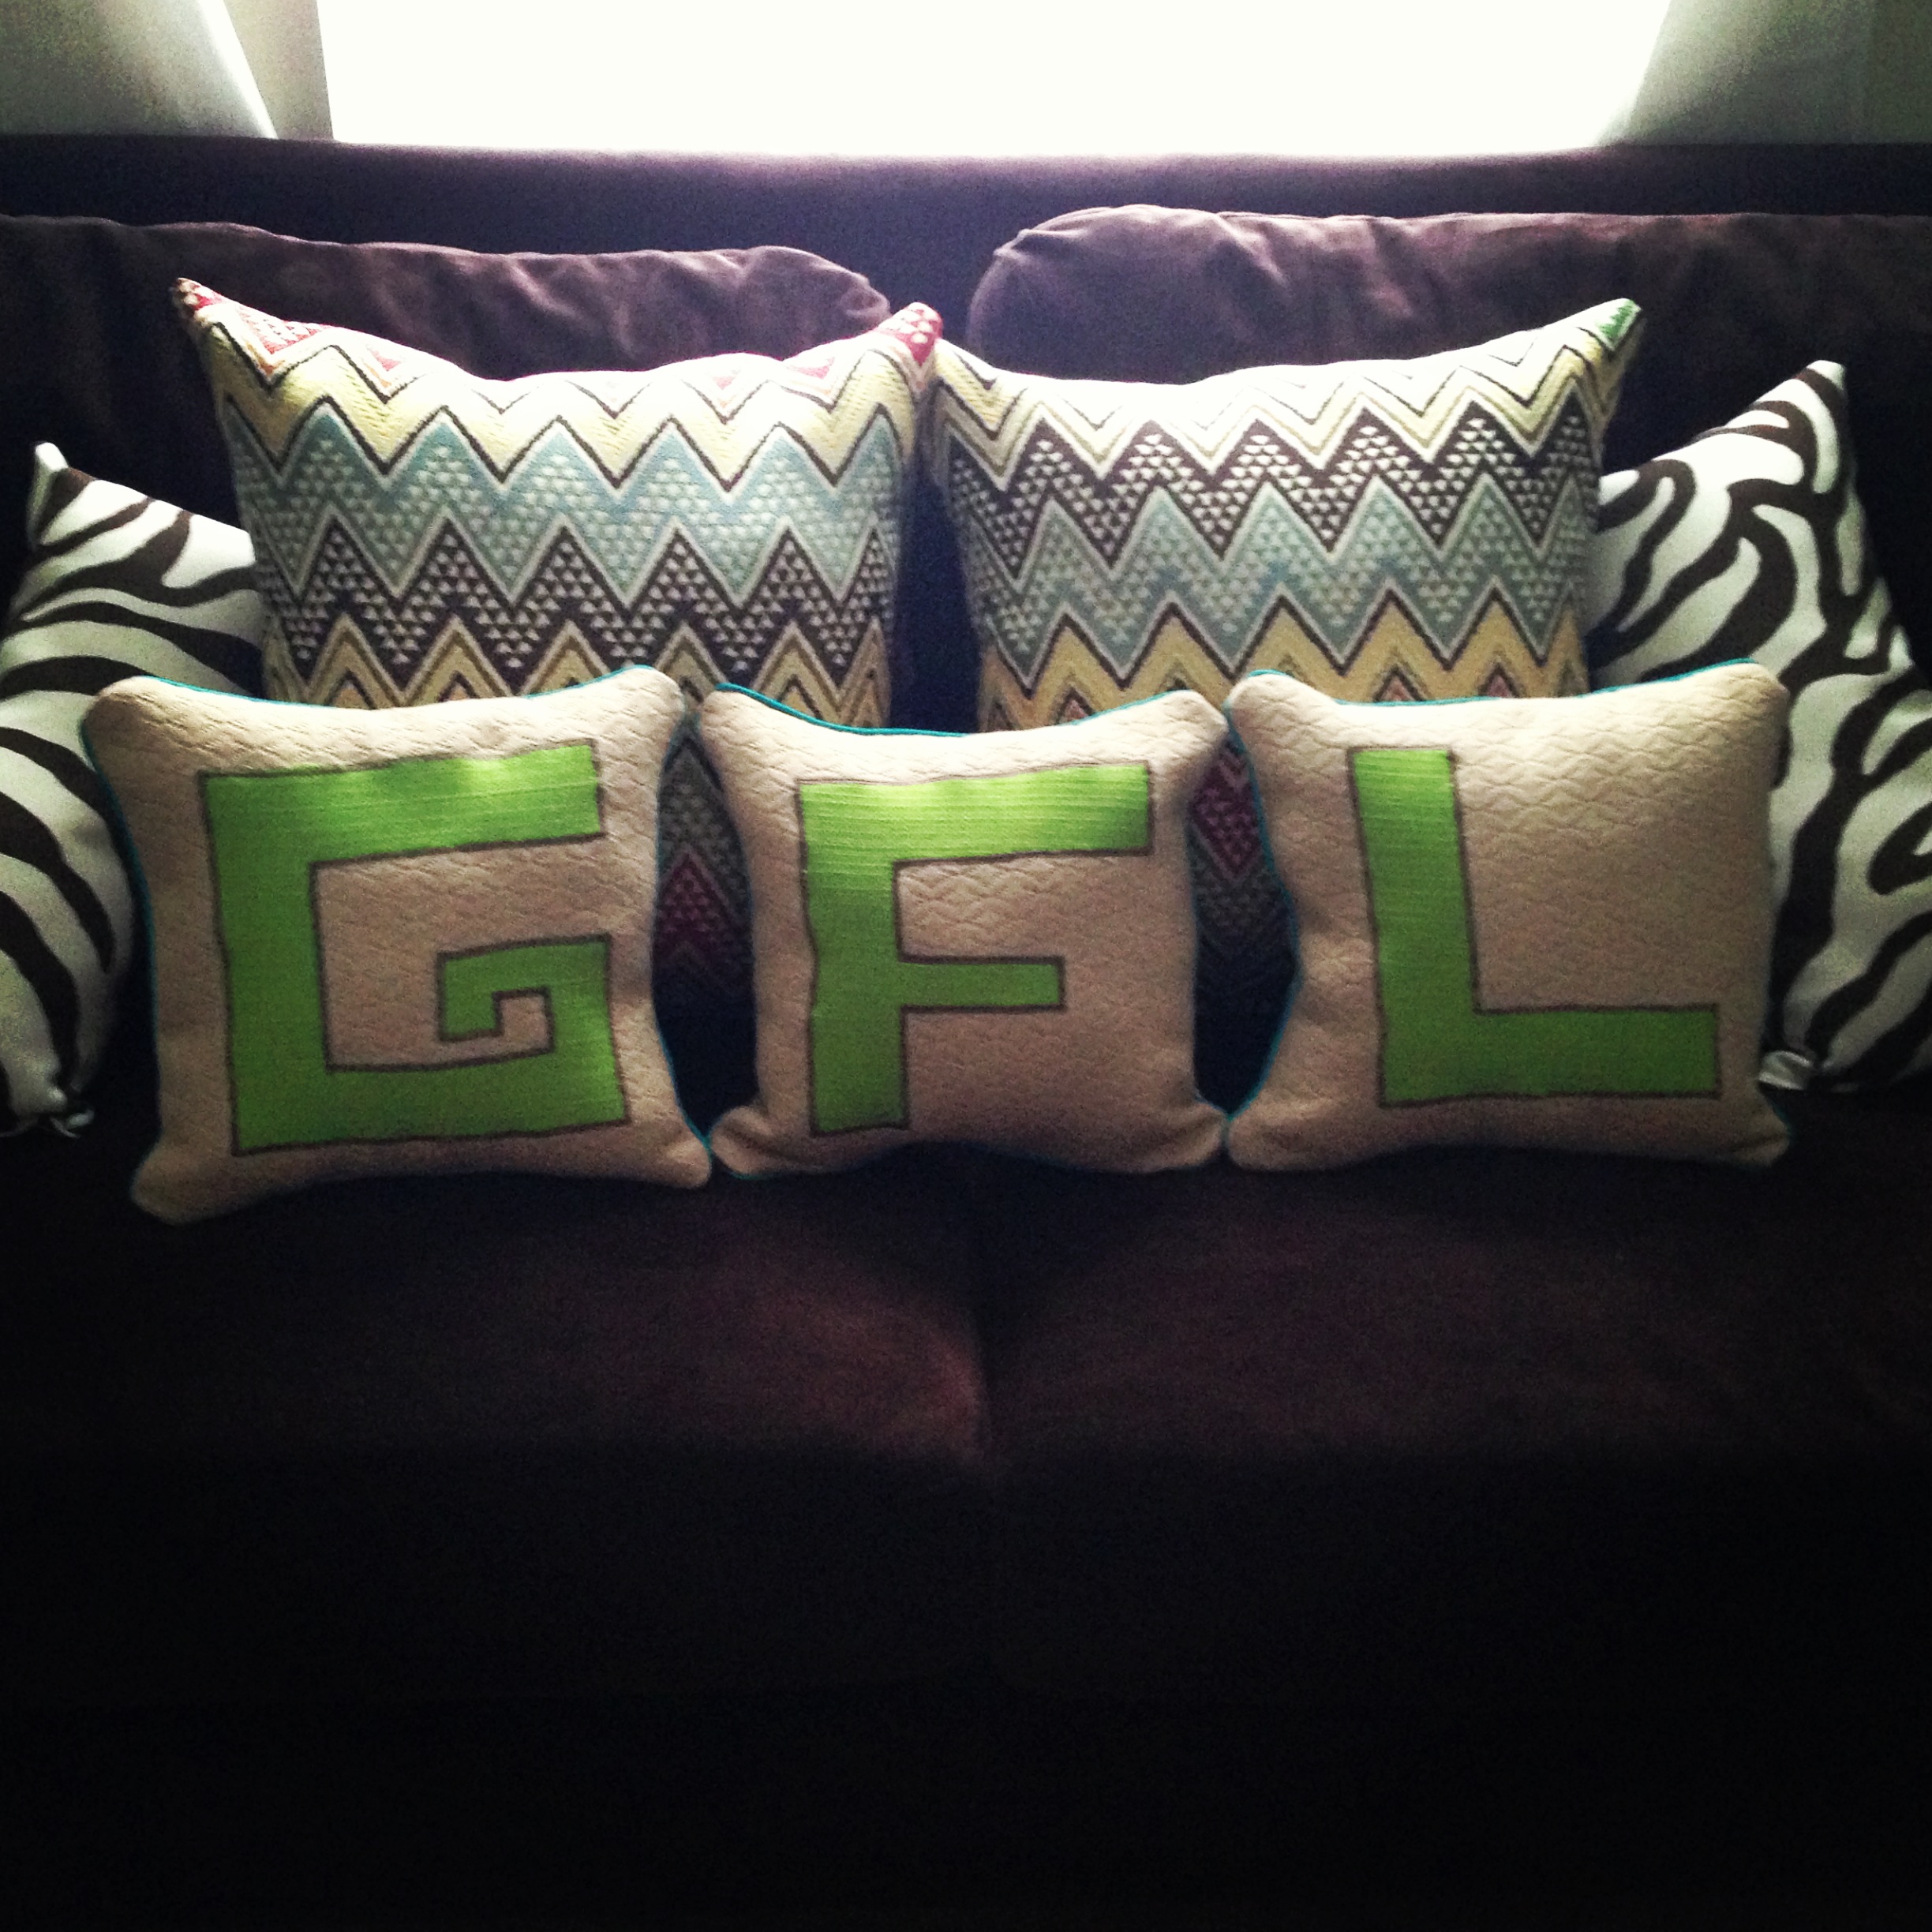
Hey Guys!!! My due date is right around the corner, which means I have been nesting like crazy!!! Here are the steps I used to create these adorable initial pillows for my son’s nursery. I will be revealing the nursery very soon!!! I can’t wait to share it with you all, I did so much cool stuff!!! But until then here are the pillows I made!!!
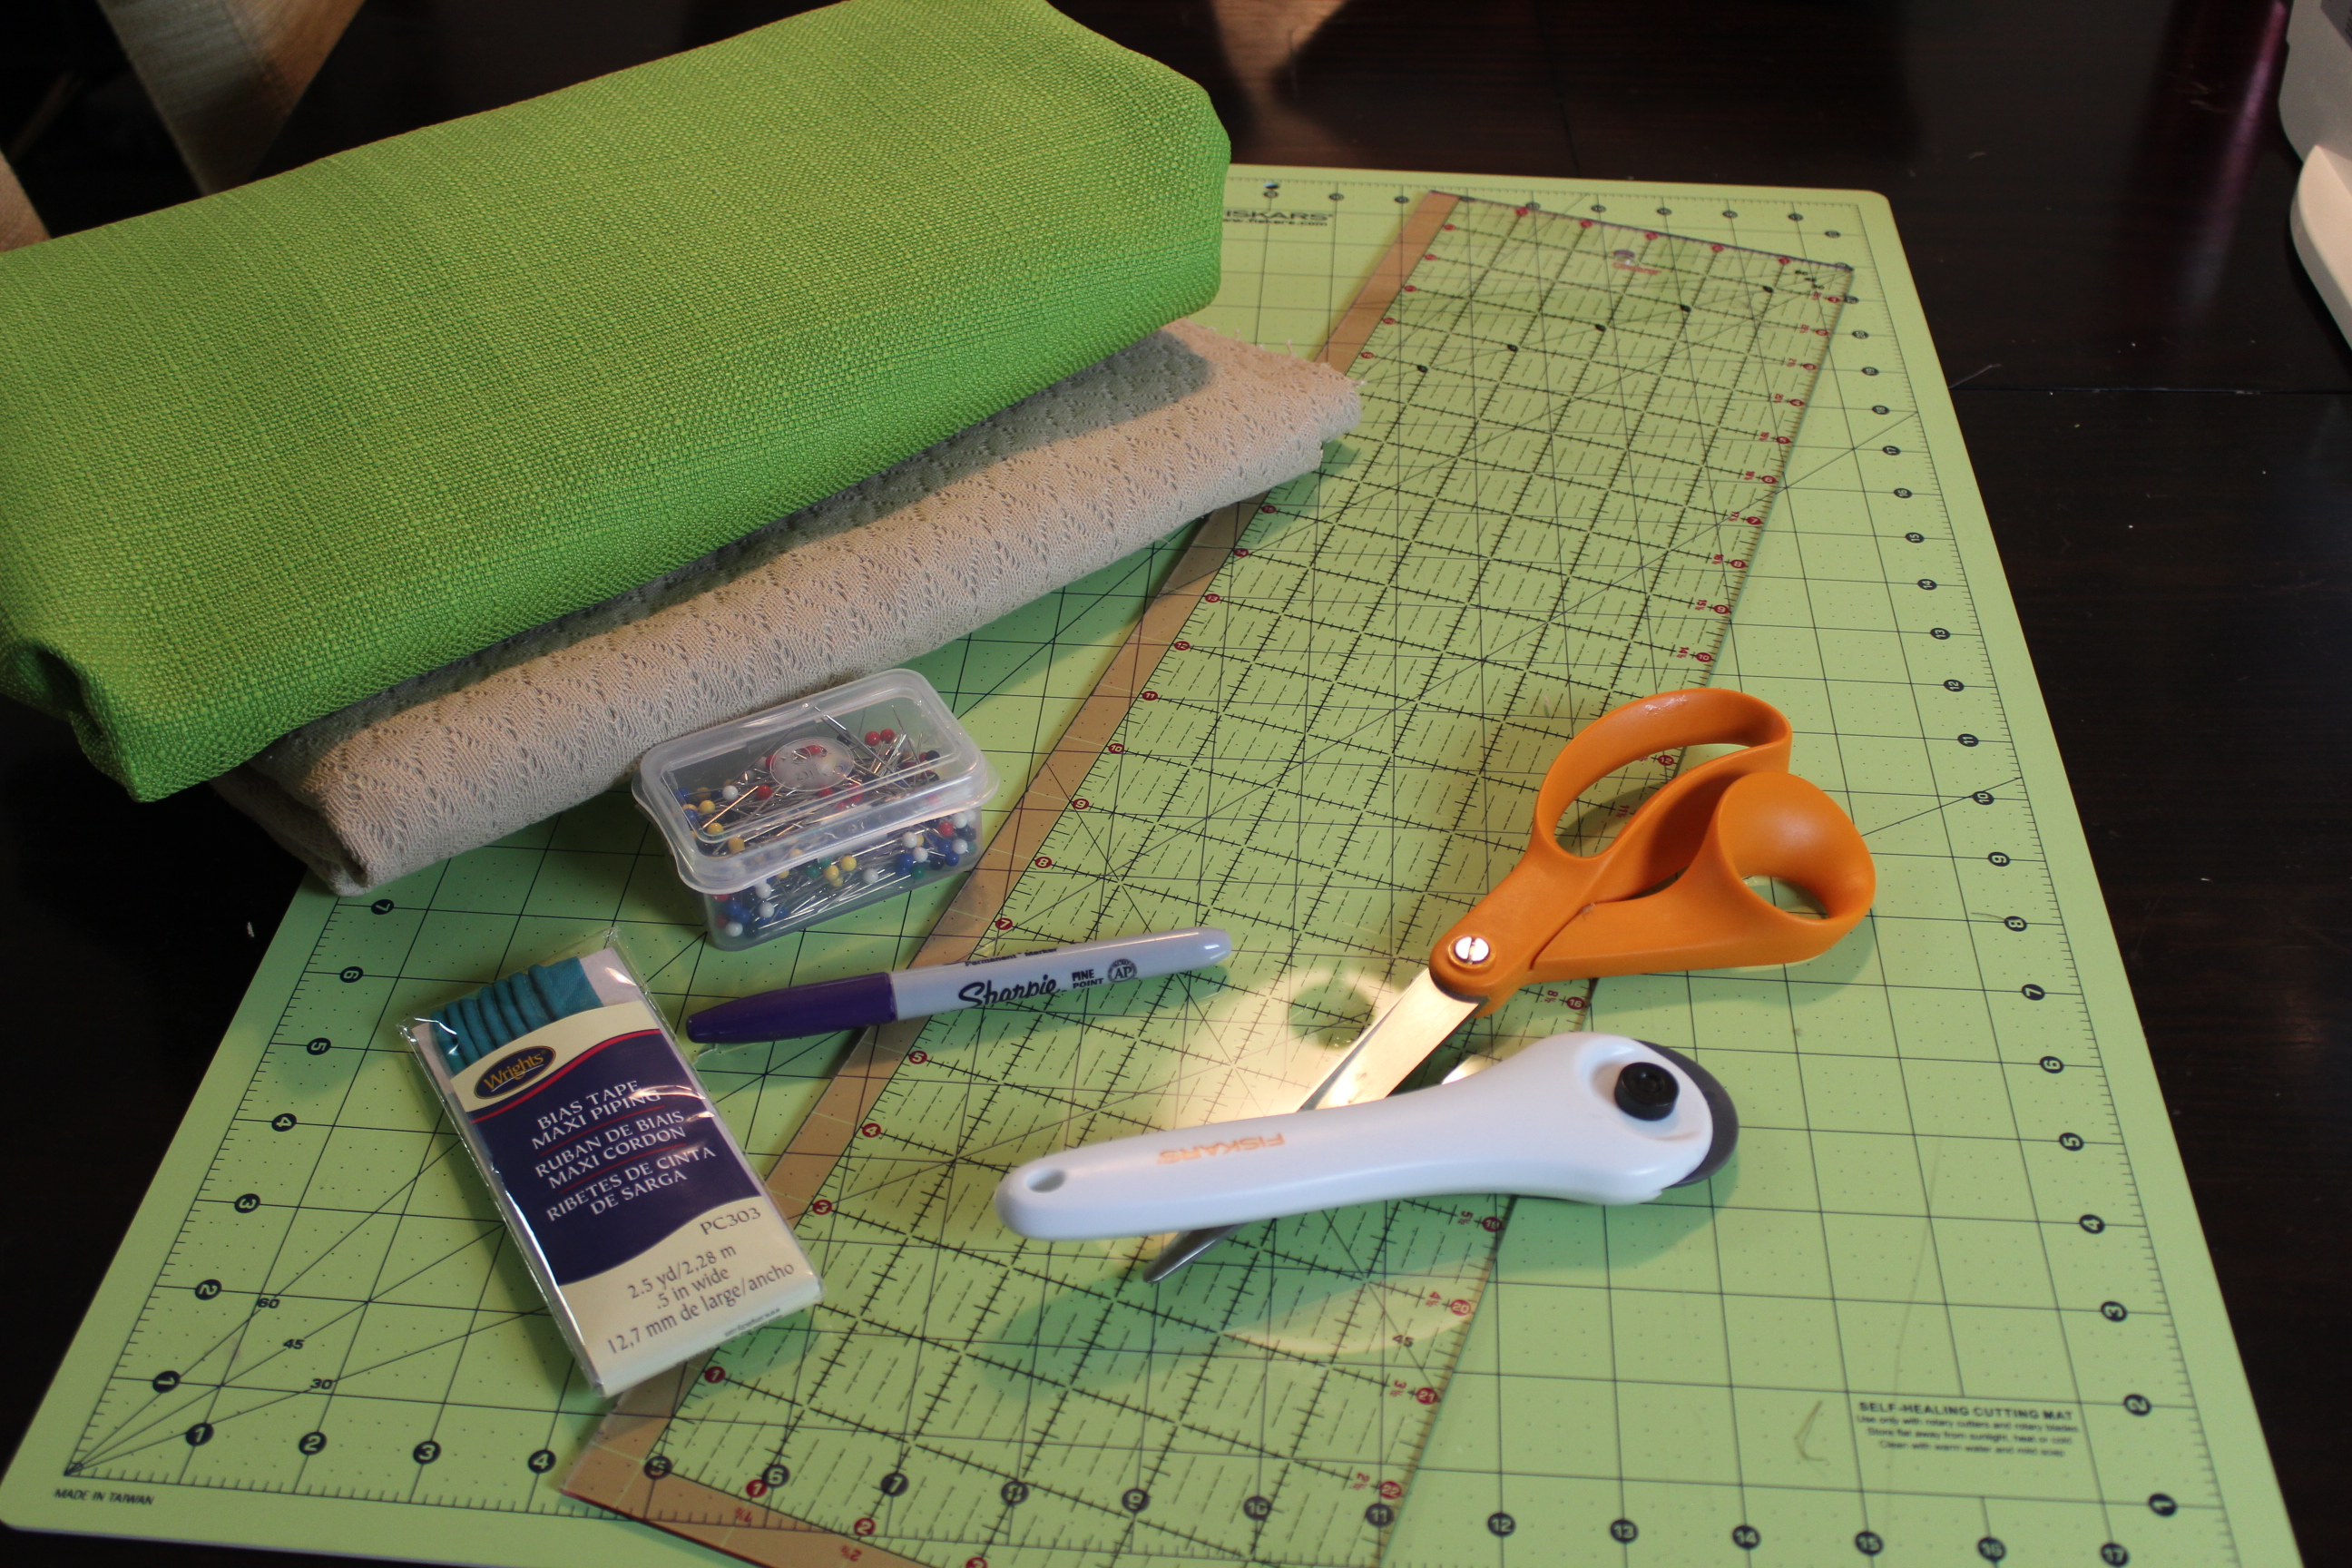
Materials Needed:
Fabric of your choice – I used upholstery fabric for my 3 13 x 13 pillows I used about 3/4 yard. For the initials I used about 1/2 yard and I had plenty left over!
Scissors
Marker
Ruler
Straight Pins
Bias Tape
Witch Stitch or Ironing Adhesive
Pillow filling / stuffing
Sewing machine
Thread
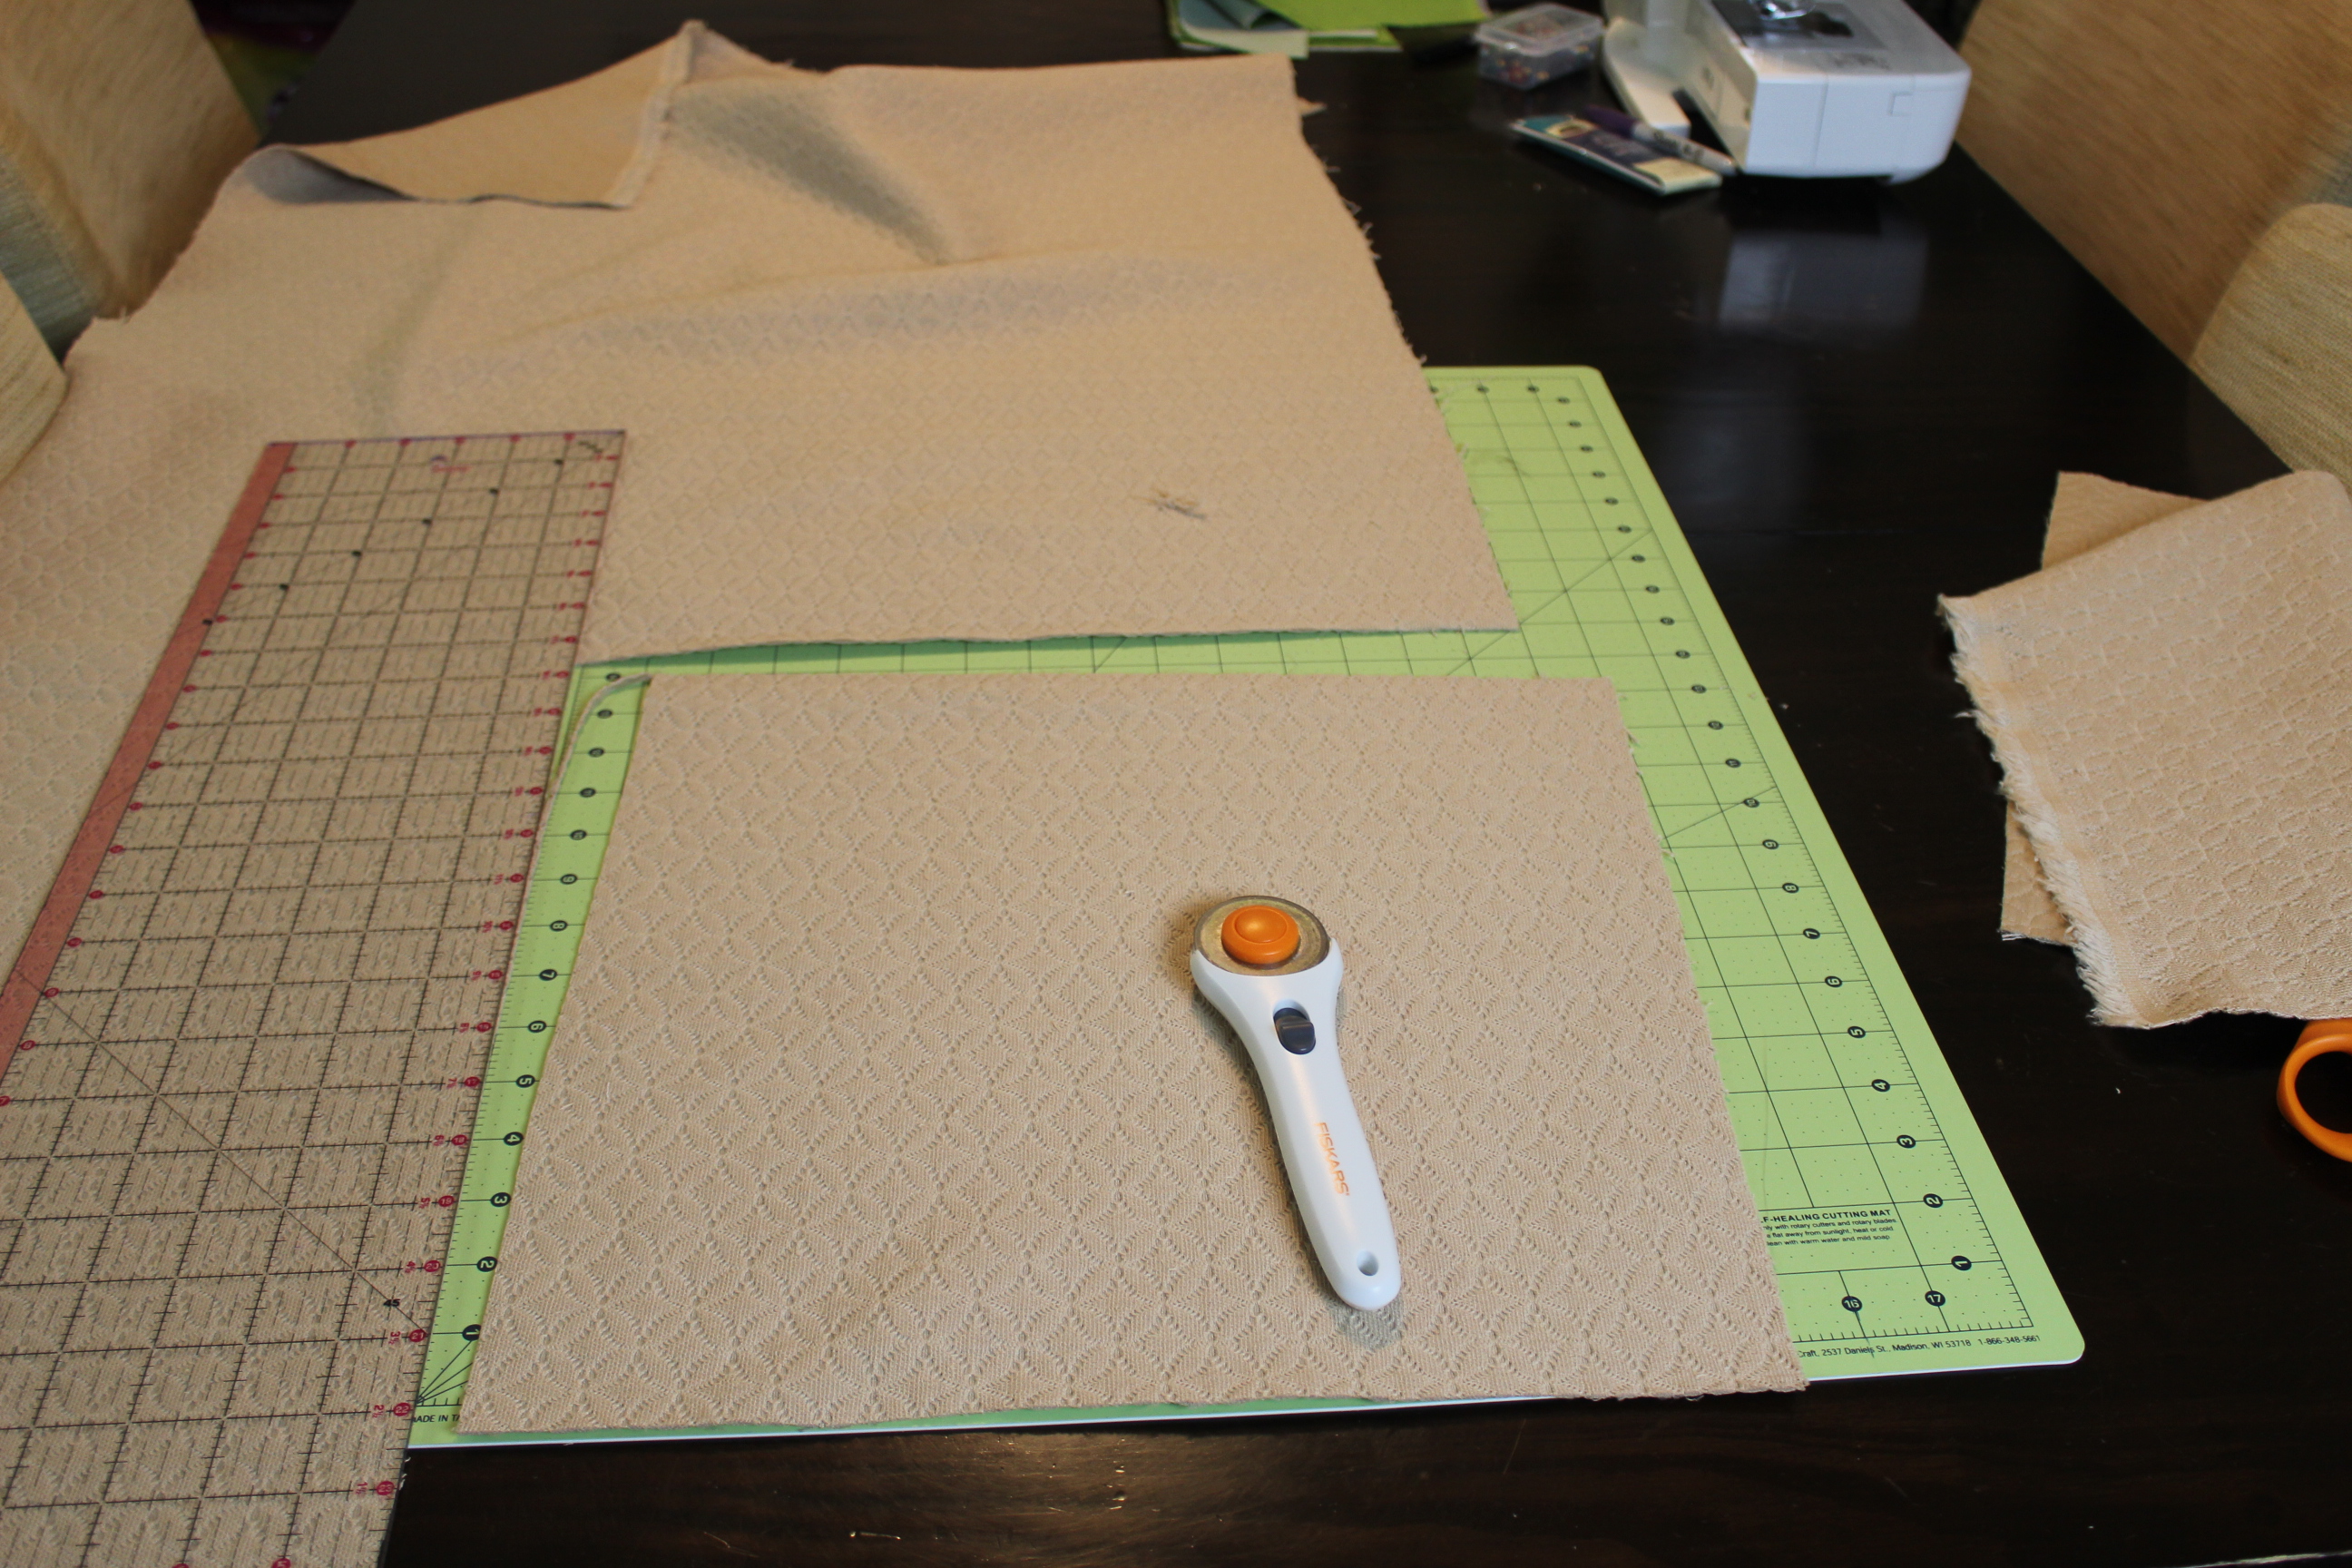
Your going to cut out the base fabric. I did measurements of 13 x13
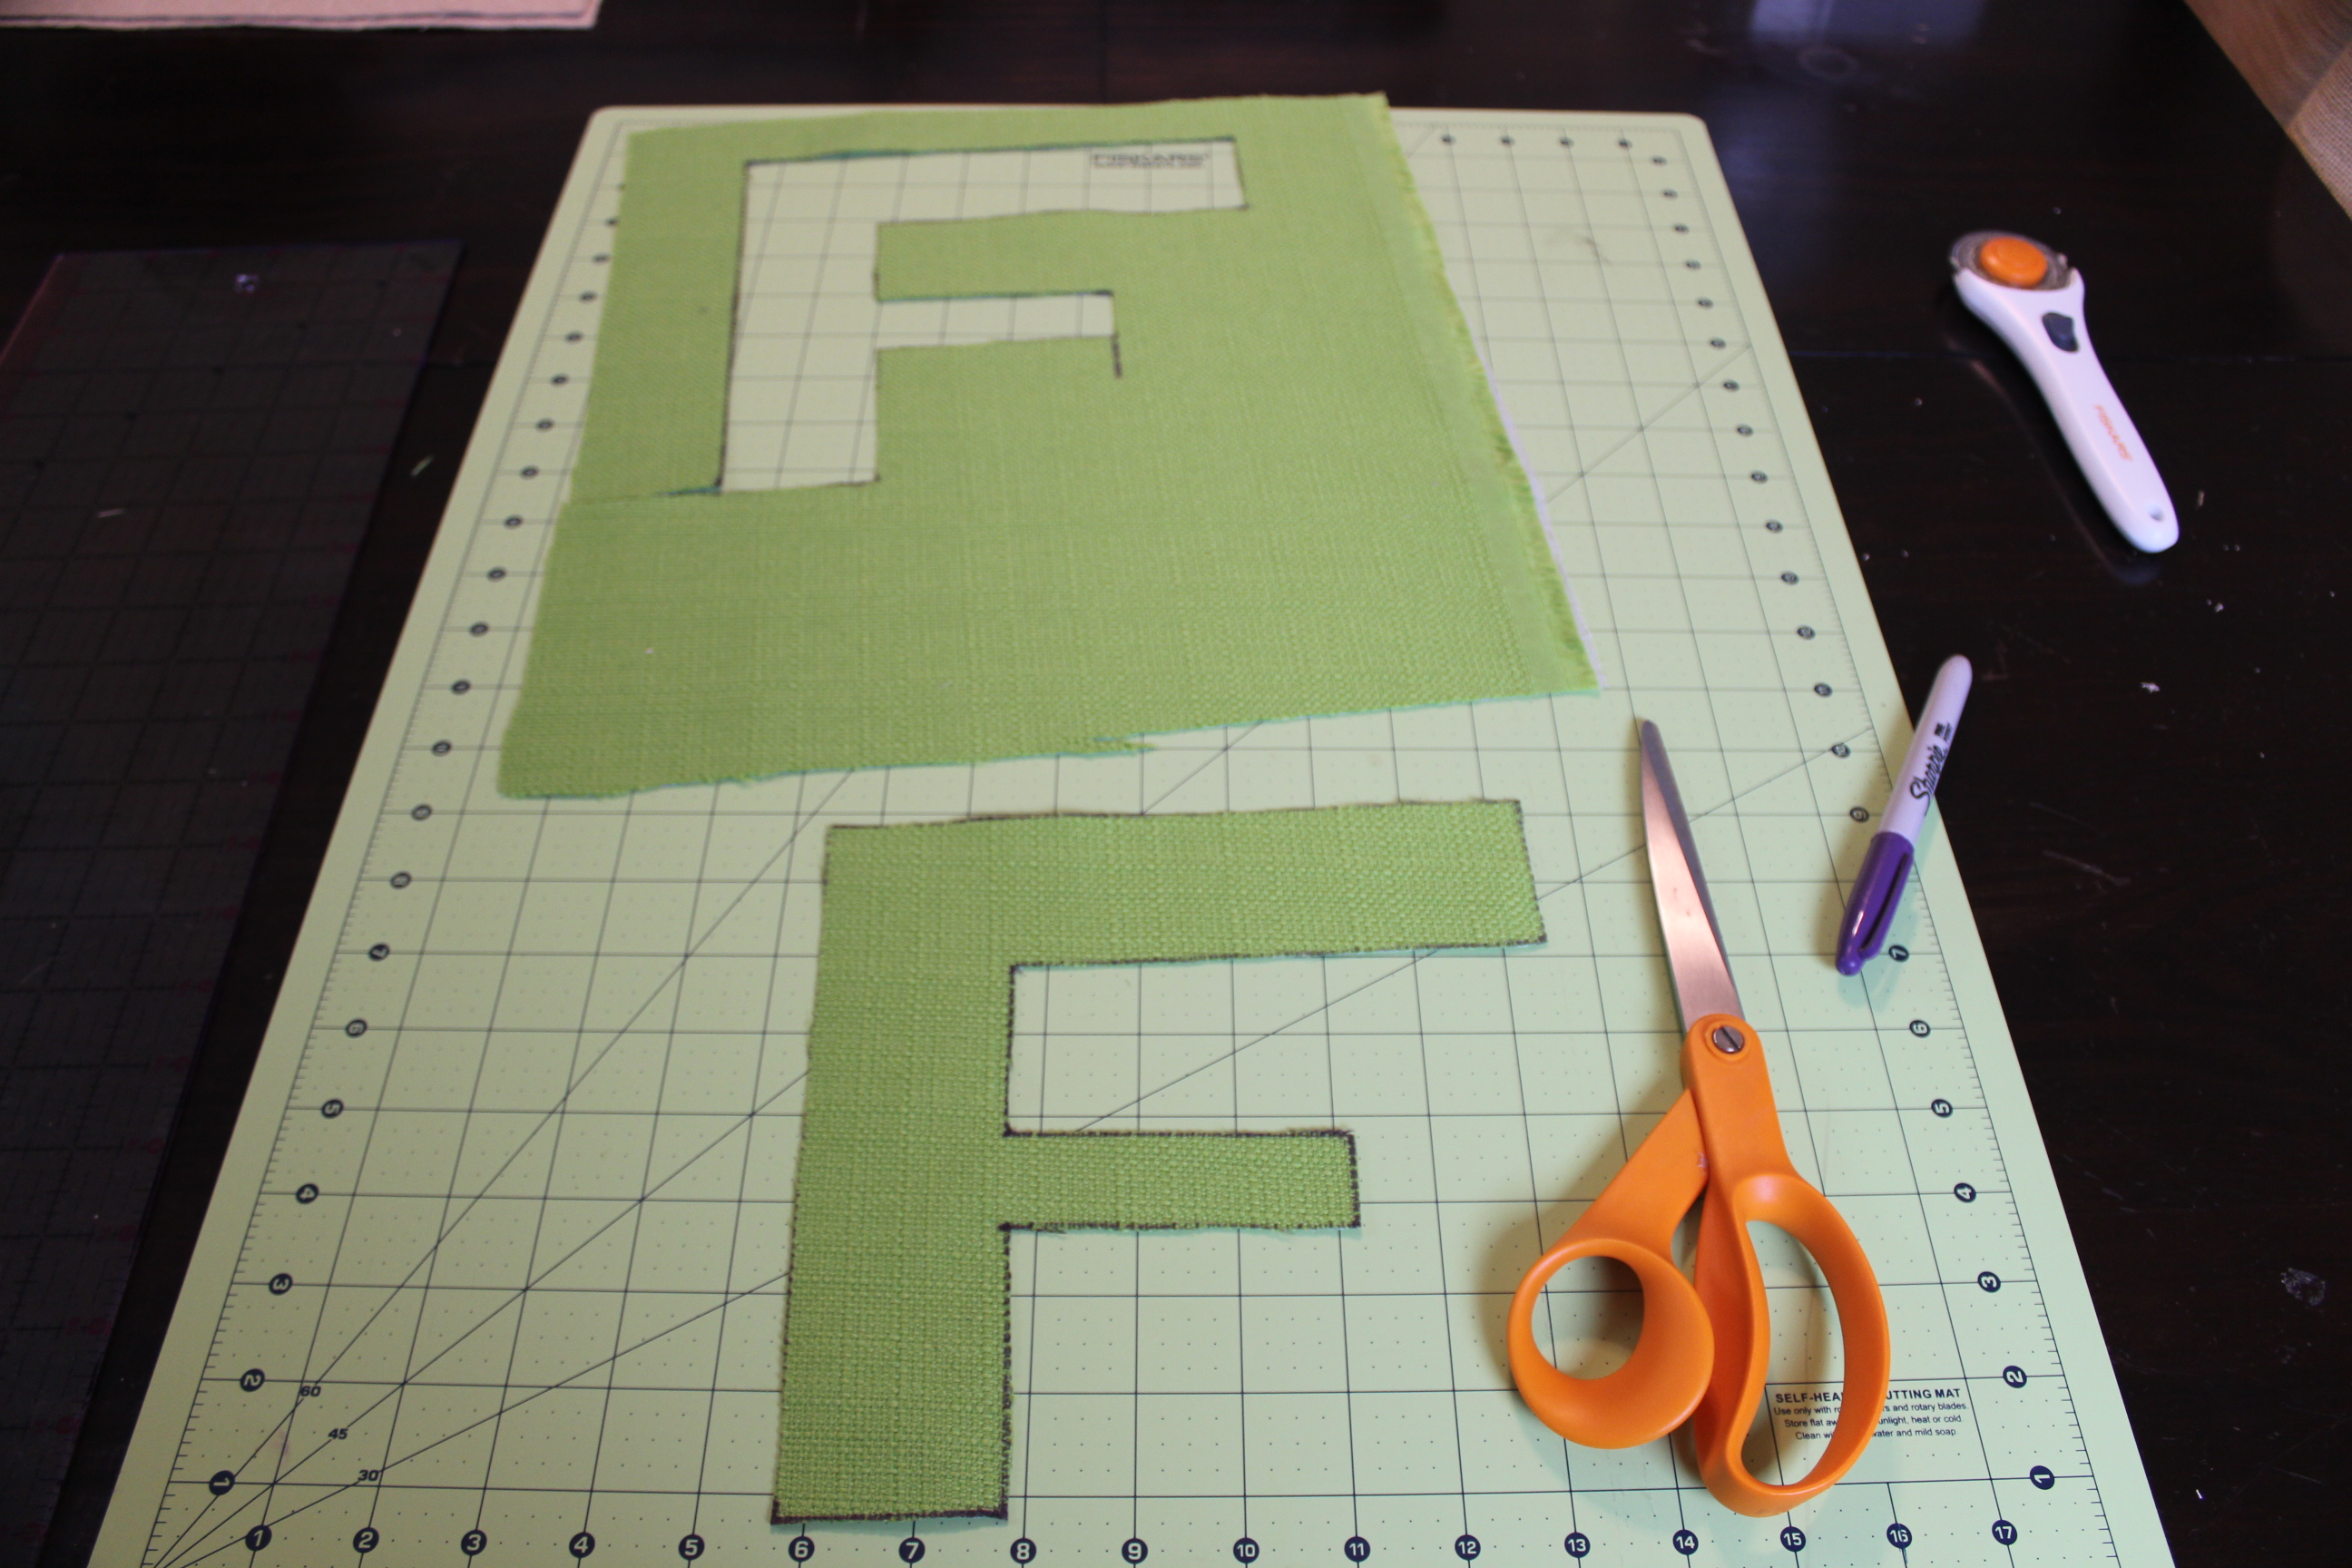
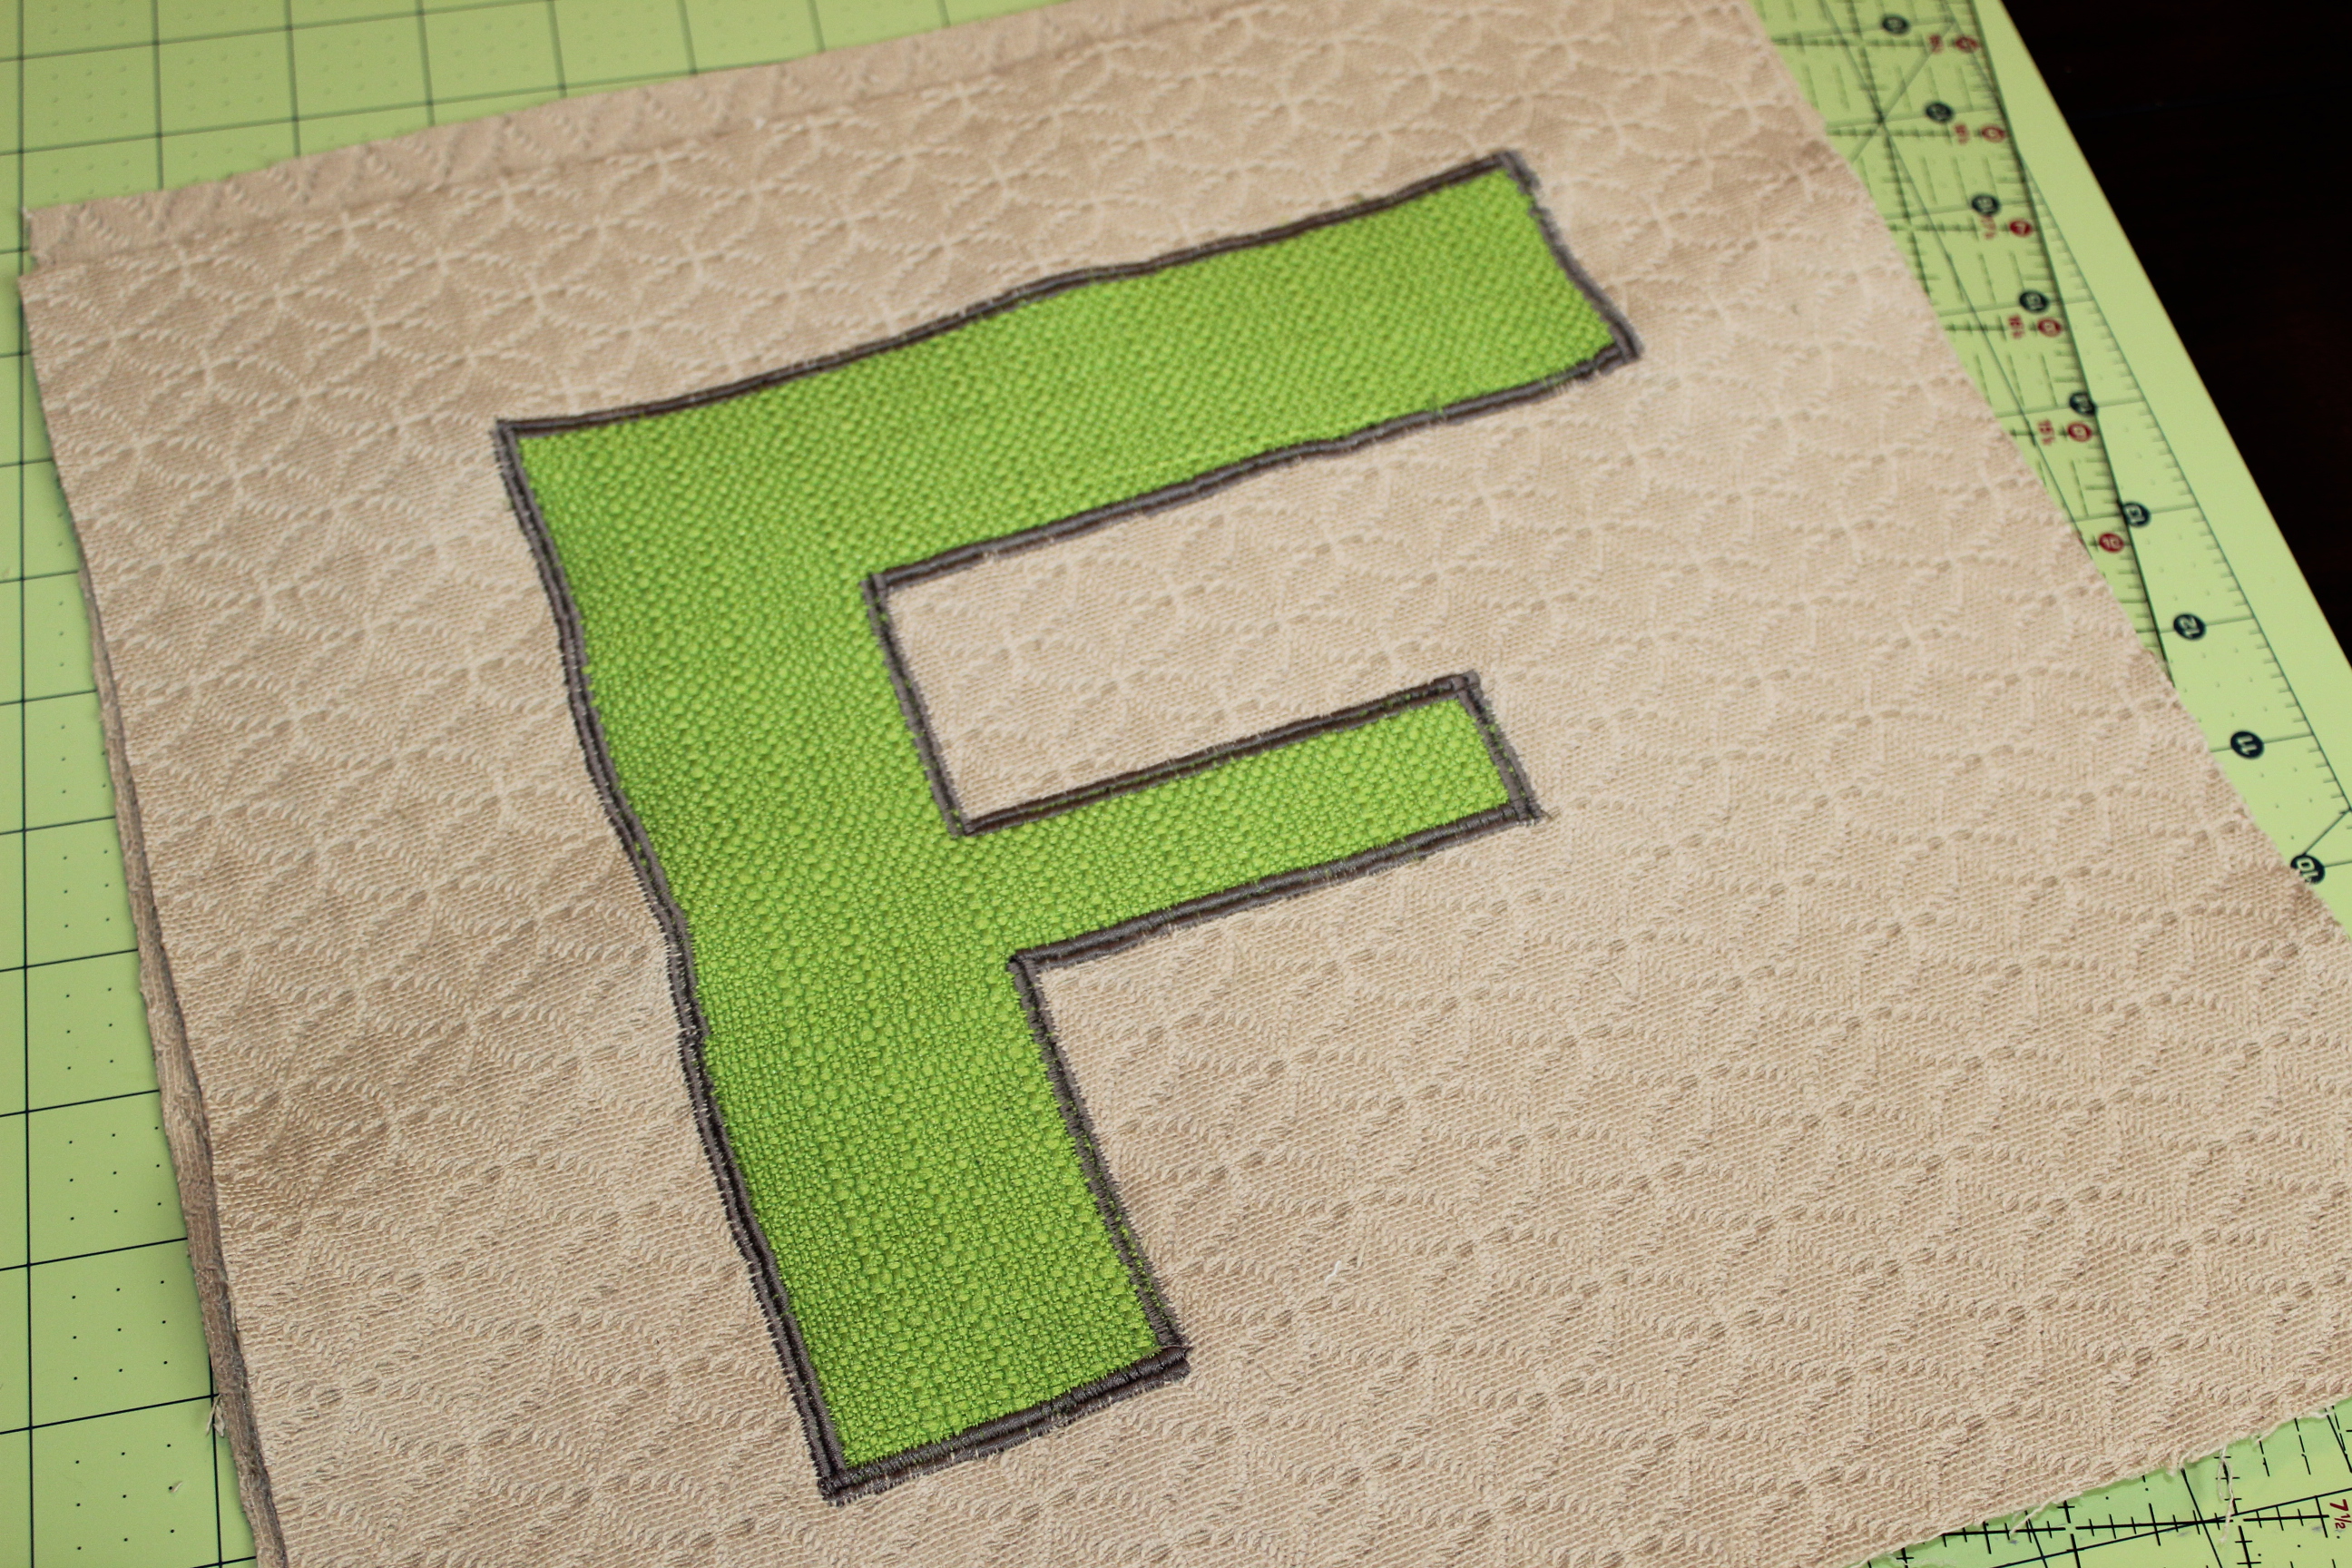
Next cute out a square that will fit your initials. I used 8 x 8 initials.
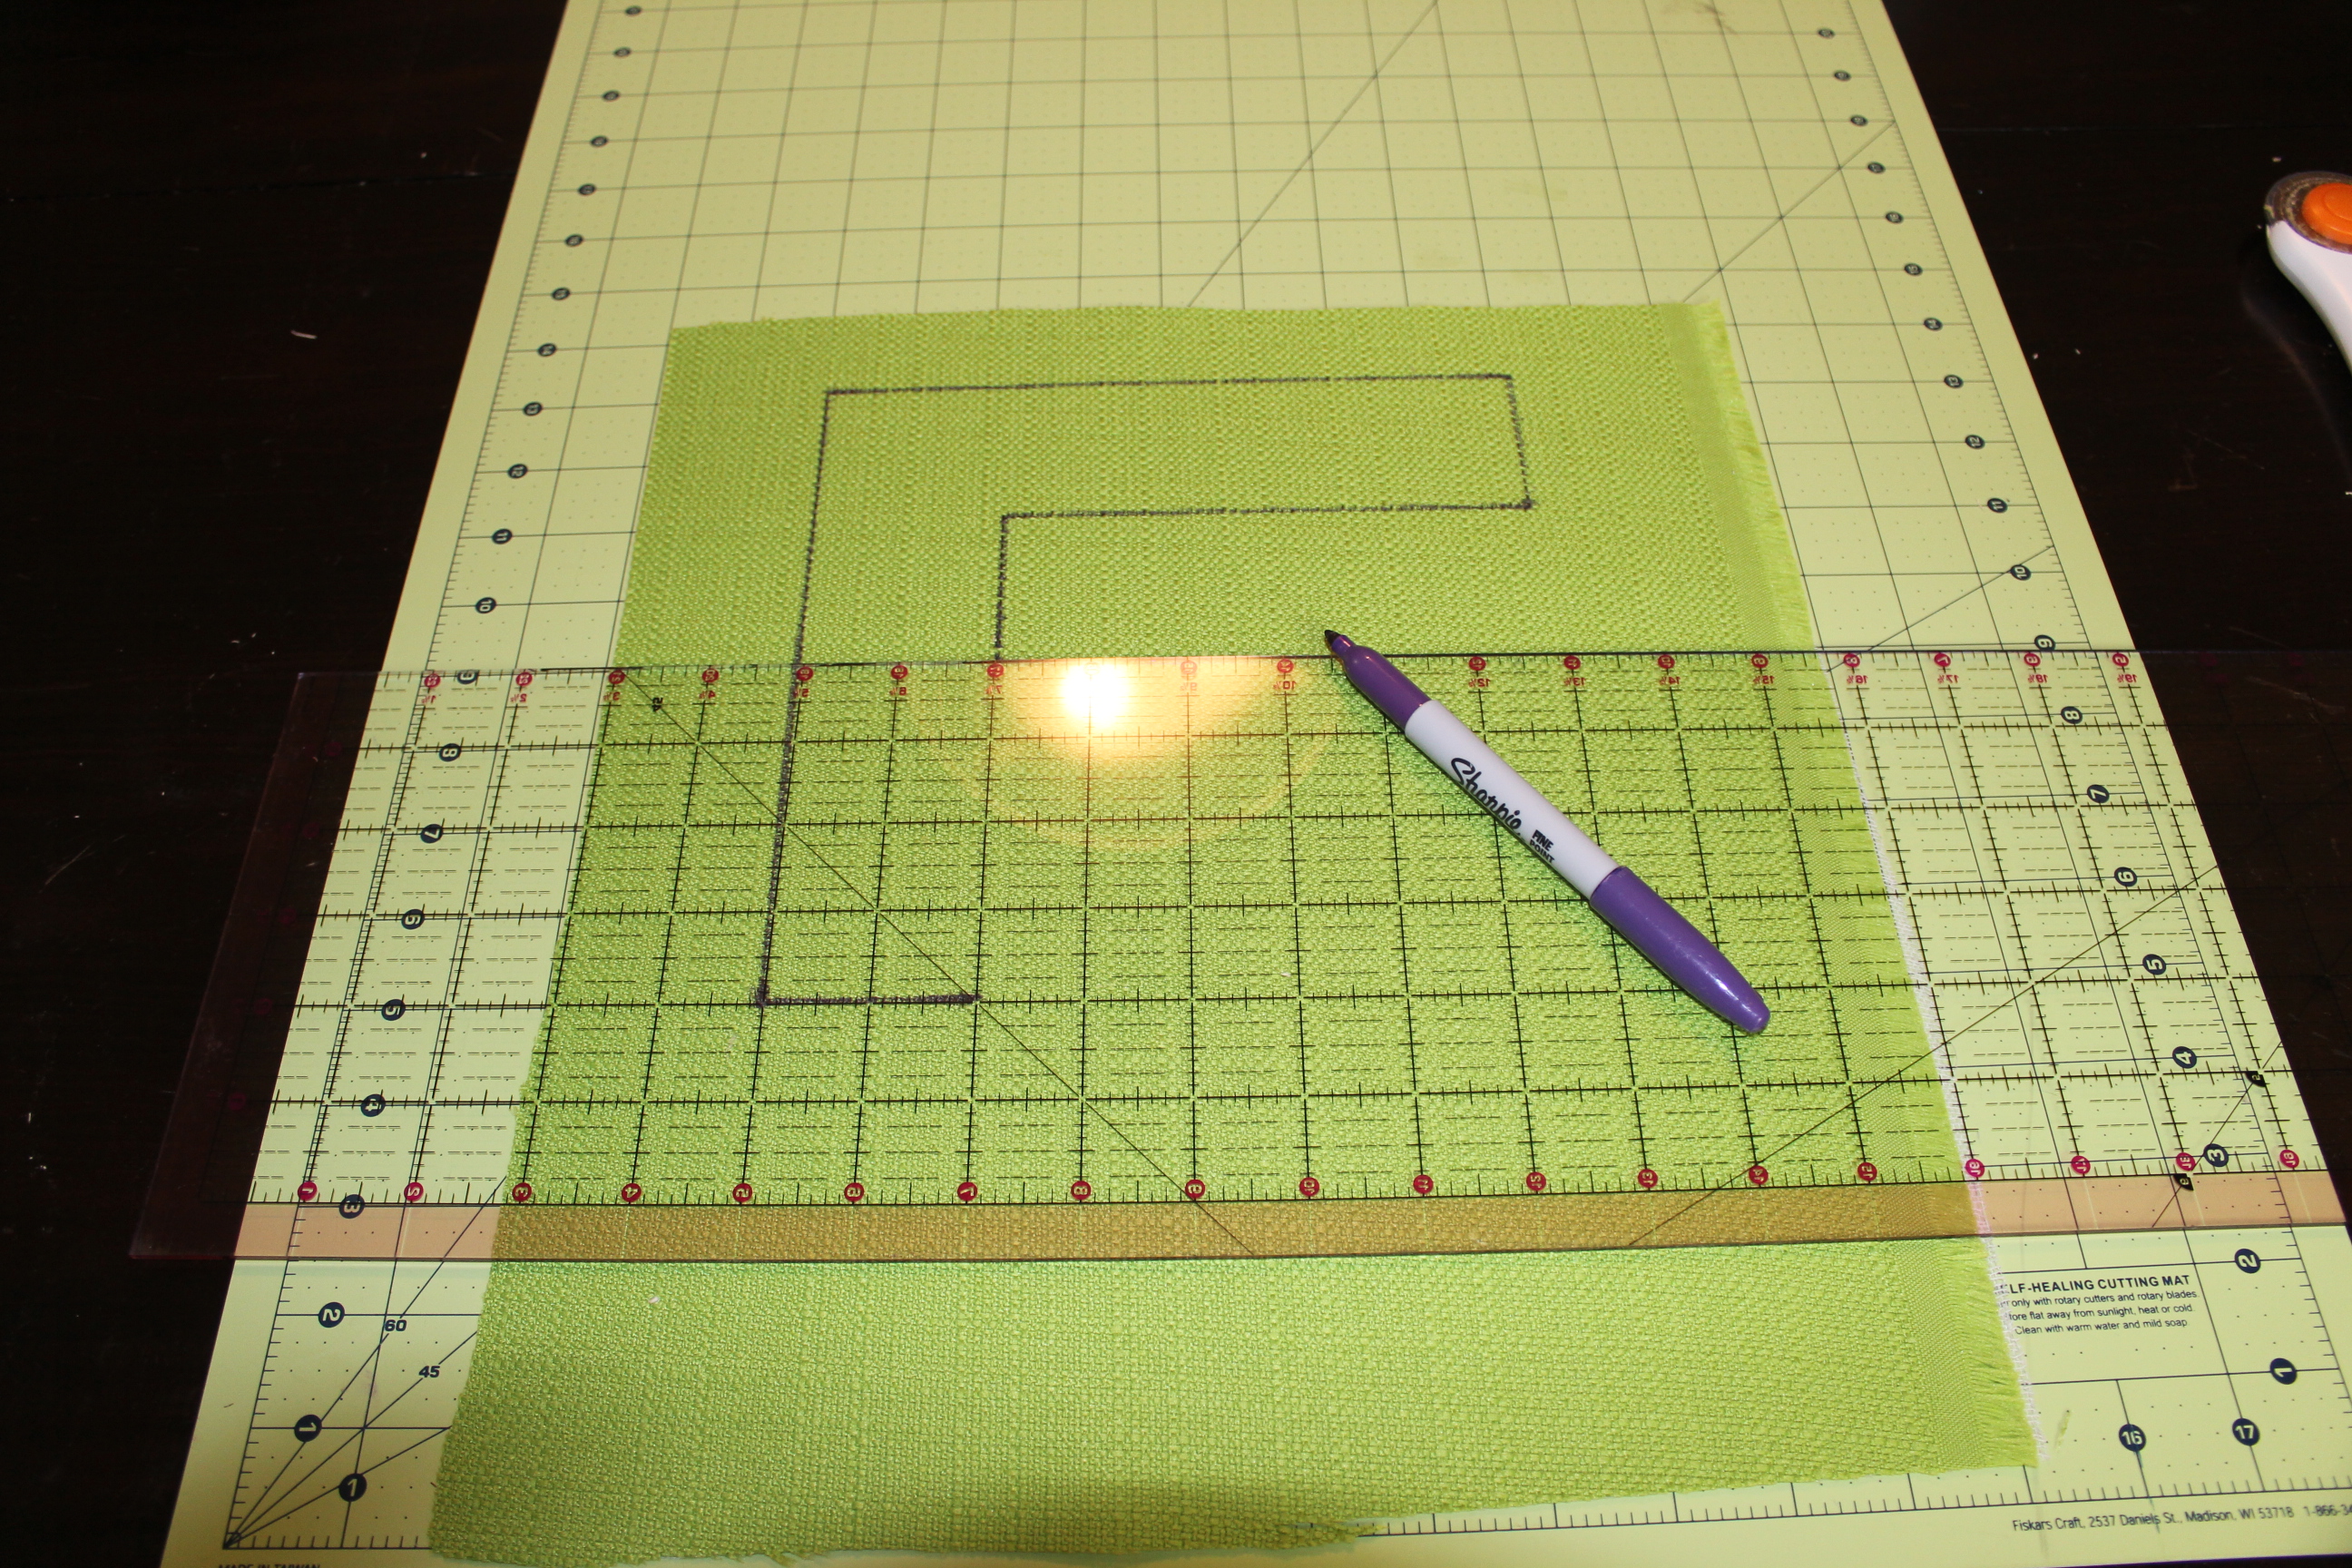
Draw and cut the initial out.
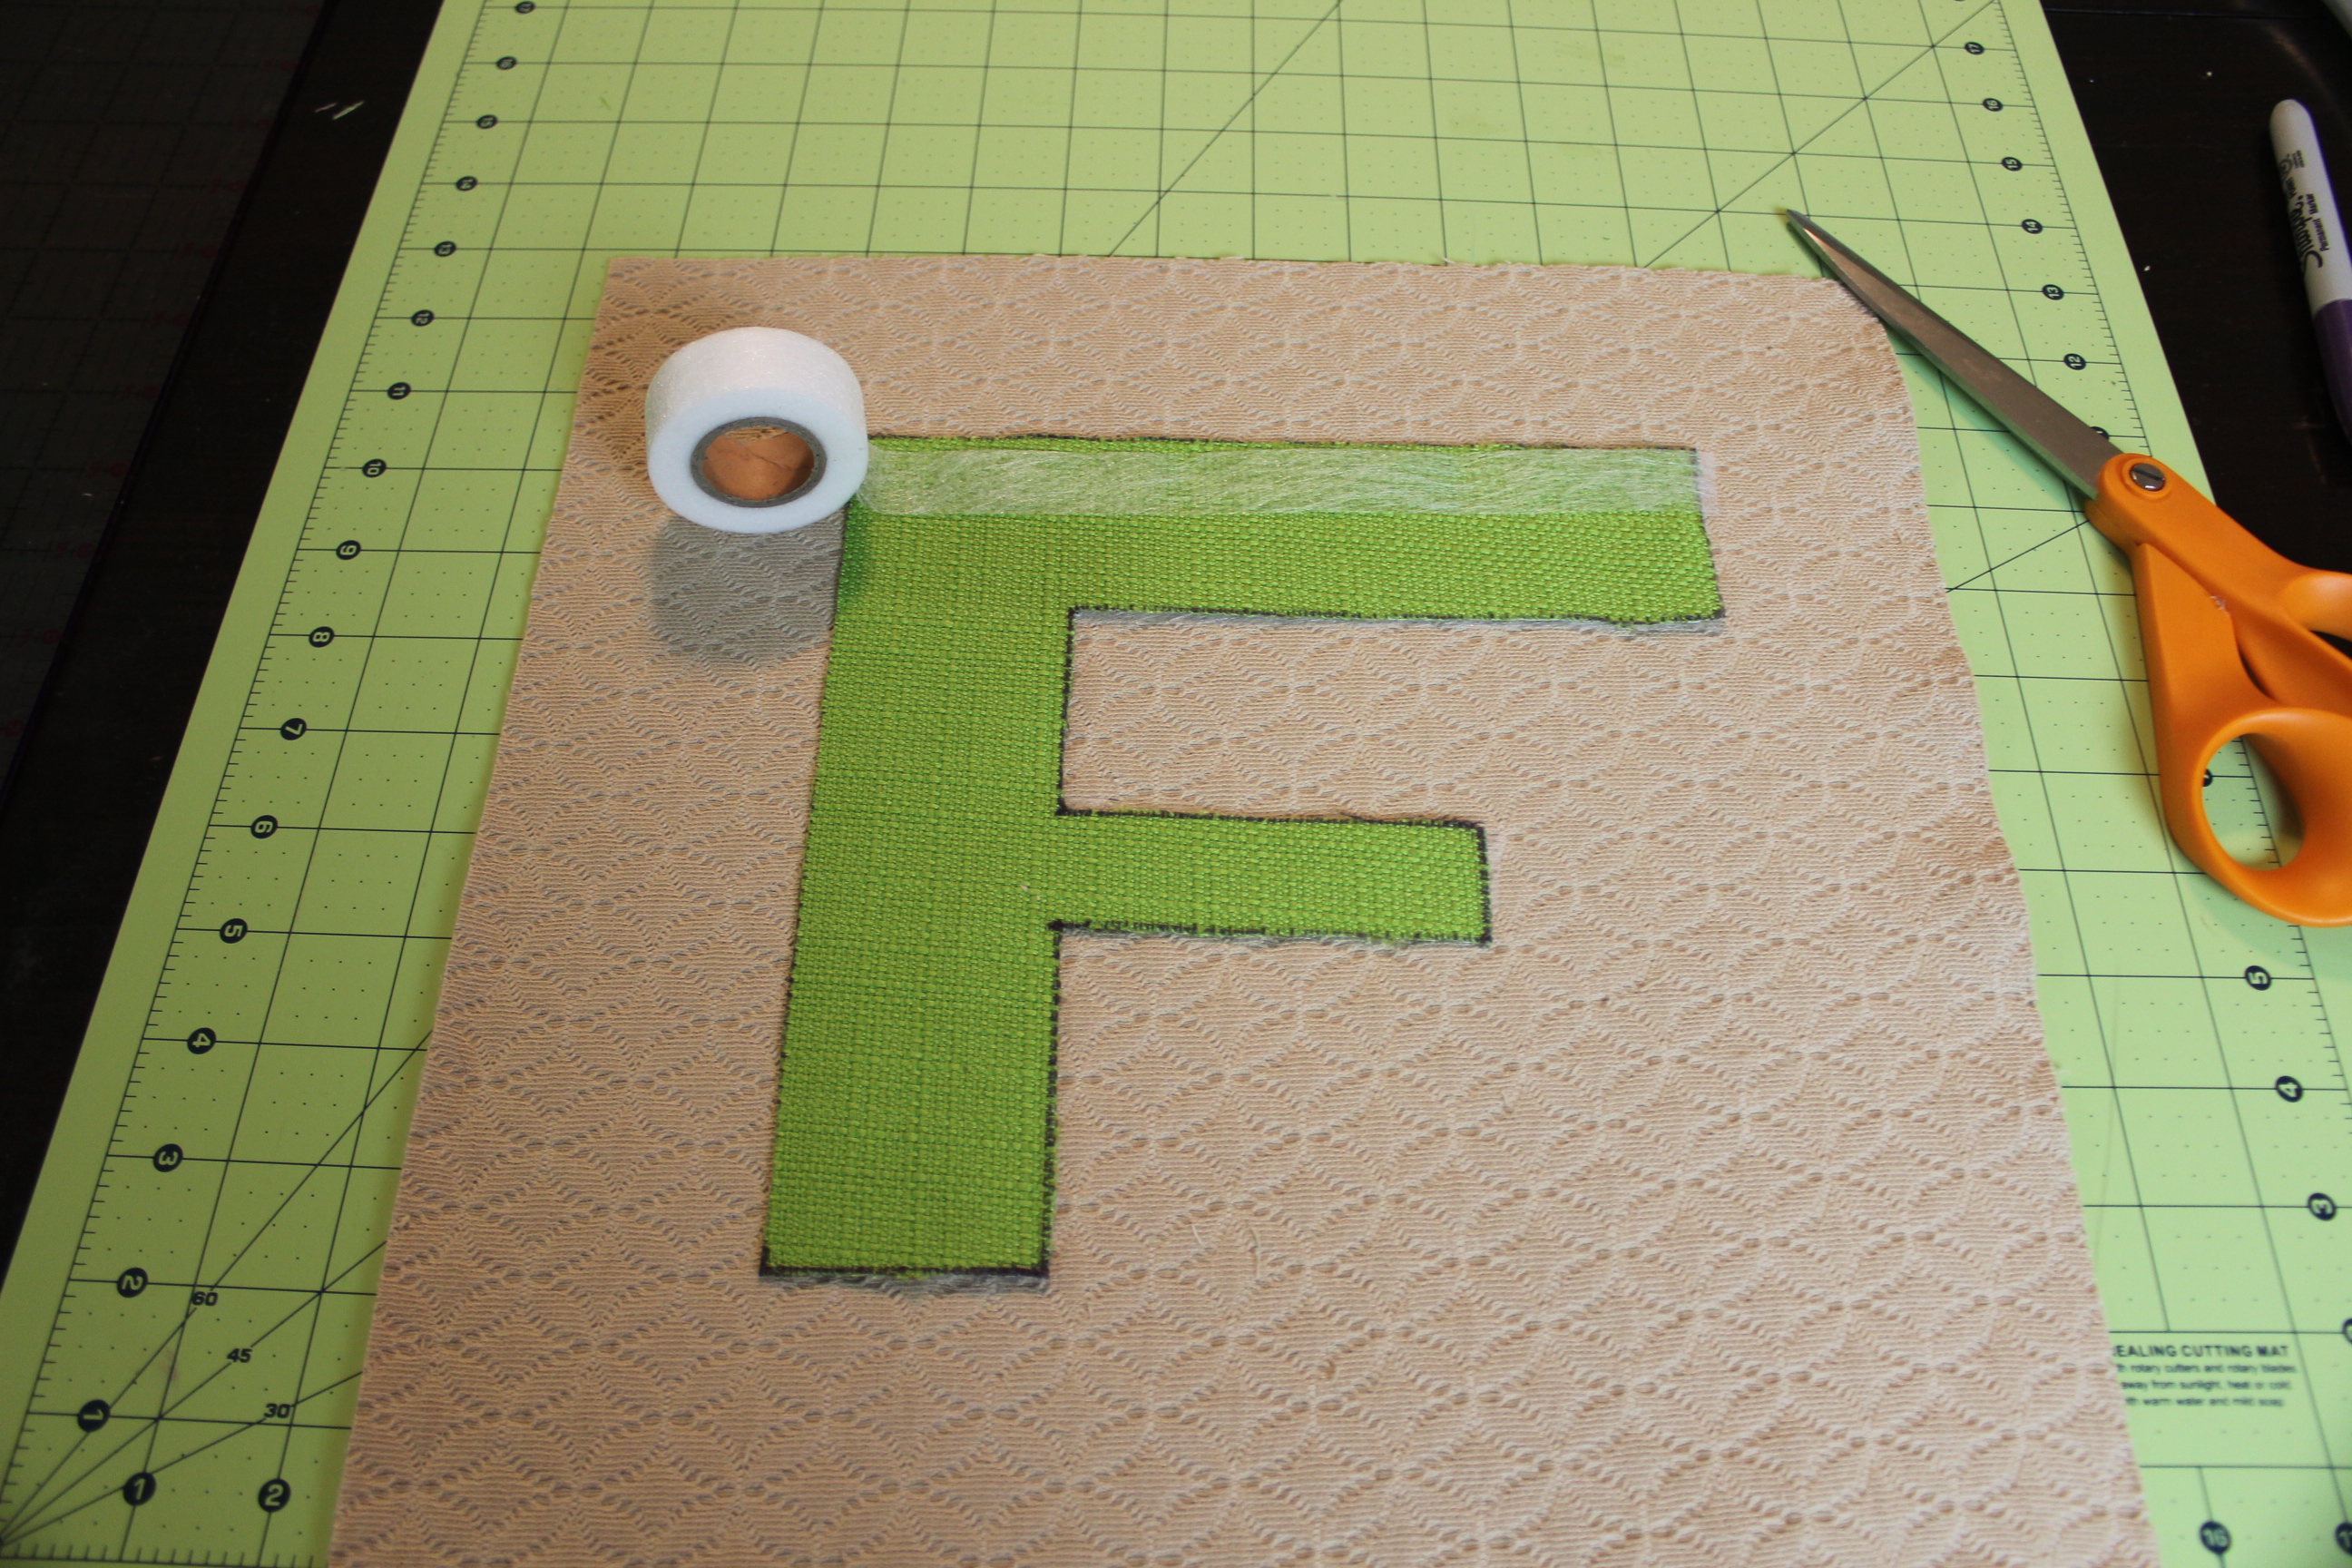
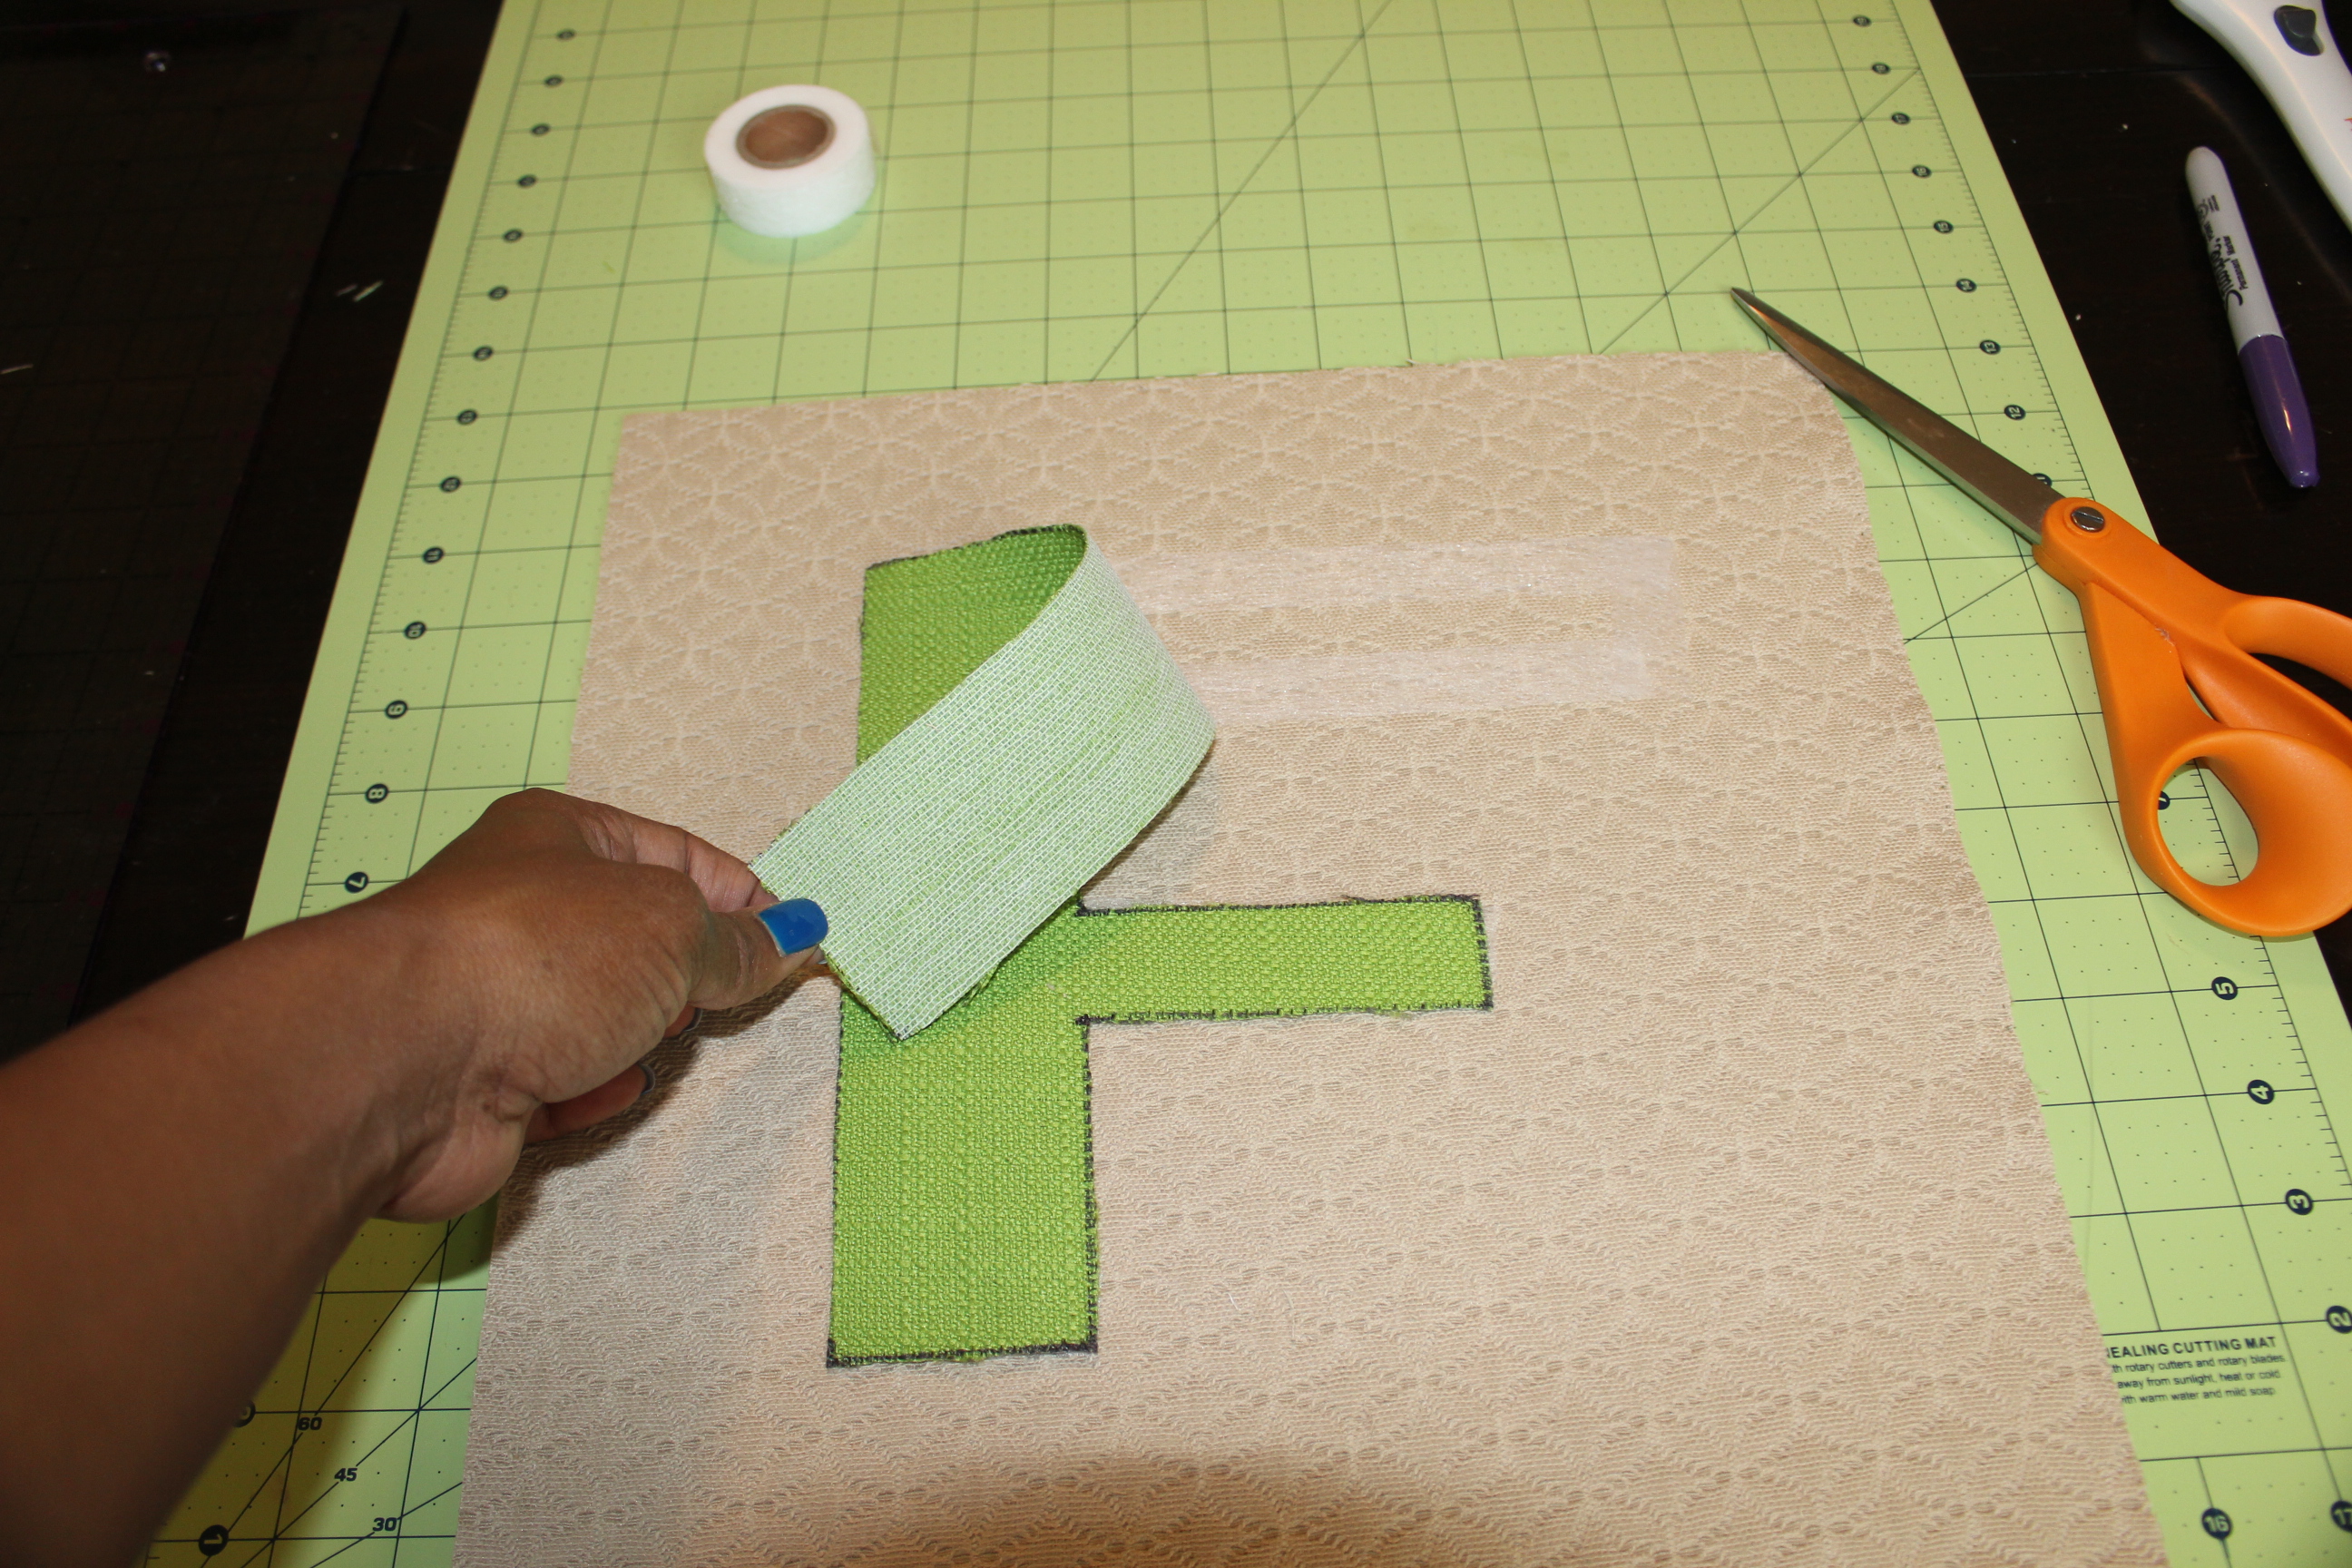
Using a Witch Stitch or Ironing Adhesive Tape, you will cut strips to iron the letter into place on the front of the pillow
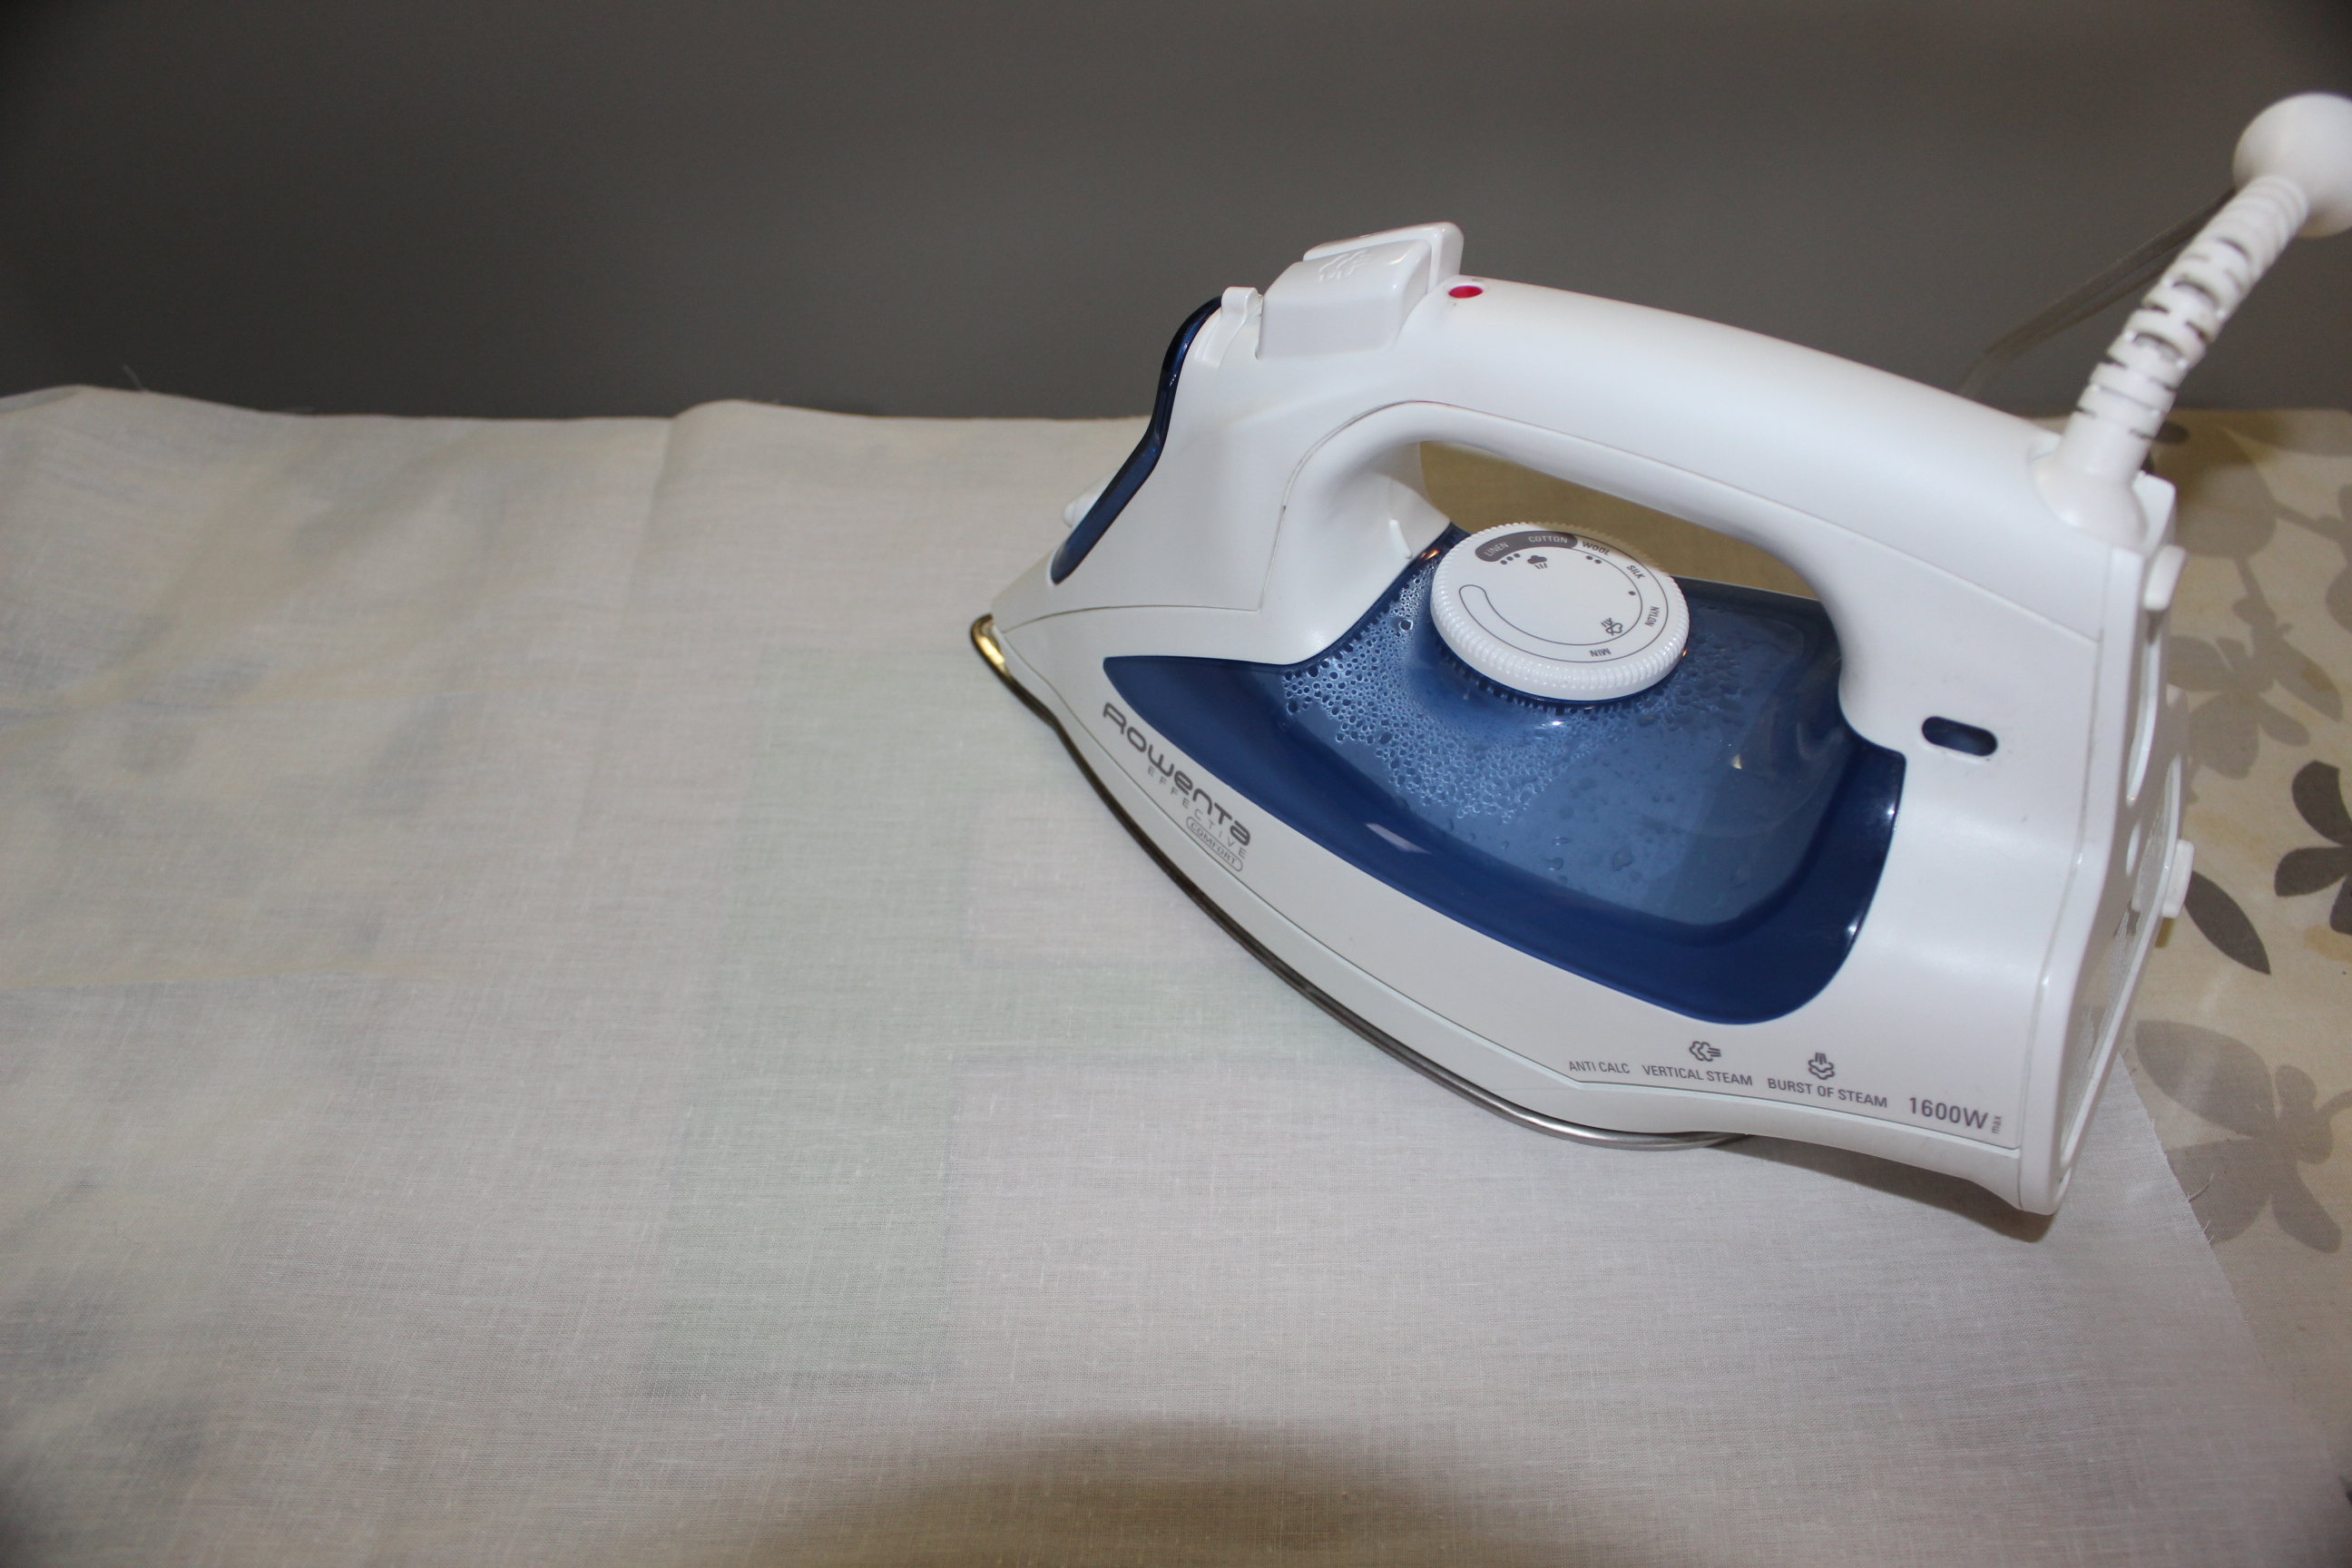
Due to the high heat the adhesive tape requires I put Muslin over the pillow. A sheet would work just as well.
Once the letter is in place I then set my machine to a zigzag stitch and moved the closeness of the zigzag. not to be confused with the width but the length in between the zigzag.
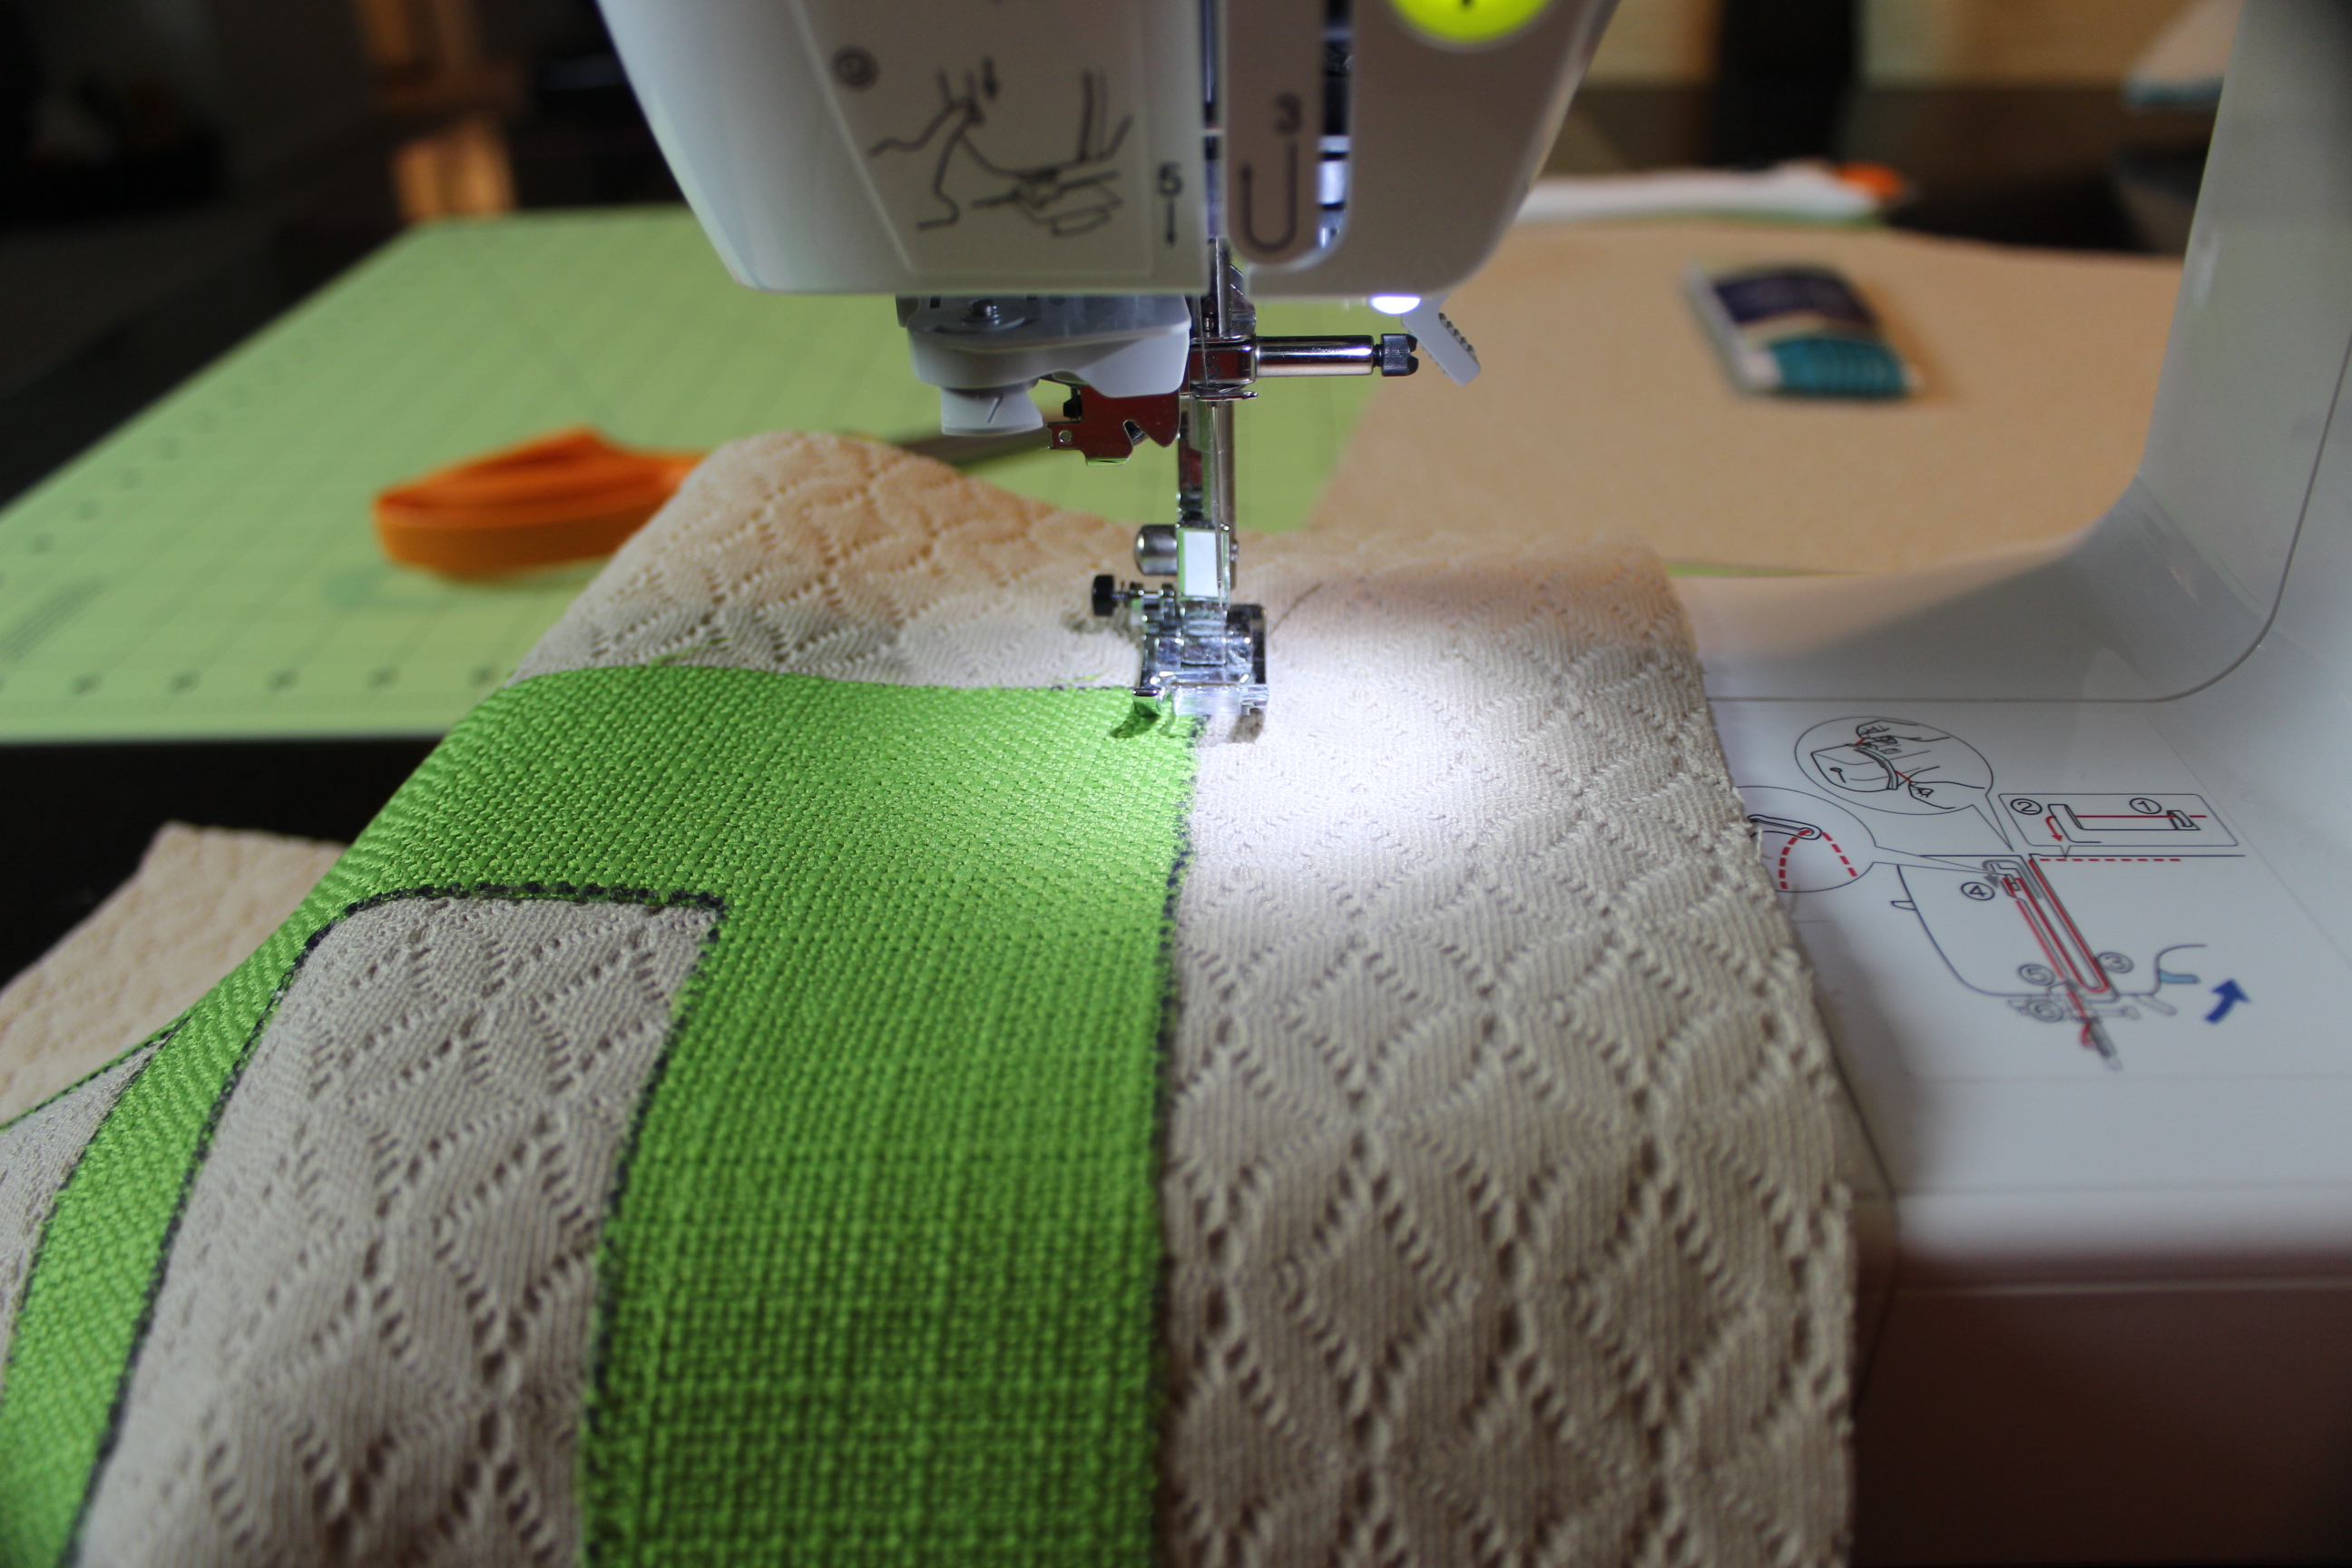
By changing the length in between the zigzag it creates an embroidered look!
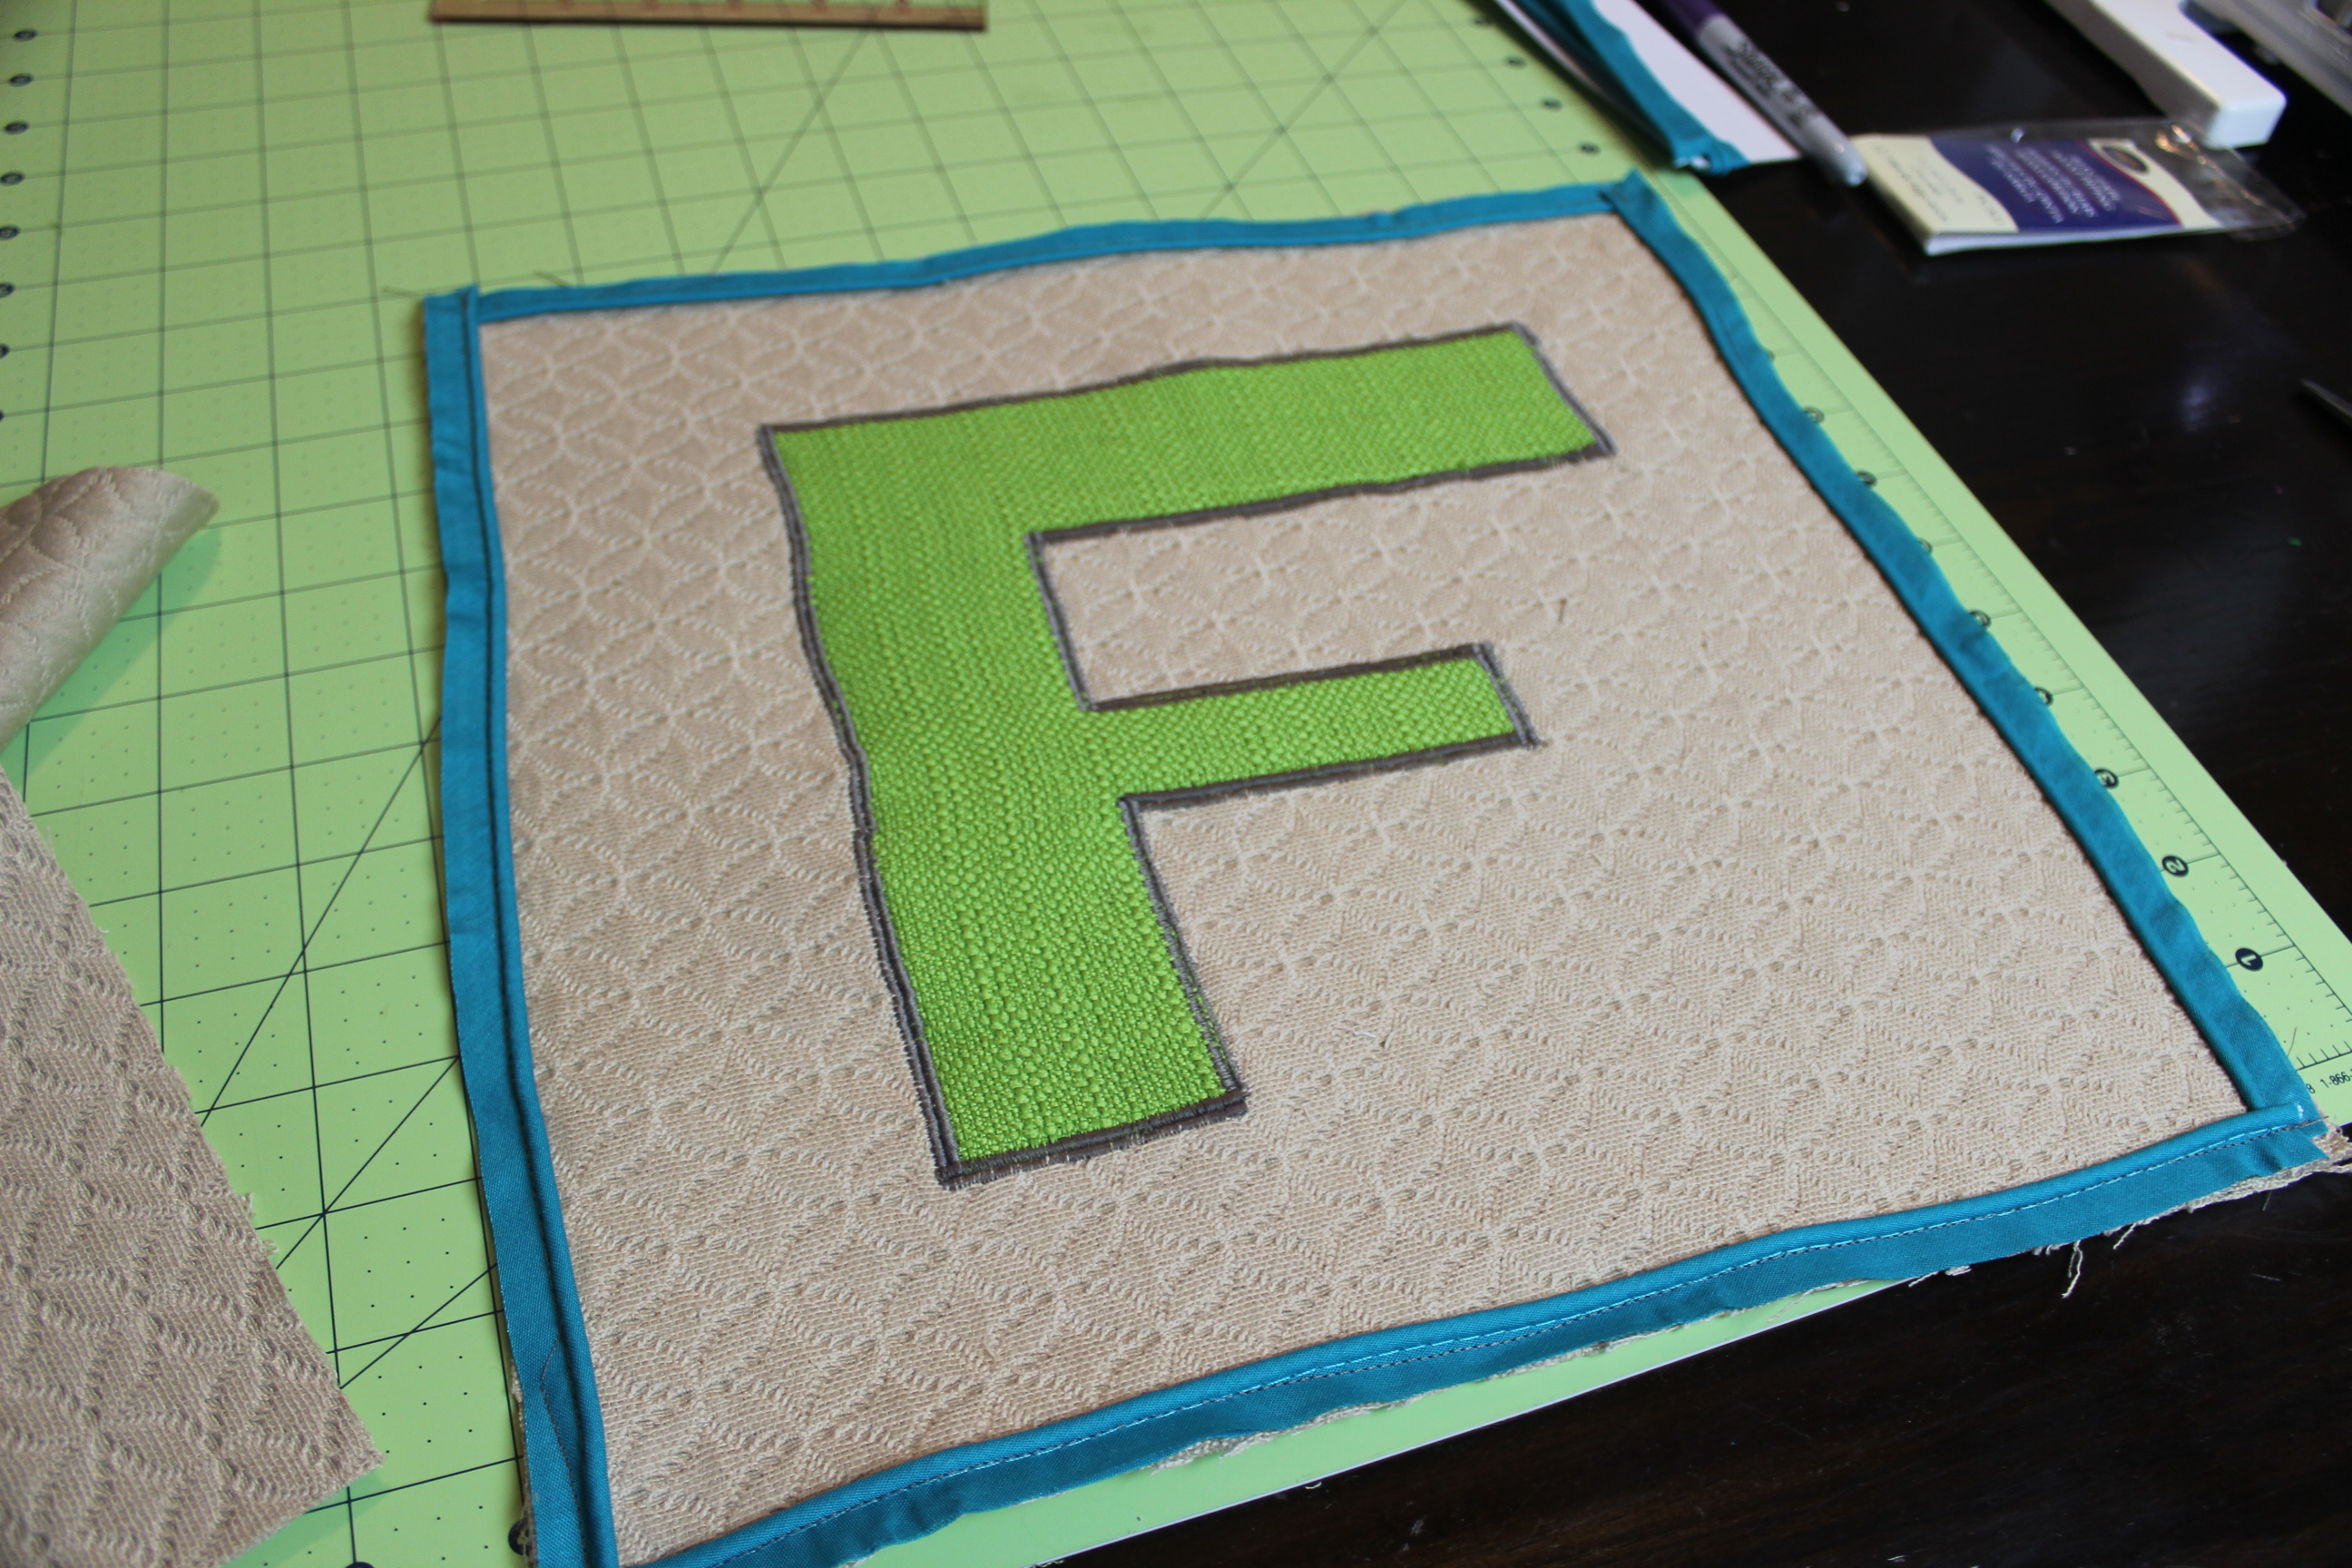
Next take your Bias tape and cut to the length of the pillow. With a basic straight stitch sew the bias tape down on the front of the pillow. Make sure to put the round end toward the inside of the pillow. Also I found that if I crossed the bias tape at the corner it prevented holes. *If these pillow were for a girl I would do a continues bias without cutting it for a softer look.
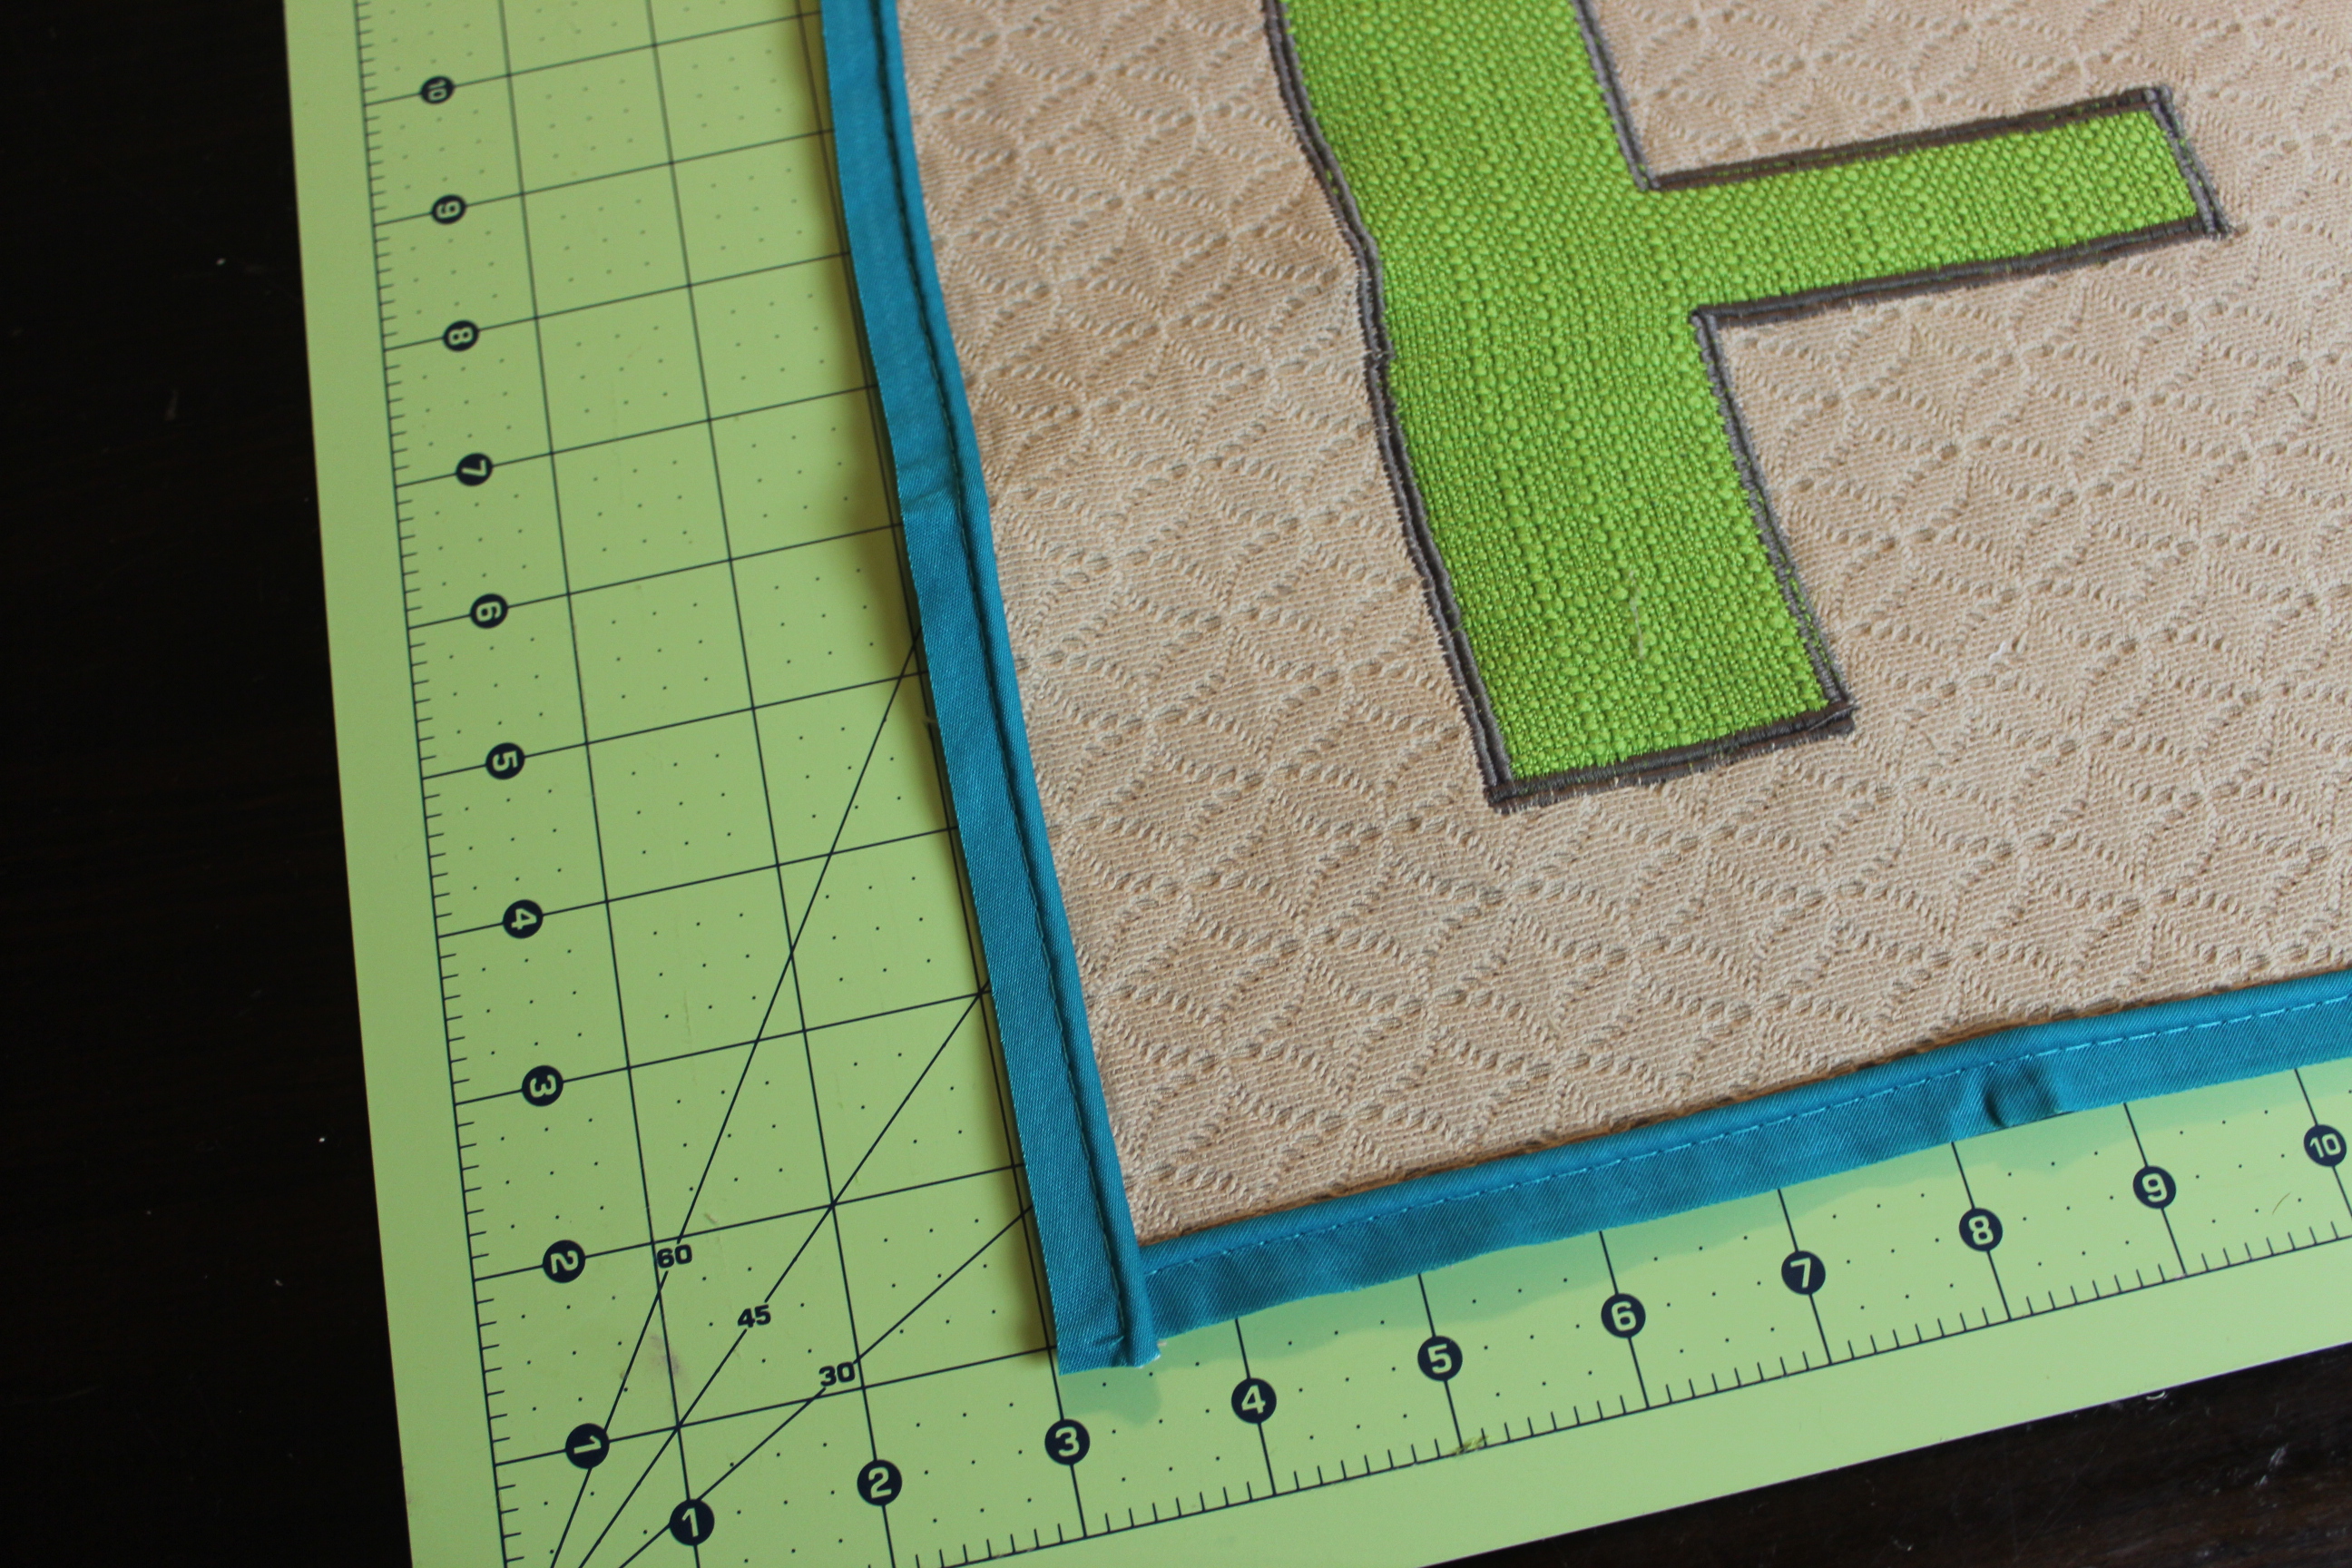
How the bias tape should look after being sew down.
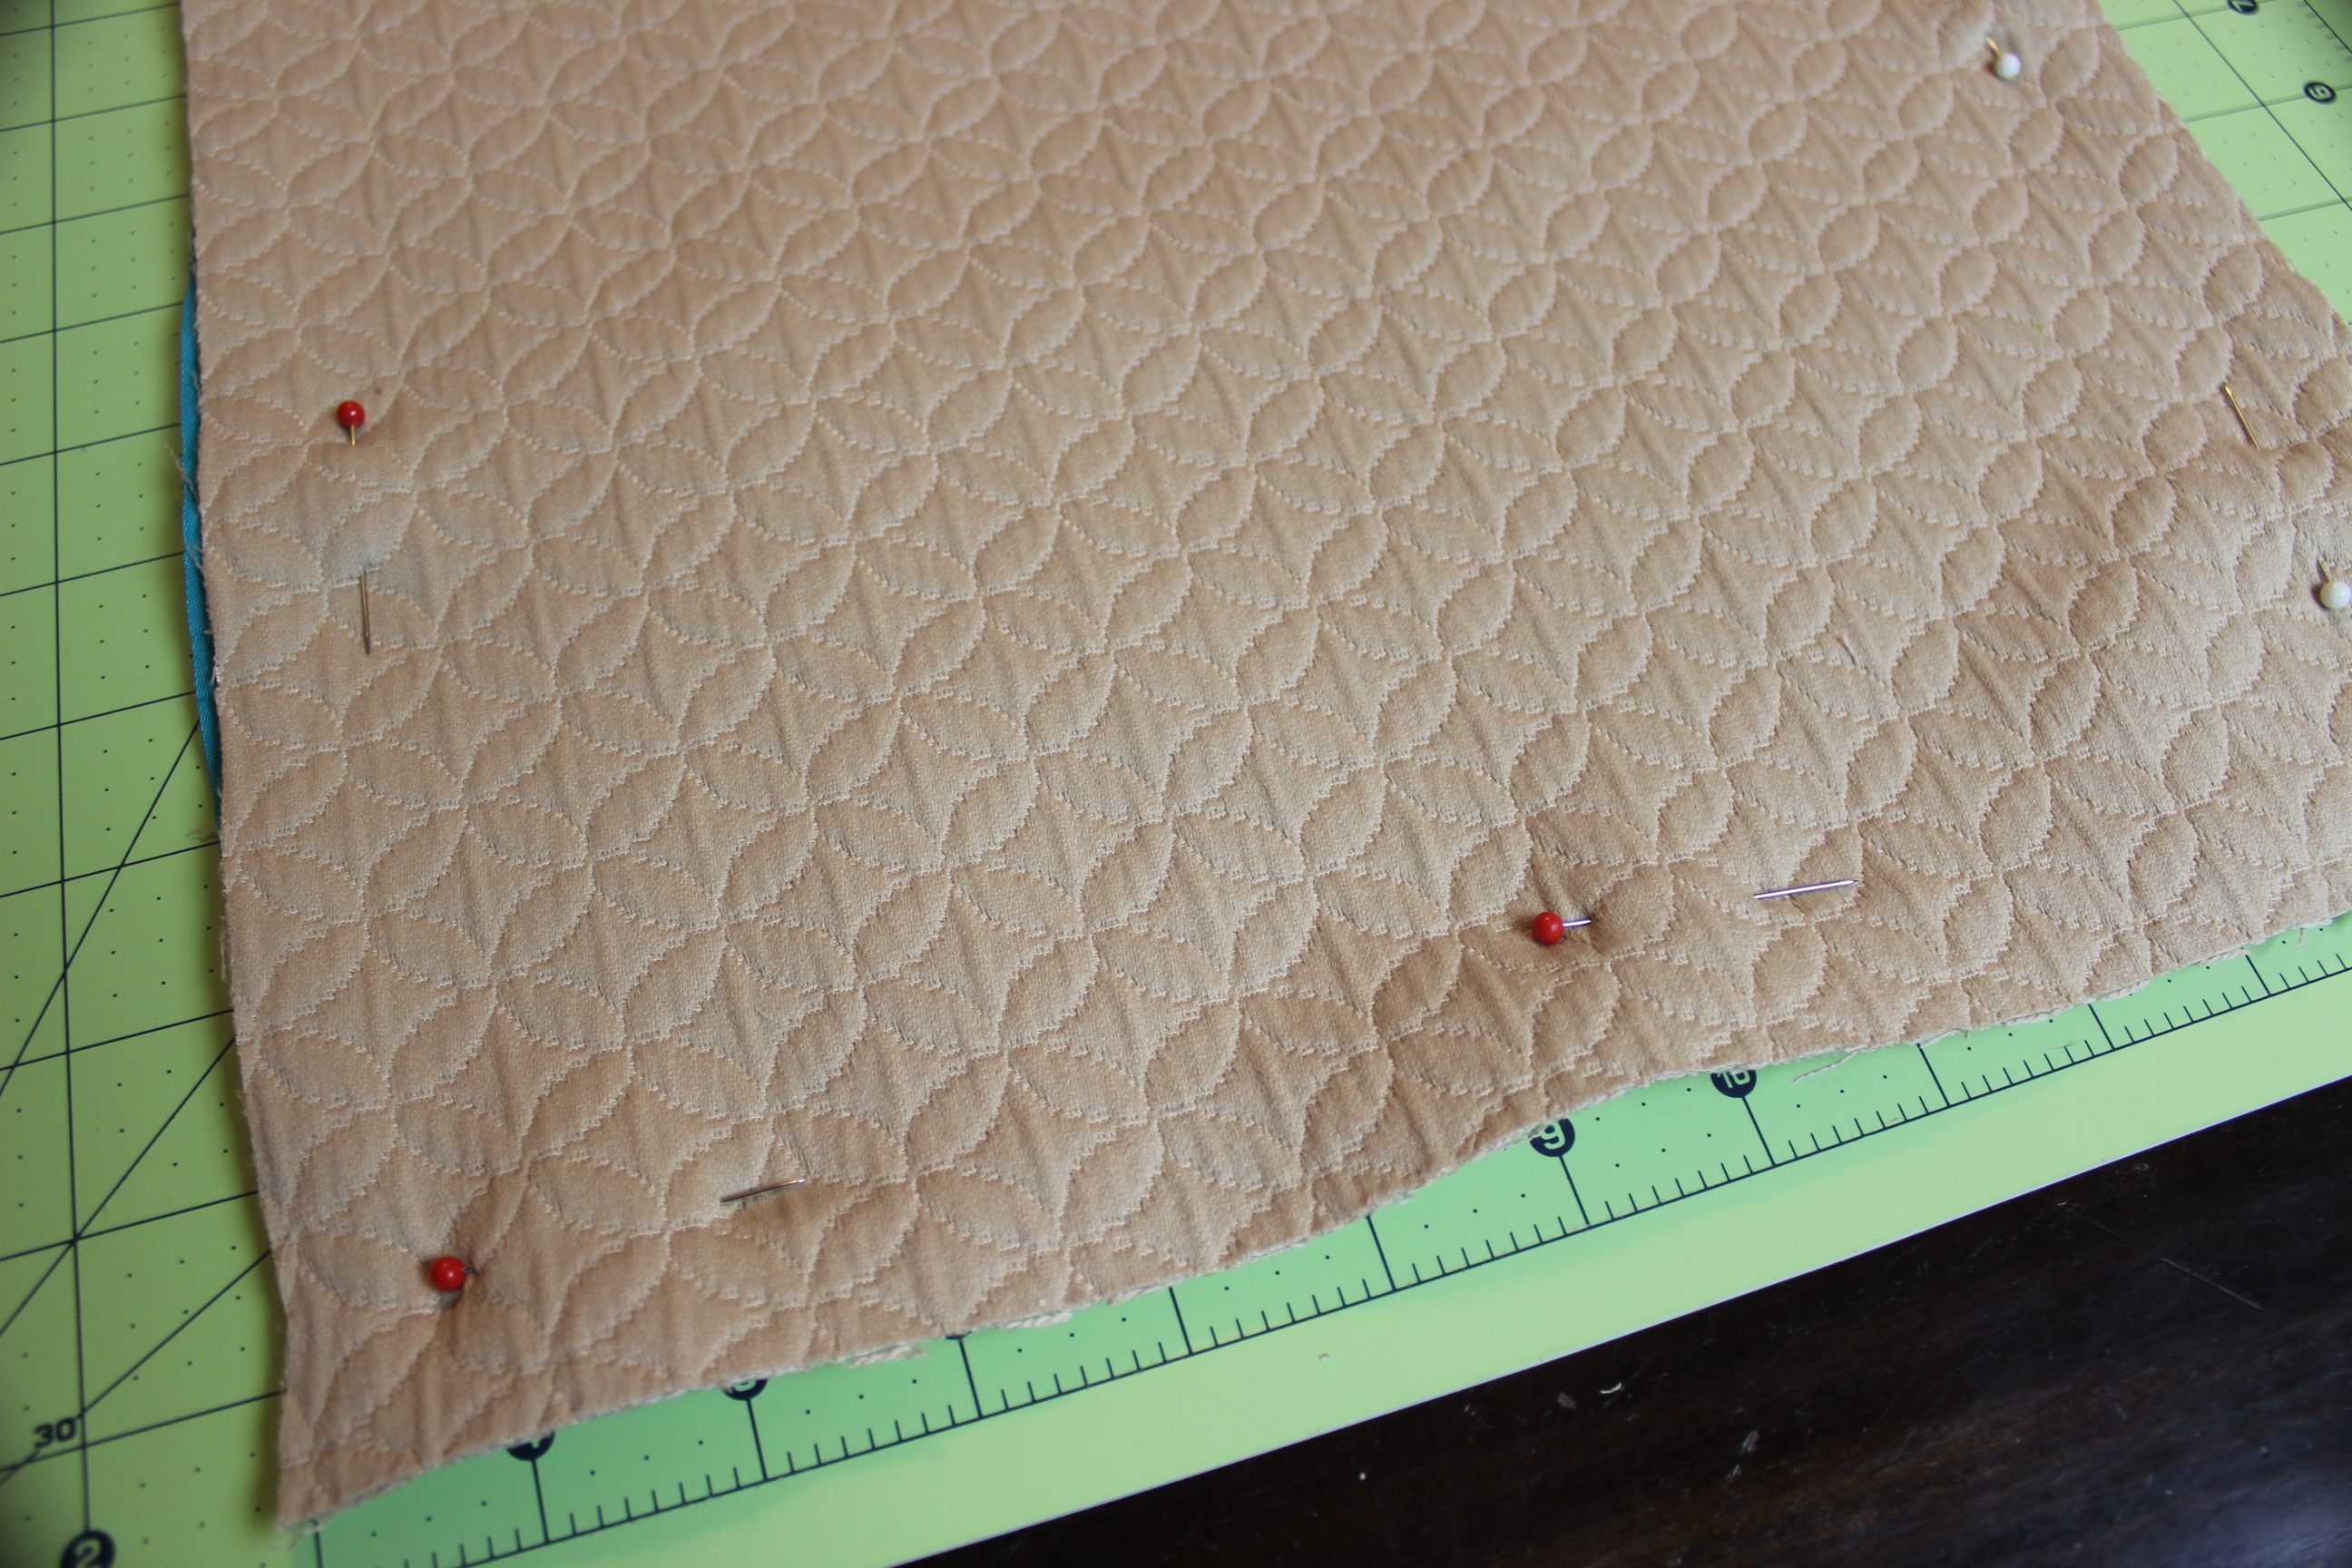
Place the back of the pillow on top of the front of the pillow, pin into place. Please make sure if your base fabric is textured that the same textures are facing each other. These will be the outside of the pillow once we are done.
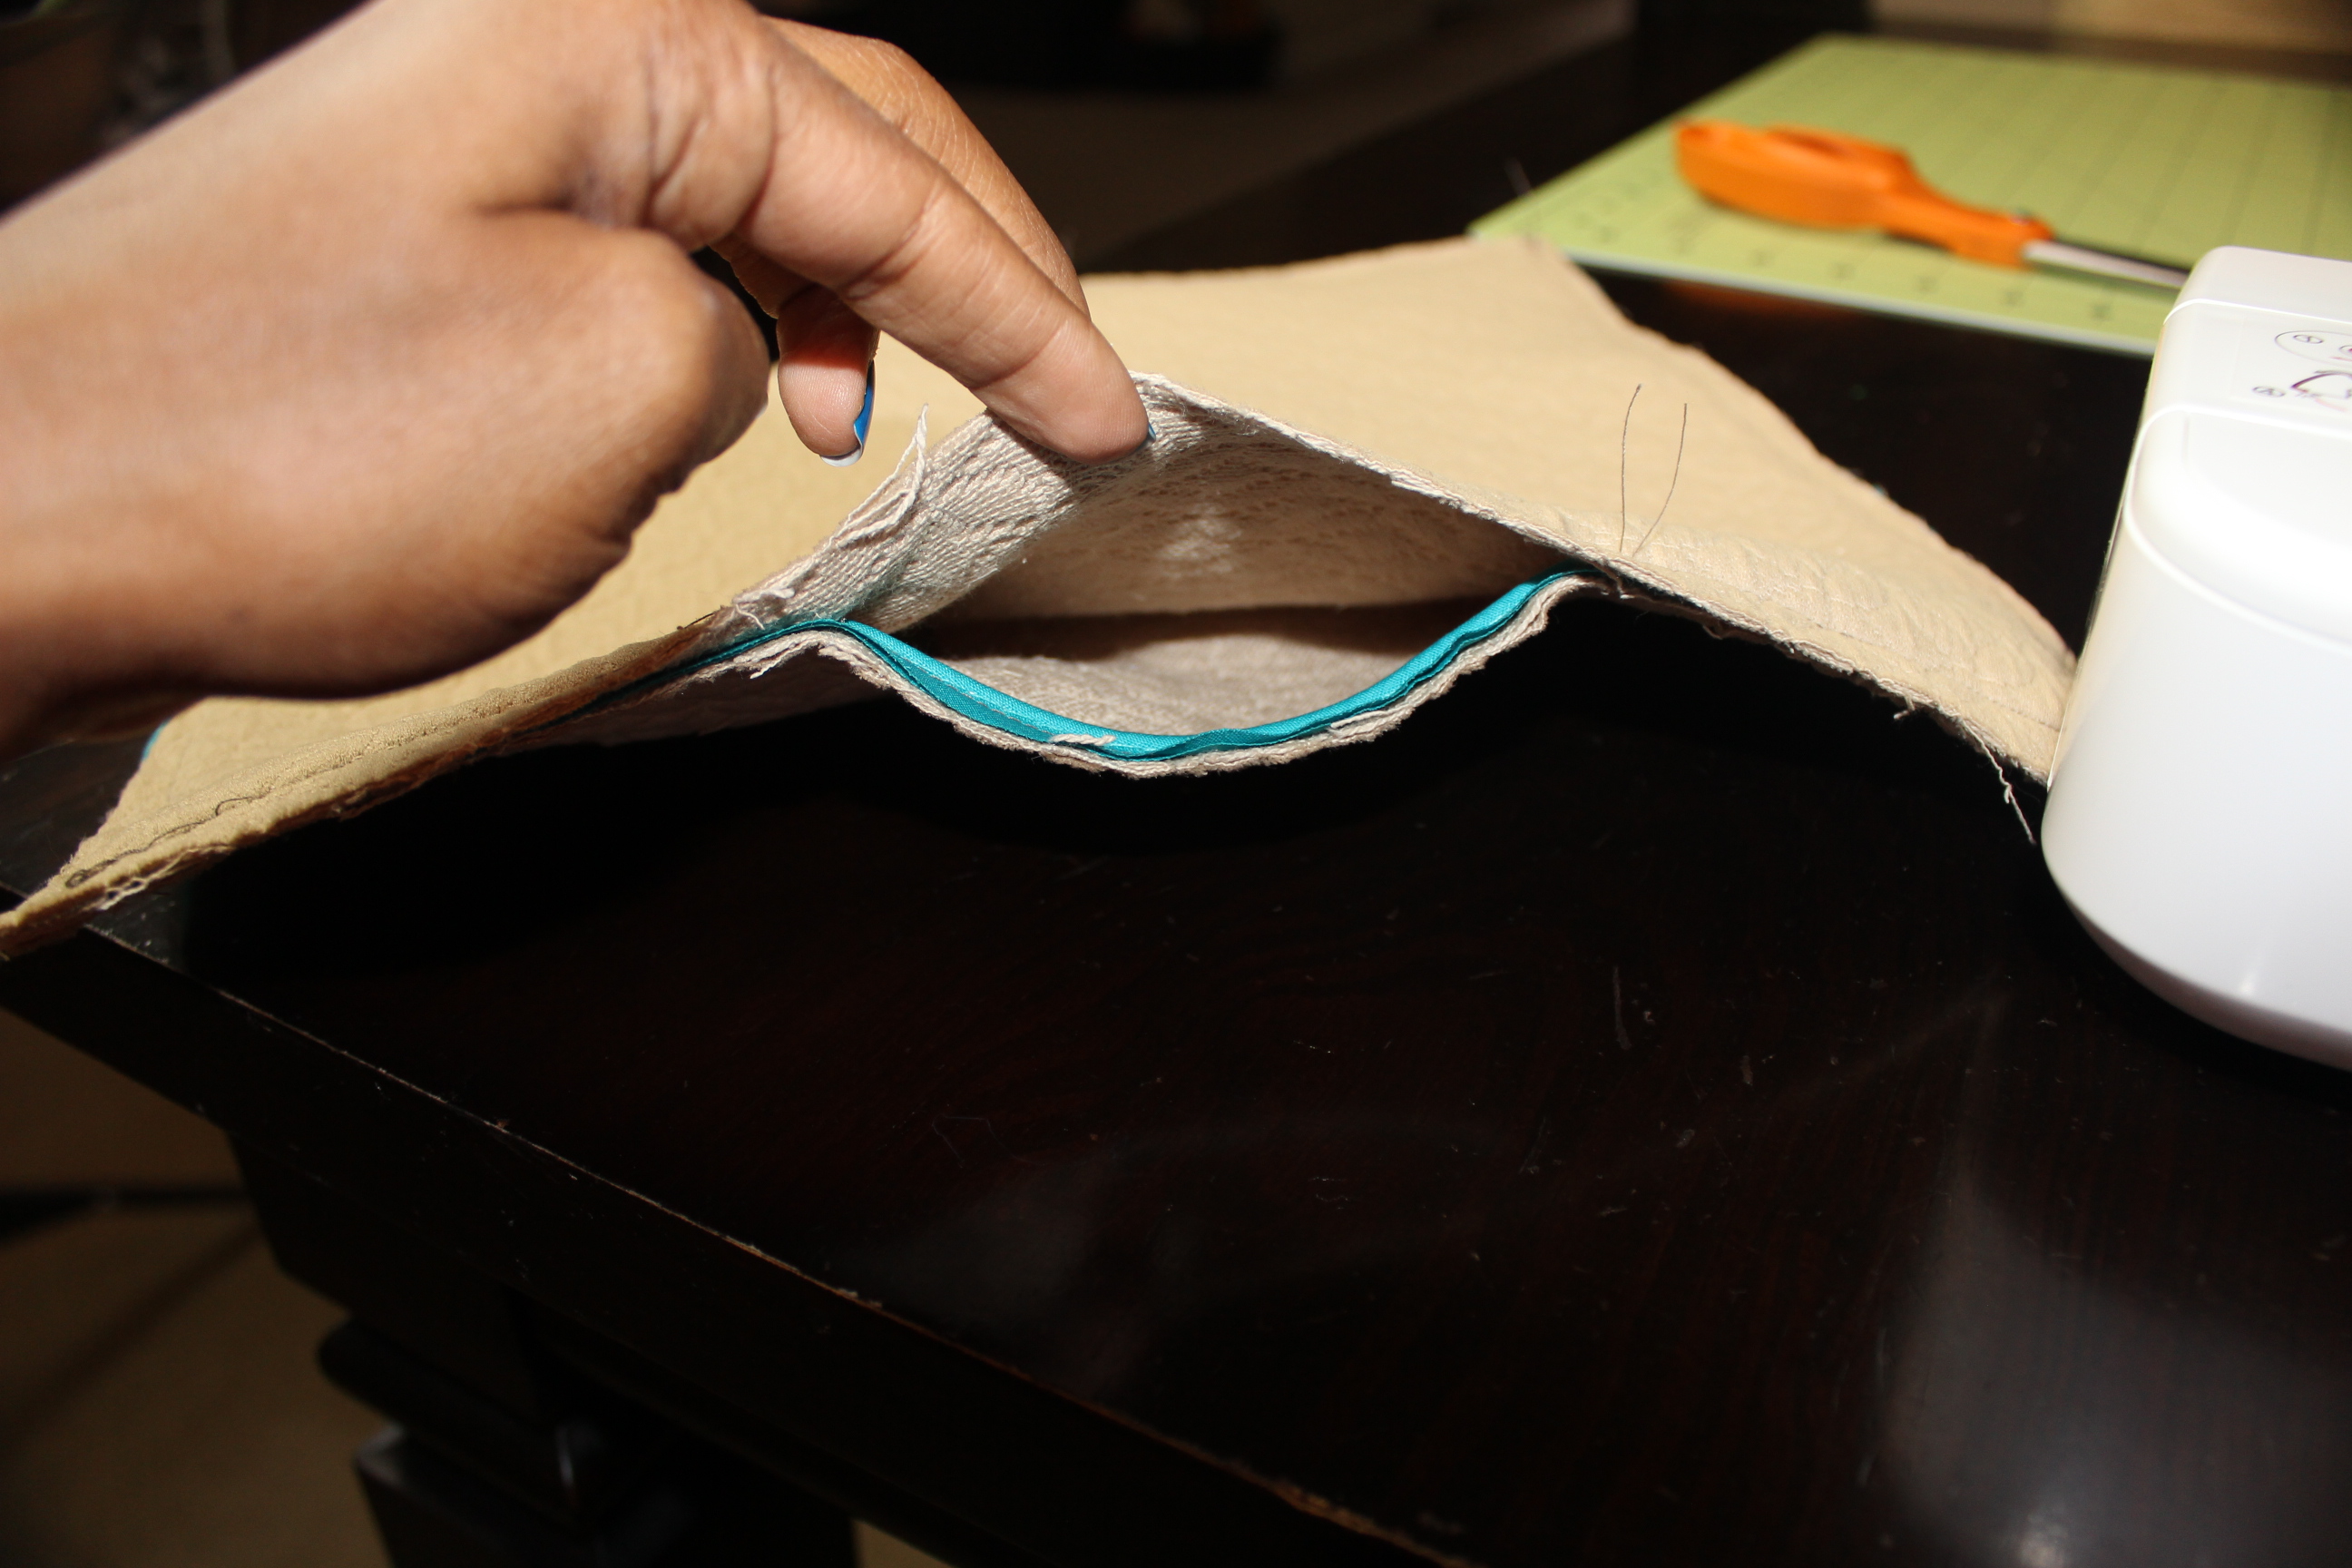
Flip the pillow over and follow the same stitch from the front of the pillow when you stitched the bias tape…this way your not sewing blind and you will stay just as close to the rounding part of the bias tape. Please note leave a hole for turning the pillow inside out and stuffing. Once the pillow is filled to your desire close the hole with the straight stitch.
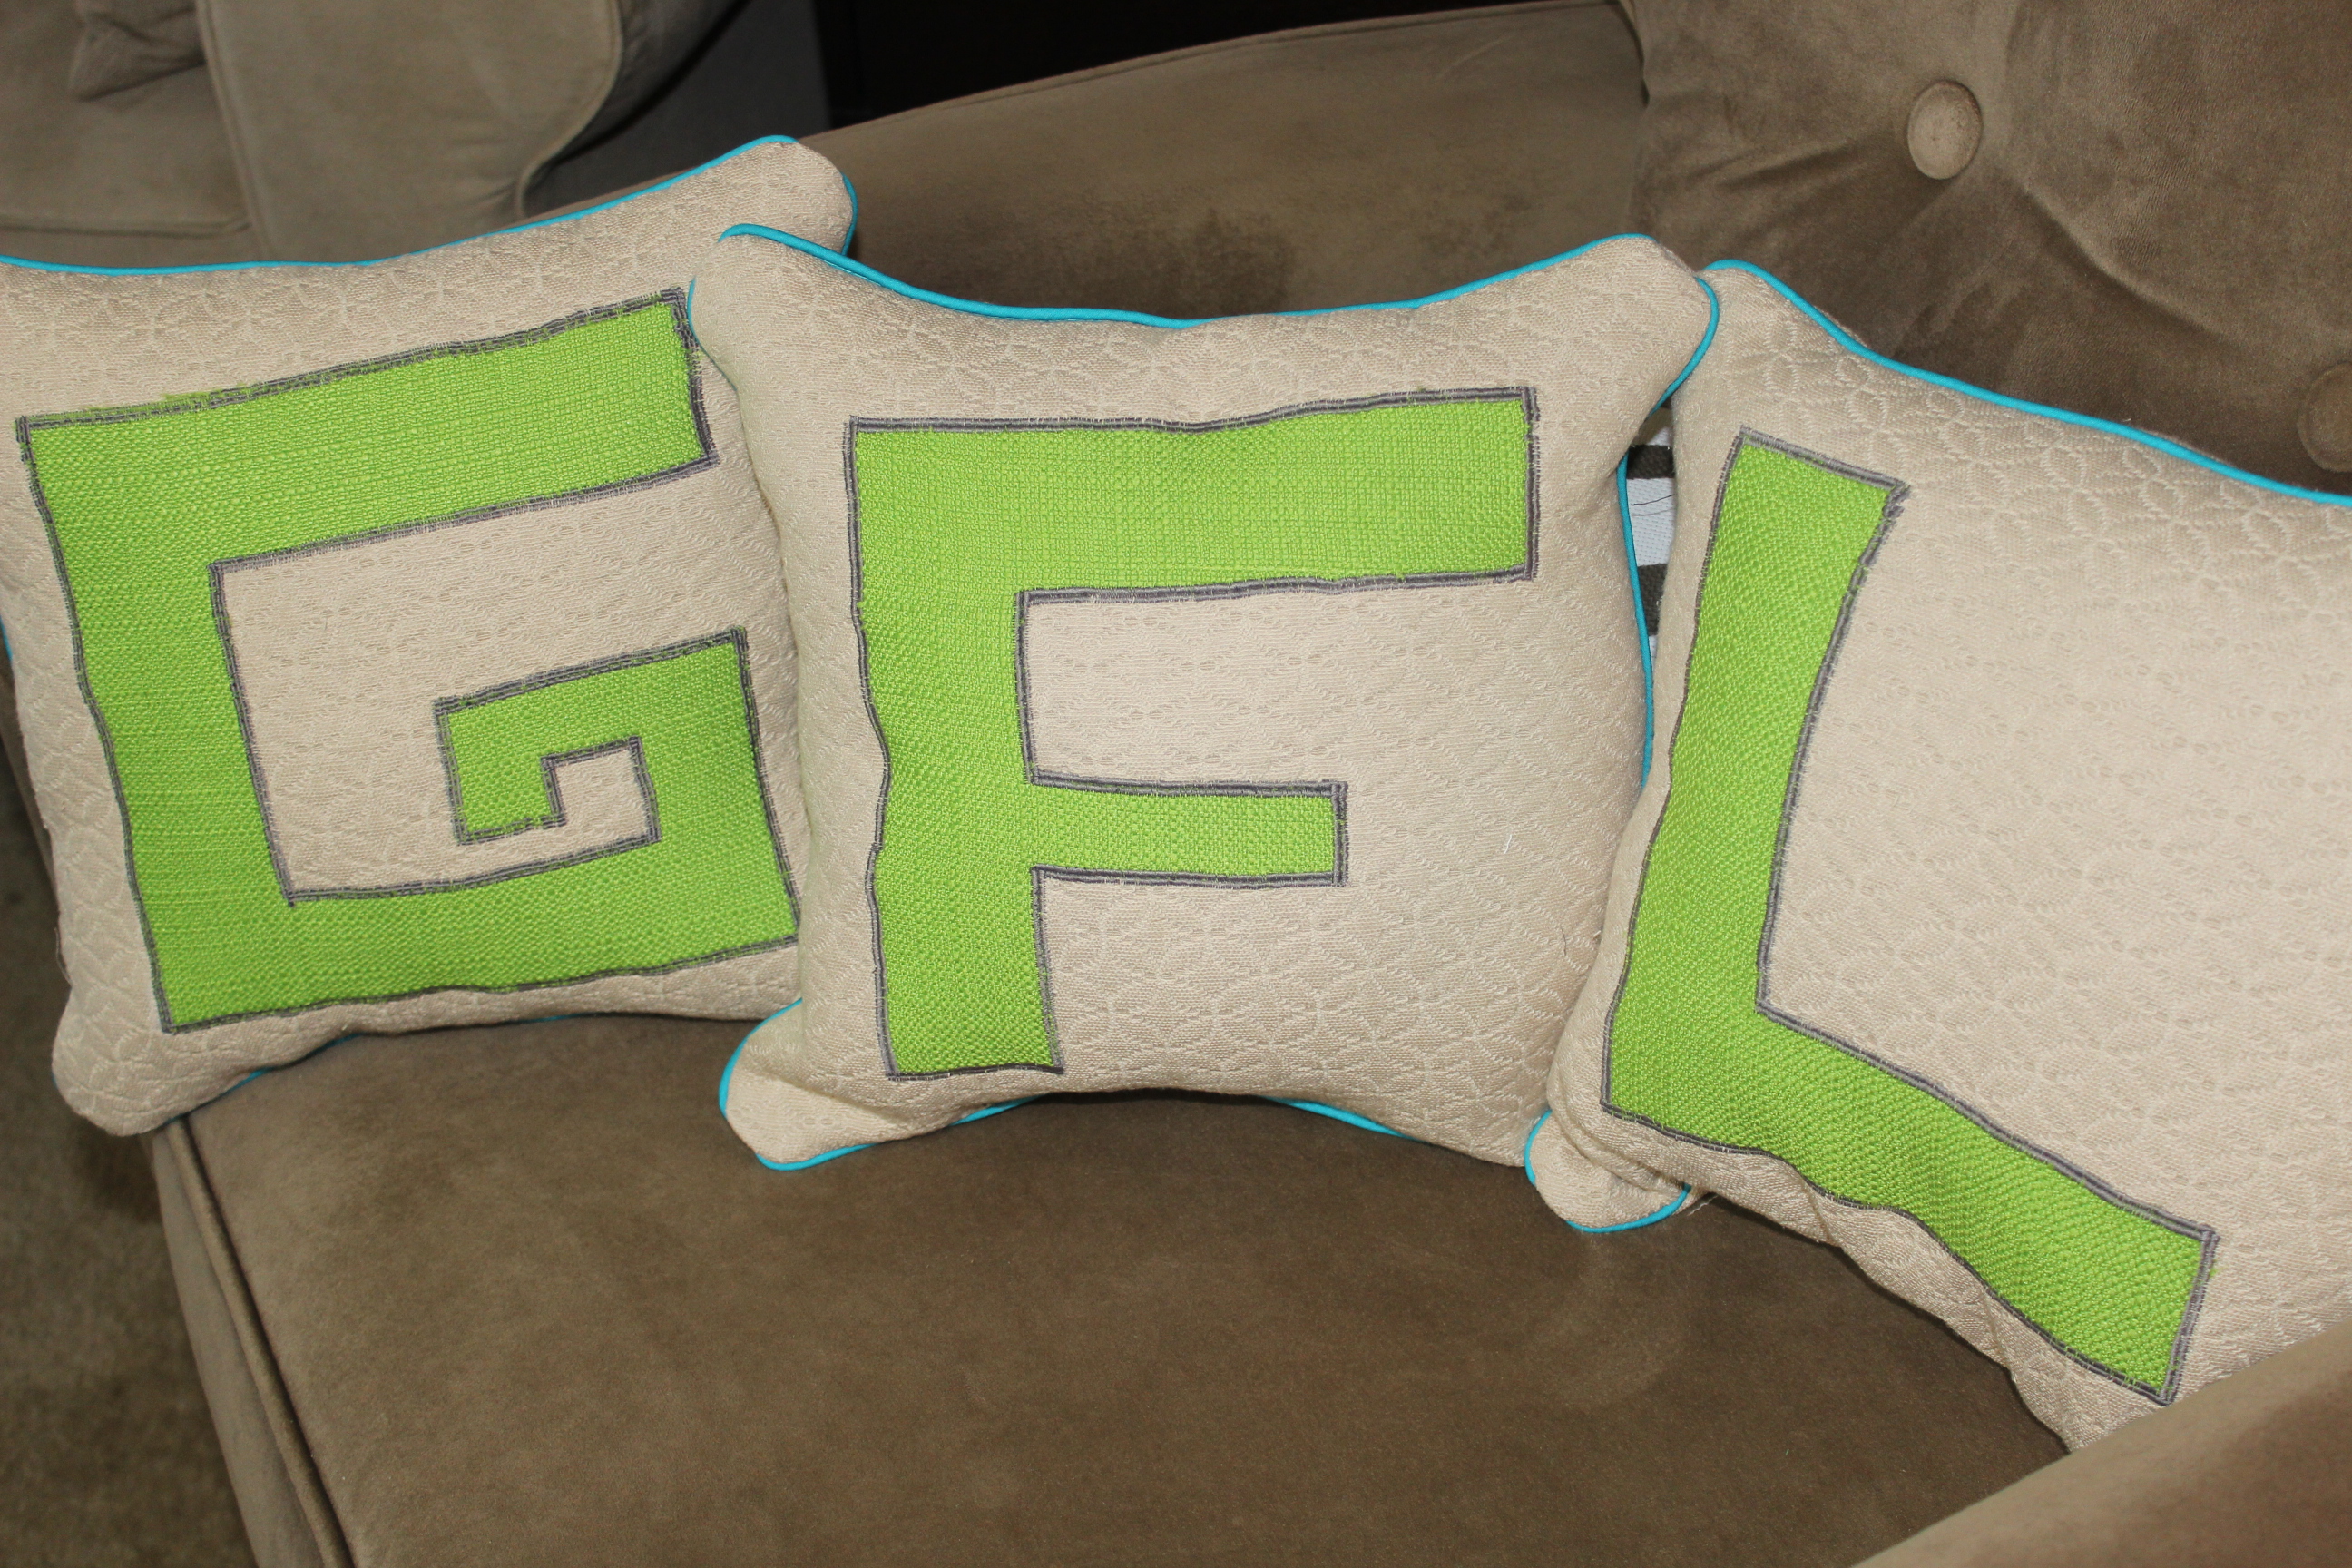
Finished product!!!
Video Bonus: If the pictures aren’t enough I have it all on video as well!!
When there is a want there is a way.
~ Maria Antoinette ~
Latest posts by Maria Antoinette (see all)
- 10 Romantic Date Night Ideas For Any Time of The Year - January 26, 2023
- Tips To Help You Reconnect With What Brings You Joy - January 19, 2023
- Planning A Road Trip? Here Are Some Key Tips You Should Know - January 12, 2023


I love your blog.. very nice colors & theme. Did you
design this website yourself or did you
hire someone to do it for you? Plz reply as I’m looking to design my own blog and would like to
know where u got this from. thanks
my webpage; google adwords analyzer download
I paid for my design here direct link is at the bottom of the page.
Love it! Your blog rocks.
Thank you so much!!! I hop the pillow helps you as much as it helped me!!!