If you are anything like me you are always thinking of ways to save a buck! I have been researching dress forms for a while now and I found dress form that varied from 80 dollars on sale to 400 plus dollars. I was really saving my pennies to be able to buy one for 300-400 dollars that would be closest to my figure, but time was not my friend because my patience wasn’t kicking in on this idea. Then I came upon a ton of sites, blogs and articles on DIY Dress Forms but this site was the one I gained inspiration from Prudent Baby
. After reading and accessing if this was the right move for me I figured what do I have to loose??? So I wrote down what was needed, asked the Hubster for his helping hand and headed to the store for a one night project that I am SOOOOOO happy we did!
List of what you’ll need:
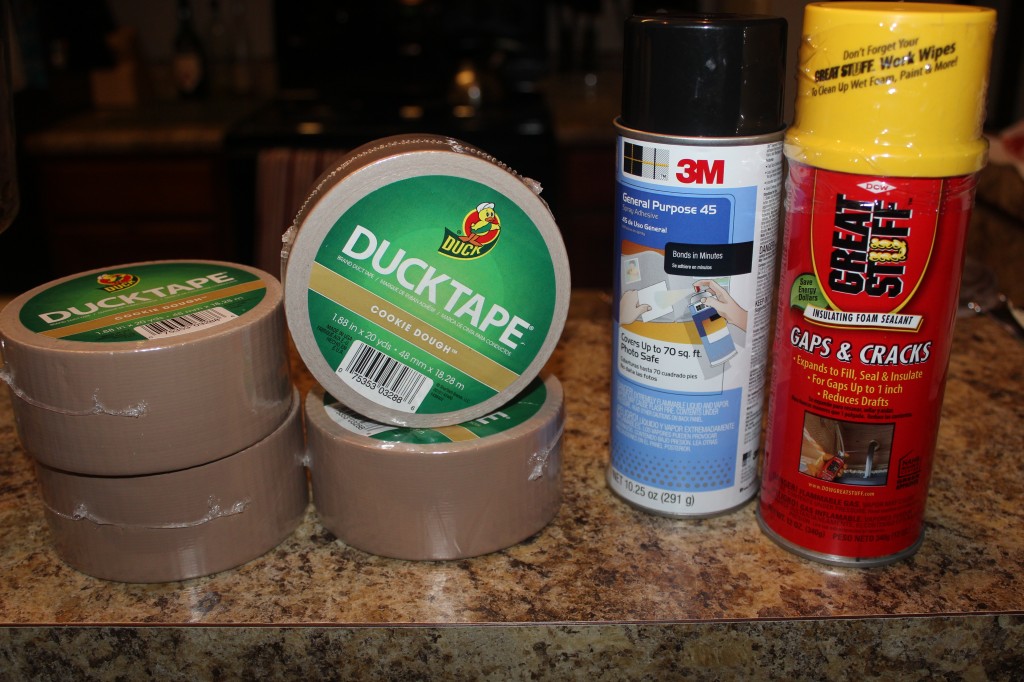
5 rolls of Duck Tape we bought 4 20yd rolls (cookie dough) and 1 10yd roll (snake skin)
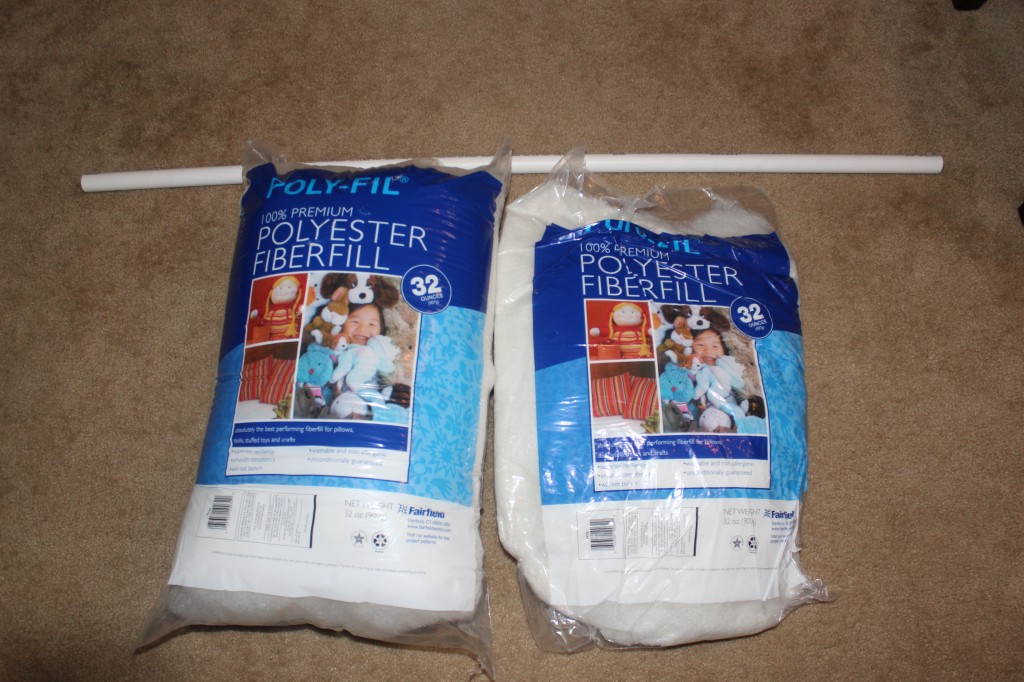
2 32oz bags of batting (you can also use newspaper or foam whichever you like)
4′ or 5′ X 3/4″ thick of PVC, you can go thicker but think of what your base is going to be (can be found at any hardware store in the pluming department)
Spray adhesive
Expanding Foam
Disposable gloves
Tee-shirt
Scissors
Cardboard (I used an old shipping box)
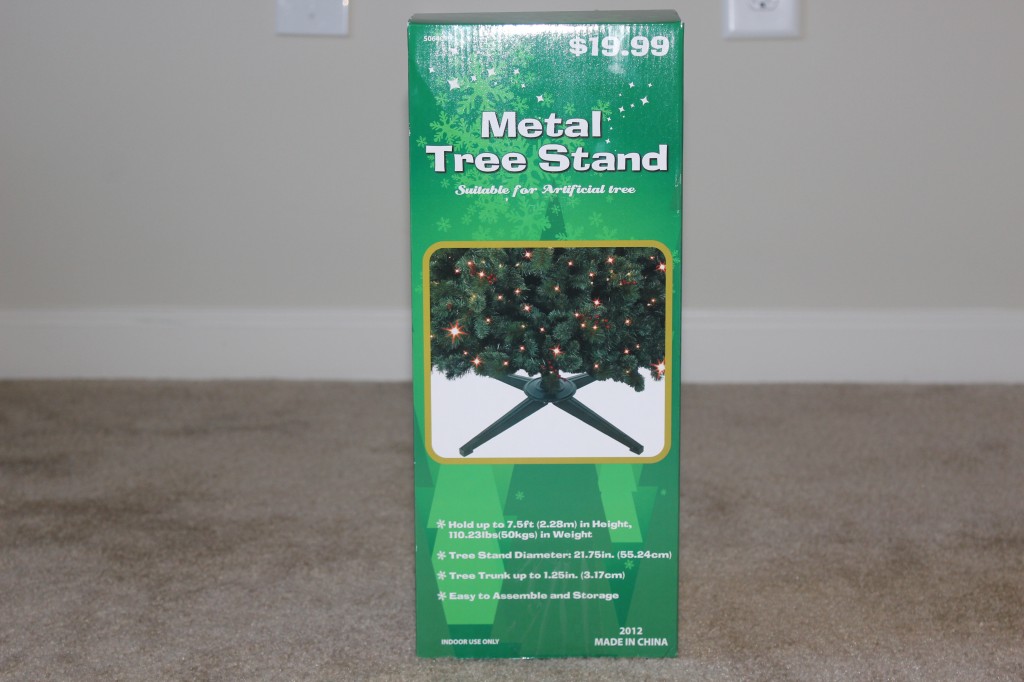
A base either an outdoor umbrella holder or a Christmas tree holder.
A extra pair of hands…I used the Hubs and I am so grateful he said yes!!!
What we bought, I picked a neutral Duck Tape, let me tell ya’ sky’s the limit on the options for Duck Tape all kinds of colors and patterns to choose from! I am short so I had the helpful man at the hardware store cut my PVC to 4′ because they only sold 5′ and that came to my noise which would be way to tall for my dress form.
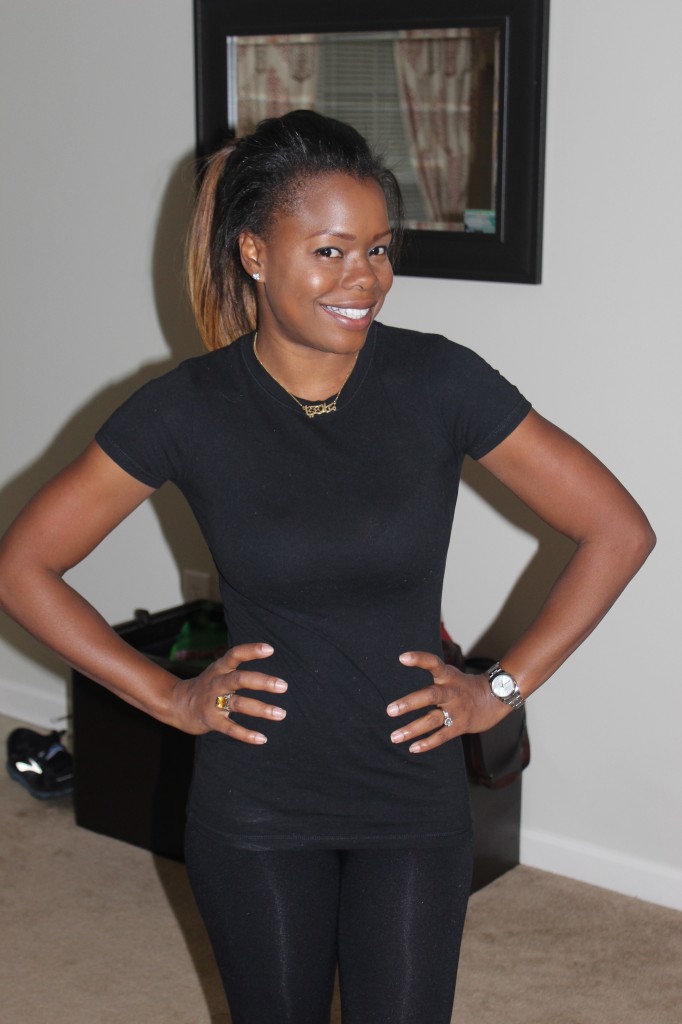
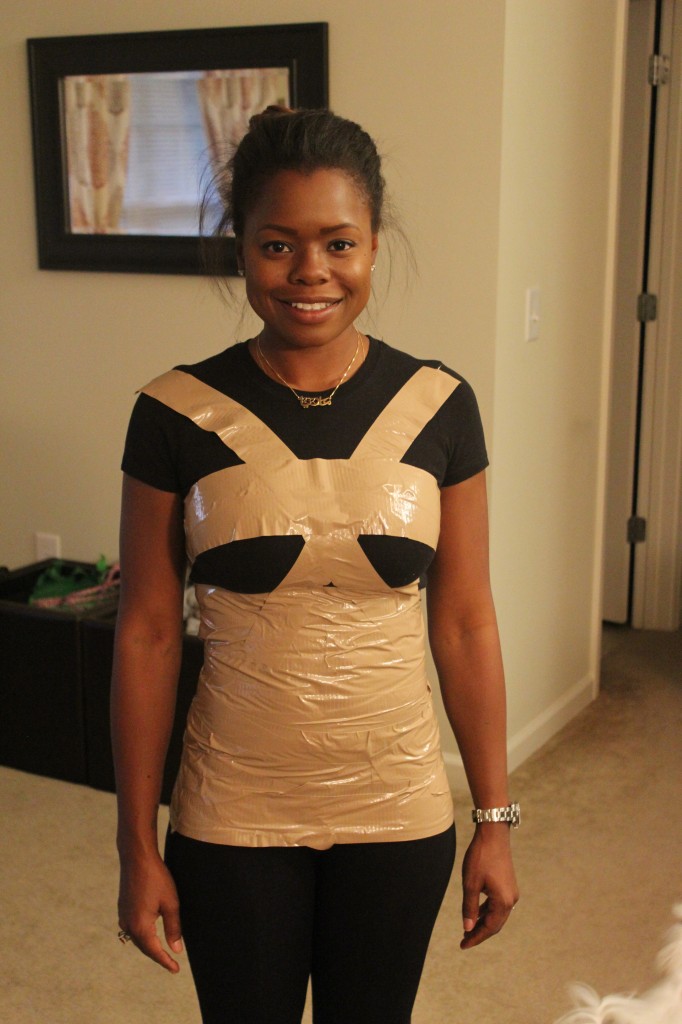
You’re going to want to find a tee-shirt you don’t mind cutting! I picked a fitted tee I figured it would help the Hubs as far as a good foundation and pattern to follow. It’s important to wear a bra so the form can have the right fit.
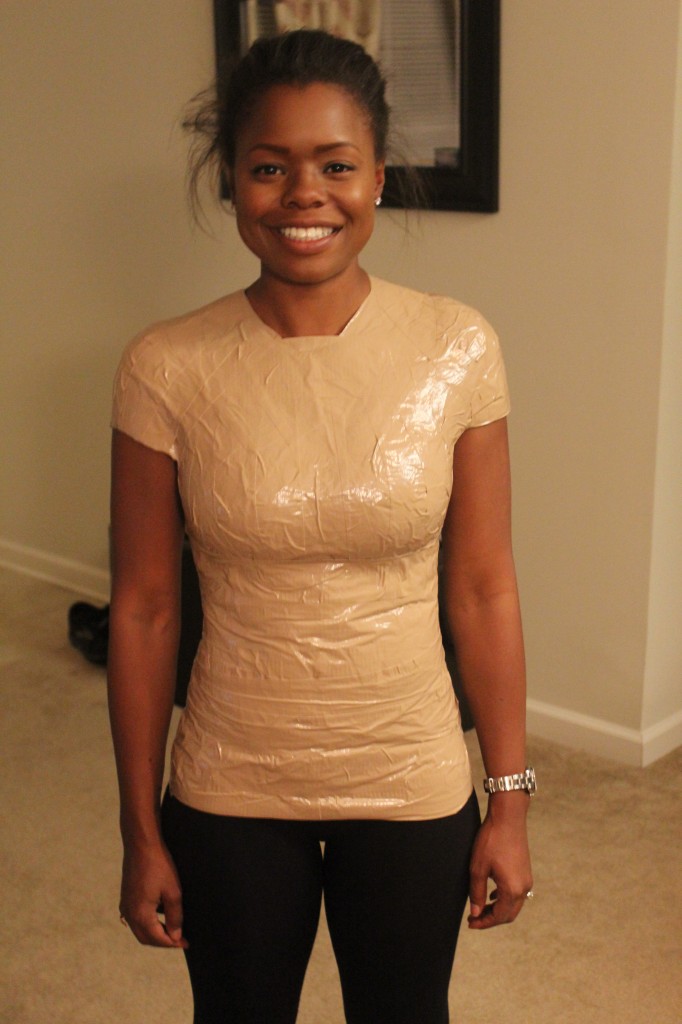
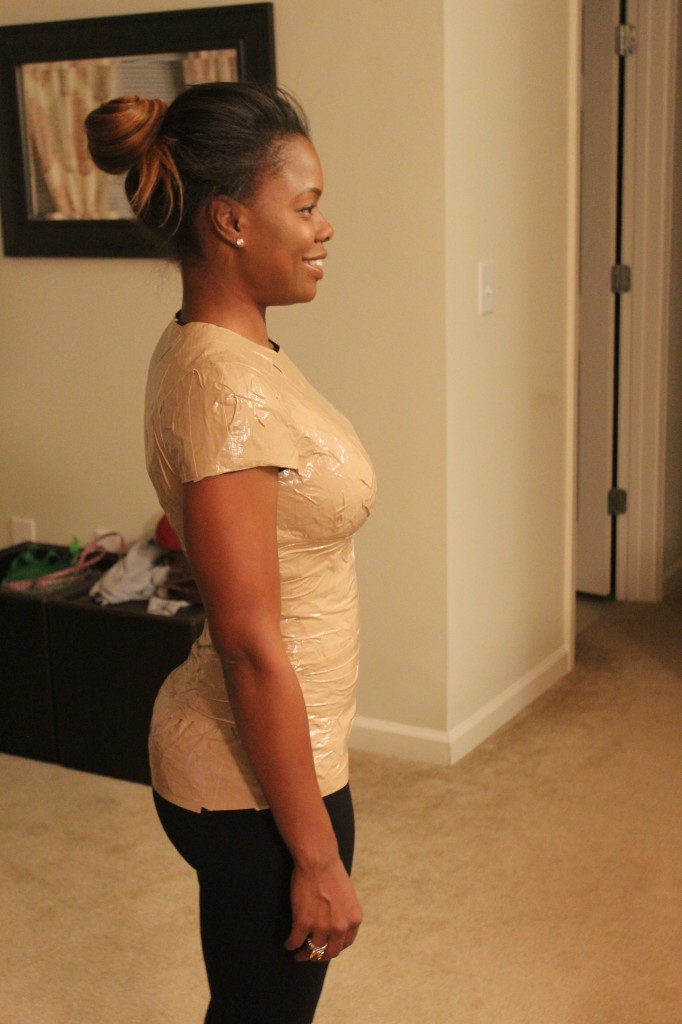
We started with the waist…My note to you is to hold your mid-section as true to form as possible, do not suck your tummy in! Then for the breast area we used an X pattern to assure the right support and curves for the form. You’re going to want to take the tape to the widest part of your hips to assure the best measurements, which is about shirt length. Also you want to make a defined arm area so your garments won’t slip off your new dress form. Using smaller pieces of Duck tape made it a lot easier to keep everything as smooth as possible, this really helped us.
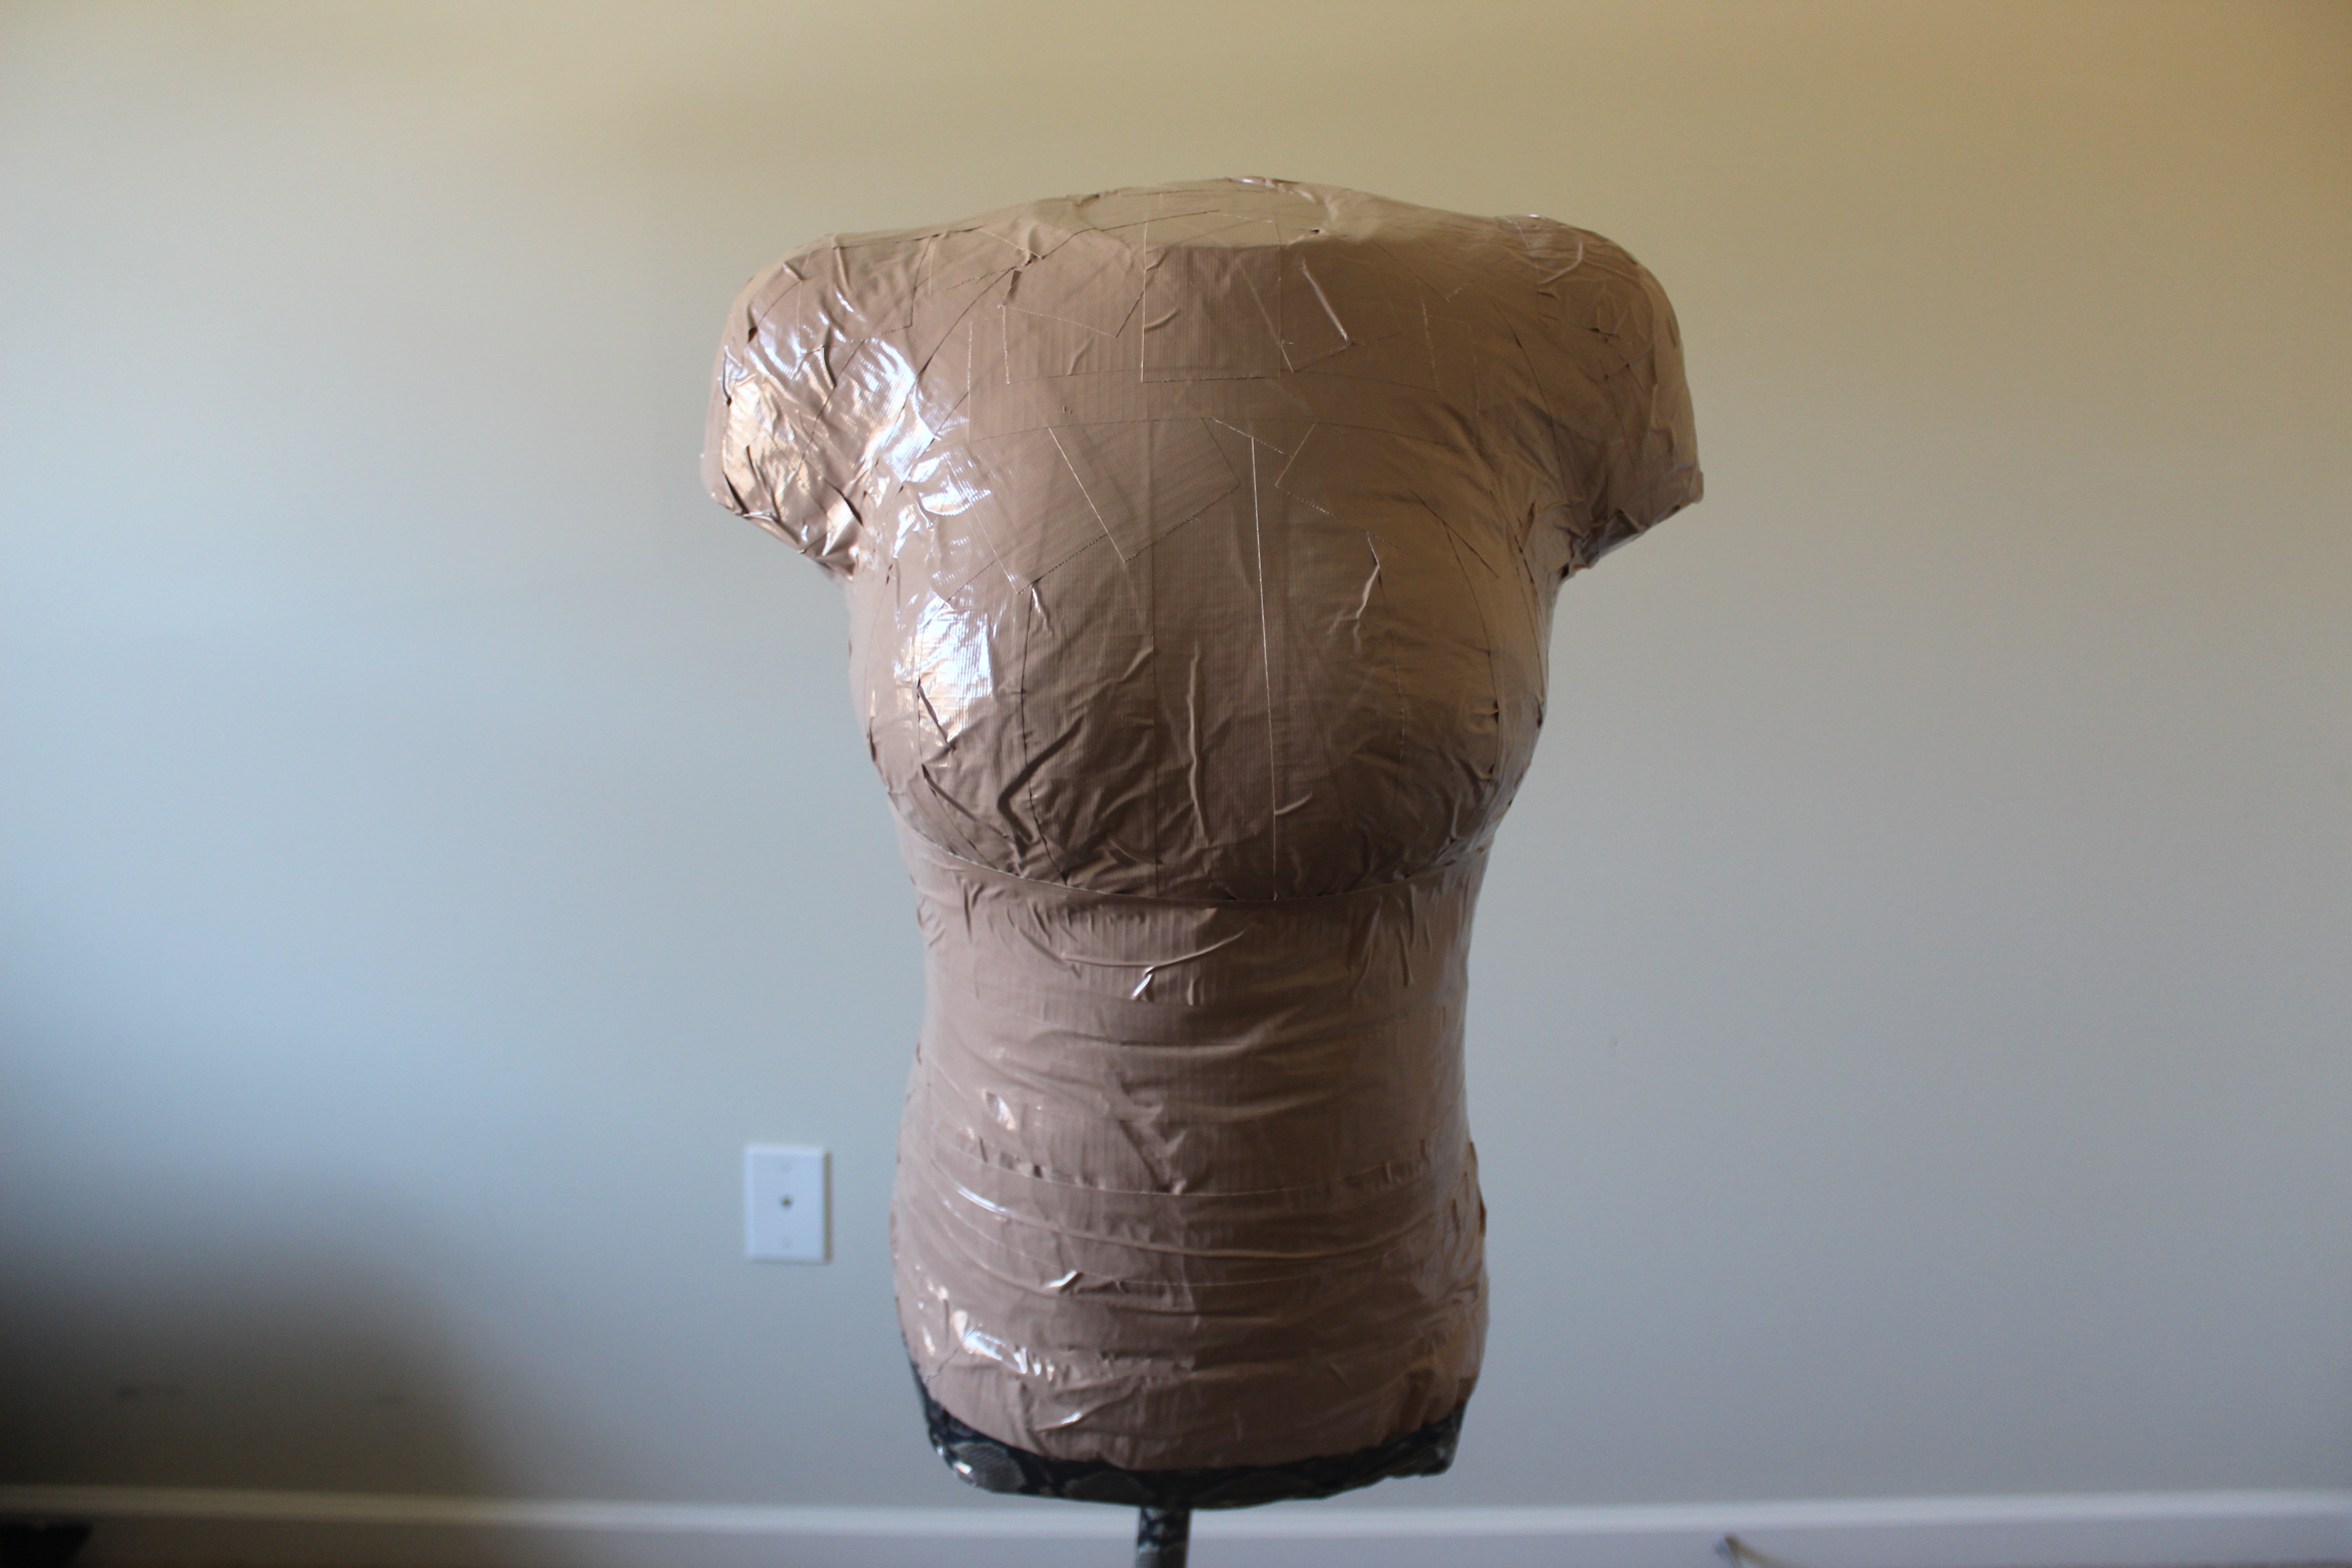
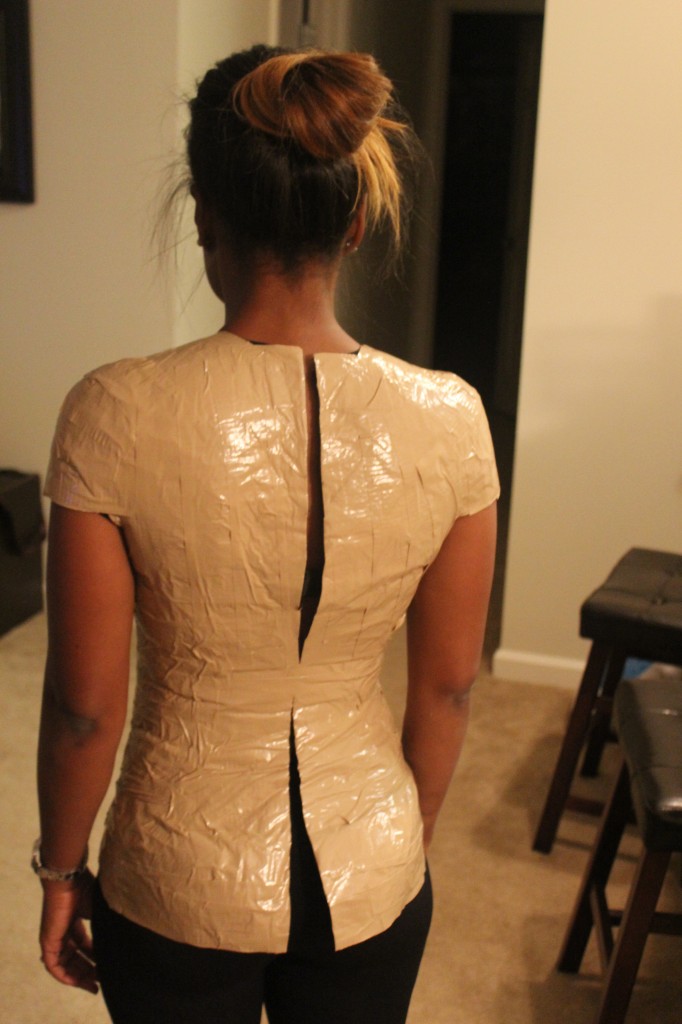
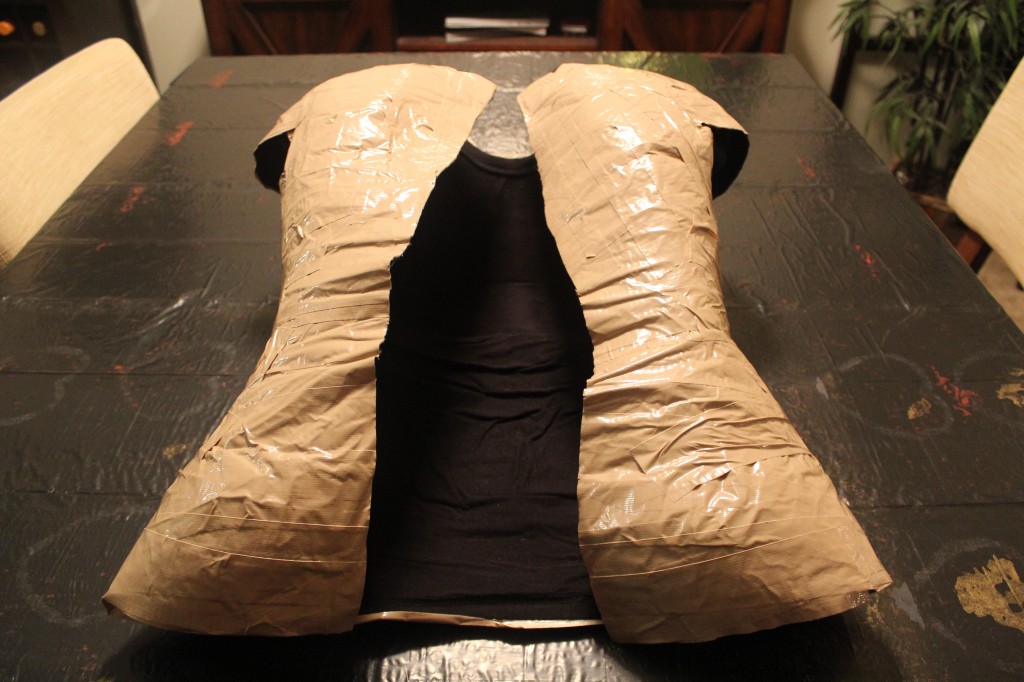
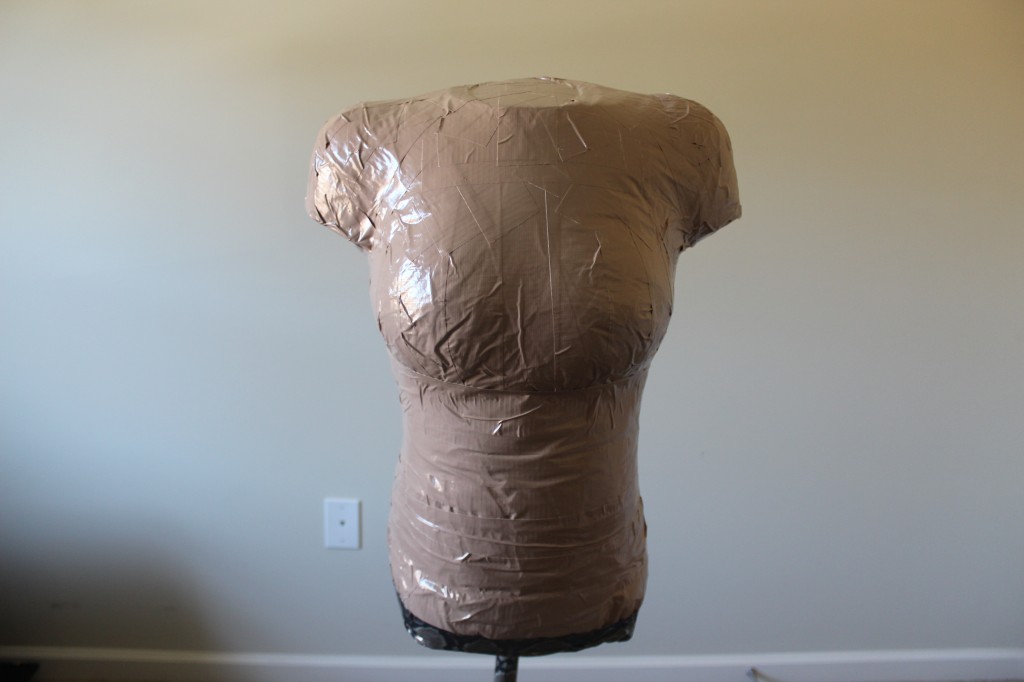
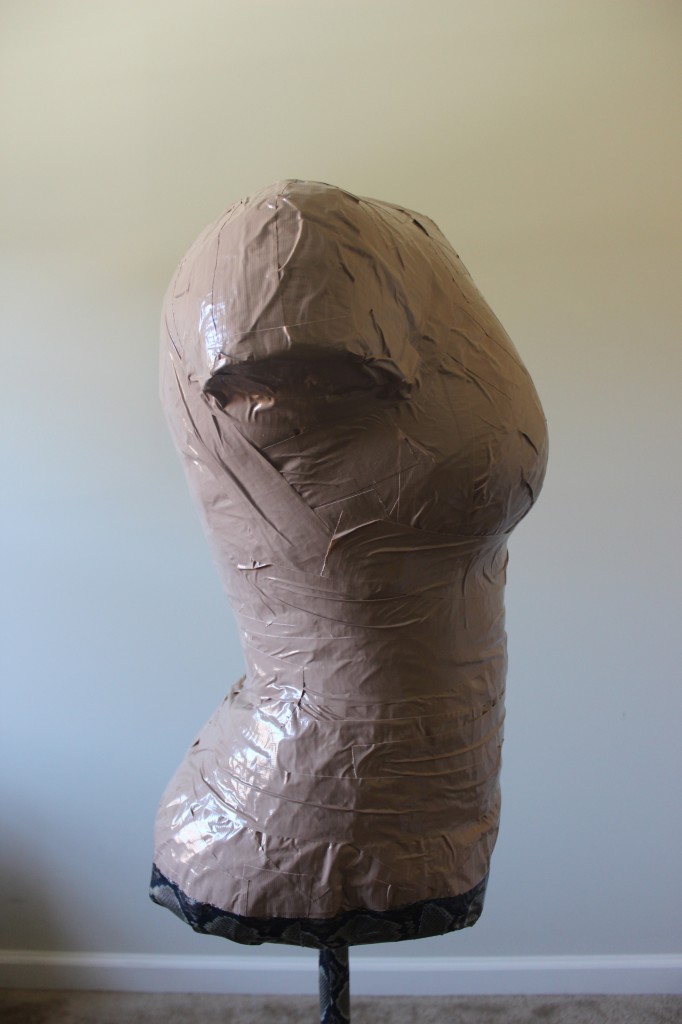
After 3 layers of Duck tape we are finished!!! The Hubs did a GREAT job didn’t he?!?!? I felt like I was in a body cast. S/N this is kinda cute…hummmm (that’s my mind buzzing).
Time to cut this contraption off!!! Be very careful not to cut your bra!
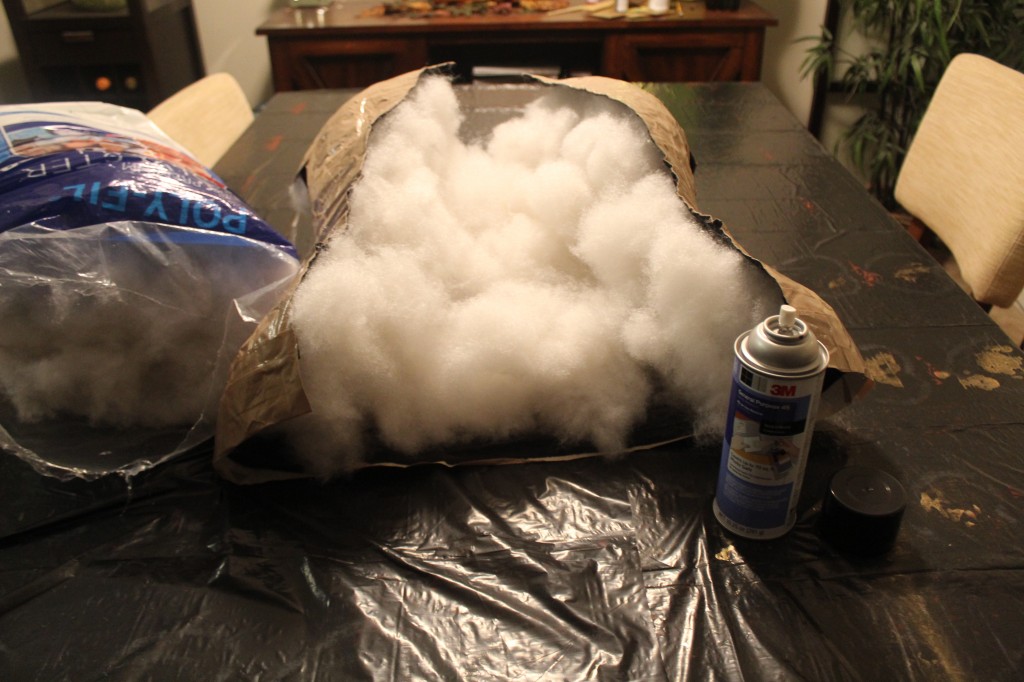
Using a good work space is very helpful. We used the dinning room table…lol! I lined the wood with cut trash bags to prevent any damage to the table.
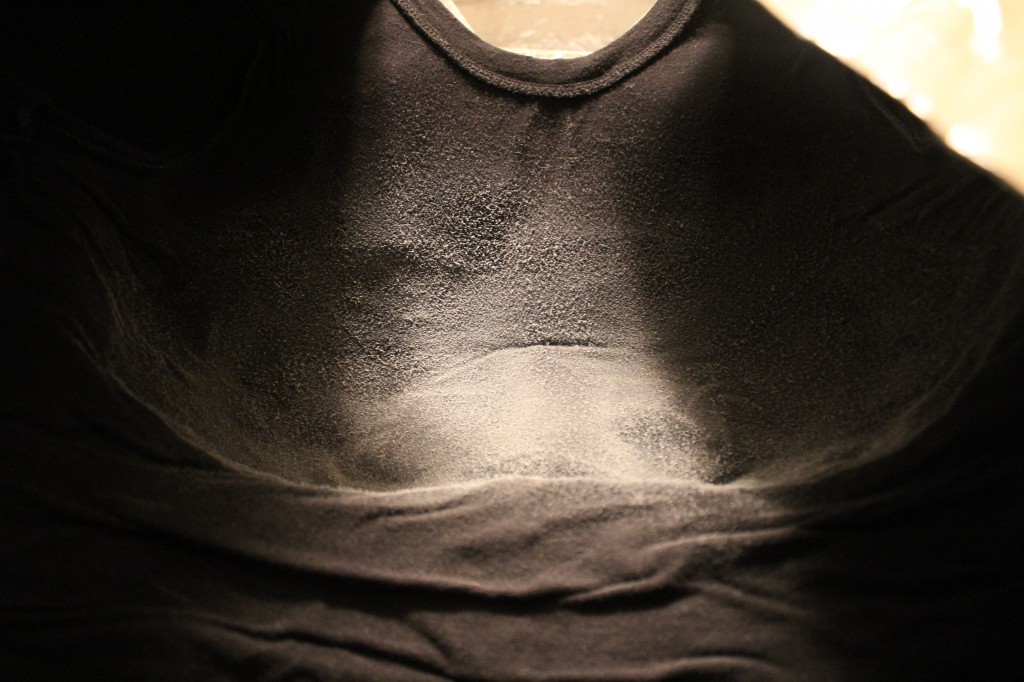
Spray the adhesive on the breast area and place the batting directly into the breast dents…this will help for extra support so the breast won’t cave in later.
Spray the entire inside of the form and place the batting. Place a piece of cardboard in the neck area for added support and a clean finish after that tap the back of the form up, and tape over cardboard in the neck area.
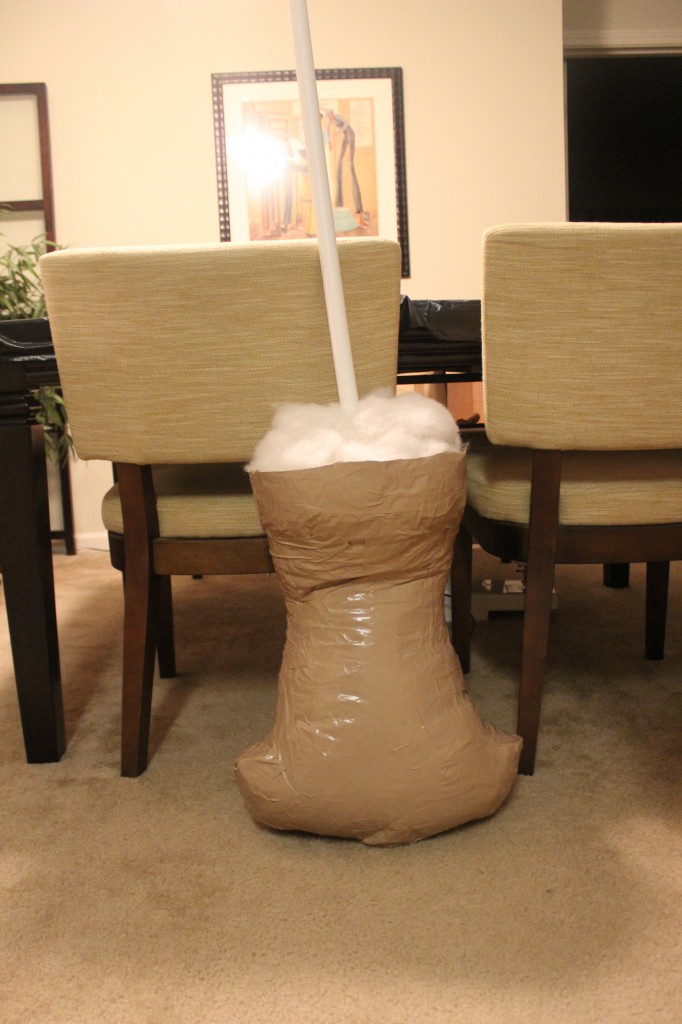
Turn the now taped closed form upside down and stuff the batting into all crevices, make sure to not over stuff so you can put the PVC/pole into the form. Insert the PVC/pole, check to make sure it is centered and continue stuffing the form. Place your disposable gloves on and add the wand to your spray foam and stick the wand as far down the PVC/pole as possible and spray all around the pole in the batting. Spray random spots in the batting for added support. Spray the foam all the way up the PVC. It’s okay if it is visible you can always cut the access away once it’s completely dry. Let the form set for at least 4 hours, I let mine cure over night.
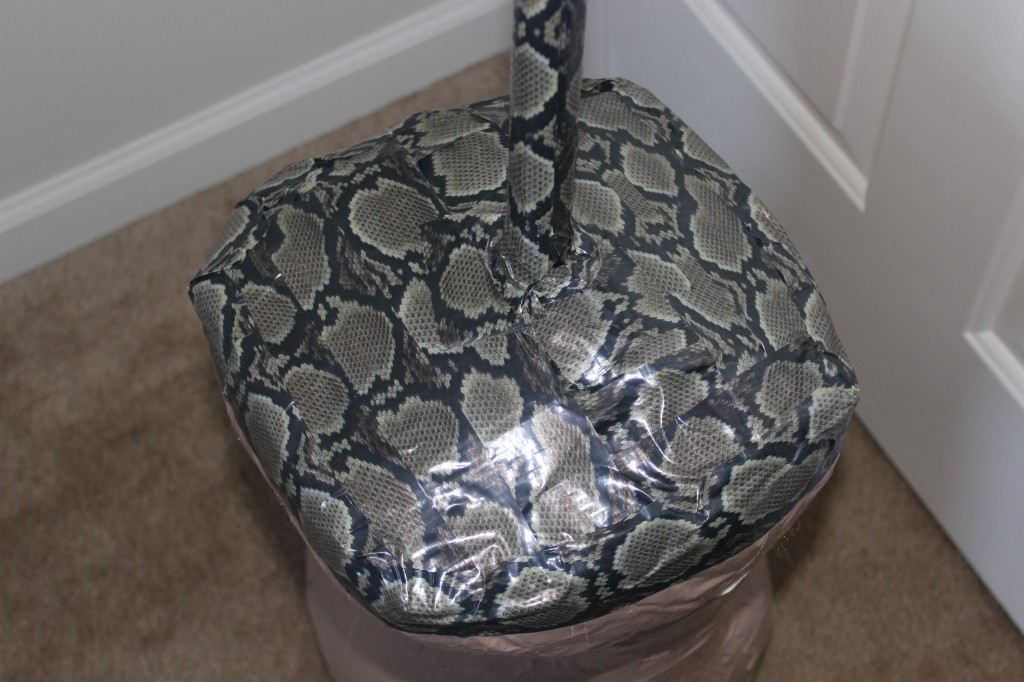
The next day I closed the bottom up with small pieces of cardboard and my designer snake skin Duck Tape. I also taped the PVC a little added touch!
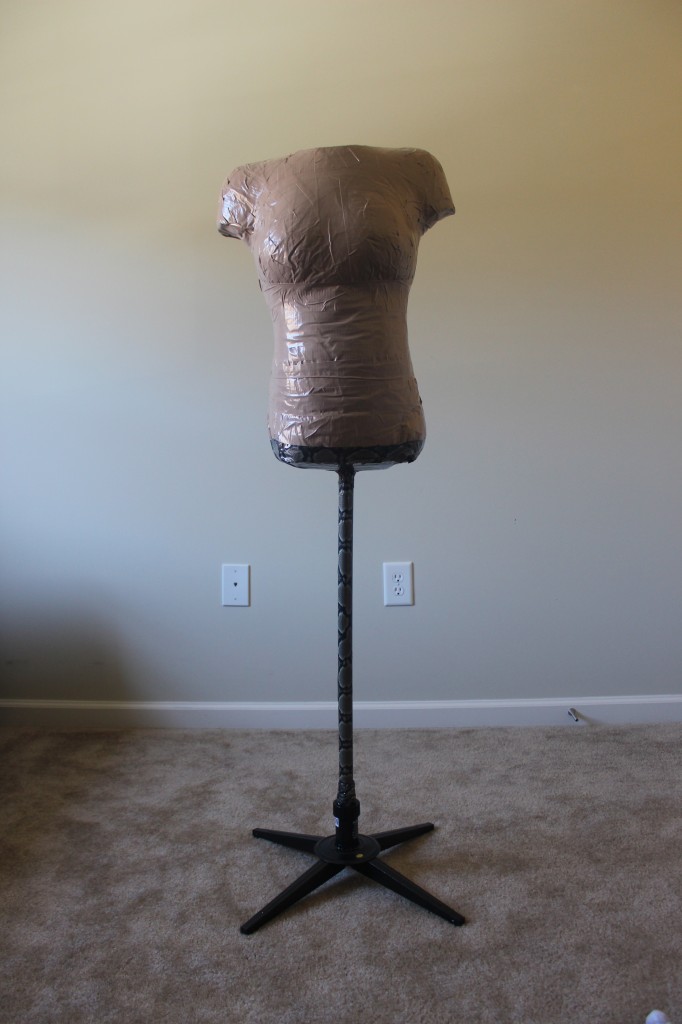
This is the Christmas tree stand I found at Hobby Lobby on sale for 40% off!!! Can we say winning!! lol
Isn’t she lovely..lol!!!
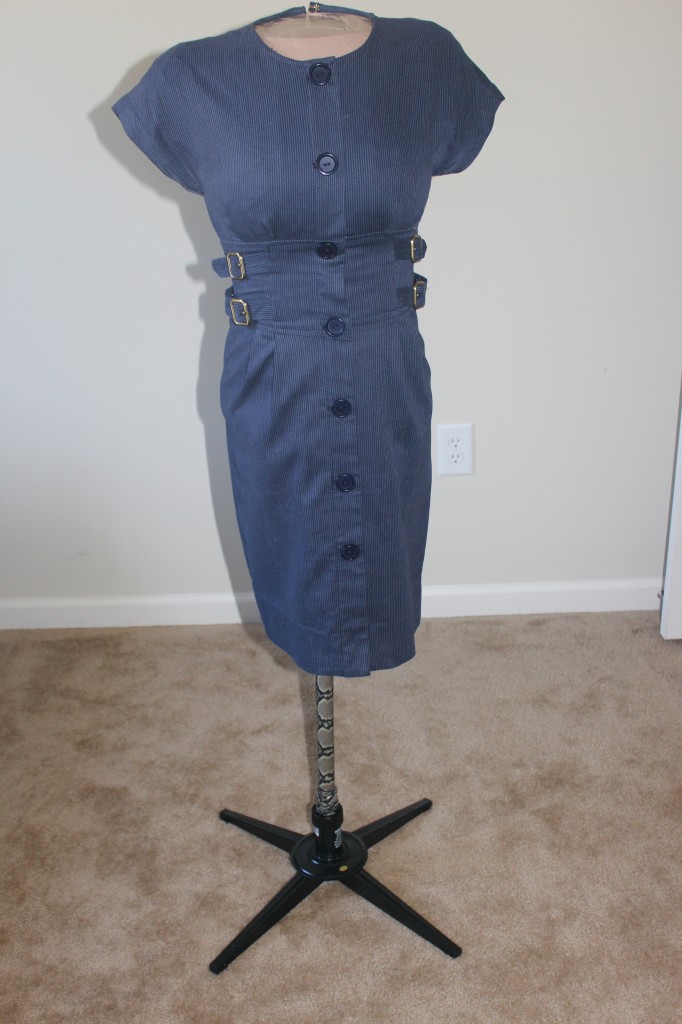
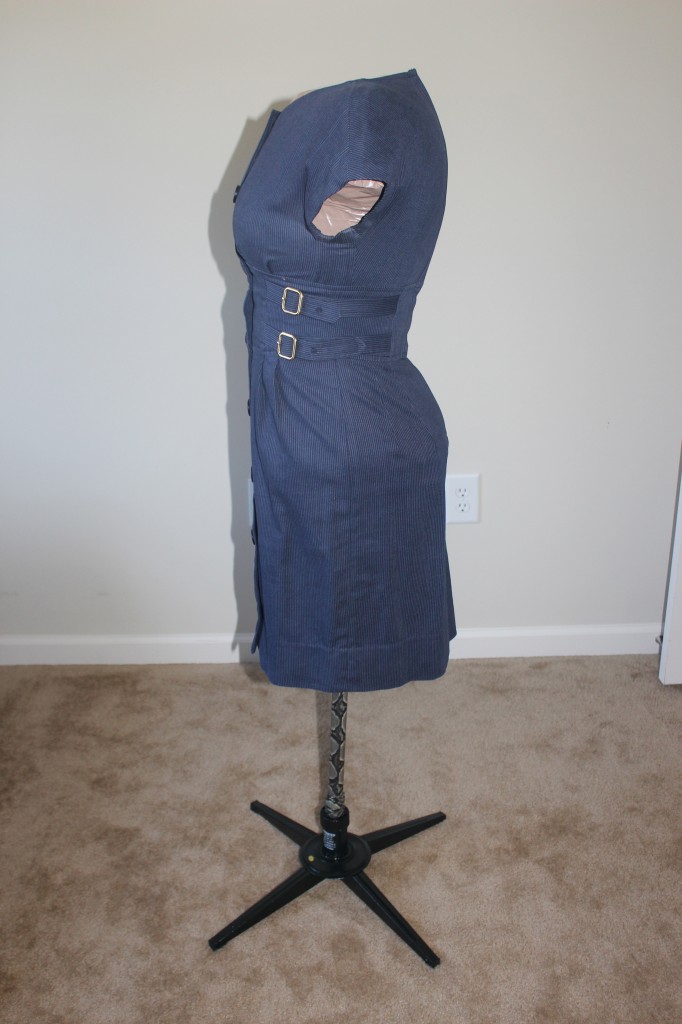
I threw a dress on her so you can see how accurate these DIY Dress Forms can be!!! My dress form is an exact replica of my figure I couldn’t be more satisfied with the outcome! *I did not make this dress
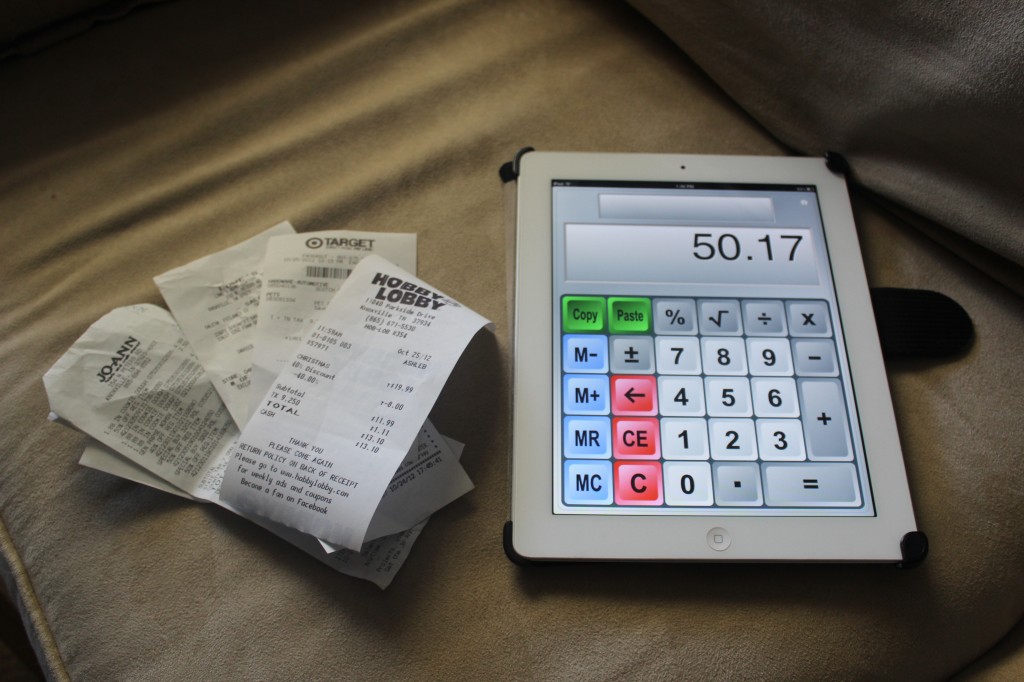
We did this DIY Dress Form for 50.17 and there is no way in the world I could of gotten a custom made dress form near this cost! With coupons, a little time and a great help from my Hubs I can now cross this off my wish list!!! Priceless
“When there is a want there is a way”
~ Maria Antoinette ~
Latest posts by Maria Antoinette (see all)
- 10 Romantic Date Night Ideas For Any Time of The Year - January 26, 2023
- Tips To Help You Reconnect With What Brings You Joy - January 19, 2023
- Planning A Road Trip? Here Are Some Key Tips You Should Know - January 12, 2023



You are my freaking DIY hero! OMG I’m so pinning this! You did an excellent job!
Alisha,
Thank you!!! I was so excited when I found this project and even more ecstatic when I made it!!! Talking about saving money!!! Whooo Hooo!!!
Nice job explaining. You form came out great. Thanks for the post.
You are creative as all get out!!! OK, I need help with the neck part.
Thank you Tiki!!!
For the neck, tape all the way up to the tee-shirt neck line. Once you cut yourself out of the form and pad the inside your going to take a piece of cardboard and cut it to fit inside the form but not to large the form wont close. I just taped the back of the form with the cardboard inside the open neck hole and then took tape and covered the cardboard which also secures the cardboard in place and creates a smooth finish where the hole was! I really hope that helps!
Thanks for stopping by!!!
That is truly a good idea!
Marie!!! I know RIGHT!!! It was the best and least expensive way for me to get one of these babies!!! I can not take the created but I can say we did a great job!!! I’ve already utilized it too!!!
Girl I know RIGHT!!! I can’t take creative credit for the idea, but I just HAD to share how easy and inexpensive it was to do!!!
I finally did mine! I’ve been bookmarking this type of tutorial or years but finally did it hen I saw yours.
I have some tips especially for those with fuller breasts. I did my form but the breasts weren’t clearly defined as I would like. To correct this I used a bra (the one with foam lined cups that fit well) and put on the form when I was done. I then stuffed the bra to make it keep it’s shape. You can then place a cheap fitted tshirt over the entire thing to cover the tape and bra if you like. Another tip is after I finished I put a dress on the form that fits me perfectly to see if any other areas need filling out.
Thanks for the inspiration!
Roxy!!! I am so excited for you!!! Thank you so much for the breast tip!!! I would love to see your dress form!!! Can you attach an image on here?
Thanks and I am so excited this post helped push you to go ahead and make one!!!
I will post a pic as soon as I can figure how to from my phone 😉
You are sooooo adorable!!!! This is so fabulous. I think this has been the best dressform turtorial I’ve seen! I love it. Thank you!
Thank you!
You saved me one big mrss with this idea. I was going to tru either plaster or paper mache. I so love thos idea better.
Anytime I can’t imagine using plaster for my whole top half of my body… This is super easy!!! Glad to be of help!
Thank you, thank you for posting. . This will be such a time saver for me as my mom can no longer help me with the fitting.
Loranna,
Thank you for stopping by!!! Thank you for letting me know this was helpful…my hopes when sharing is that it can make life easier for someone!!! im super excited it was you!!!
I just saw this on pinterest. One tip I can offer is that you can use a crutch, like when you break your leg lol. Goodwill had them for about $5 and yoy can get them in different lengths (depending on height of the user) and they are also adjustable. So, you can move it up and down for like if you’re making long dresses and are going to wear heels. It slides into the form well, just place it in early into the stuffing phase. And if you take the rubber foot off the bottom if fits pretty well into a Christmas tree holder!
Aww thank you for the great tip and for stopping by!
OMG you are a genius! it’s the perfect way to make something fit to your body shape! I will have to keep this in mind.
Awe thank you but I can’t take credit of the original idea!!! But I’m glad my post was helpful and yes this sis the cheapest way to get custom work!!!
Great tips, finally got my Hubs to “wrap me up” tonite!!! Just need to finish stuffing and gonna paper mache for the final layer. It looks like my body double, but I just wish I had more curves, not the bump in the front and flat behind!!!!
Luv your site!!!
Yay!!! Glad the tut was helpful!!! Thank you so much for stopping by!!
I have been wanting to make this for years, too–your instructions are to easy to understand, I can’t wait to get started, (but I gotta do the dishes first.) I’ll have to find a Christmas tree stand first–guess I’ll HAVE to go the garage sales–yippee!
Awww I am glad I can be of assistance!!! Also be on the look out for out door umbrella holders they work as well!!!
This is Genius, always wanted to buy a dress form but so expensive. GEnius. Genius.
Awe thank you glad it was helpful! I can’t take full credit on the idea but I am glad it was helpful!!! Thanks for stopping by!
This is amazing, will try it myself , so i don’t have to buy a stand for my clothes…. Love the idea…
Yay!!! Glad the tut was helpful!!!
I am SO GLAD I decided to turn to Google instead of relying on the tutorials I found on Pinterest. Yours is so much clearer for me to understand, not to mention cute with the snakeskin tape!
Yay!!! I am glad and happy my tut could of be of assistance!
Love what you did! This is great! Thank you. And you are gorgeous btw!!!!
I LOVE this!! Been researching these on line and yours is by far the best one I’ve seen! Will be giving this a go soon. So glad I found your blog. Well done!!
Thank you!!
How did you get the form on the stand securely??
I used the foam adhesive and it hardens. I let it set over night!
Next Step. Look as awesome as Maria! Thanks for the lesson. I am so doing this!
Awww thank you so much! I’m glad the tutorial was helpful!
Being a very large plus size woman my form was a bit over sized lol instead of a tree stand I used a a small bucket & a quich dry cement — it gives the form a very stable base to work with.
Thank you for sharing and pinning it.
Hope you don’t mind sharing with my friends and family, they would love this as well.
This is awesome!!!! Thank you for posting this amazing easy to do dress form. I am going to the store and getting the supplies, this is great!!Bless you dear!!!!
Barbara
Hey!!!
I’m ready to make my own dress form using your tutorial. I have one question however! How has it worked for you? How have your creations turned out when using this dress form? I’m going to start making my own clothes soon and I’d love to know about your experience using your fabulous DIY dress form!
Thank you for checking out my DIY…It worked great! The height was a little off but the form was wonderful…pins will get sticky from the glue but all in all for the money spent it was pretty dead on! Check out my post on Making of the Red Queen I used the form in making that costume!
Thank you for this great idea! I couldn’t wait to share it with friends!
You are brilliant! Thank you for the idea . As a dressmaker starting out I have been struggling to display my work for photographs ( can really sell a selfie), without a model. Thanks again.
Aww thank you!!! Im glad this is solving your problem!!!
Wow!!! My mom and grandmother have always sewn my dresses because I have an odd figure and have to alter everything I buy anyway! They are reaching me their tricks and this will be a great tool!!!! Yay!!!! It looks awesome!
i have a dress form, but it is not me! i wonder if i could use this same technique and somehow fit it to my dress form. What do you think?
This could work as a sub for the stuffing… But it might also make the form larger than you really are
Thank you so much. Just had a fun couple of hours making my mannequin. And she is great. Now I can see why a dress I made didn’t fit.
Isn’t it a great feeling to make it yourself and for so cheap!!!
Merci pour ce partage bien utile.
Un mannequin sur mesure et pour pas cher en plus.
Thanks for this, it’s great. I will be checking out what else you have to offer on your site!
Great idea! But my husband might just leave in me in the darn thing
lol I hope not…it get very uncomfortable after a while!
I’ve been researching diy forms and this is the one. Best I’ve seen yet. Thank you!
Thank you so much!!! Glad the post was helpful!
You ma’am, are a genius! Looks like a trip to Lowe’s is in order tonight for wifey and me 🙂
Thank you so much!
Thank you!! This was such a fun project for my hubs and I so I know it will be a blast for you and your wife!
Nice one. Definitely need to do this – I do have a petite dummy but you know what, she’s just not the same as me. She doesn’t have my banana back, she doesn’t have my angular shoulders, her boobs are just not like mine and so, with all these things being my fit issues with dressmaking, she’s not much help…! I really think I need to do this project and get an exact me if I’m ever to solve my fitting problems. Your tutorial is great, although I’m not sure my hubster is up to the task – let’s just say he’s not a details man! I may rope my poor unwitting neighbour in, lucky woman 😉
Thank you…yes nothing like having a duplicate of your exact form!
where did you find the expandable foam?
At Lowes or any hardware store.
I am going to attempt this, but i need clarification. I don’t quite understand what to do with the spray adhesive, and the expanding form. the Spray adhesive is to make the form hard? where exactly am I putting the expanding foam? I am so confused?
the spray adhesive holds the stuffing in place before closing the form. The spray foam holds the pole in place and will naturally cure over night. Hope that helps and best of luck!
Maria – this is so cute!! I am going to make this soon! I need something to display my Poshmark closet items for sale when I take pictures to post. Have you seen Poshmark? Check it out!
Thank you for the clear instructions and great photos! 🙂
Fab stuff girl! Thanks a lot!