Hey Guys!!!
I know it’s been a minute but I am back and I have a super simple way of recreating the classic Tulle Skirt!!! This simple DIY Tulle Skirt is a must have for all ages.
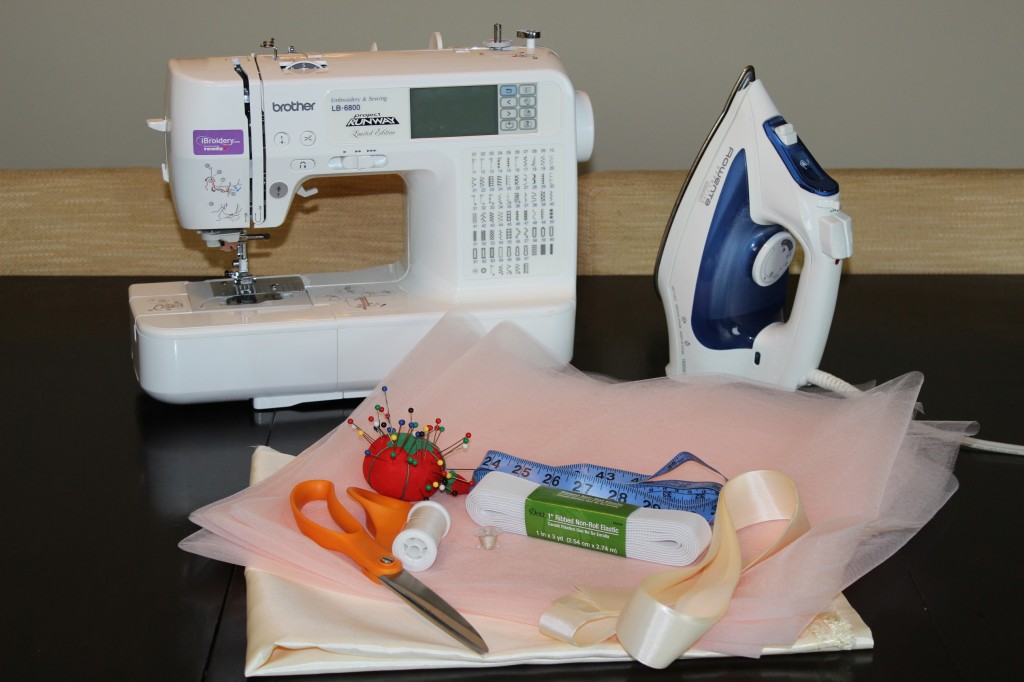
Items you will need:
7 yards of Tulle for knee length / 13 yards for full length or more if you are taller
1.5 yards of Static-free Garment Lining / 3 Yards for full length or more if you are taller
No-Roll Elastic Band
Thread
Scissors
Sewing Machine
Measuring Tape
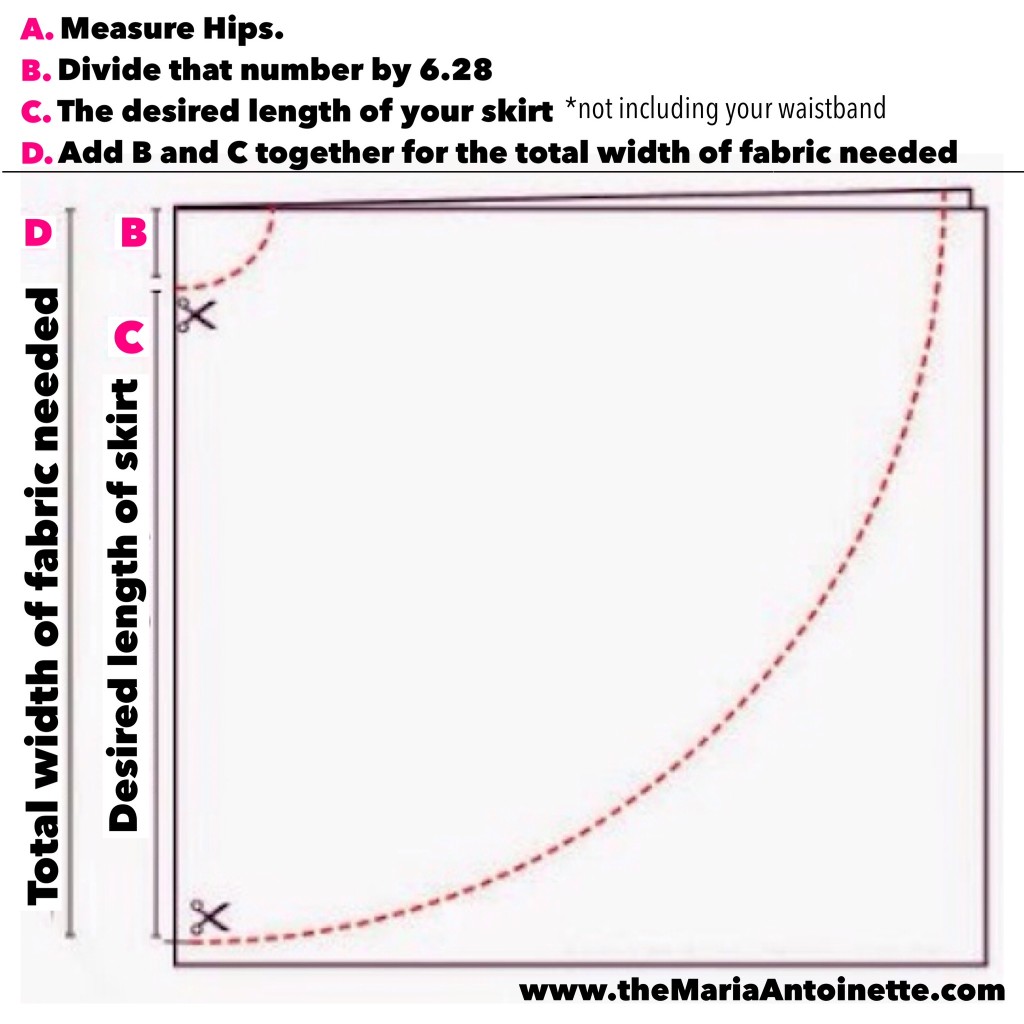
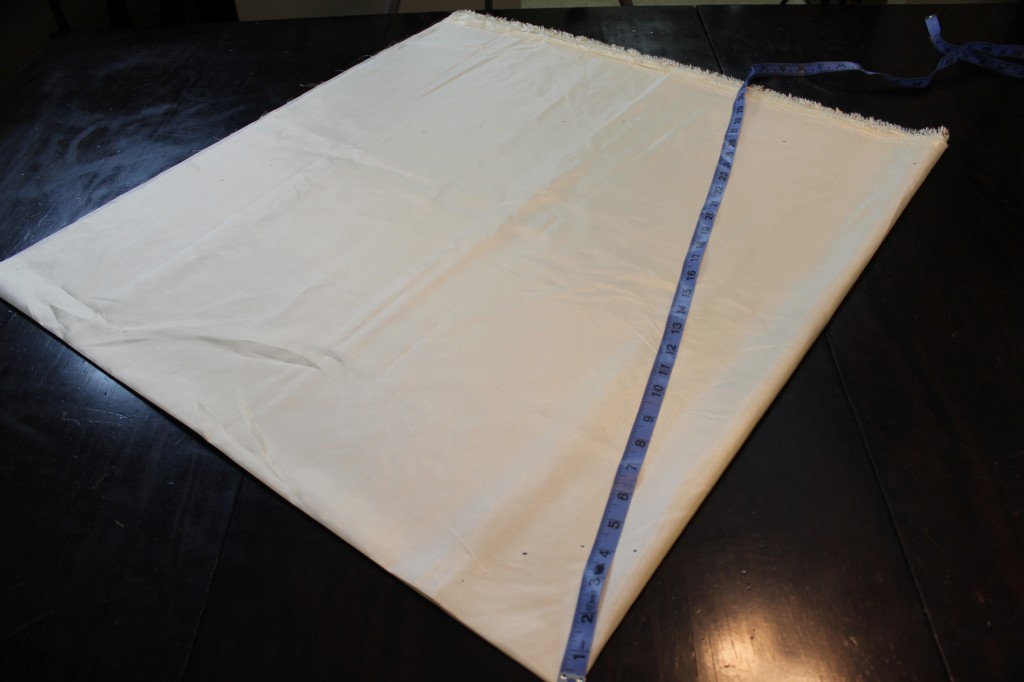
Here is a visual diagram of how I measured out my perfect fit. A. Measure your hips, not your waist!!! This is important because the skirt does not have a zipper so it has to fit over your hips!!! B. Divide the size of your hips by 6.28 that is the amount of inches you will need for the first circle shown below. C. is all about the length you want the skirt to be for me I measured 24 inches from section B. Use D. to make sure you have enough fabric!!!
To figure out how much fabric you will need you can take D and multiple it by 4. Then divide that total by 36 ( the number of inches in a yard). That total is the amount of fabric you will need…that is just one layer so make sure you add up the yards according to the amount of tulle you would like!!!
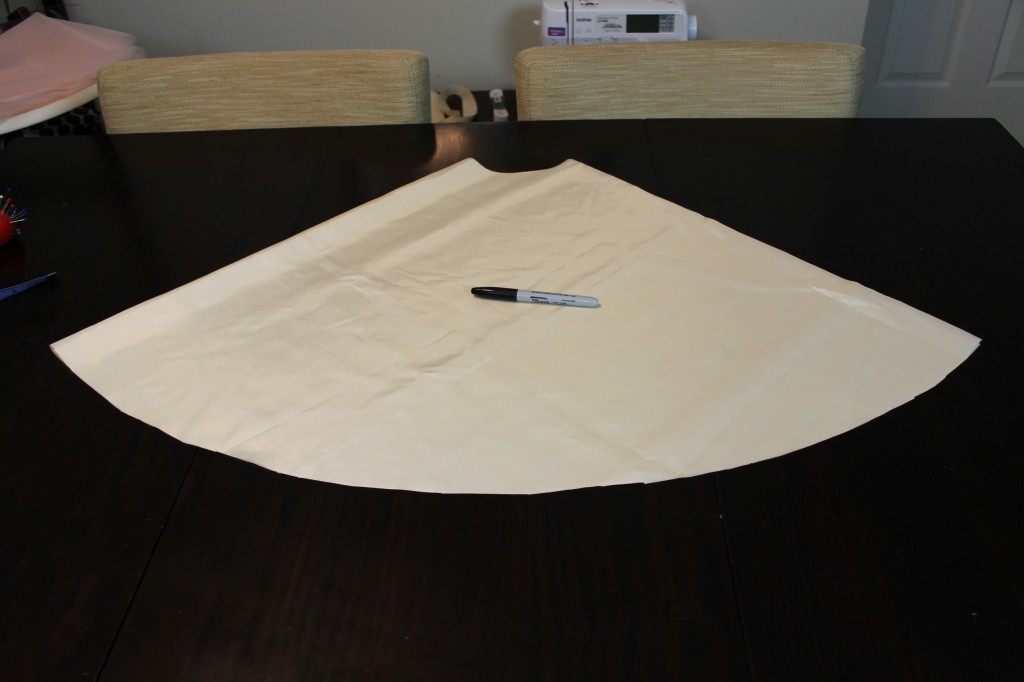
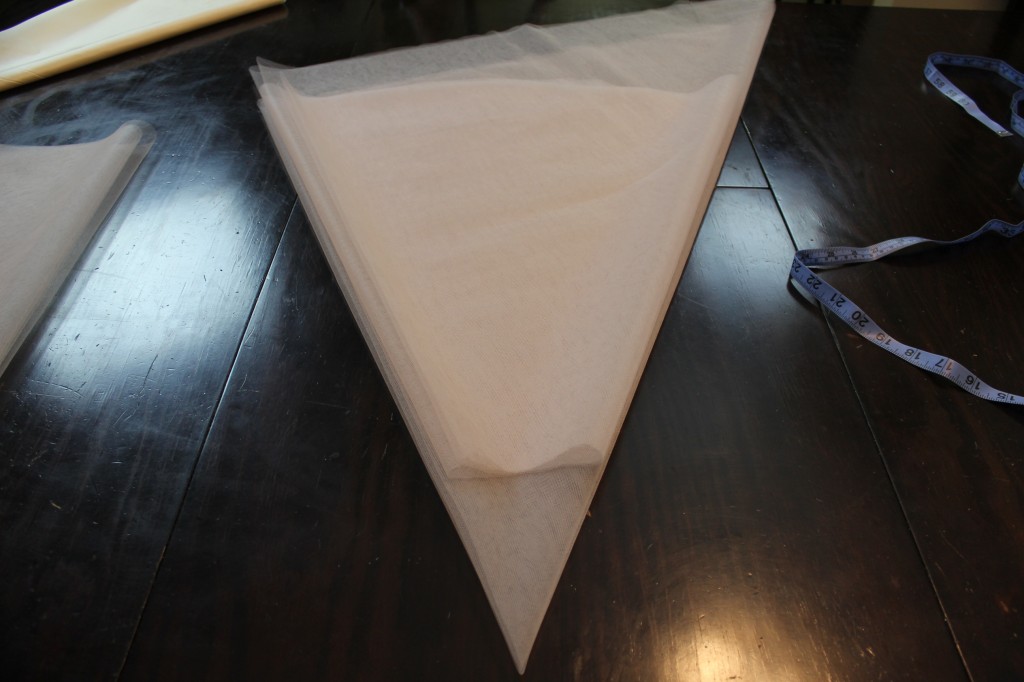
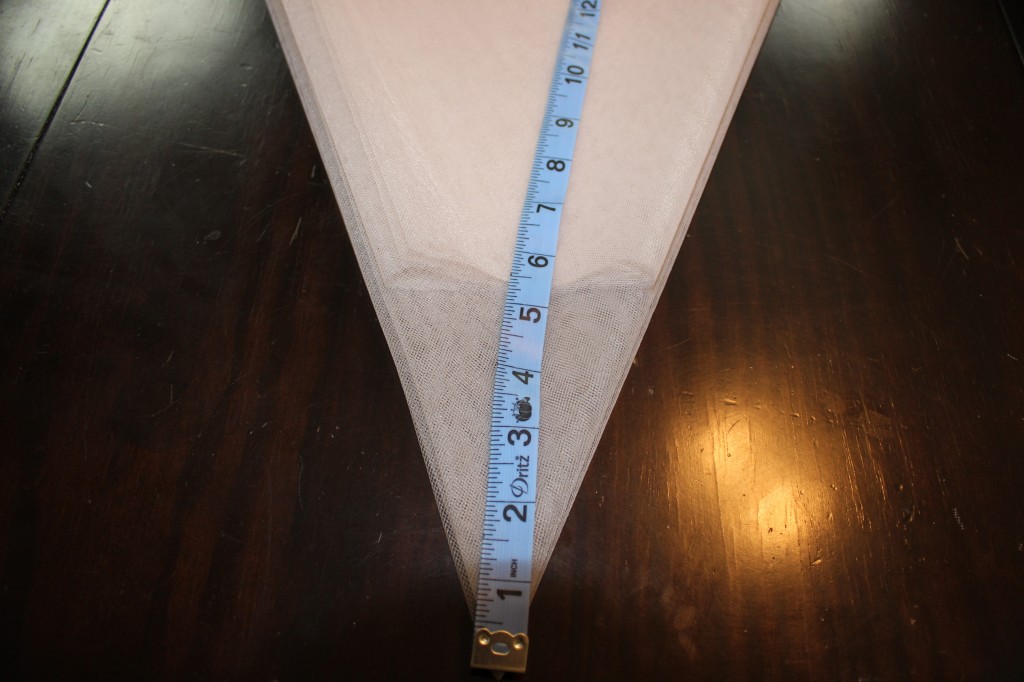
Okay below I used 4 inches and it was too small because I measured off my waist verses my hips I had to move it to 5.3 inches…long story short don’t be like me measure from your hips first!!! Using a pivot make an arch this will be the waist circle!
Do the same pivot and measure your length for the bottom of the skirt! I marketed with a sharpie you can use whatever you want to mark your fabric.
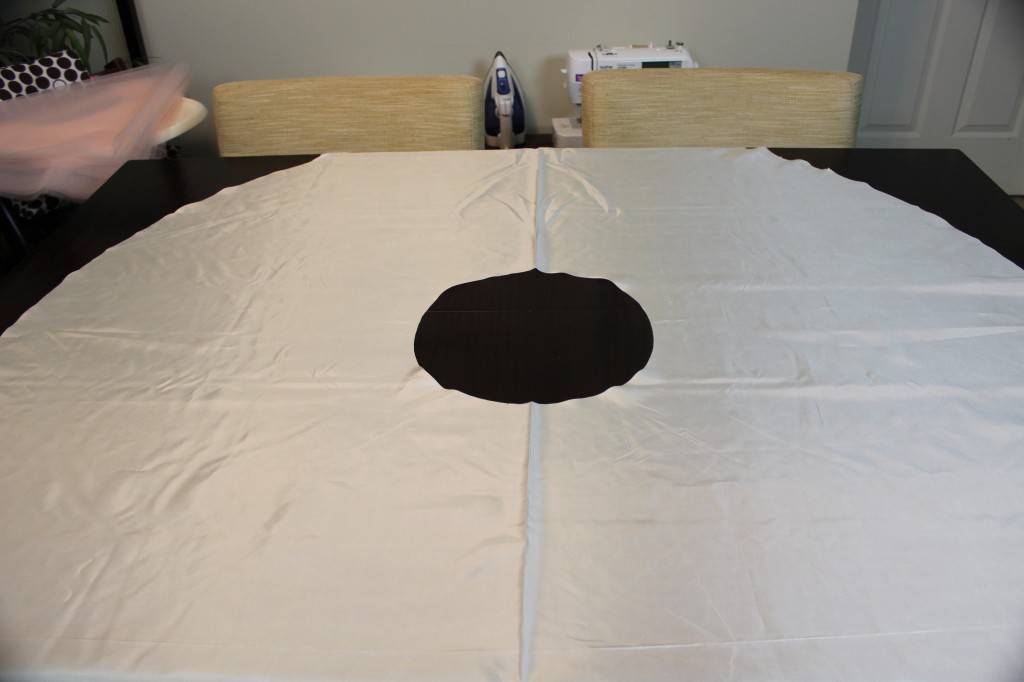
Cut along the dots you made and you now have your lining cut out!!! Yay almost there!!!
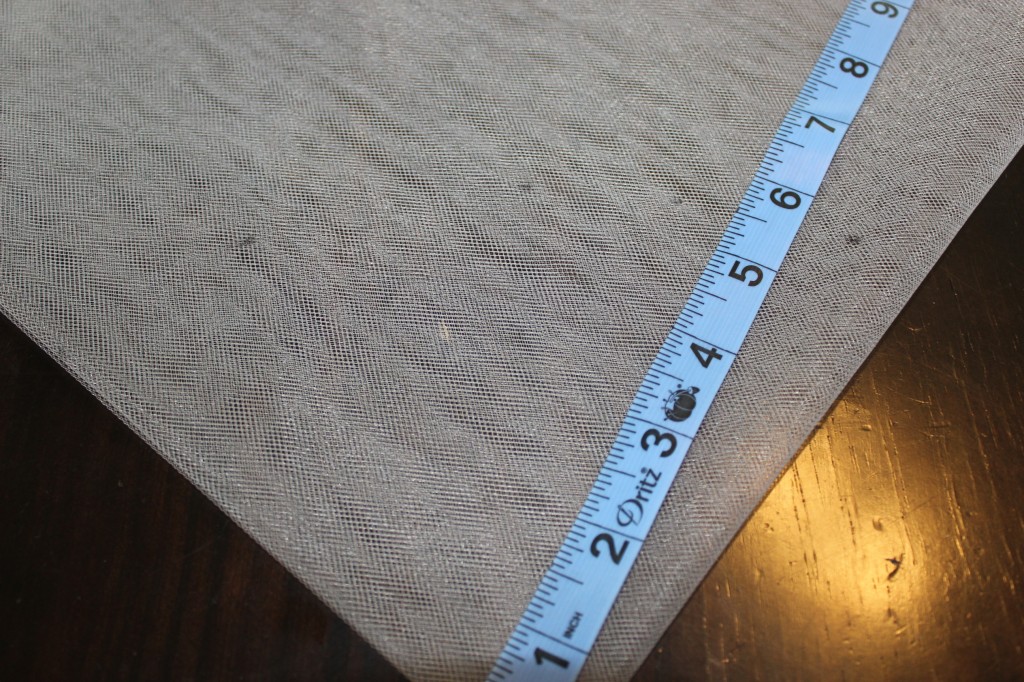
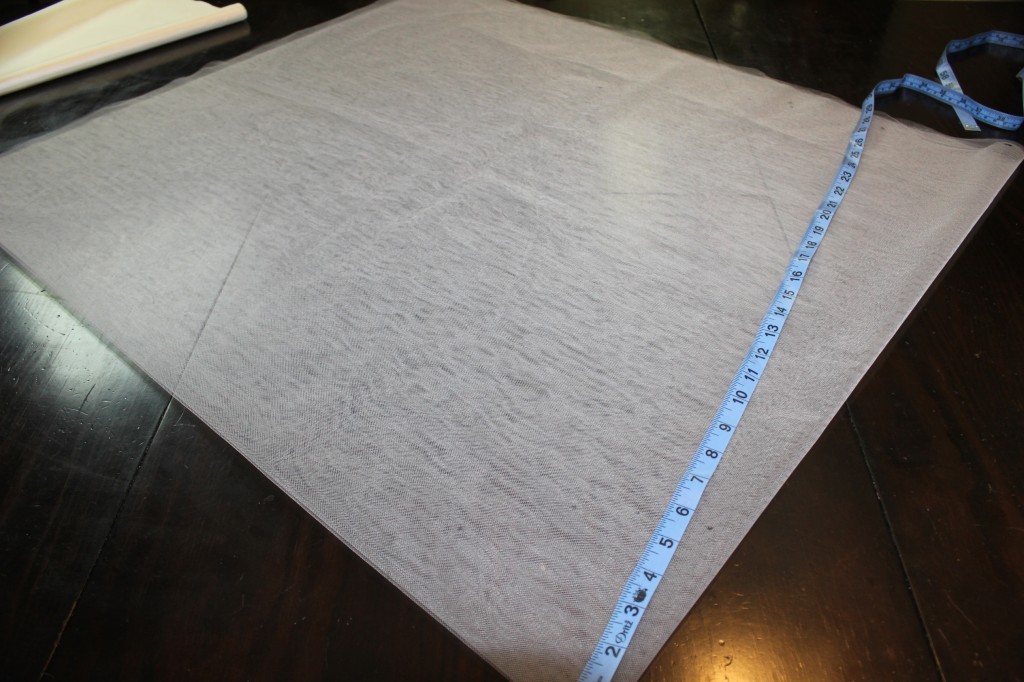
Repeat the same steps onto one layer of the tulle, there will be 4 layers in total of tulle.
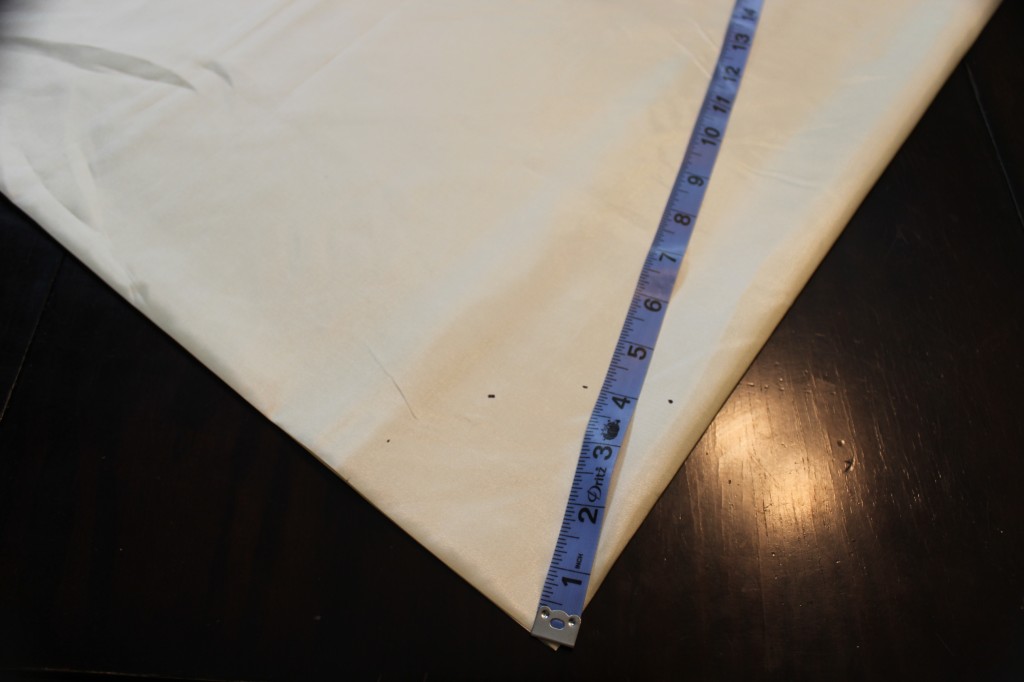
Once the first layer of tulle is measured and cut use that layer as a blueprint for the next three layers, shown below. Make sure to measure from the point to make sure the tulle is being cut in the right place!
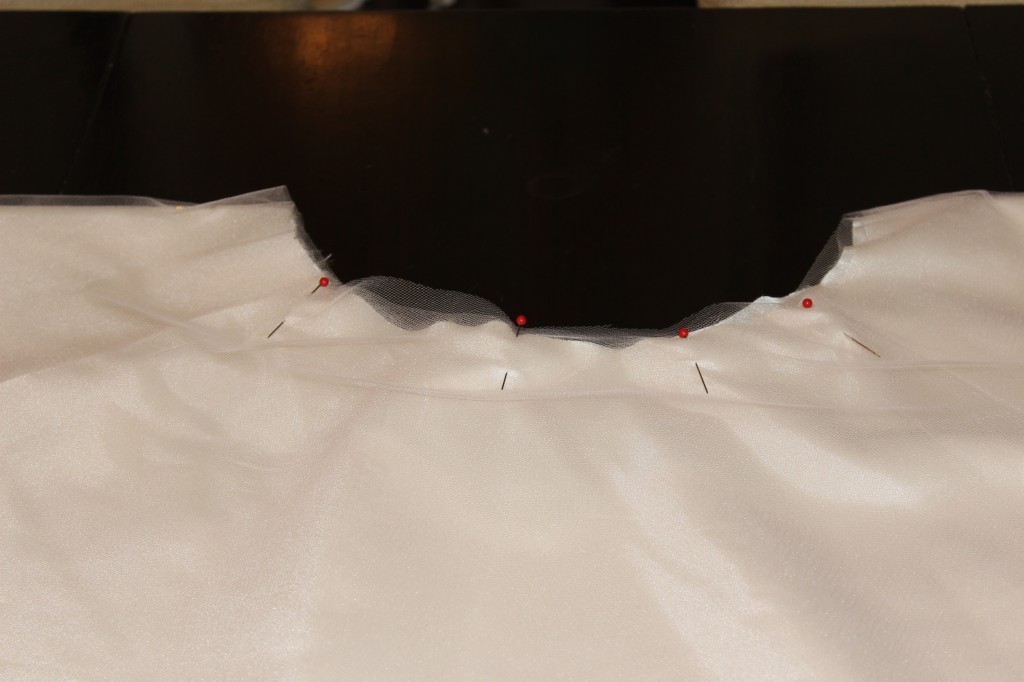
Once all the layer ( 1 lining, 4 tulle) are cut out. Lay the lining flat and layer the tulle layers on top of the lining. Simply pull all layers up buy the center circle and pin the tulle and lining together to prep for the basting stitch you will do. Sit the skirt aside once you have the basting stitch done.
I apologize I didn’t take pictures of these next steps but I do have it shown in the video below!!!
Take your No-Roll elastic band and stretch it around your waist cut and sew it up. Stretching the band will assure the band will be snug once the skirt is complete. Pick back up your lining and tulle skirt with the basting stitch and put it on…it should be too large to stay on your hips. This is why we put the basting stitch on the skirt! Simple pull the bobbin string and watch the skirt start to gather, stop once the skirt falls on your hips without having to be held up. Place the No-Roll elastic band over the skirt at your hips, the band will be stretched. Pin the skirt into the band at the hip. Remove and do a straight stitch to attach the skirt to the elastic band. Please make sure you so this step with the skirt and band stretched out!!! Don’t worry the elastic will pull it back in but this will allow you to pull the skirt on and off with ease! *Watch the video for a visual of this part! Once you have the skirt sewn together that’s it!!! So simple and chic you can never go wrong with a classic skirt like this!!!
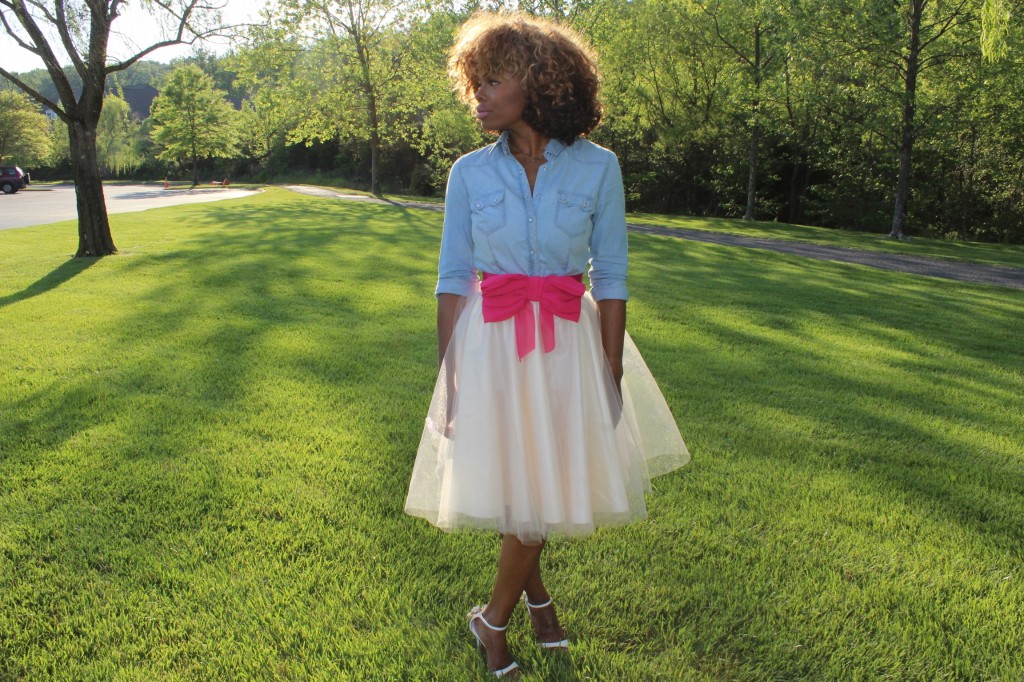
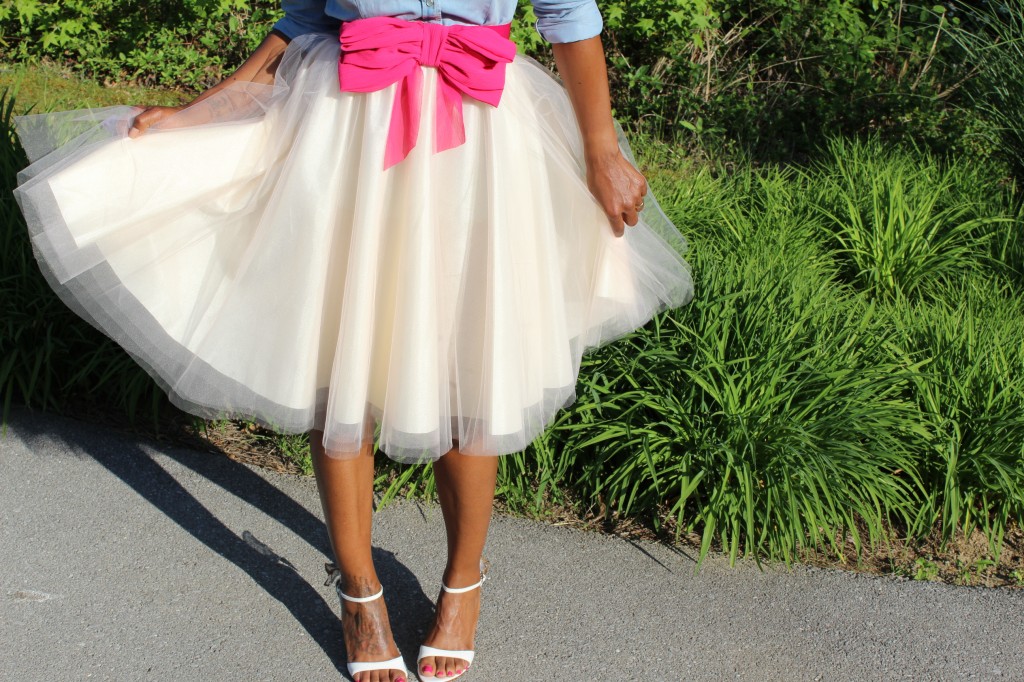
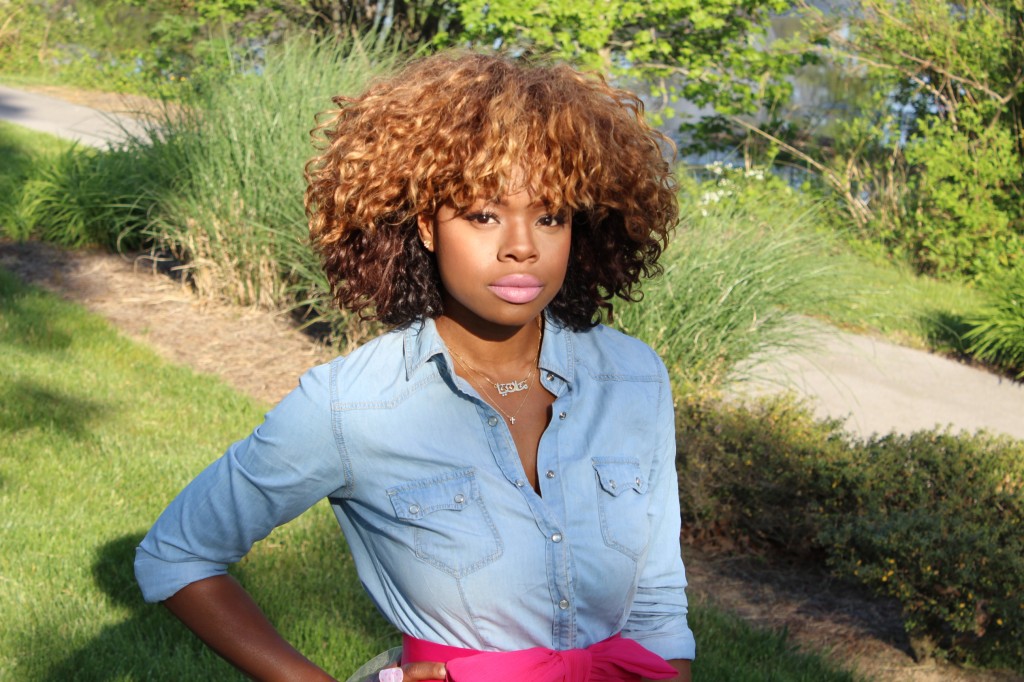
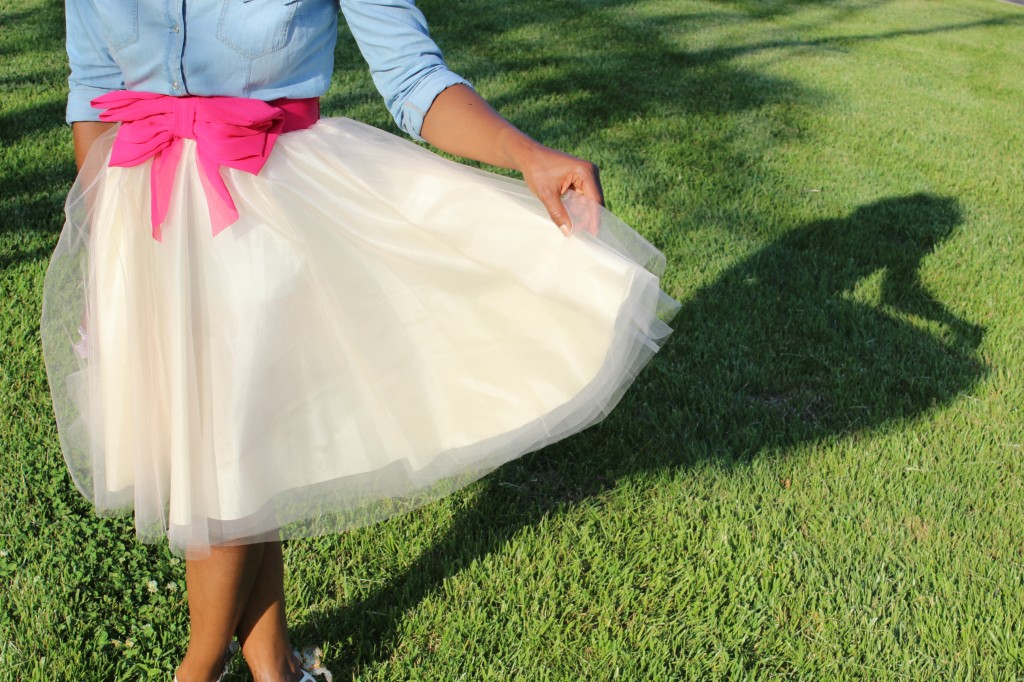
I paired my blush pink and champagne tulle skirt with a light denim skirt (Forever 21) and a pink bow belt (H&M)!
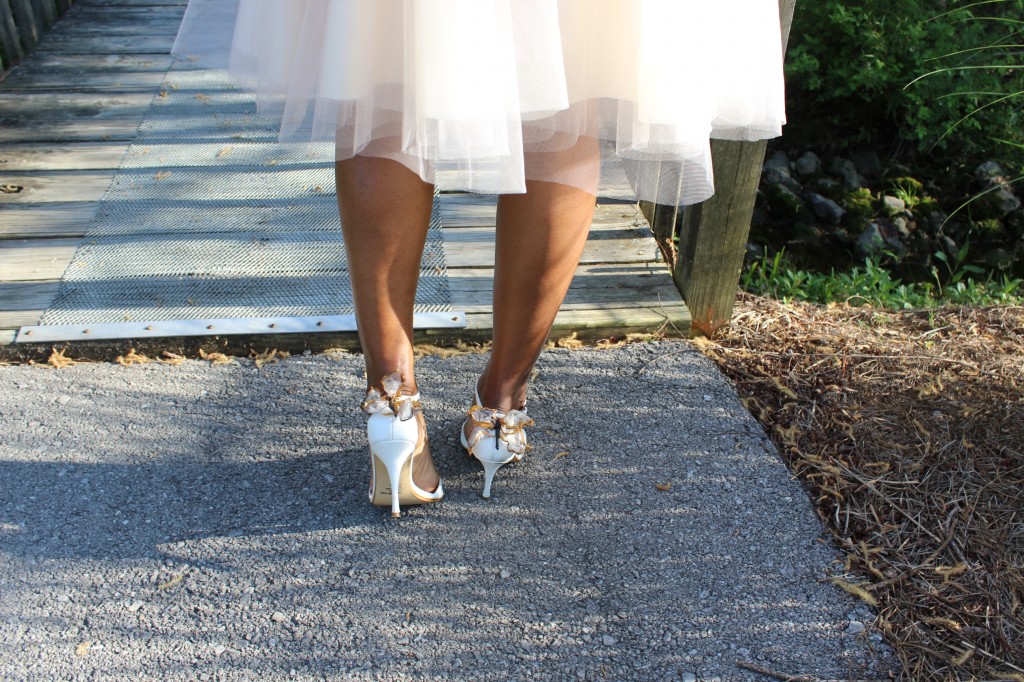 I have had these heels (Victoria Secrets) for over 13 years!!! Gotta love a great pair of white heels that with stand the test of time!!!
Bonus video:
~ Maria Antoinette ~
Latest posts by Maria Antoinette (see all)
- 10 Romantic Date Night Ideas For Any Time of The Year - January 26, 2023
- Tips To Help You Reconnect With What Brings You Joy - January 19, 2023
- Planning A Road Trip? Here Are Some Key Tips You Should Know - January 12, 2023




Hello there!!
Love everything that you are doing! How do I set up the tulle to be cut? Since, I need 4 yards of fabric.. should I cut the 4 yards into 4 separate 1 yards? I’m so confuse about that part..
Thank you,
Martha Singleton
Yes cut each layer using the math to assure it’s going to be long enough… 4 yards might not be enough so don’t cut 1 yard until you know that will assure enough length
I’m sorry I have 7 yards. Is that enough?
Yes should be enought
I’m new to sewing. What is a basting stitch and do I need to do that all the way around the whole skirt or just a portion of it?
Basting is a wide straight stitch… I recommend doing the whole waist it might break but that doesn’t matter you just want the gather. You can also make gathers randomly on the skirt at the waist and pin i if basting isn’t your thing!
Thank you. Made it…love it!
I can’t sew at all. I want to make a no sew skirt. How can I add a lining?
You can use no-stitch witch it’s an adhesive that can be ironed into the two items. You would have to stretch the waist band on your ironing board and iron small sections at a time.
Hello, I love this tutorial. I cannot sew at all so this will be my first project and will probably use the no stitch adhesive you mentioned. Assuming that the Width of the Tulle is 54 inches Wide, how do I fold? This is the part that has me stump on how to measure the circle and I fell silly for asking Should I get the 108 inch Wide Tulle?
I wish you the best of luck this is a great first sewing project!
I tried to post but it went away. Love this tutorial, I cannot sew so this will be my first project. May I ask how you fold to measure and cut. I am trying to figure out how to get the skirt circle as your liner as one continuous piece. I have a 54 inch Tulle bolt. Did you use 108 inch wide bolt?
This is a great first project and I am sure you will do fine!
Love the skirt but what is it called the thing under the tulle? So that it’s transparent
It’s lining material. Hope that helps!
If you allow, I would like to share it tulle skirt
Thank you for sharing!!!
This tutorial is amazing! I have a question regarding folding the fabric before cutting. How did you get it so that the skirt is continuous? Cause how I see it, is that you’re just folding the fabric in half and then cutting, but in my head that doesn’t make a continuous skirt, I see the shape of a circle skirt that would need sewing down the seam to attach the two ends together
The fabric comes off the bulk folded in half. I folded on that crease to create the triangle shape. Hope this helps!