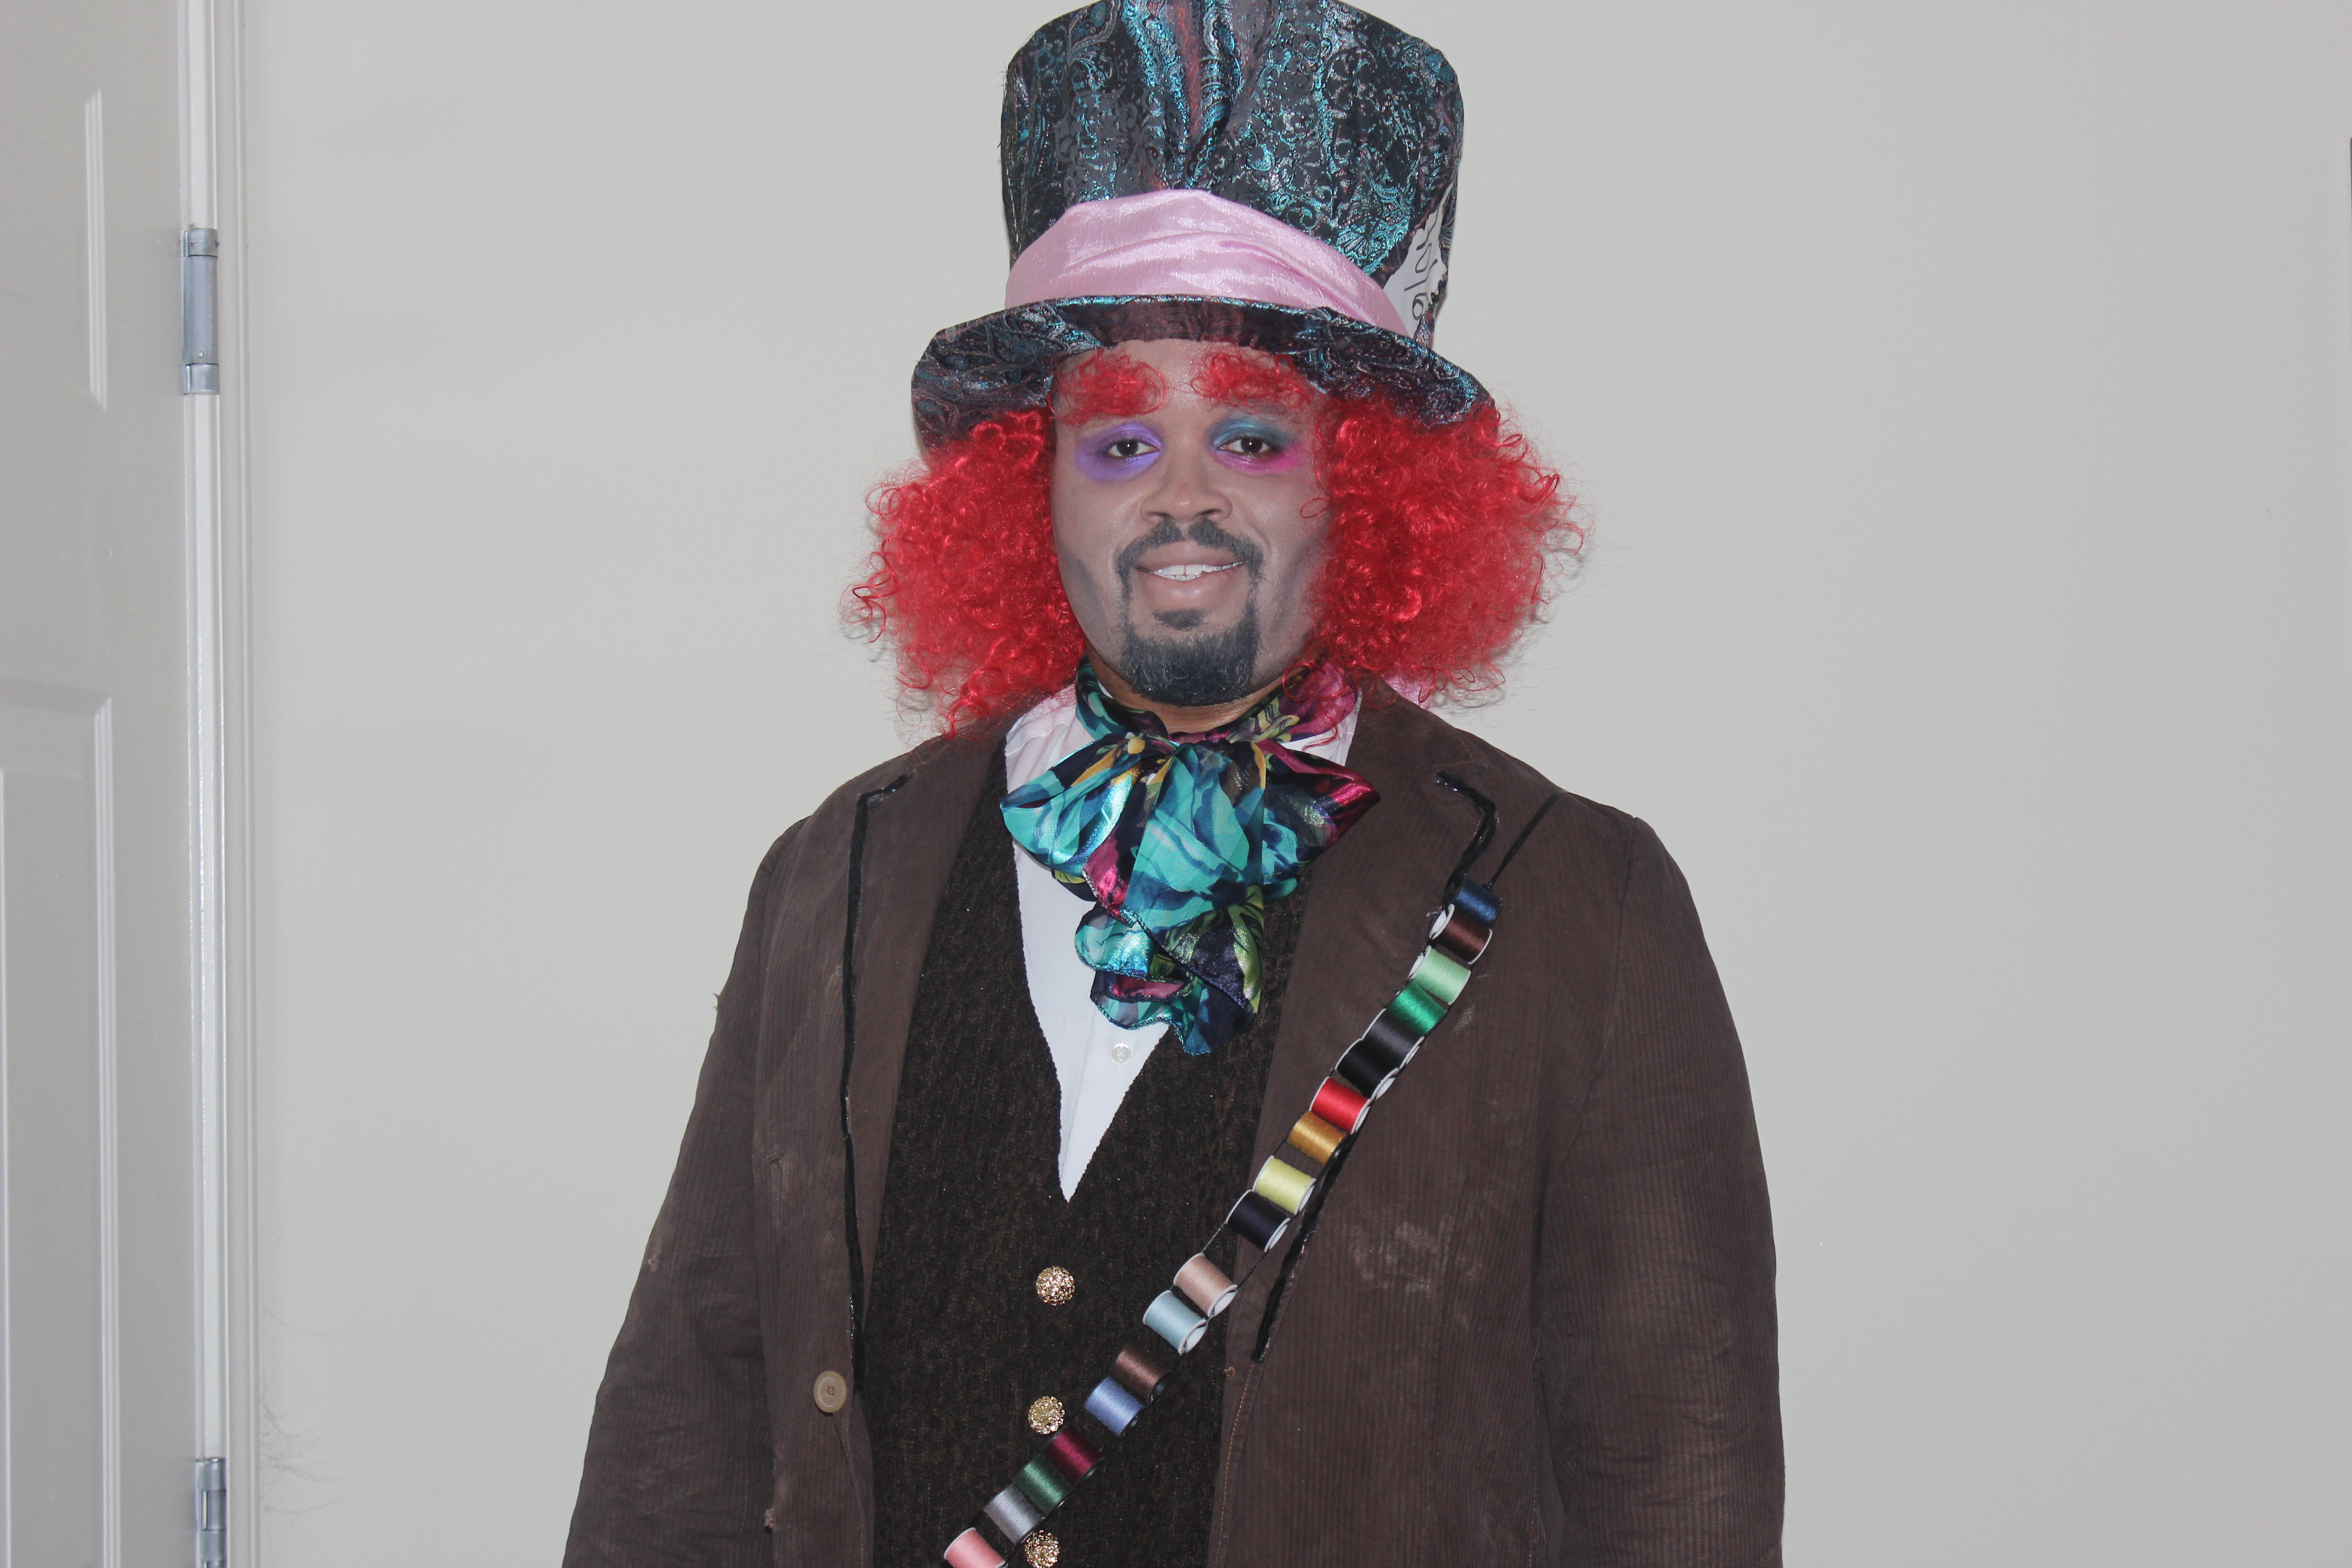
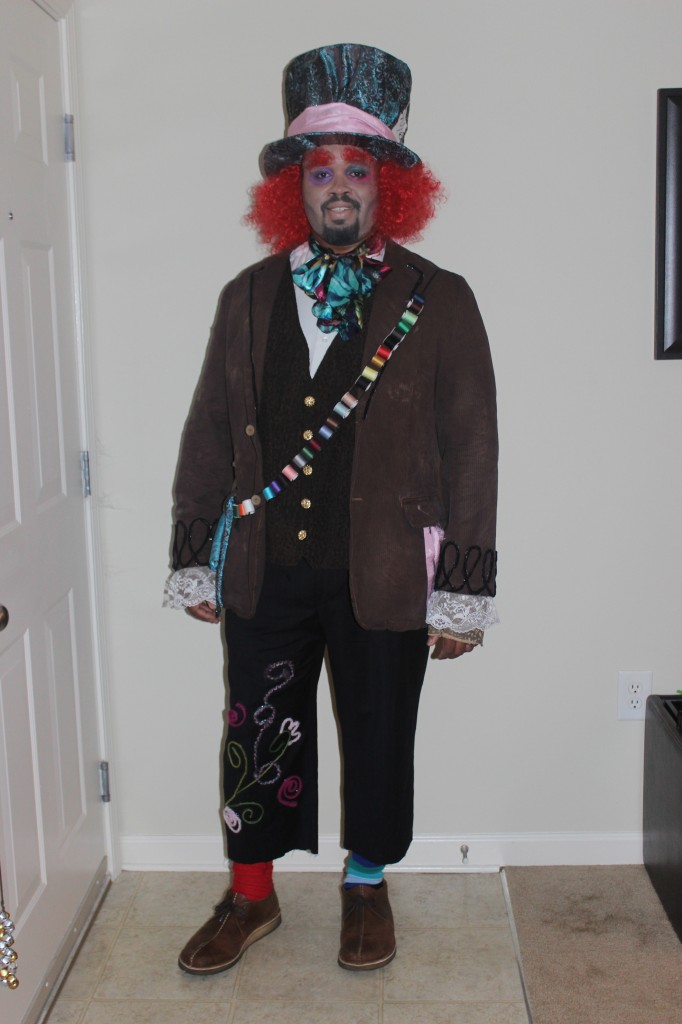
This post is all about the magic that took place for me to recreate the incredible character The Mad Hatter from Tim Burton’s Alice and Wonderland! If you recall I posted about the initial Halloween Challenge 2012 proposed by the Hubs. Quick recap I had a $100.00 dollar budget and 12 days to construct the costumes from either thrift store or fabric store purchases…I made it harder on myself by picking the Red Queen and Mad Hatter!!!
The Making of The Mad Hatter
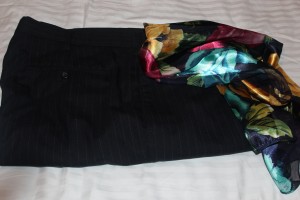
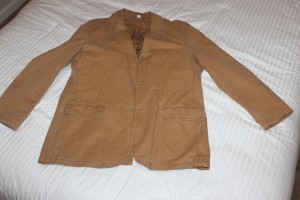
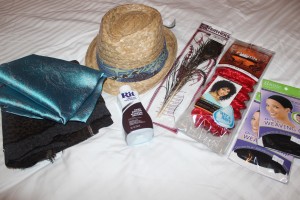
Okay so the Hubs costume was mostly thrift and a pinch of fabric store! We started on his look two days after we came up with the idea of this Halloween Challenge. We went out thrifting on Saturday morning and we got pretty luck! The first stop we found his pants, which HAD to be pin-stripped! The second location we found the jacket, now the jacket wasn’t the right color but it was cotton which means we can dye it! We had no luck finding a vest so I suggested making the vest. We stopped by a Halloween mega store for a hat, in which we did not use, Ughhh!!! Grabbed a bag of bright red hair weave and a wig cap for the wig at King’s Beauty Supple and we also found the perfect scarf for his neck tie. Stopped at Jo-Ann Fabric & Craft Store and picked out the cheapest fabric for his vest, gloves, hat and scarf around the hat. Grabbed a pack of peacock feathers, dark brown dye for the jacket, two packs of mini thread for the thread belt and last but not least two packs of gold buttons for his vest.
Pants and neck scarf.
Original jacket, we dyed it dark brown and the Hubs distressed it with a sanding block.
Fabric, dye, hat (we didn’t use), peacock feathers, bright red hair weave and wig caps
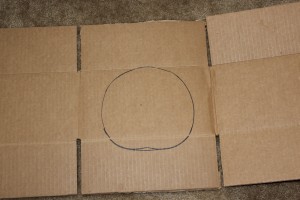
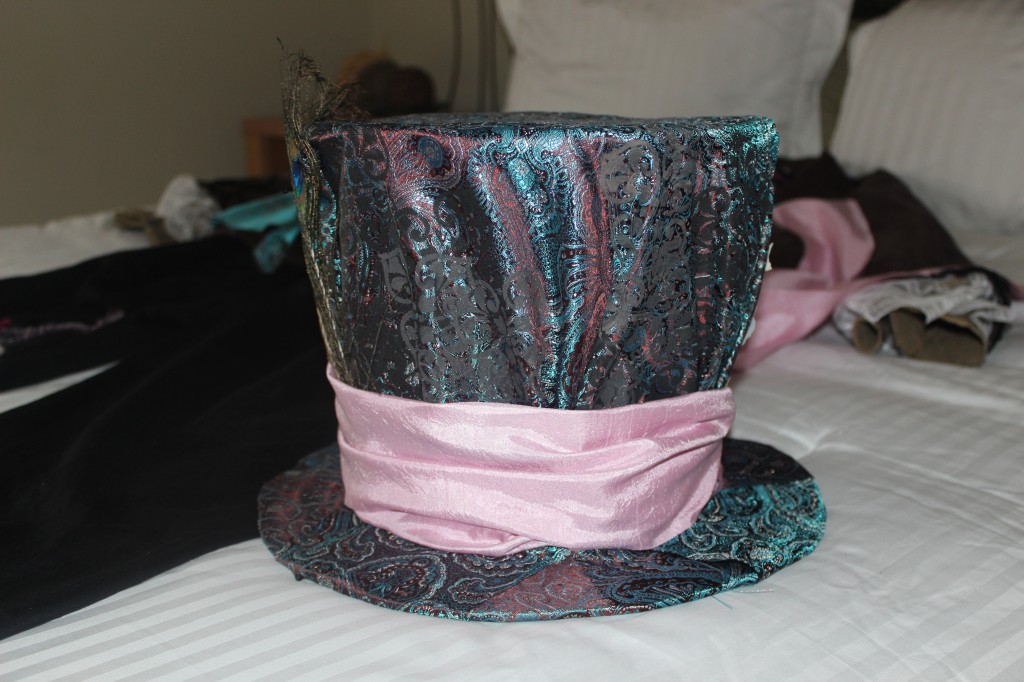
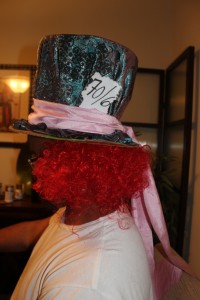
Making of the hat
The beginning of the hat
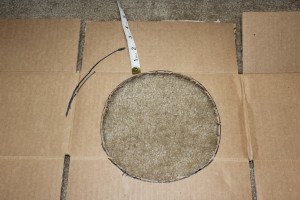
Measuring the bill
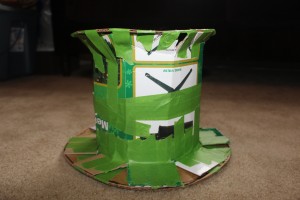
The hat frame, lol!!! I used a lot of painting tape to shape it accordingly.
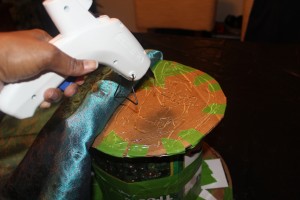
I glued gunned the fabric to the cardboard.
Voilà!!!!
Making of the wig
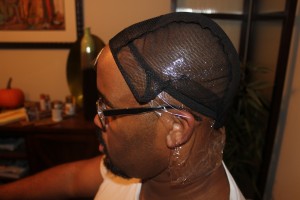
I knew I was going to glue the hair weave to the wig cap so I placed plastic wrap under the wig cap so the Hubs wouldn’t get glue on his scalp!
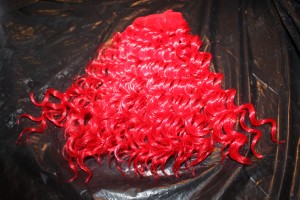
The bright red wavy hair weave.
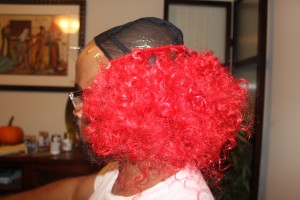
I glued the hair on the wig cap with hair glue and I comb and back combed the hair into a triangle shape.
Voilà!
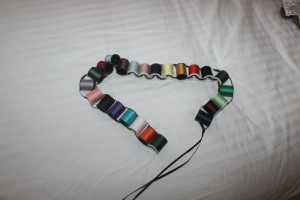
The tread belt
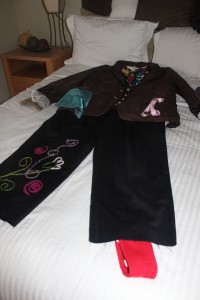
The whole look, I hot glued the colored yarn on the pants leg and we used old socks we had around the house!
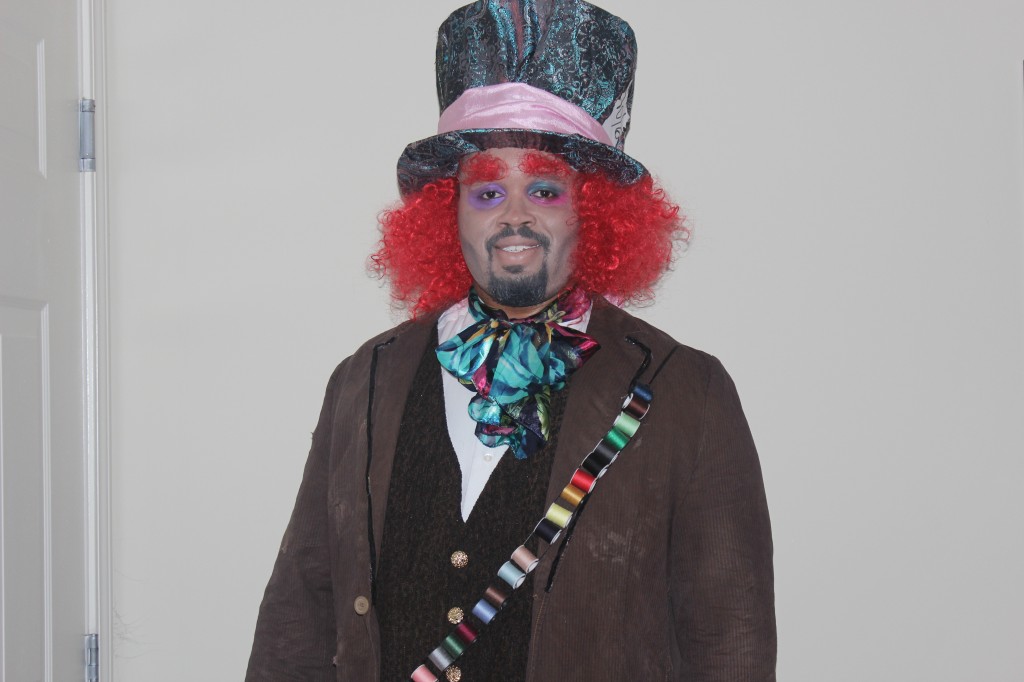
For the eyebrows: I used double side tape and cut small pieces of the hair off the wig! Makeup: I used Chanel Pro Lumiére Soft Bisque, Wet n Wild, MAC and Make Up Forever!
Introducing The Mad Hatter!!!
The total for the Hubs costumes…drum roll please…
$40.31 leaving $59.87 for my costume!!! Click The Making of The Red Queen to see if I was able to stay within budget!!!
“When there is a will there is a way”
~ Maria Antoinette ~
Latest posts by Maria Antoinette (see all)
- 10 Romantic Date Night Ideas For Any Time of The Year - January 26, 2023
- Tips To Help You Reconnect With What Brings You Joy - January 19, 2023
- Planning A Road Trip? Here Are Some Key Tips You Should Know - January 12, 2023

