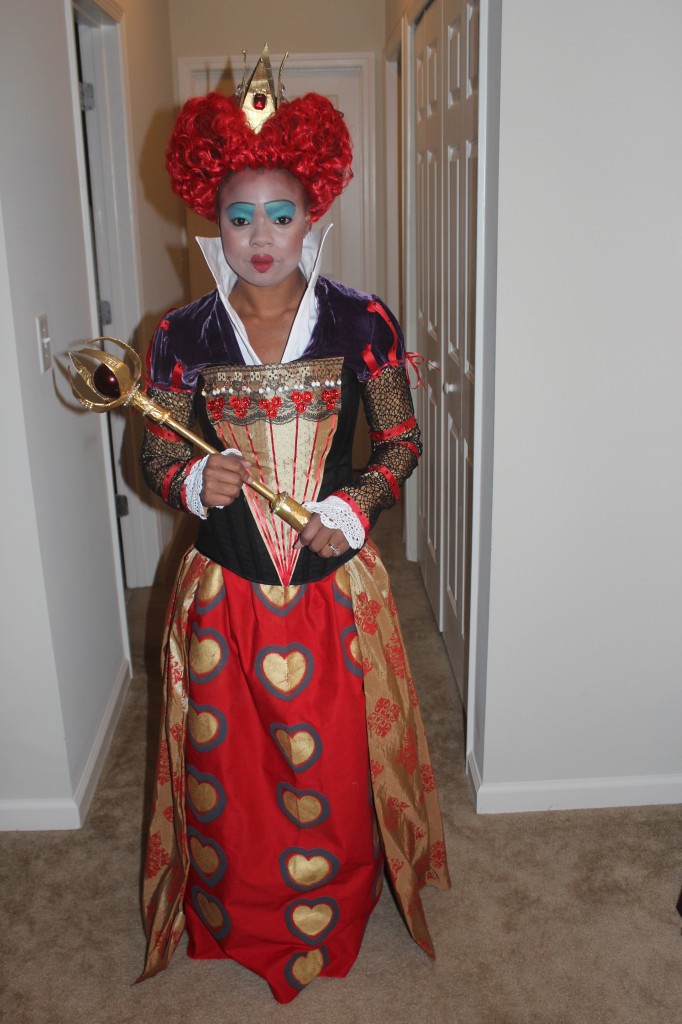
This post is all about the magic that took place for me to recreate the incredible character, The Red Queen, from Tim Burton’s “Alice and Wonderland”! If you recall, I posted about the initial Halloween Challenge 2012, proposed by the Hubs. Quick recap: I had a $100 dollar budget and 12 days to construct the costumes from either thrift stores or fabric store purchases…I made it harder on myself by picking the Red Queen and Mad Hatter!!!
Making of the Red Queen
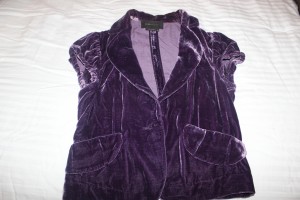
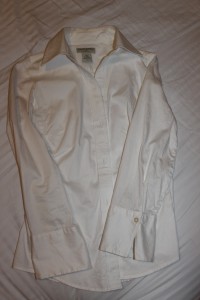
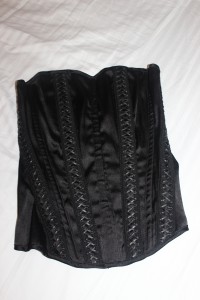
As soon as I solidified our costumes, I ran into our closet!!! I pulled out an old, white button down shirt, a velvet purple jacket and I found an old corset from my bartender days! I was half-way done before the stores opened the next day!!! I pinned the jacket collar and the blouse collar and started figuring the best way to alter my corset to work for this costume.
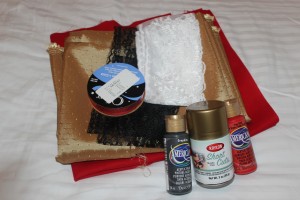
The next day, I ran over to Jo-Ann Fabric & Craft Store and by luck, they were having a huge sale on fabrics and this kind woman told me all about their app which had 3-4 reusable coupons!!! Can we say WINNING!!! I found my skirt fabric: the red fabric was a plan cotton, and the gold fabric was a stain-like fabric. I bought enough of the gold to make the chest plate on
The Red Queen’s corset and the sleeves! Now, I am a complete sucker for detail. I really wanted this to look as authentic as possible, so I purchased a stencil pack, fabric paint, gold spray paint, 4 small doilies, a small piece of black lace, black net and red ribbon for the sleeves.
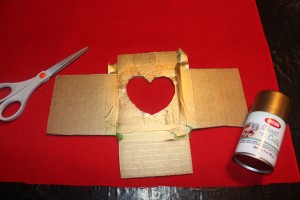
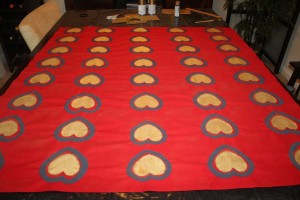
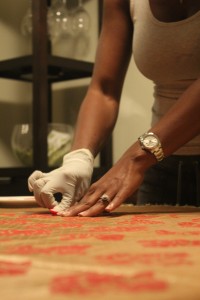
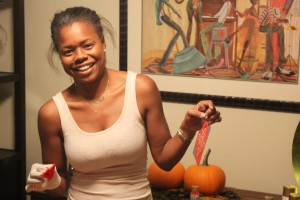
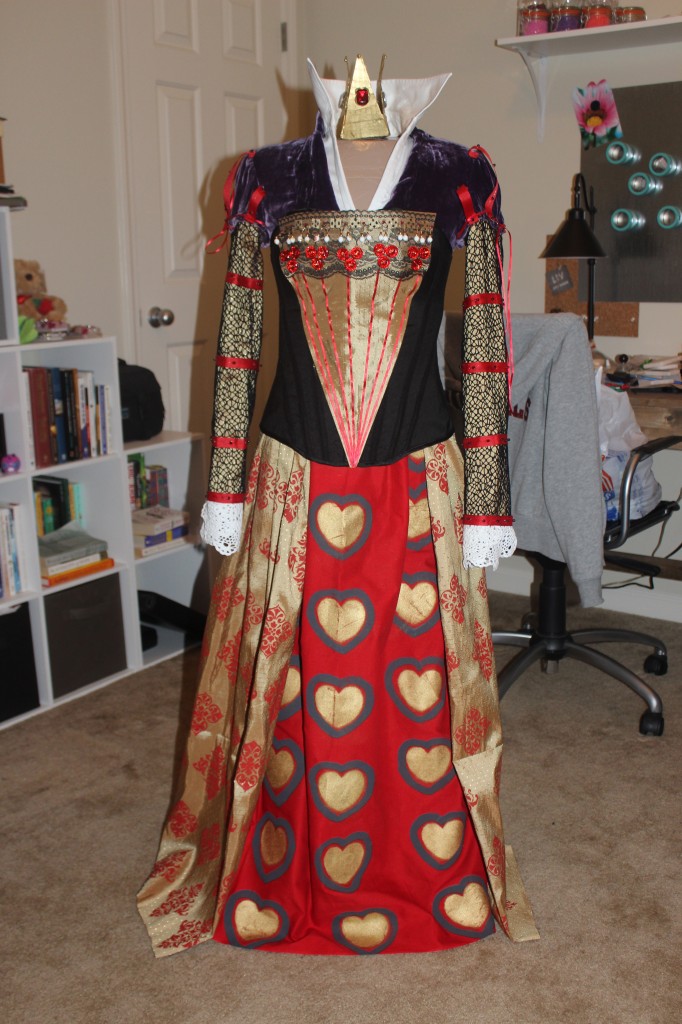
The skirt was the first thing on my agenda, because I wanted to hand paint all of the details…I know I’m crazy but it was so worth it! For the red inlay on the skirt, The Red Queen has gold hearts with a black outline…I used a piece of card board and cut a heart out as my stencil…I am on a budget here!!! Then, I let that dry over night and the next day I hand painted the black outline around each gold spray painted heart.
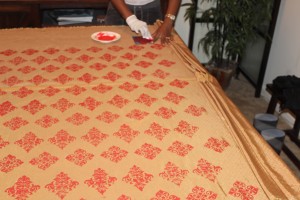
For the outer part of the skirt, I decided to use two different type of stencils for the pattern, because it was two different patterns on The Red Queen’s skirt. I hand sponged the pattern with red fabric paint. It took me two days to complete the skirt!!!
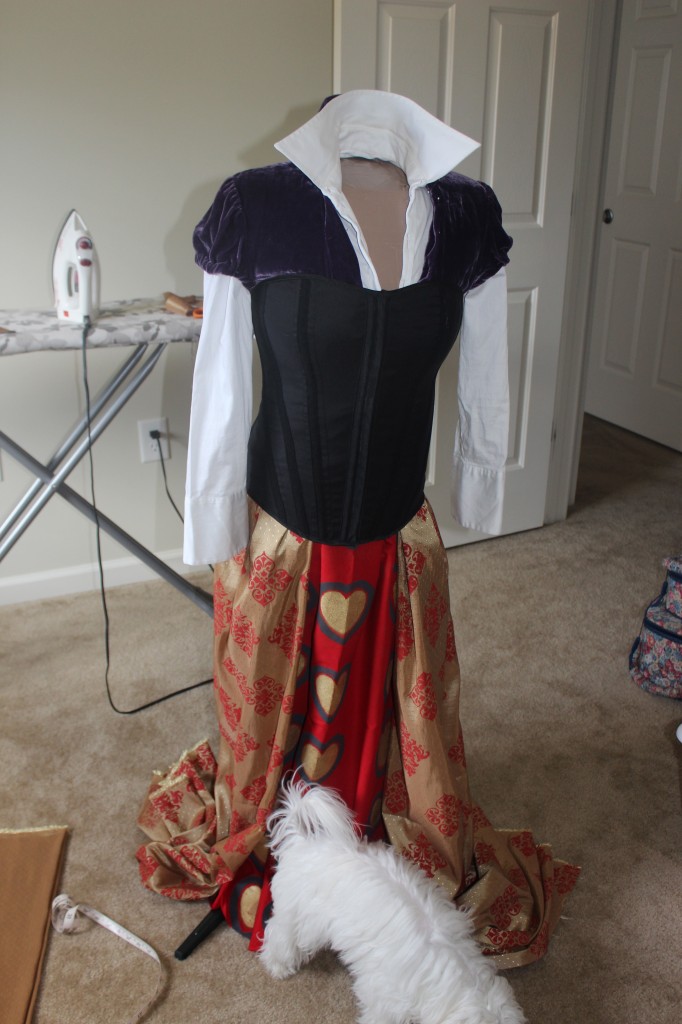
Starting to look like something…huh?!?!? Oh yeah I also made this custom Dress Form during all this Halloween goodness!!! Look at Coco, she was my assistant! lol
Now for the sleeves and corset details!!!
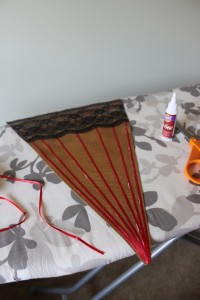
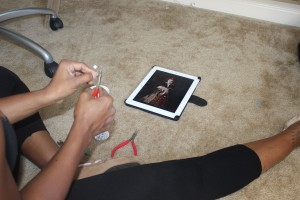
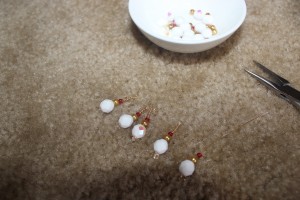
I turned the corset, that I already had, inside out because the outside has leather and other adornments on it. I used the same fabric from the gold outer part of the skirt minus the red stencil details for the triangle shaped accent on the front of the corset. And, I glued the thin red ribbons on with fabric glue. Using the same fabric glue, I glued down the piece of black lace on the top of the upside down triangle. I hot glue-gunned all the red buttons into threes and hand made all of the jewelry accents, in which I used glue gun to adhere it.
I made two sleeves out of the remaining gold fabric and two sleeve covers out of the black net fabric. Placing the gold sleeves inside the black net, I attached the sleeves into the capped sleeve of the velvet jacket. I also cut the arms off the white blouse to prevent additional bulk. With my gold/net sleeves attached to the jacket, I started the ribbon laying. I used the glue gun to attach small black beads about a 1/2 inch apart on the ribbon and then added it to the capped sleeves of the velvet jacket and down the arms of the gold/net sleeves. Using a thinner ribbon, the same ribbon on the corset adornment, I made the bows on the bottom of the capped sleeves. At the cuff, I cut two doilies in half and hot glued them to the sleeves and covered with the last ribbon.
A Queen MUST have a crown and a scepter!!!
DO NOT LAUGH at my approach to making these items!!! OR…Off with you heads…j/k!
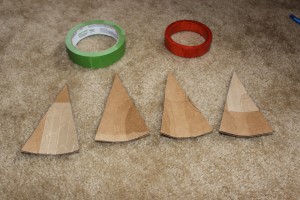
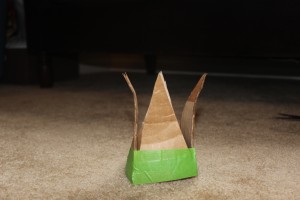
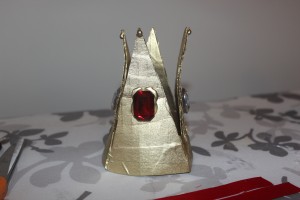
For the crown, I constructed it completely out of cardboard! Now, in my mind, I didn’t have the computerized graphics to make my head appear larger than life so I figured I’ll play with the dimensions of the crown. I used a bangle that I had as my foundation and I cut four narrow triangles. Using the bangle, I bent the card board along the bangle for shape and I taped all the card board together, minus the bangle. With my gold spray paint and hot glue gun I know have a crown..voilà!!!
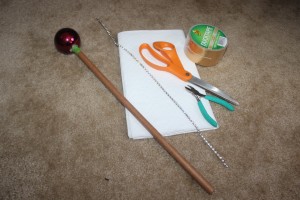
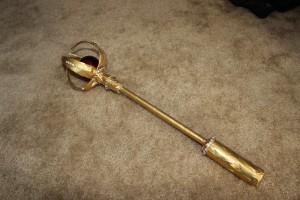
The scepter was so easy, and I am actually impressed at how well it turned out. Using the middle cardboard piece of the hanger (the ones you get from the dry cleaners) I had the shaft. For the shine red stone in the real scepter I used a plastic Christmas ornament, a little gold Duck Tape and paper towels, yes paper towels I created a awesome scepter. I attached the ornament to the cardboard stick thingy with tape. I then took paper towels and laid about 10 sheets on top on each other, so it was nice and plush. Then I cut the width I wanted for the handle and wrapped the paper towels around the bottom of the stick with the gold Duck Tape. I made the part that curves over the ornament with the remaining paper towels I had stacked, I split the stack and cut out four narrow triangles and placed wired inside and wrapped with the gold Duck Tape. I hot glue gunned all four triangles to the top of the stick but under the ornament and shaped them to curve over the ornament. I wrapped the entire scepter with the gold Duck Tape and hot glue gunned the rhinestones on for added pizzazz!
Now for the last two components: Hair and Makeup!!!
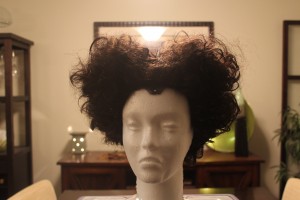
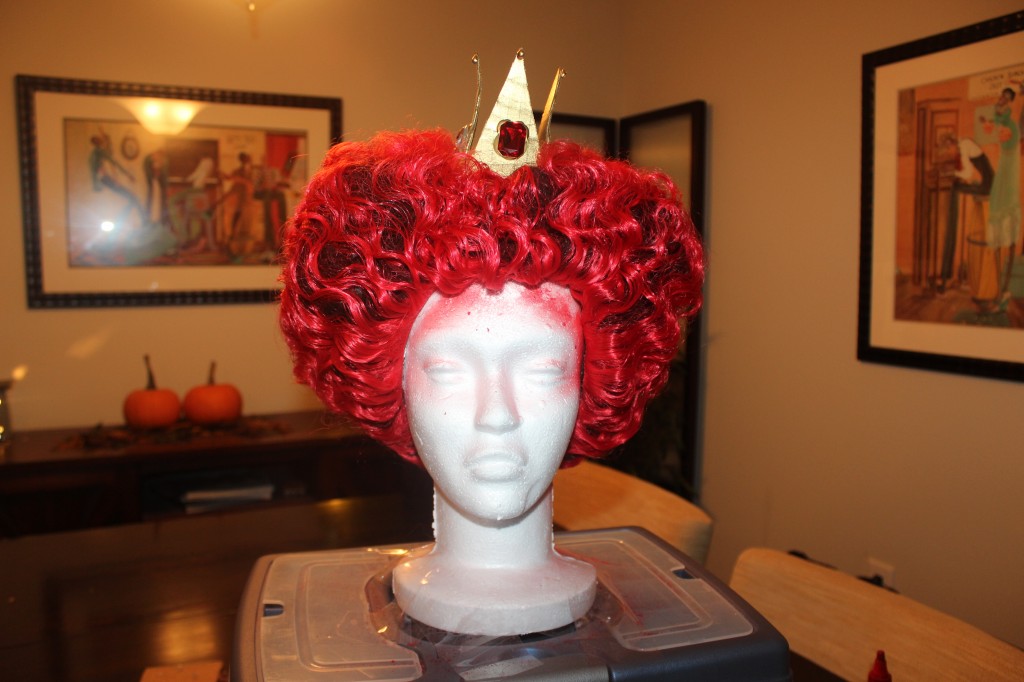
Yes, you KNOW I made the wigs!!! The Hubs and I shared one bag of wavy bright red weave for two costumes. Well, one bag wasn’t enough and at this time the budget was getting tight, so I had to get very innovative on this feature!!! I went to my weave/wig storage container and I pulled out this old synthetic wig I had from years back!!! I knew it was perfect but the color was all wrong! But, that’s nothing a little spray paint couldn’t fix! I took the wig and placed it on my wig head, part the wig half up and half down. Then took the half up part and part it into two sections like pigtails on a child, left the perimeter loose and messy bun the two sections to create the heart shape, I then back combed the perimeter including the back up to the two buns. I took my bright red spray paint and sprayed the dark brown wig…it didn’t get bright red but I still had a couple of pieces of the bright red weave that I used in the front to really seal the look! I finished the look by hot gluing the crown into place!!!
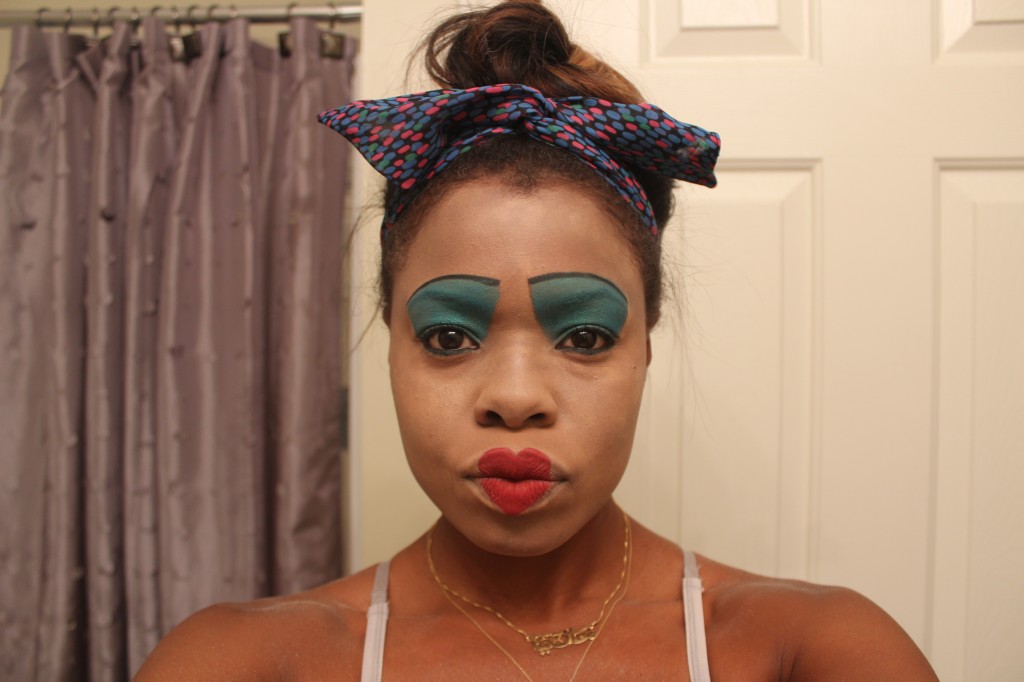
Make up was my biggest concern..I have NEVER done a white face!!! I knew that the store bought stuff would look horrible so I started doing a little Instagram research by questioning random makeup artist. I was told to try the lightest foundation I could find and go from there! So I used Chanel Pro Lumiére Soft Bisque foundation I had at the house, from my pretend MAU artist days, lol. The rest was pretty easy. Using Wet n Wild blue eyeshadow and a piece of cardboard ,from some random packaging, I was able to make the sharp edges of my eye shadow and drew the red heart lip with MAC Brick lip pencil. Used black eyeliner for my brow and for lining my eyes..voilà!
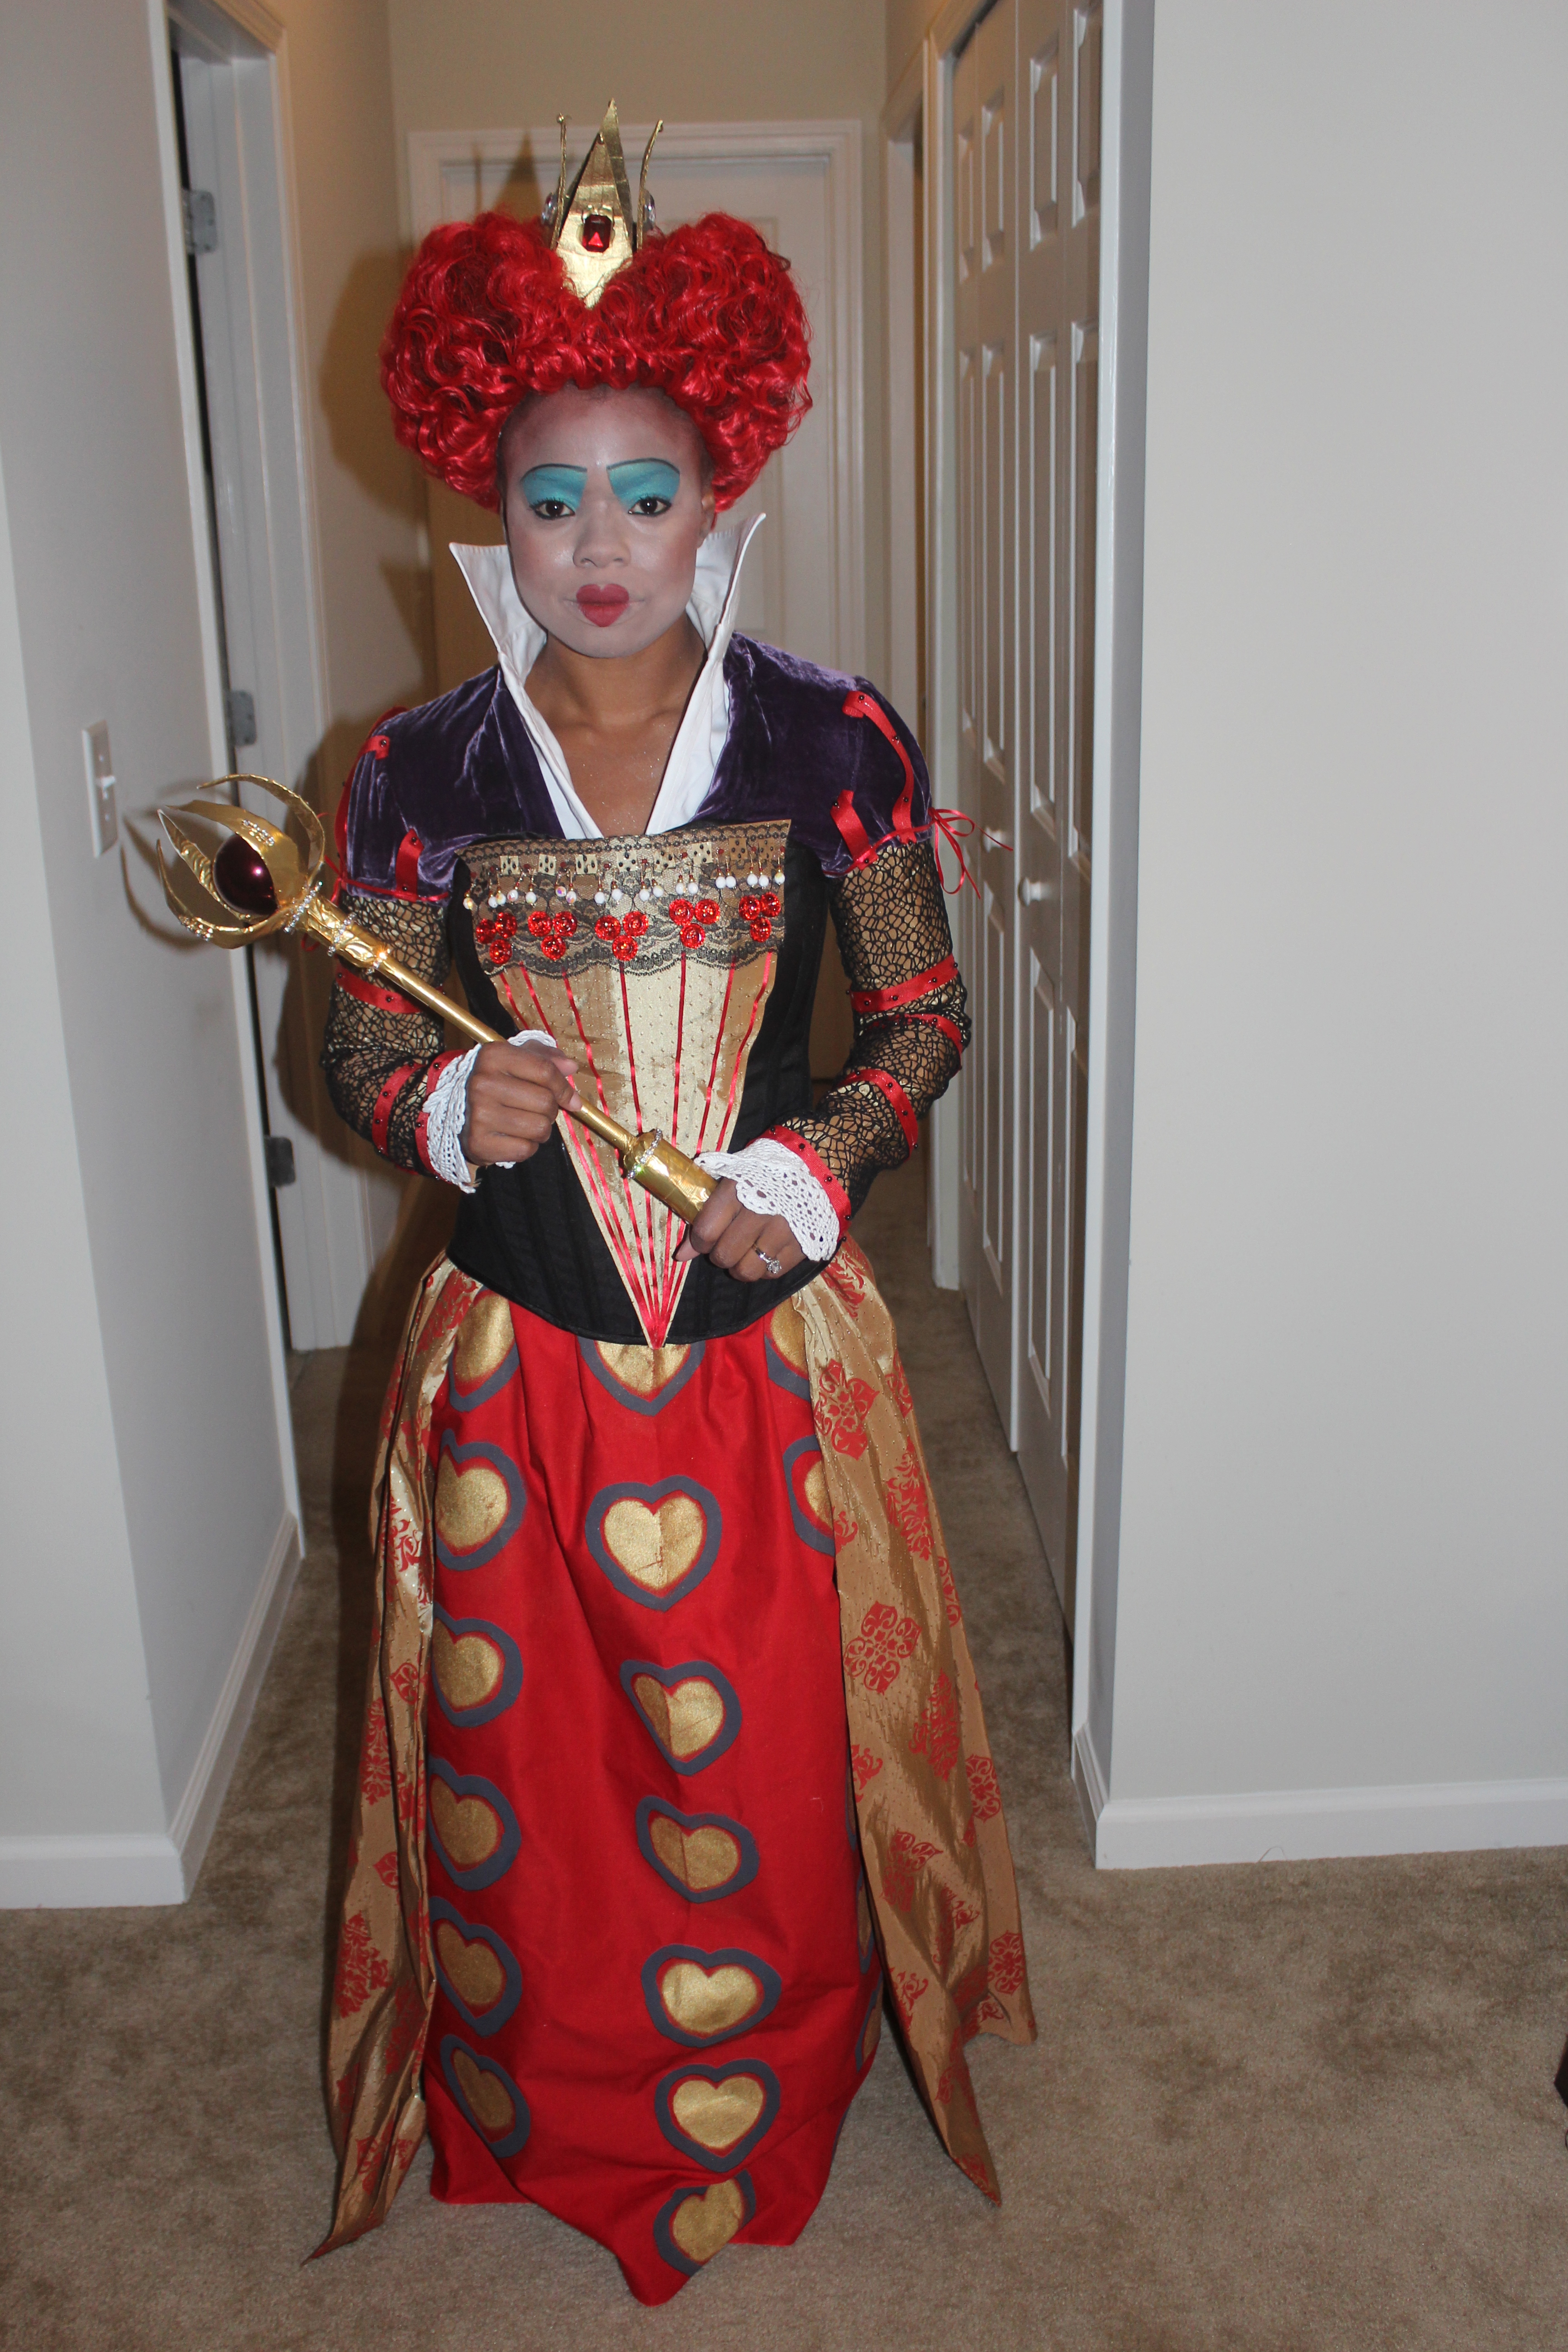
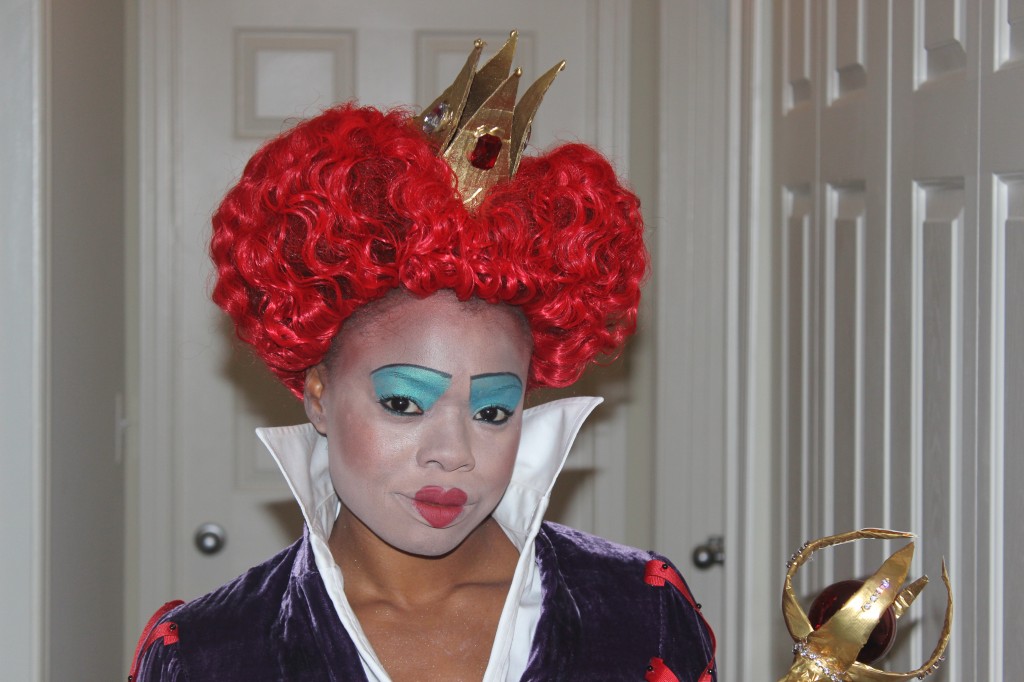
Here comes the RED QUEEN…
Not bad right?!?!?! So the total on my costume …drum roll please…
$68.70 not bad at all!!! The Mad Hatter cost $40.31 totaling $109.01 for both costumes, I went over $9.01!!! I am very pleased with both costumes and the fact I was able to get a close replica all while staying very close to my $100.00 budget!!! Hey when there is a will there is a way!!! I hope you enjoyed The Making of The Red Queen…
OFF WITH YOUR HEAD!!!!!
~ Maria Antoinette ~
Latest posts by Maria Antoinette (see all)
- 10 Romantic Date Night Ideas For Any Time of The Year - January 26, 2023
- Tips To Help You Reconnect With What Brings You Joy - January 19, 2023
- Planning A Road Trip? Here Are Some Key Tips You Should Know - January 12, 2023




We love it. You are very talented. We were with you in the descriptions of your craft, right up until you made the wig, then wow! I hope you were the talk of the night and won all the costume contests!
Sunny and Katie Vaughn Haw
Sunny and Katie thank you for taking the time out to view my post!!! Yes it’s a lot to take in especially the wig! 🙂 I’m not sure how I was able to complete 2 costumes in 12 days as well as other projects?!?! I really appreciate the kind words have a great day!
Hello I would love to know exactly how you sewed the skirt together? Please let me know if you dont mind…
I didn’t sew the skirt I hot glued Velcro to a belt like material and then I laid the material out on it! Just as I would if I were making a wrap skirt and then I glued it down and the skirt was able to Velcro on! I really hope this makes sense I apologize for not including pics!
I love it!! The details on this costume are AMAZING!!
Thank you!!!
This is awesome! I love it ! You are SO creative and talented! as for the make up – I plan on stealing it for my Purim costume… Thanks for the inspiration!