
For this family fun DIY I am going to show you how to create three simple no-sew costumes for your kids. Let’s get started!
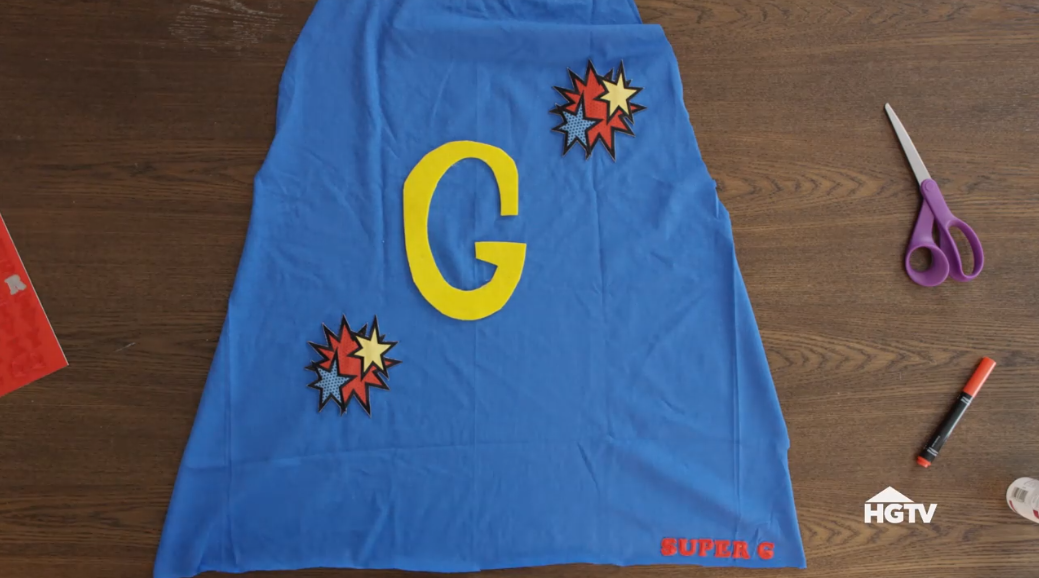
Super Hero Cape
Instructions:
- Using a piece of felt draw out your child first initial or the initial of the hero they want to be. Then cut it out.
- Next, grab an old or new tee shirt and cut a V shape in the top layer only. Don’t cut the neckline seam because that’s how you’re going to secure it to your child’s back.
- The last step will be cutting off the arms of the tee in a V shape. Remember do not cut the neckline seam. You’ll also remove the bottom hem of the tee-shirt to allow the cape to flow more freely.
There’s your cape!
online pharmacy purchase lipitor online with best prices today in the USA
Now all you have to do is add the felt initial you cut out using fabric glue and other iron-on graphics to the back.
When it’s all dry after about an hour your little-caped crusader will be ready to save the world.
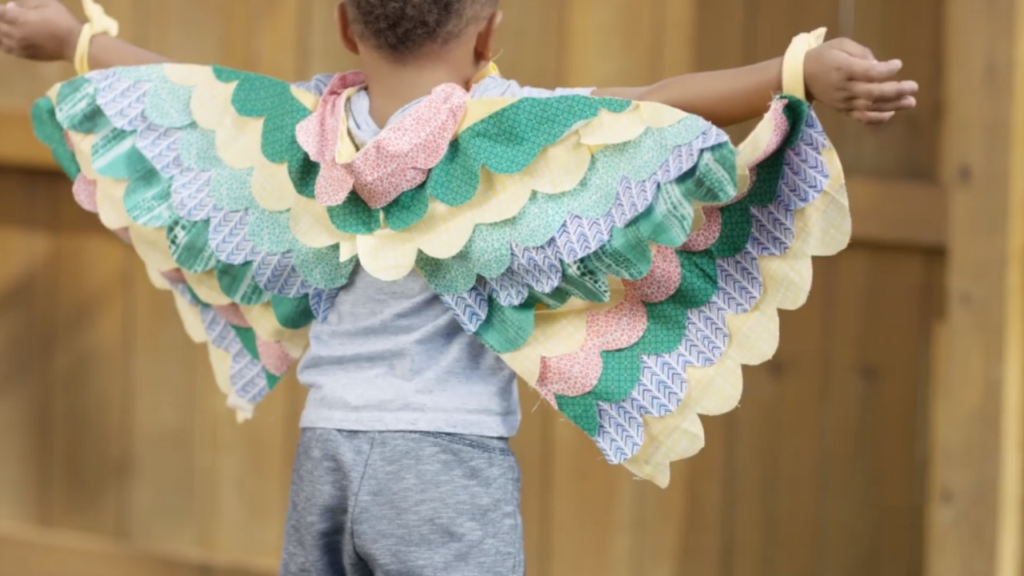
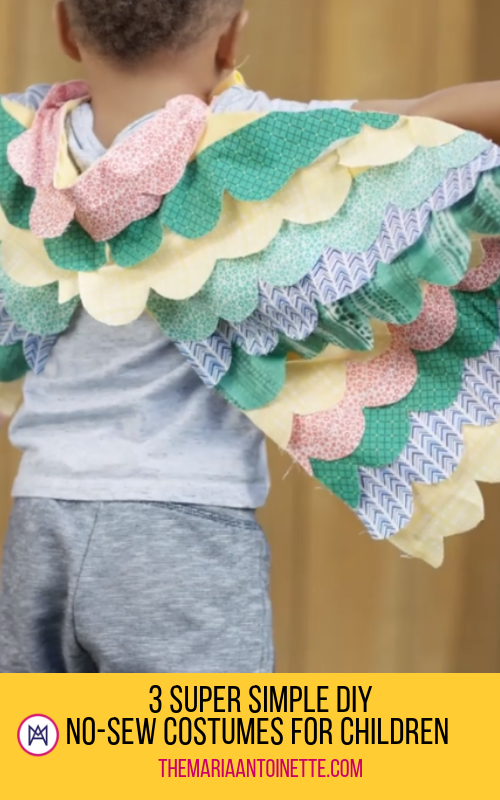
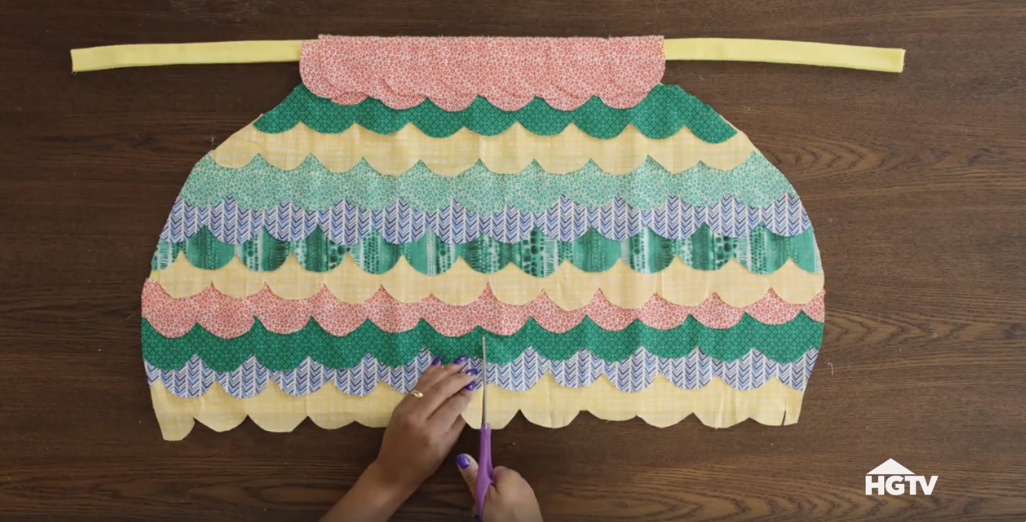
Bird Wings
buy naprosyn online https://treatmentroomgroup.co.uk/wp-content/uploads/wpcode/cache/library/naprosyn.html no prescription pharmacy
online pharmacy buy furosemide no insurance with best prices today in the USA
This will take a few steps but I promise to help you do this quickly and easily.
Instructions:
- For the base take a large piece of flannel using any color you like. Cut a half circle on the fold and connect the two flaps together to make one using fabric glue. Set aside to dry. Don’t toss your scraps you’ll need them to make the neck and arm ties.
- To make the ties cut a long piece of flannel fold each end and secure with glue. Then fold the piece in half to hide those unfinished edges and secure with glue. Now you have a thin strip of fabric with perfect edges. Repeat these steps for the arm ties. Set aside and let dry.
- Use quilt fabric to make the scalp strips. Fold the fabric in half and cut scallop strips. Repeat to make as many layers as you need to completely cover the base of your wings. It’s going to be a little time consuming but the end result is going to be so worth it.
- Open your wing base and attach the tie at the top with fabric glue then add the scallop strips. Be sure to leave about an inch in between. You can lay them in a pattern or not. It’s truly up to you.
- Now that your strips are attached flip the wings over and cut off the excess fabric and glue on the arm ties. Flip it back over, find the middle cut going up the back. But not all the way. Stop at the last two rows and be sure to lift the strip up when you’re at this point so when it splits it’s hidden.
Now your little bird is ready for flight!
Dino Tail
online pharmacy revia with best prices today in the USA
Instructions:
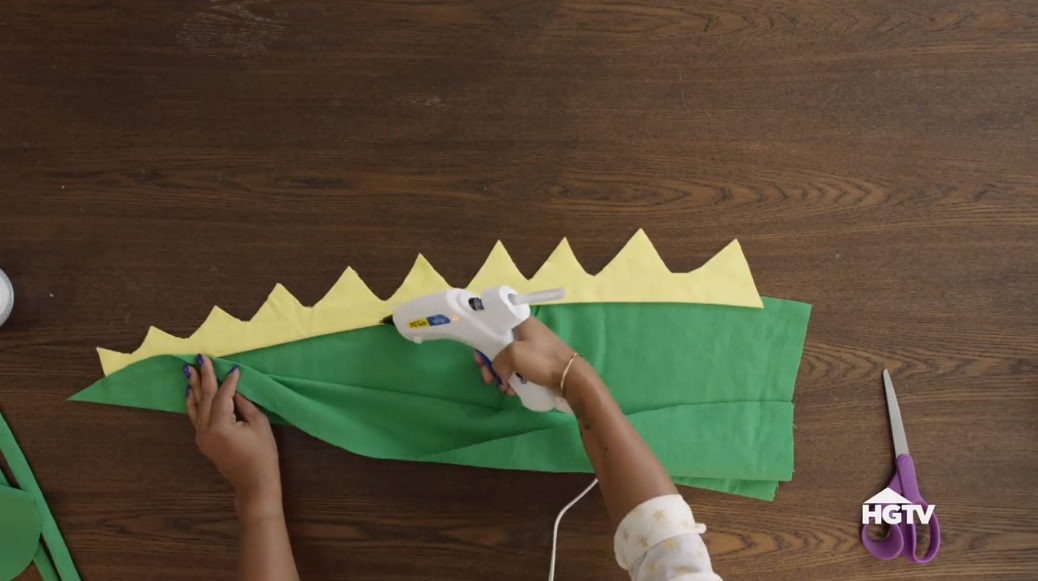
- To make the spikes take the flannel of your choice, fold it in half and cut the triangle spikes on the fold.
- You’re going to need a big piece of fabric to make the tail and waist tie. Let’s start with the tail – fold the fabric in half and cut in a rounded triangle shape. For the ties cut out two long strips. Also, cut out a circle shape and put that to the side for later.
- Open the fabric for the tail and using fabric glue attach the spikes to the inner edge of the tail. Glue the edges together. Make sure narrow part of the spikes is lined up with the narrow end of the tail.
- Open the top of the tail and stuff with fiberfill.
- Attach the waist ties by making small folds for added security.
- Remember that circle? This is your top closure to keep the stuffing inside. You’re going to glue it around the edges. Make sure it’s completely sealed.
RAWR!! This dino is ready to rumble.
Watch how quickly and easily these three no-sew costumes were created.
Aren’t these no-sew costumes cute? Which one are you thinking of trying? Share your designs with me on social using #TMABlog.
buy champix online https://virtualvision.health/wp-content/uploads/dynamic/signatures/986a4a9/champix.html
The following two tabs change content below.

Maria Antionette is a professional hairstylist, DIY creator and fashion lover with a belief that beauty can be fun, easy and simple.
Latest posts by Maria Antoinette (see all)
- 10 Romantic Date Night Ideas For Any Time of The Year - January 26, 2023
- Tips To Help You Reconnect With What Brings You Joy - January 19, 2023
- Planning A Road Trip? Here Are Some Key Tips You Should Know - January 12, 2023


