Okay so I shared Skater Skirt -The Look with the black and white skater skirt, it only seemed right to show you all how I created that skirt…all without a pattern! Now I am not a seamstress nor do I consider myself one but I will dibble and dabble with a sewing machine. This DIY Skater Skirt is a very easy tutorial for beginners to professionals, if you have some tips leave them for me in the comments I always leave room for growth. 🙂
Materials:
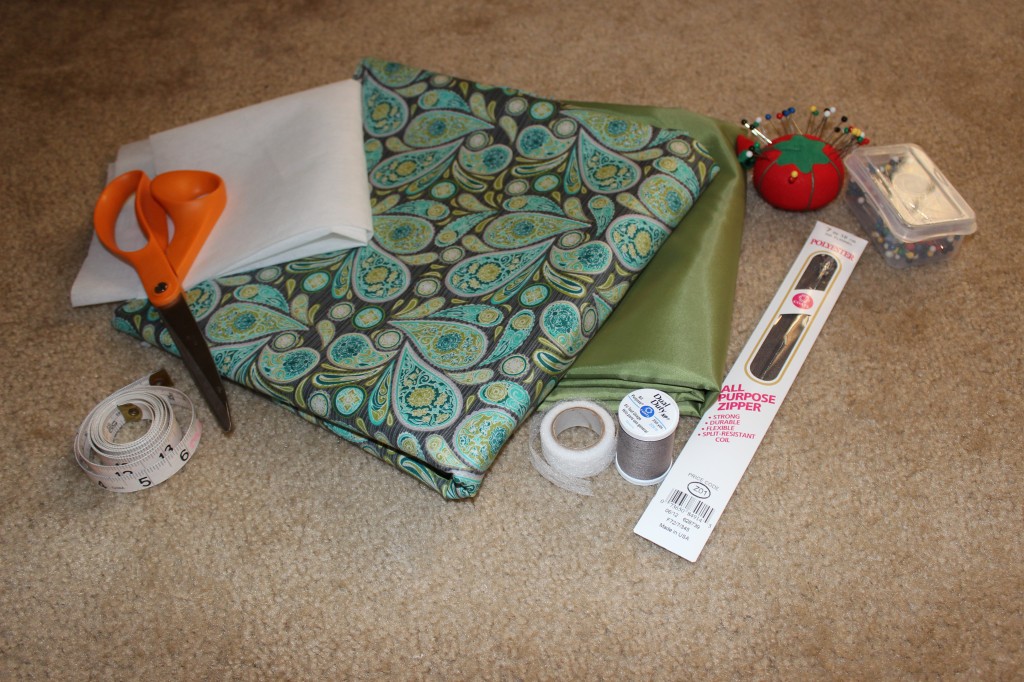
2.5 yards of fabric of you choice
1/4 yard interface lightweight
thread
scissors
measuring tape
marker/chalk
pins
sewing machine
iron
witch stitchery, best stuff ever invented!!!
The Start:
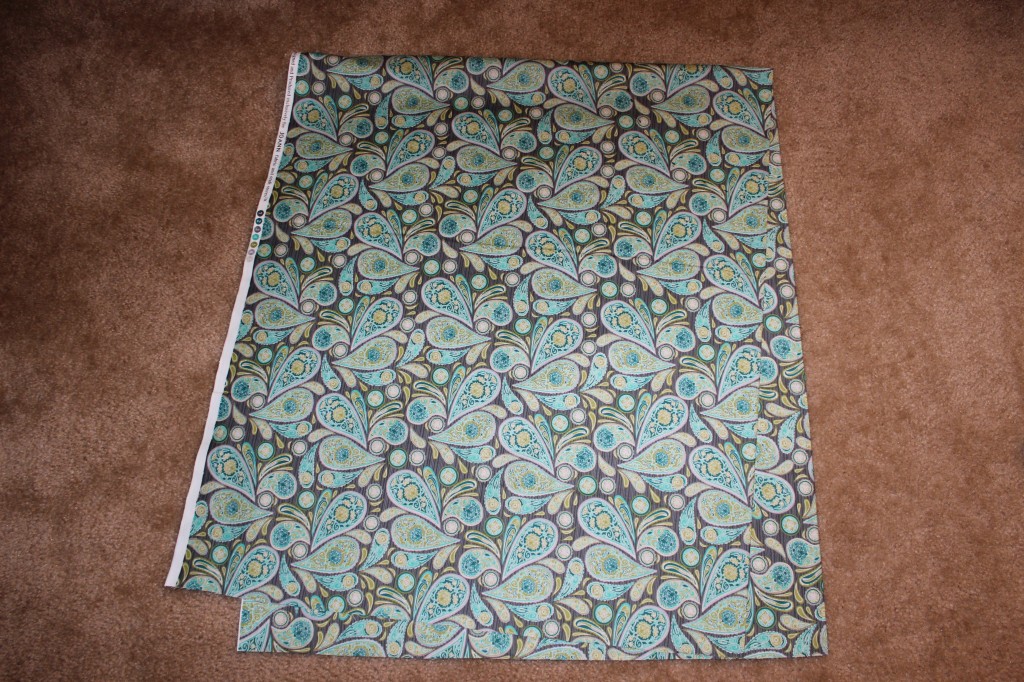
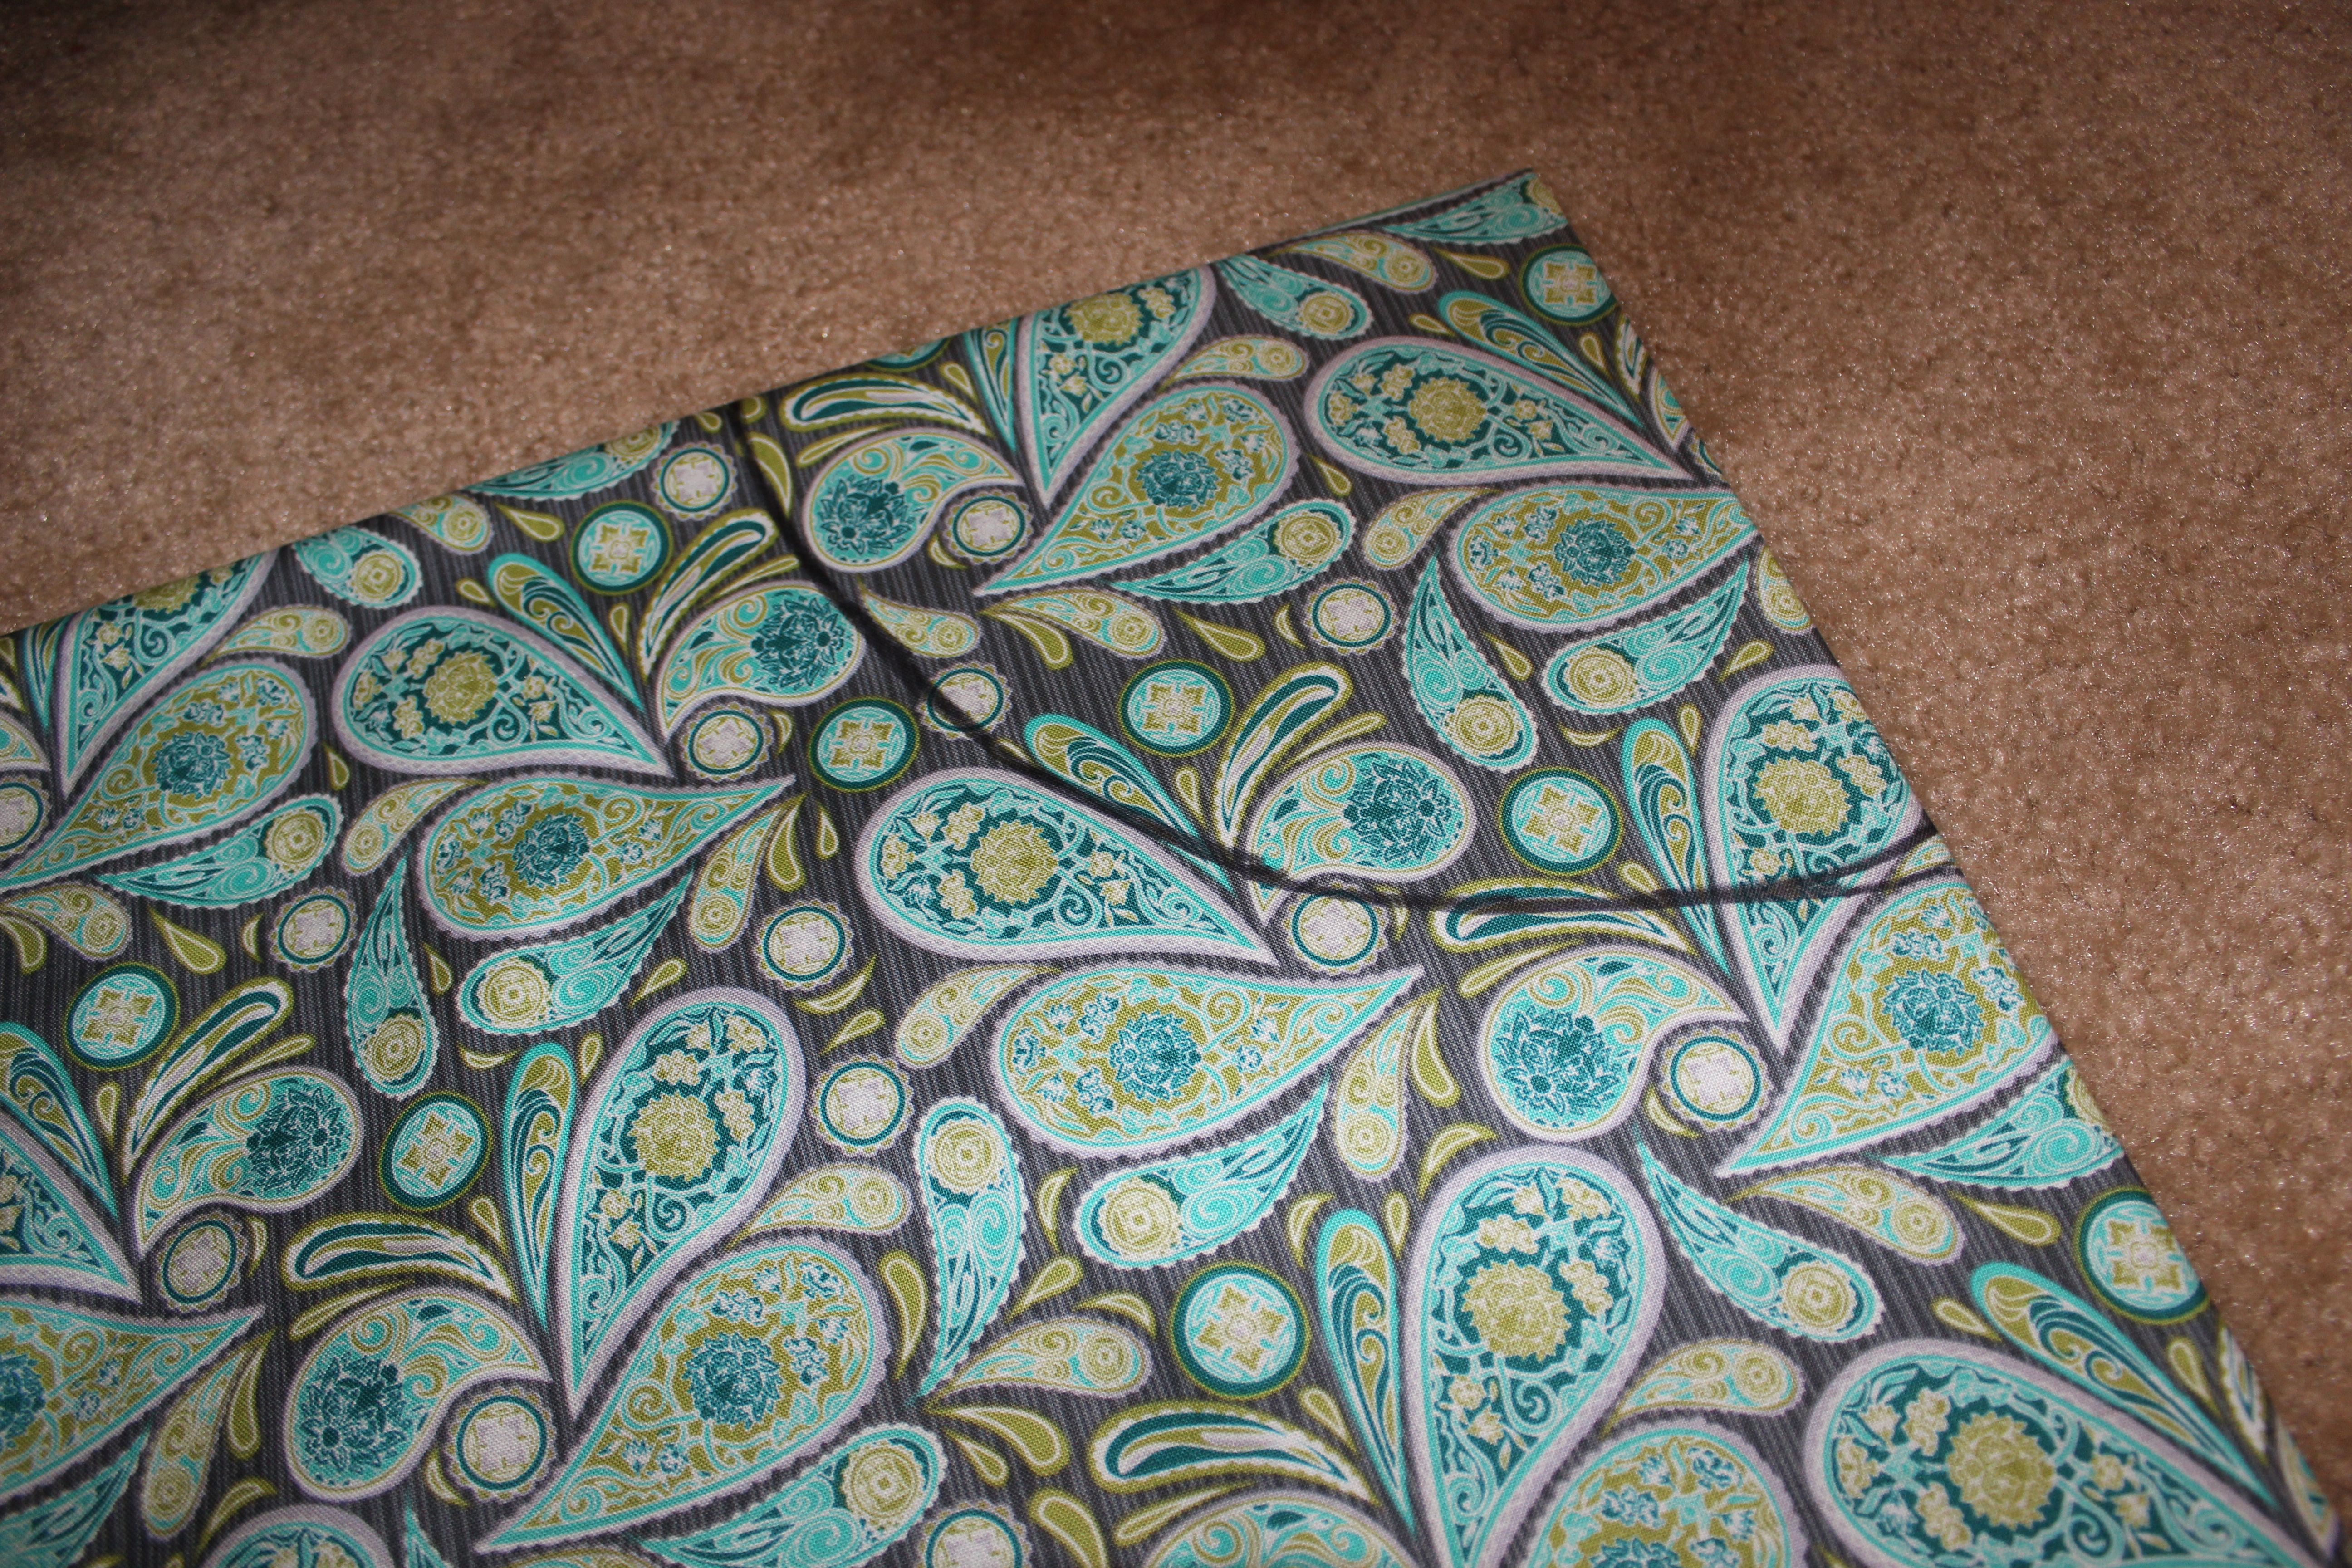
Okay take you fabric and fold it over like this…
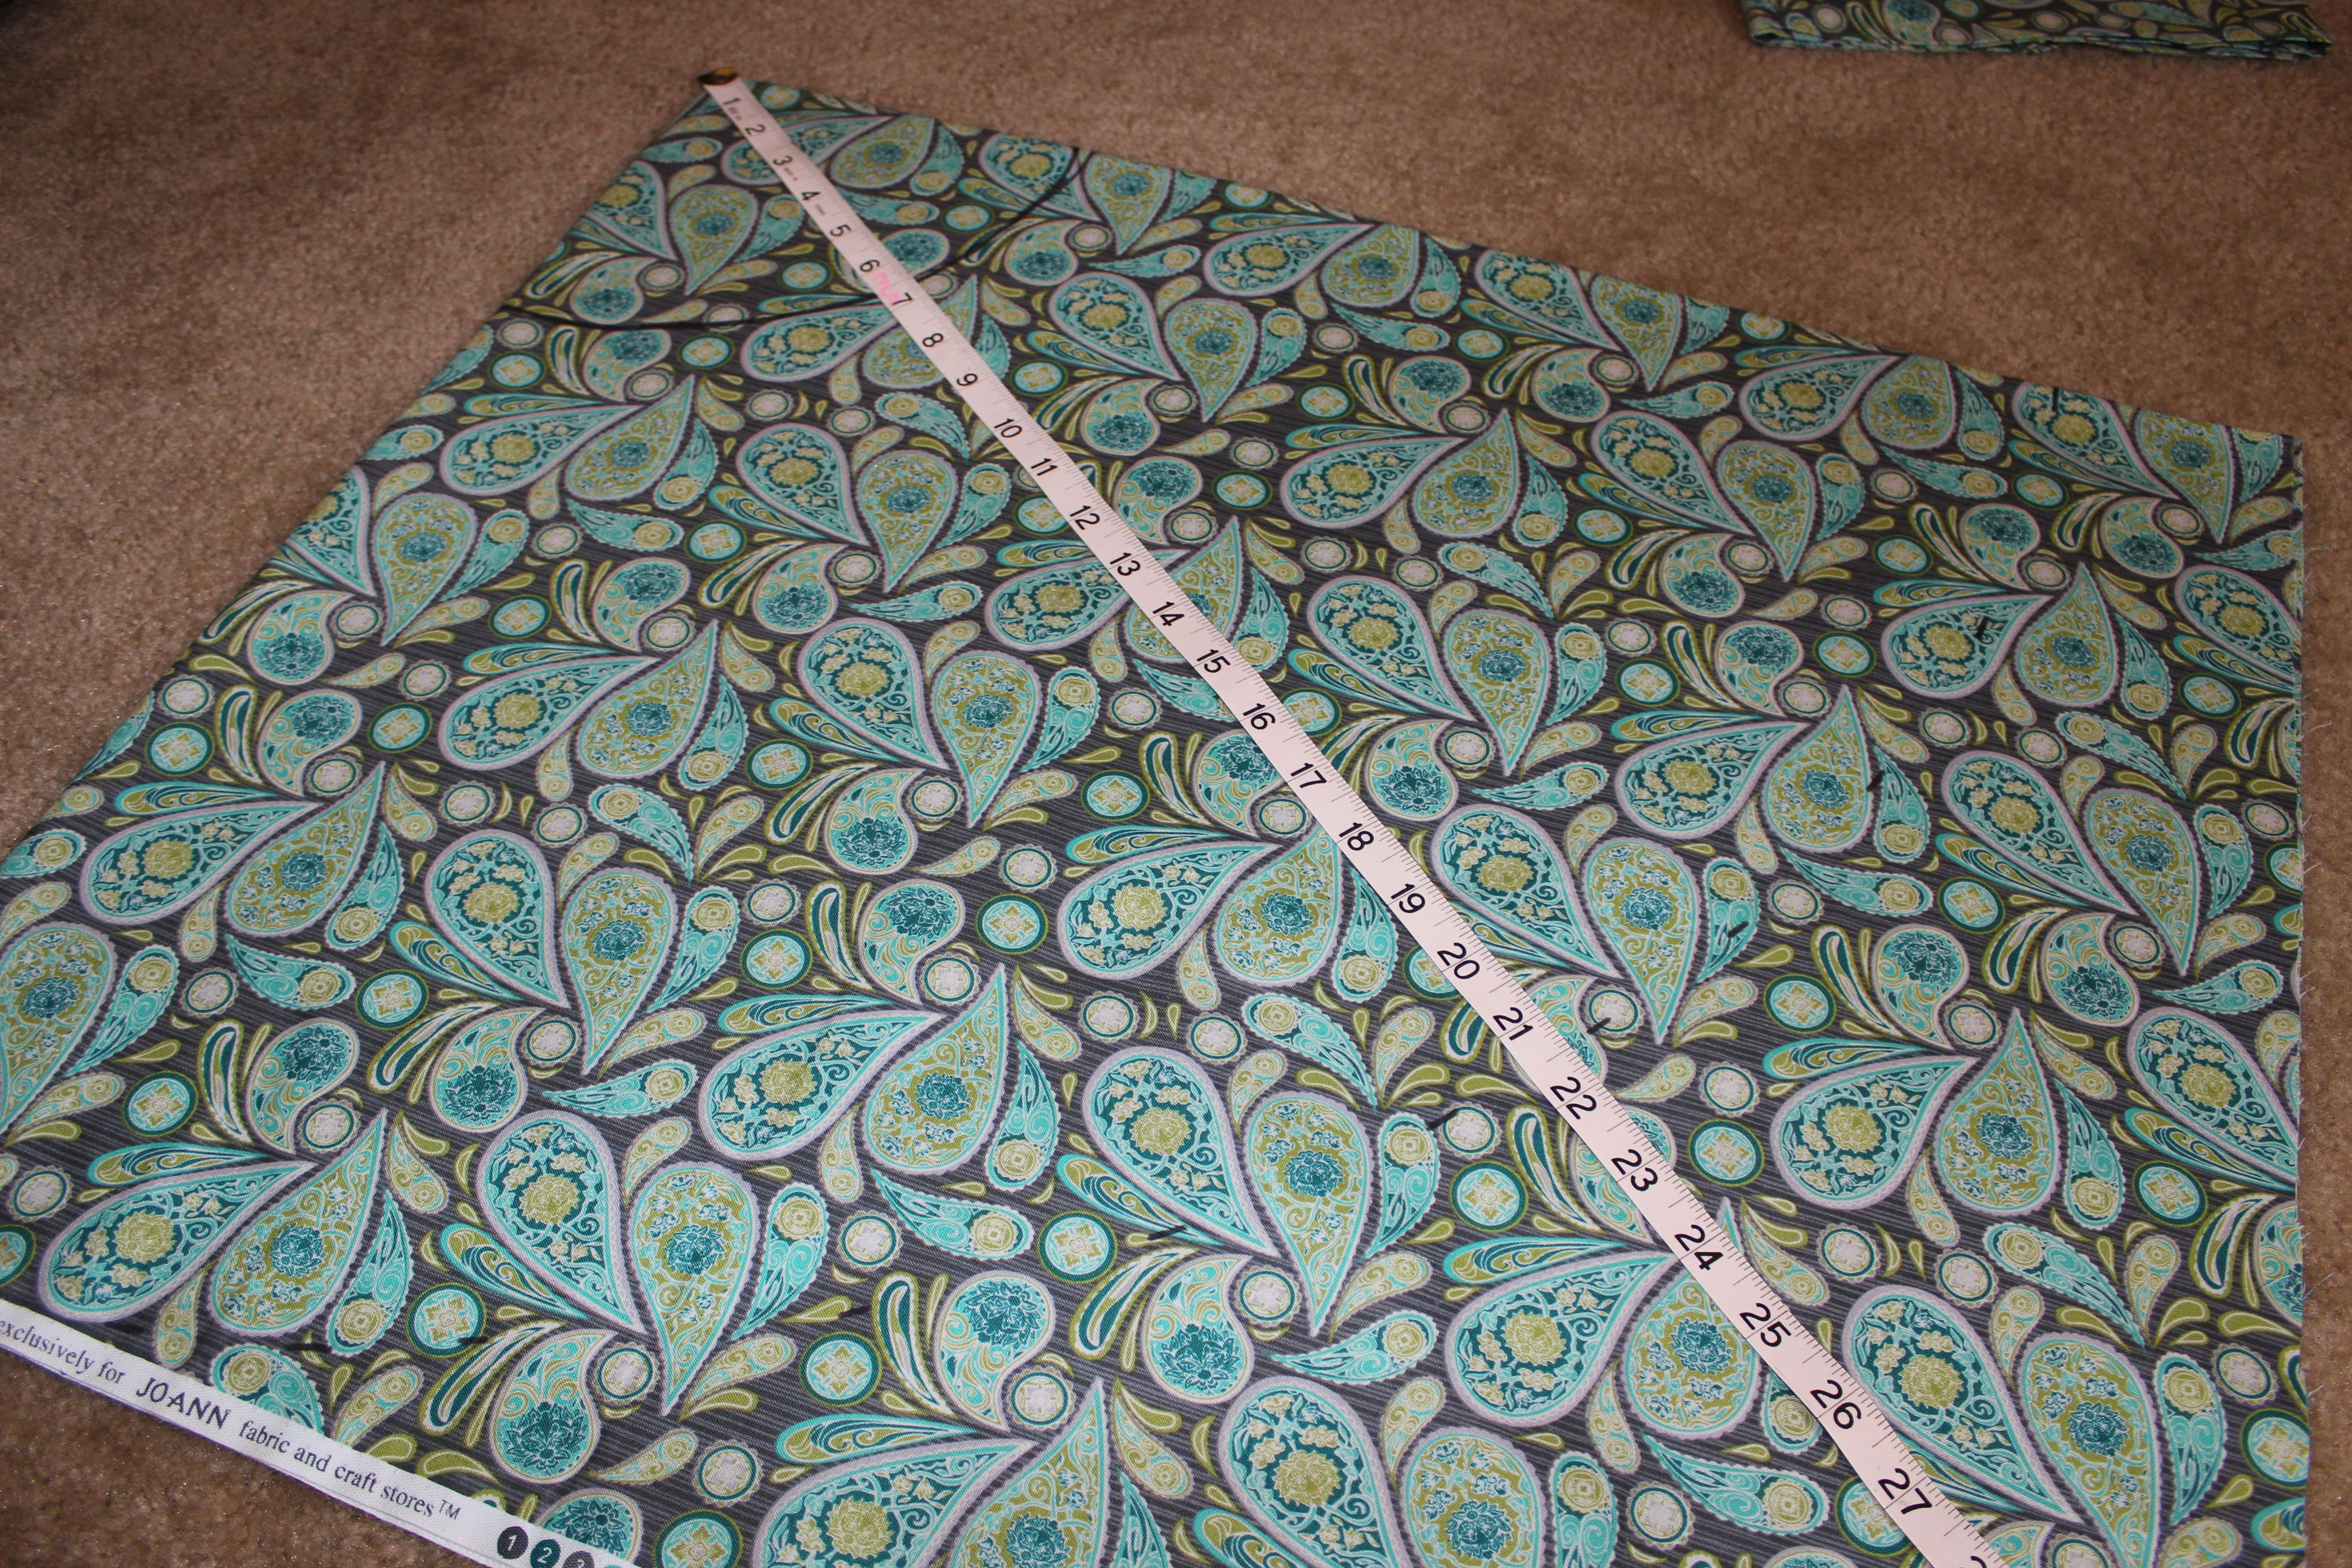
Lets get the hard stuff out of the way…the measurements!!!! To make it easy we will use my measurements I am 27 inches in the waist, which I measured by my belly button. Now since my skater skirt has pleats the measurement can get a little tricky, but not hard! For pleats it normally takes 3 inches of fabric for a 1 inch pleat… so this is how I figured it out! 27 x 3 /6.28 = 13. Your going to divide 13 by 2 = 6.5…that is your radius for your waist! If you want no pleats just use the math on the image below.
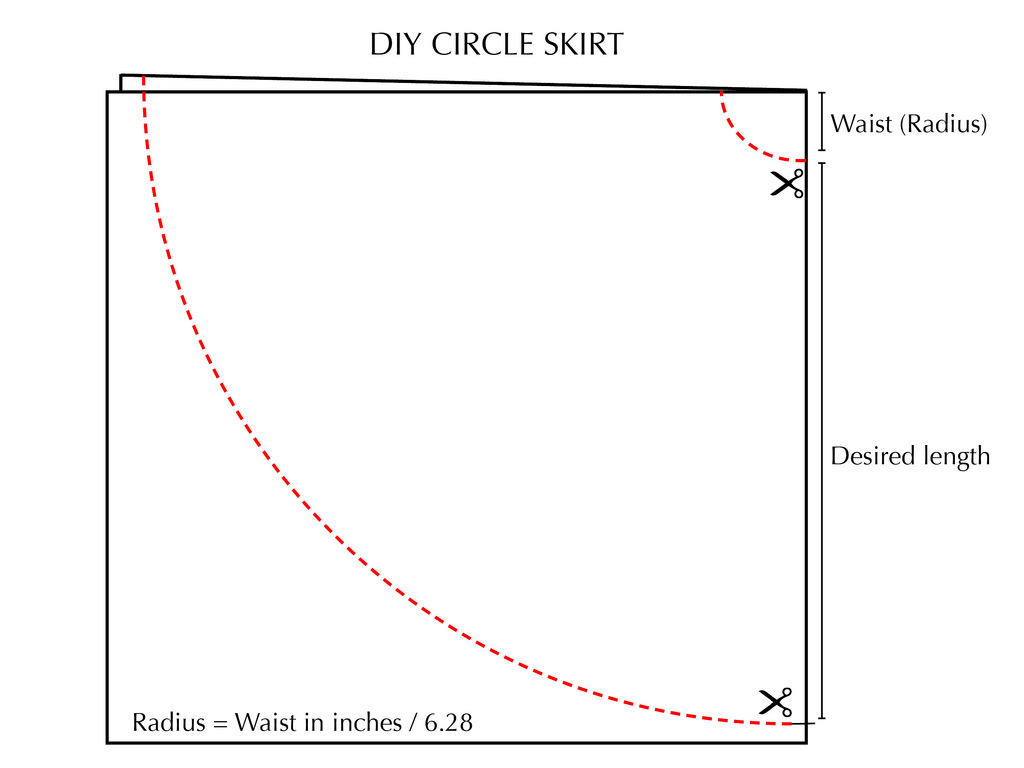
With the measuring tape in the corner draw out your waist radius buy measuring 6.5 inches from the point with small dots then connect the dots to make a sure cut line. Repeat for the skirt length always keep in mind that you will loose about 2 inches from the hem. Add 2 inches to your desired length .
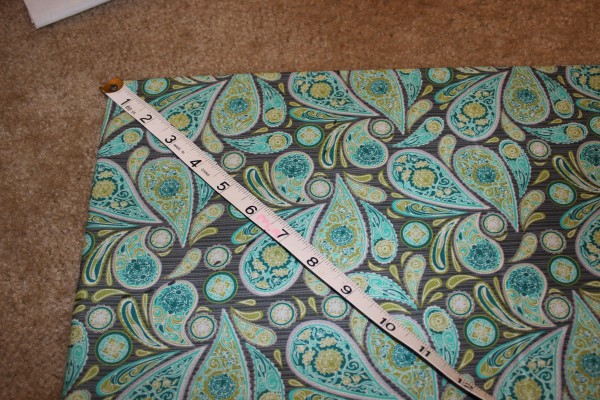
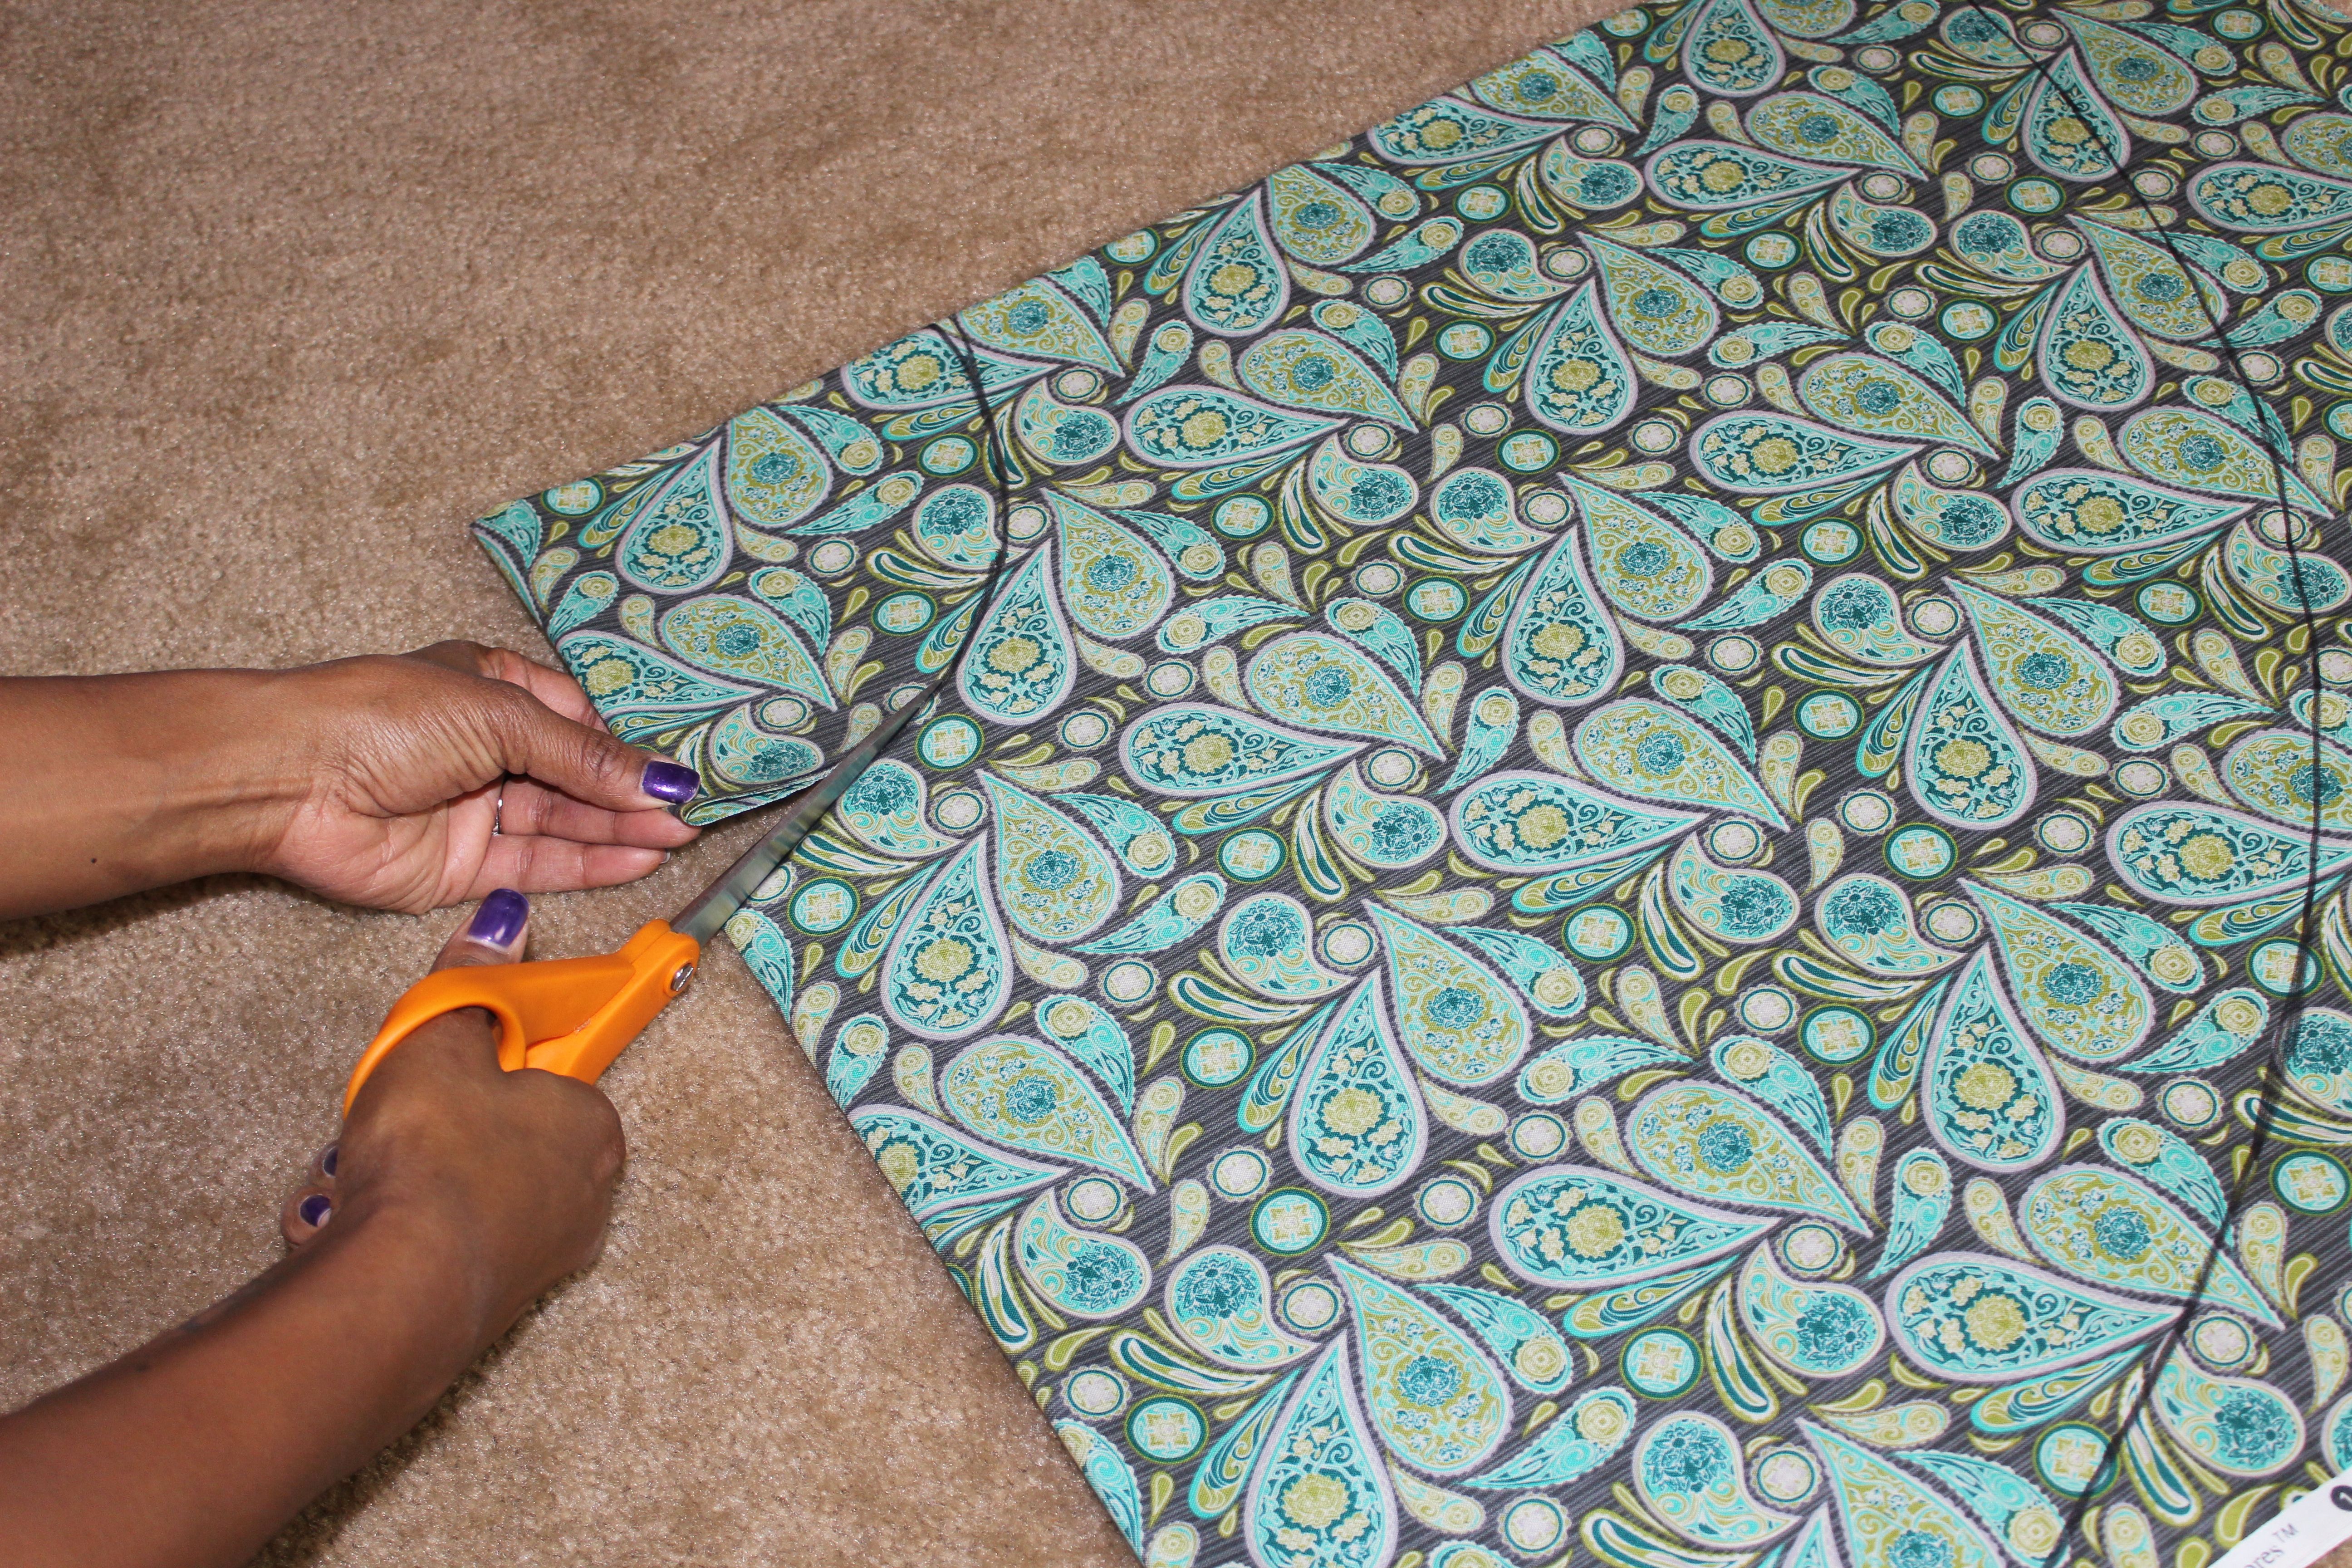
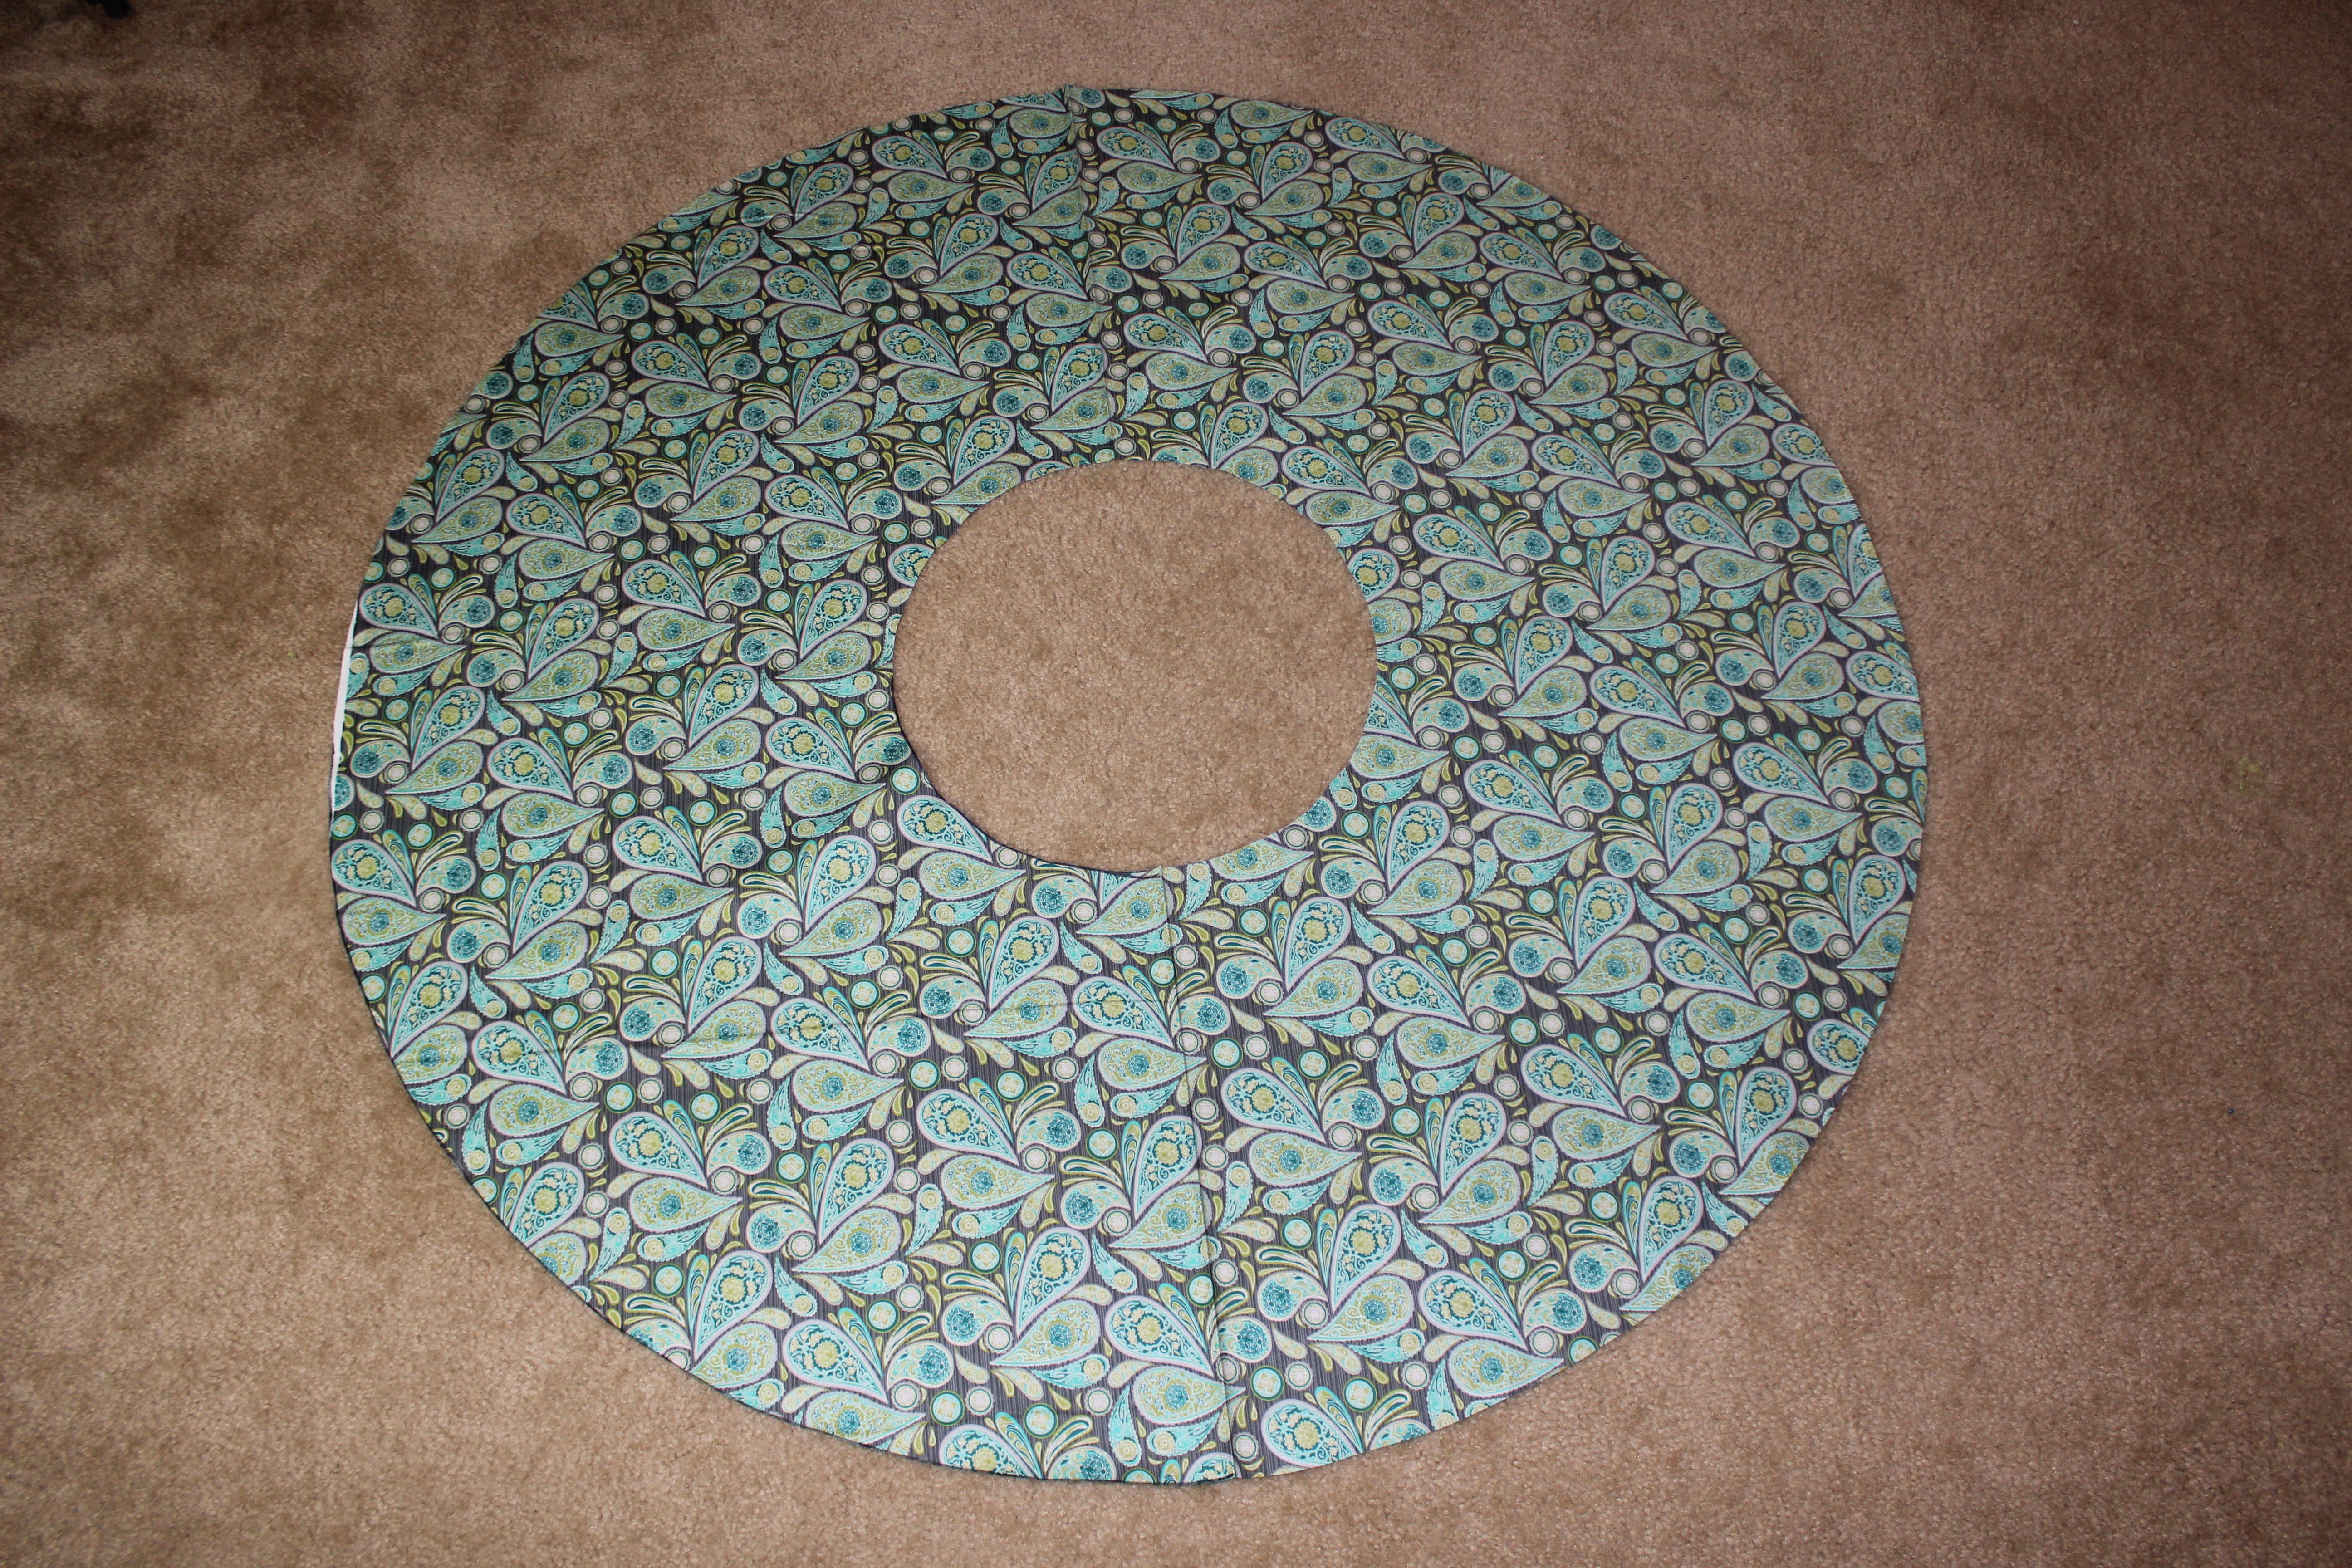
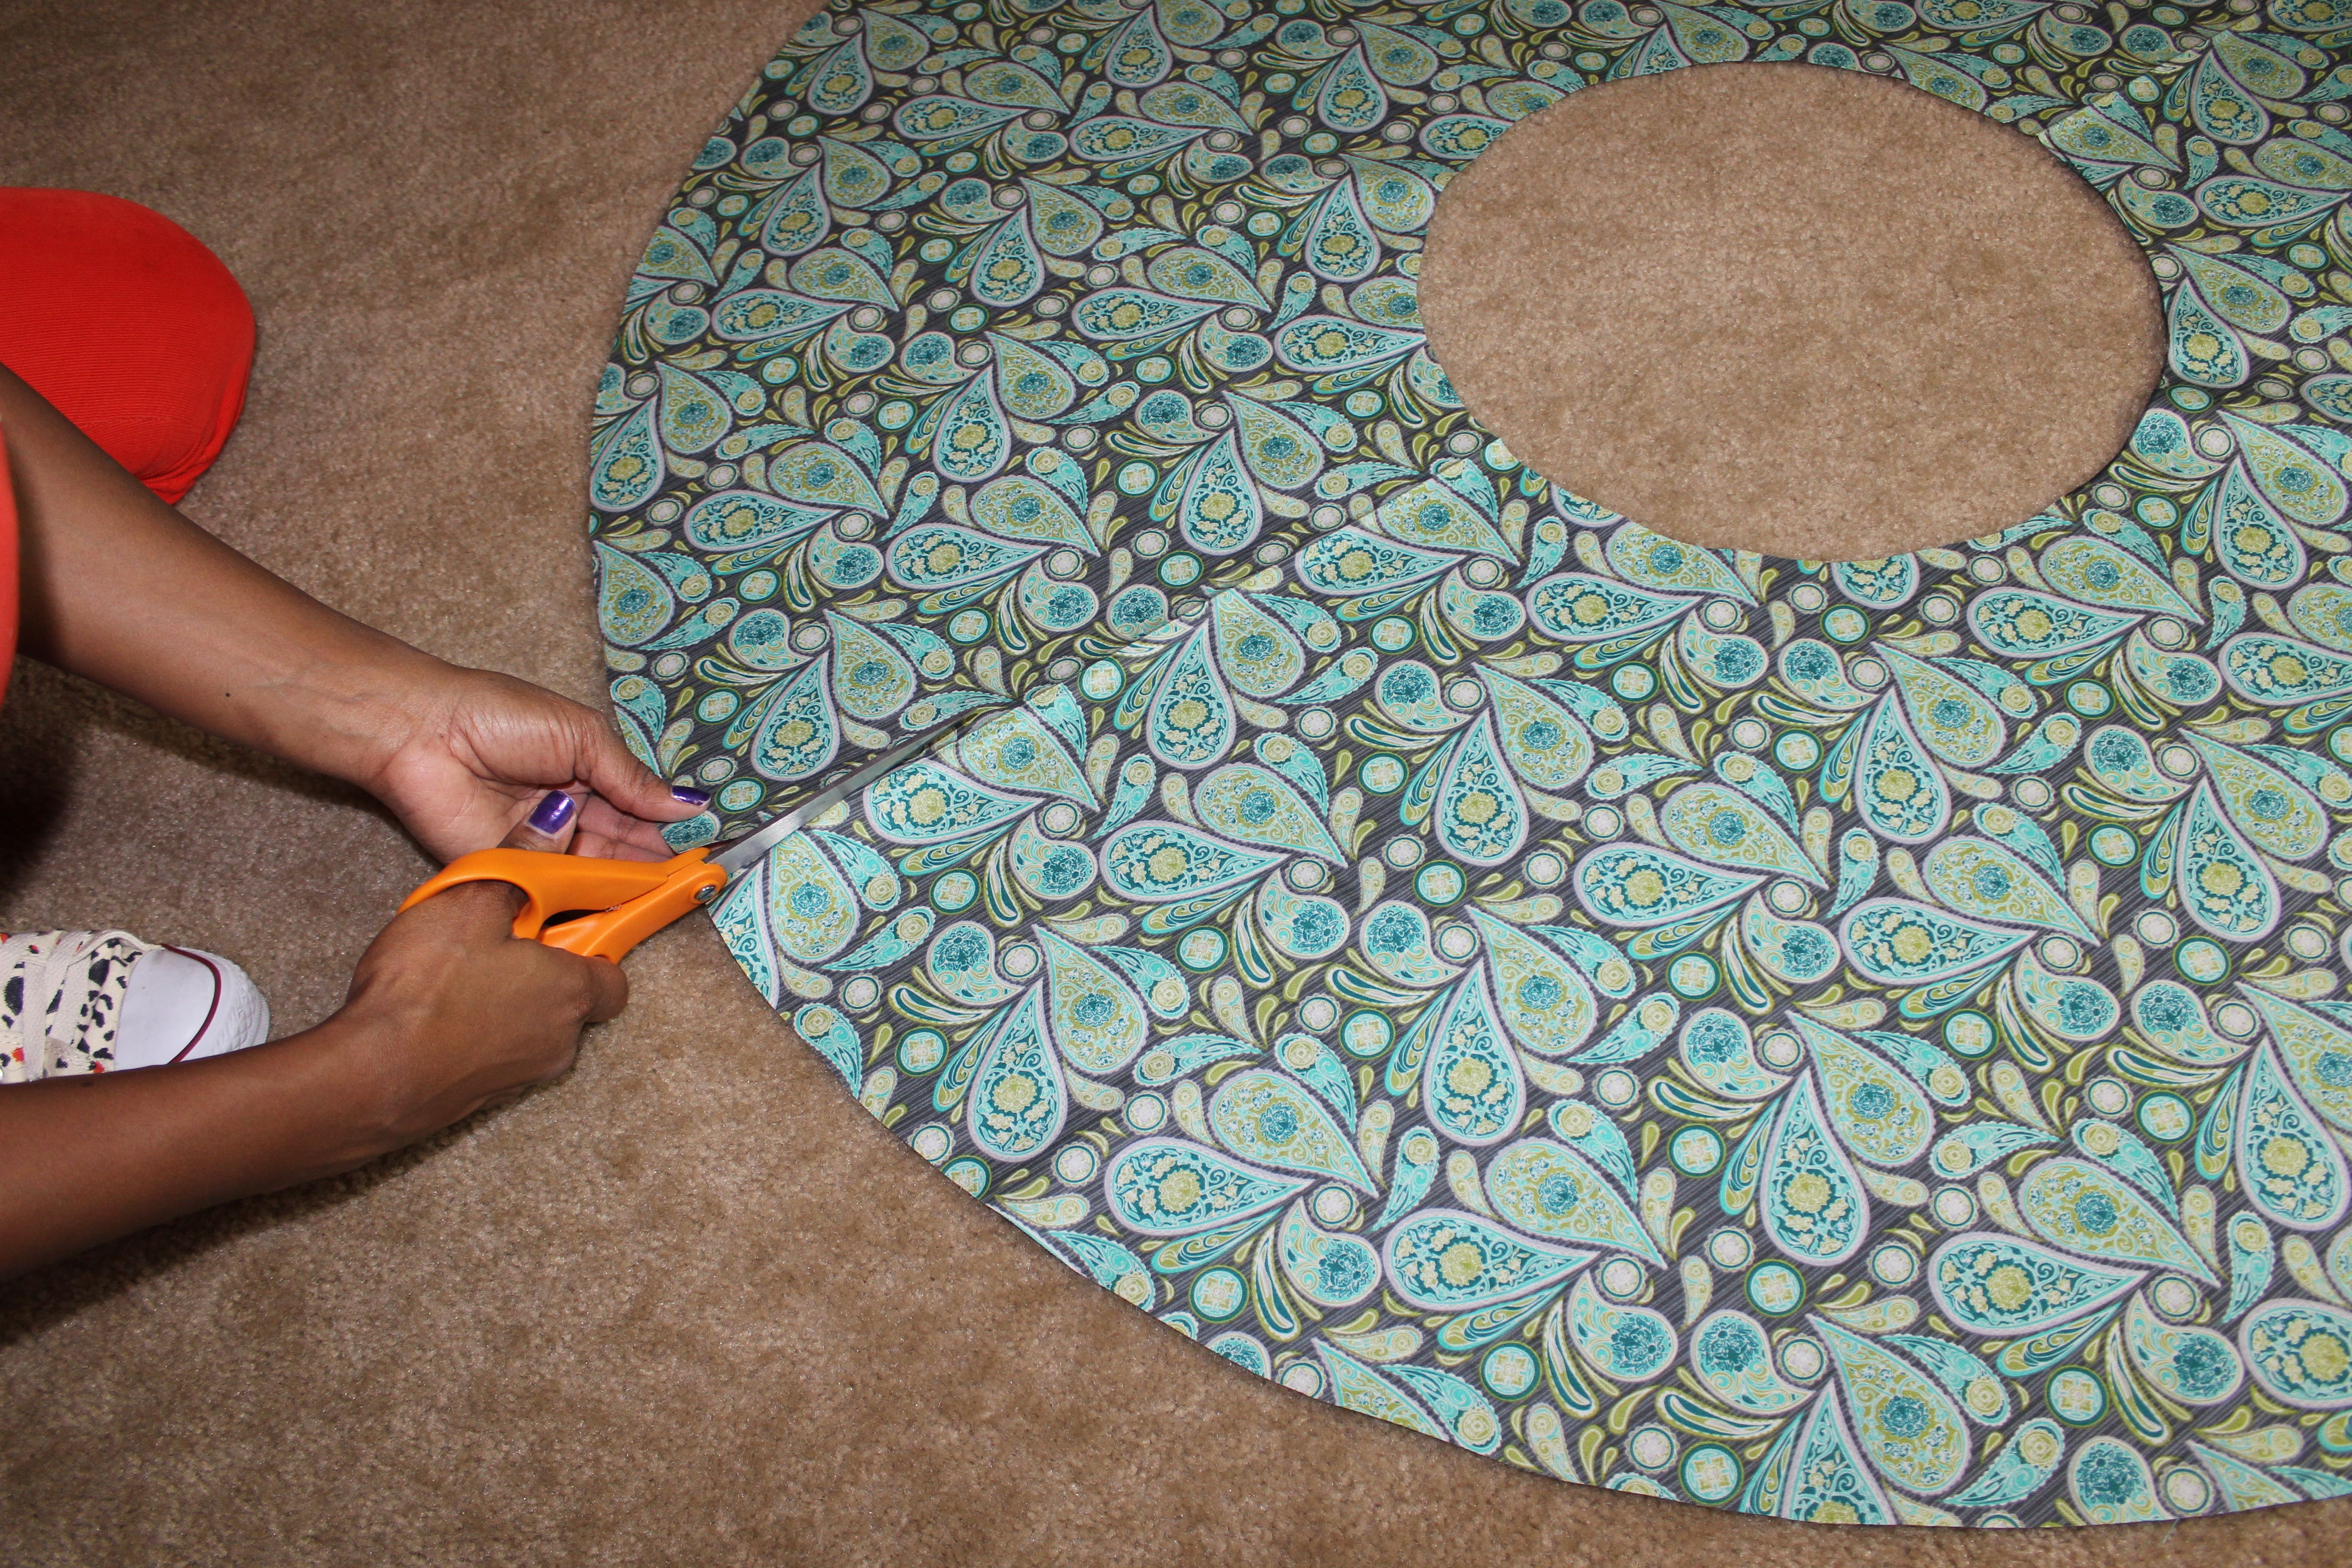
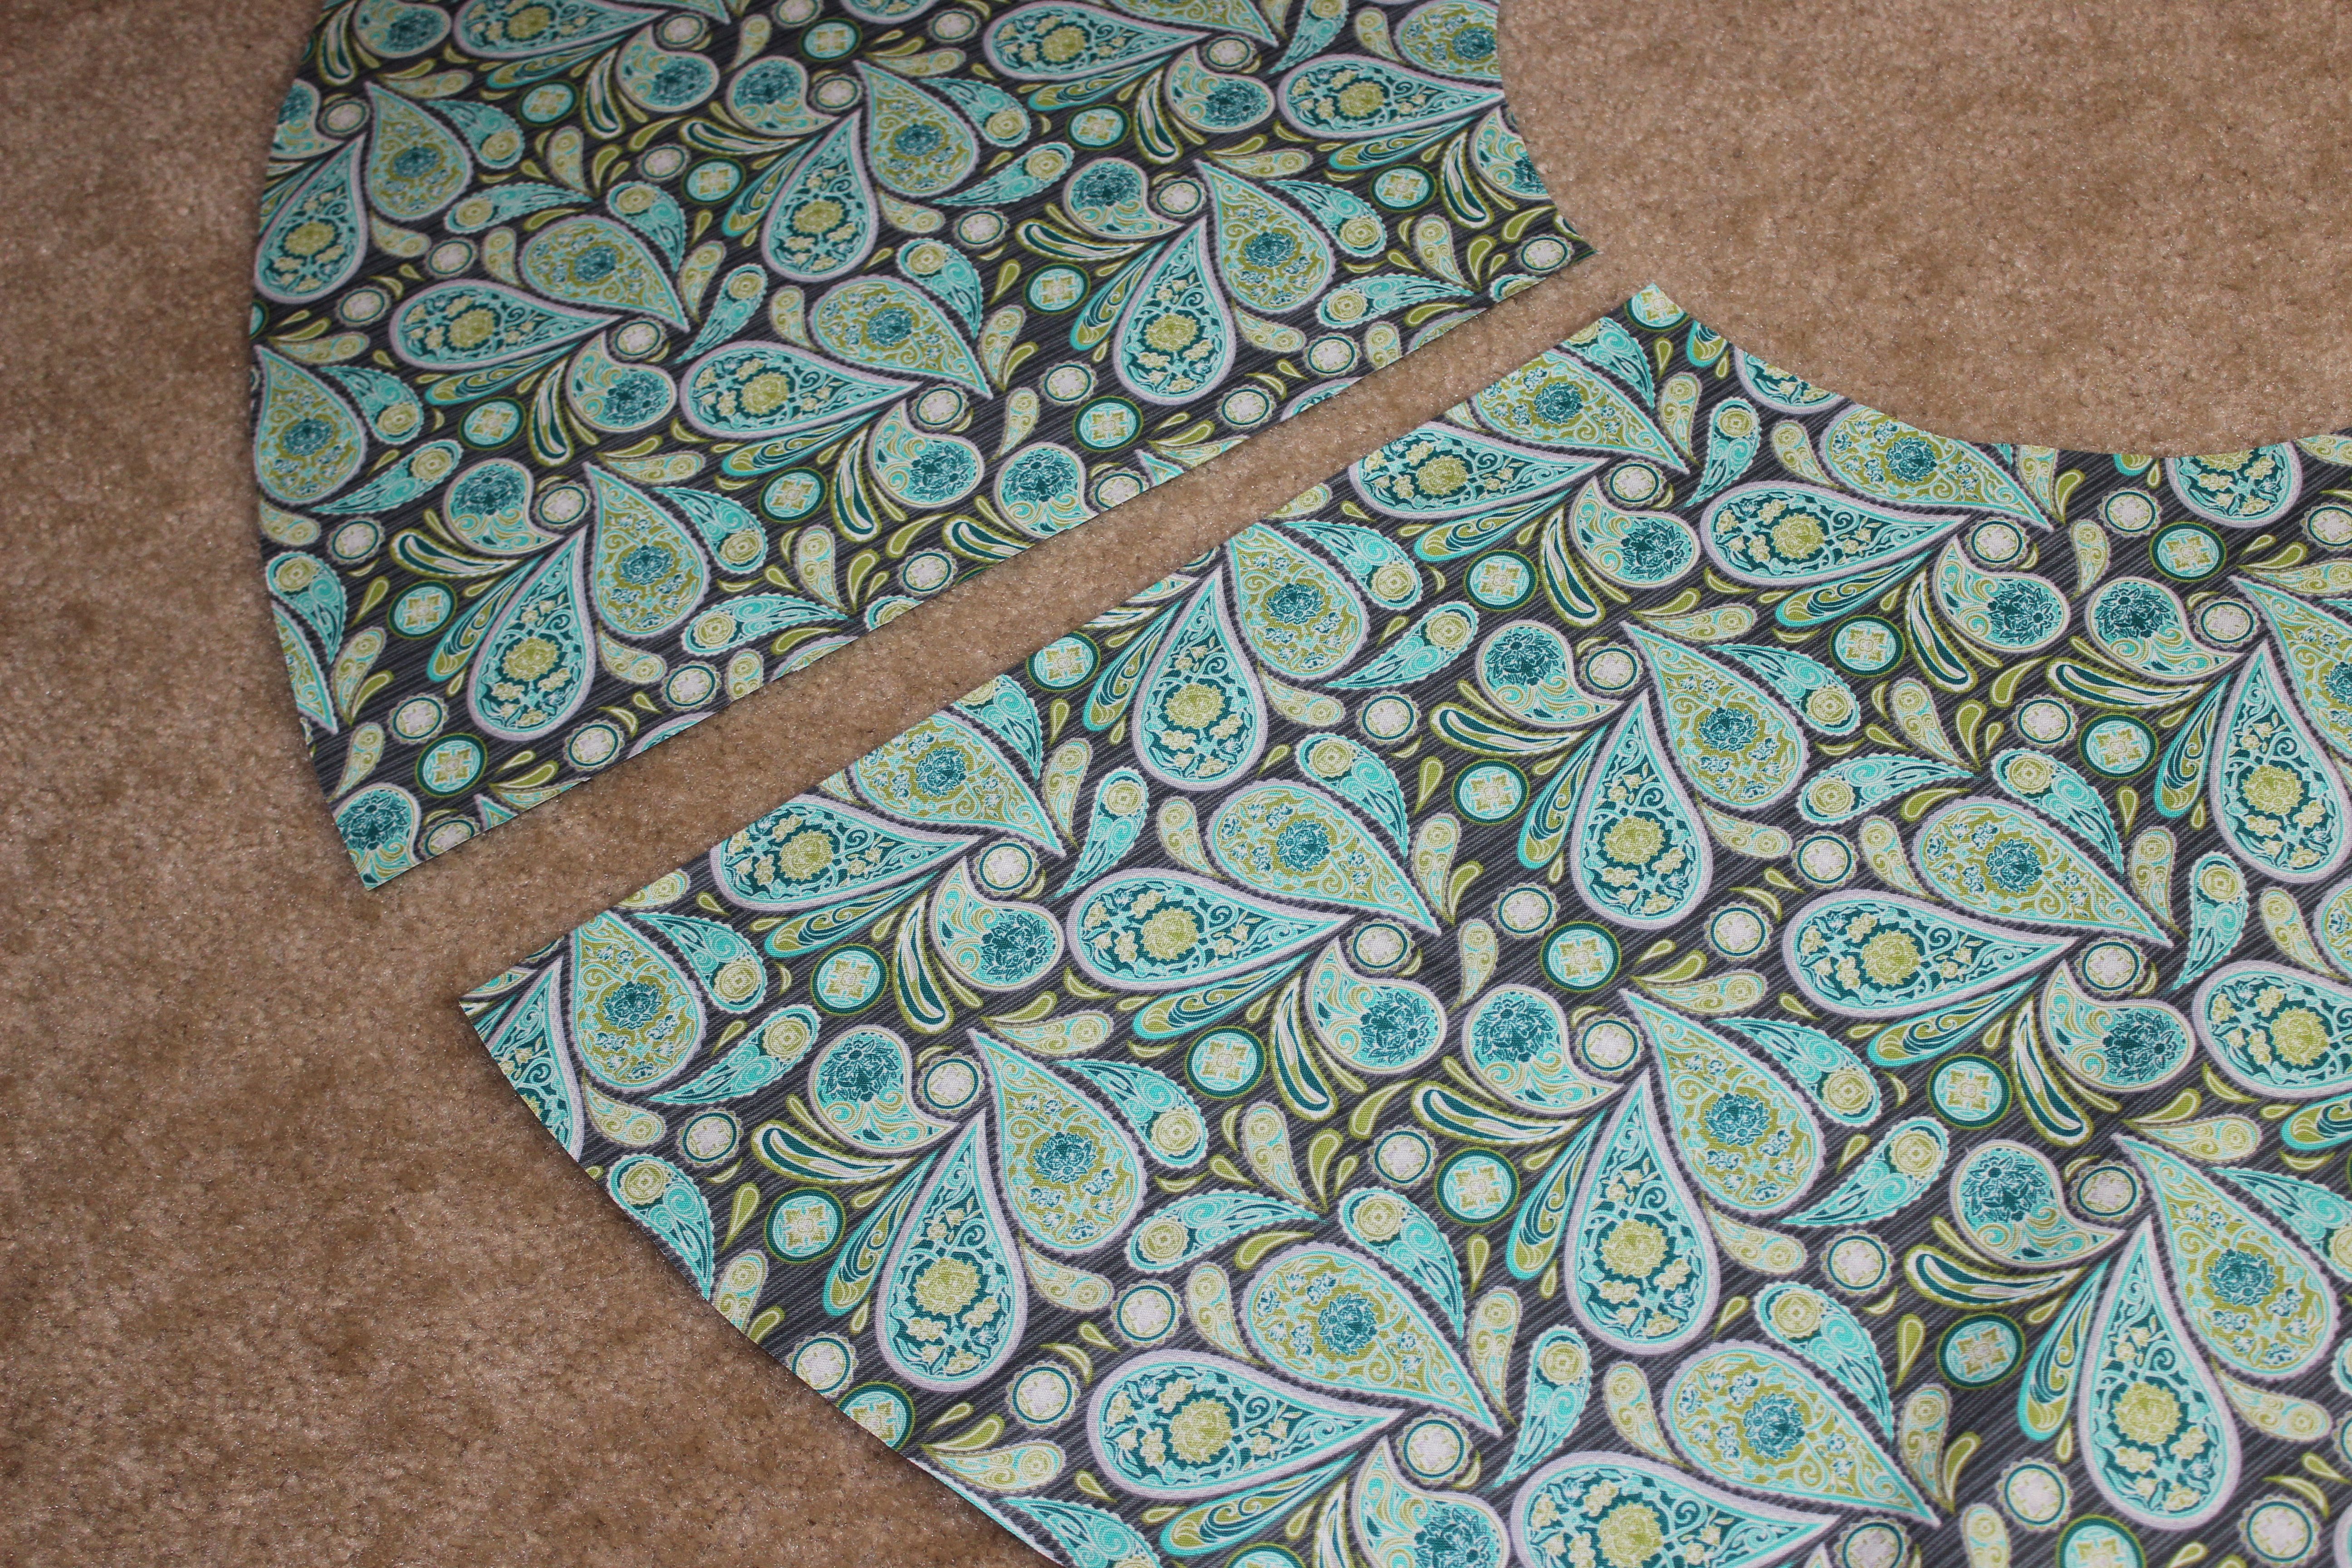
Once all of your measurements are drawn on to the fabric cut along the lines. Open the fabric up, your should have a full circle. Cut a line up the back where the zipper will go.
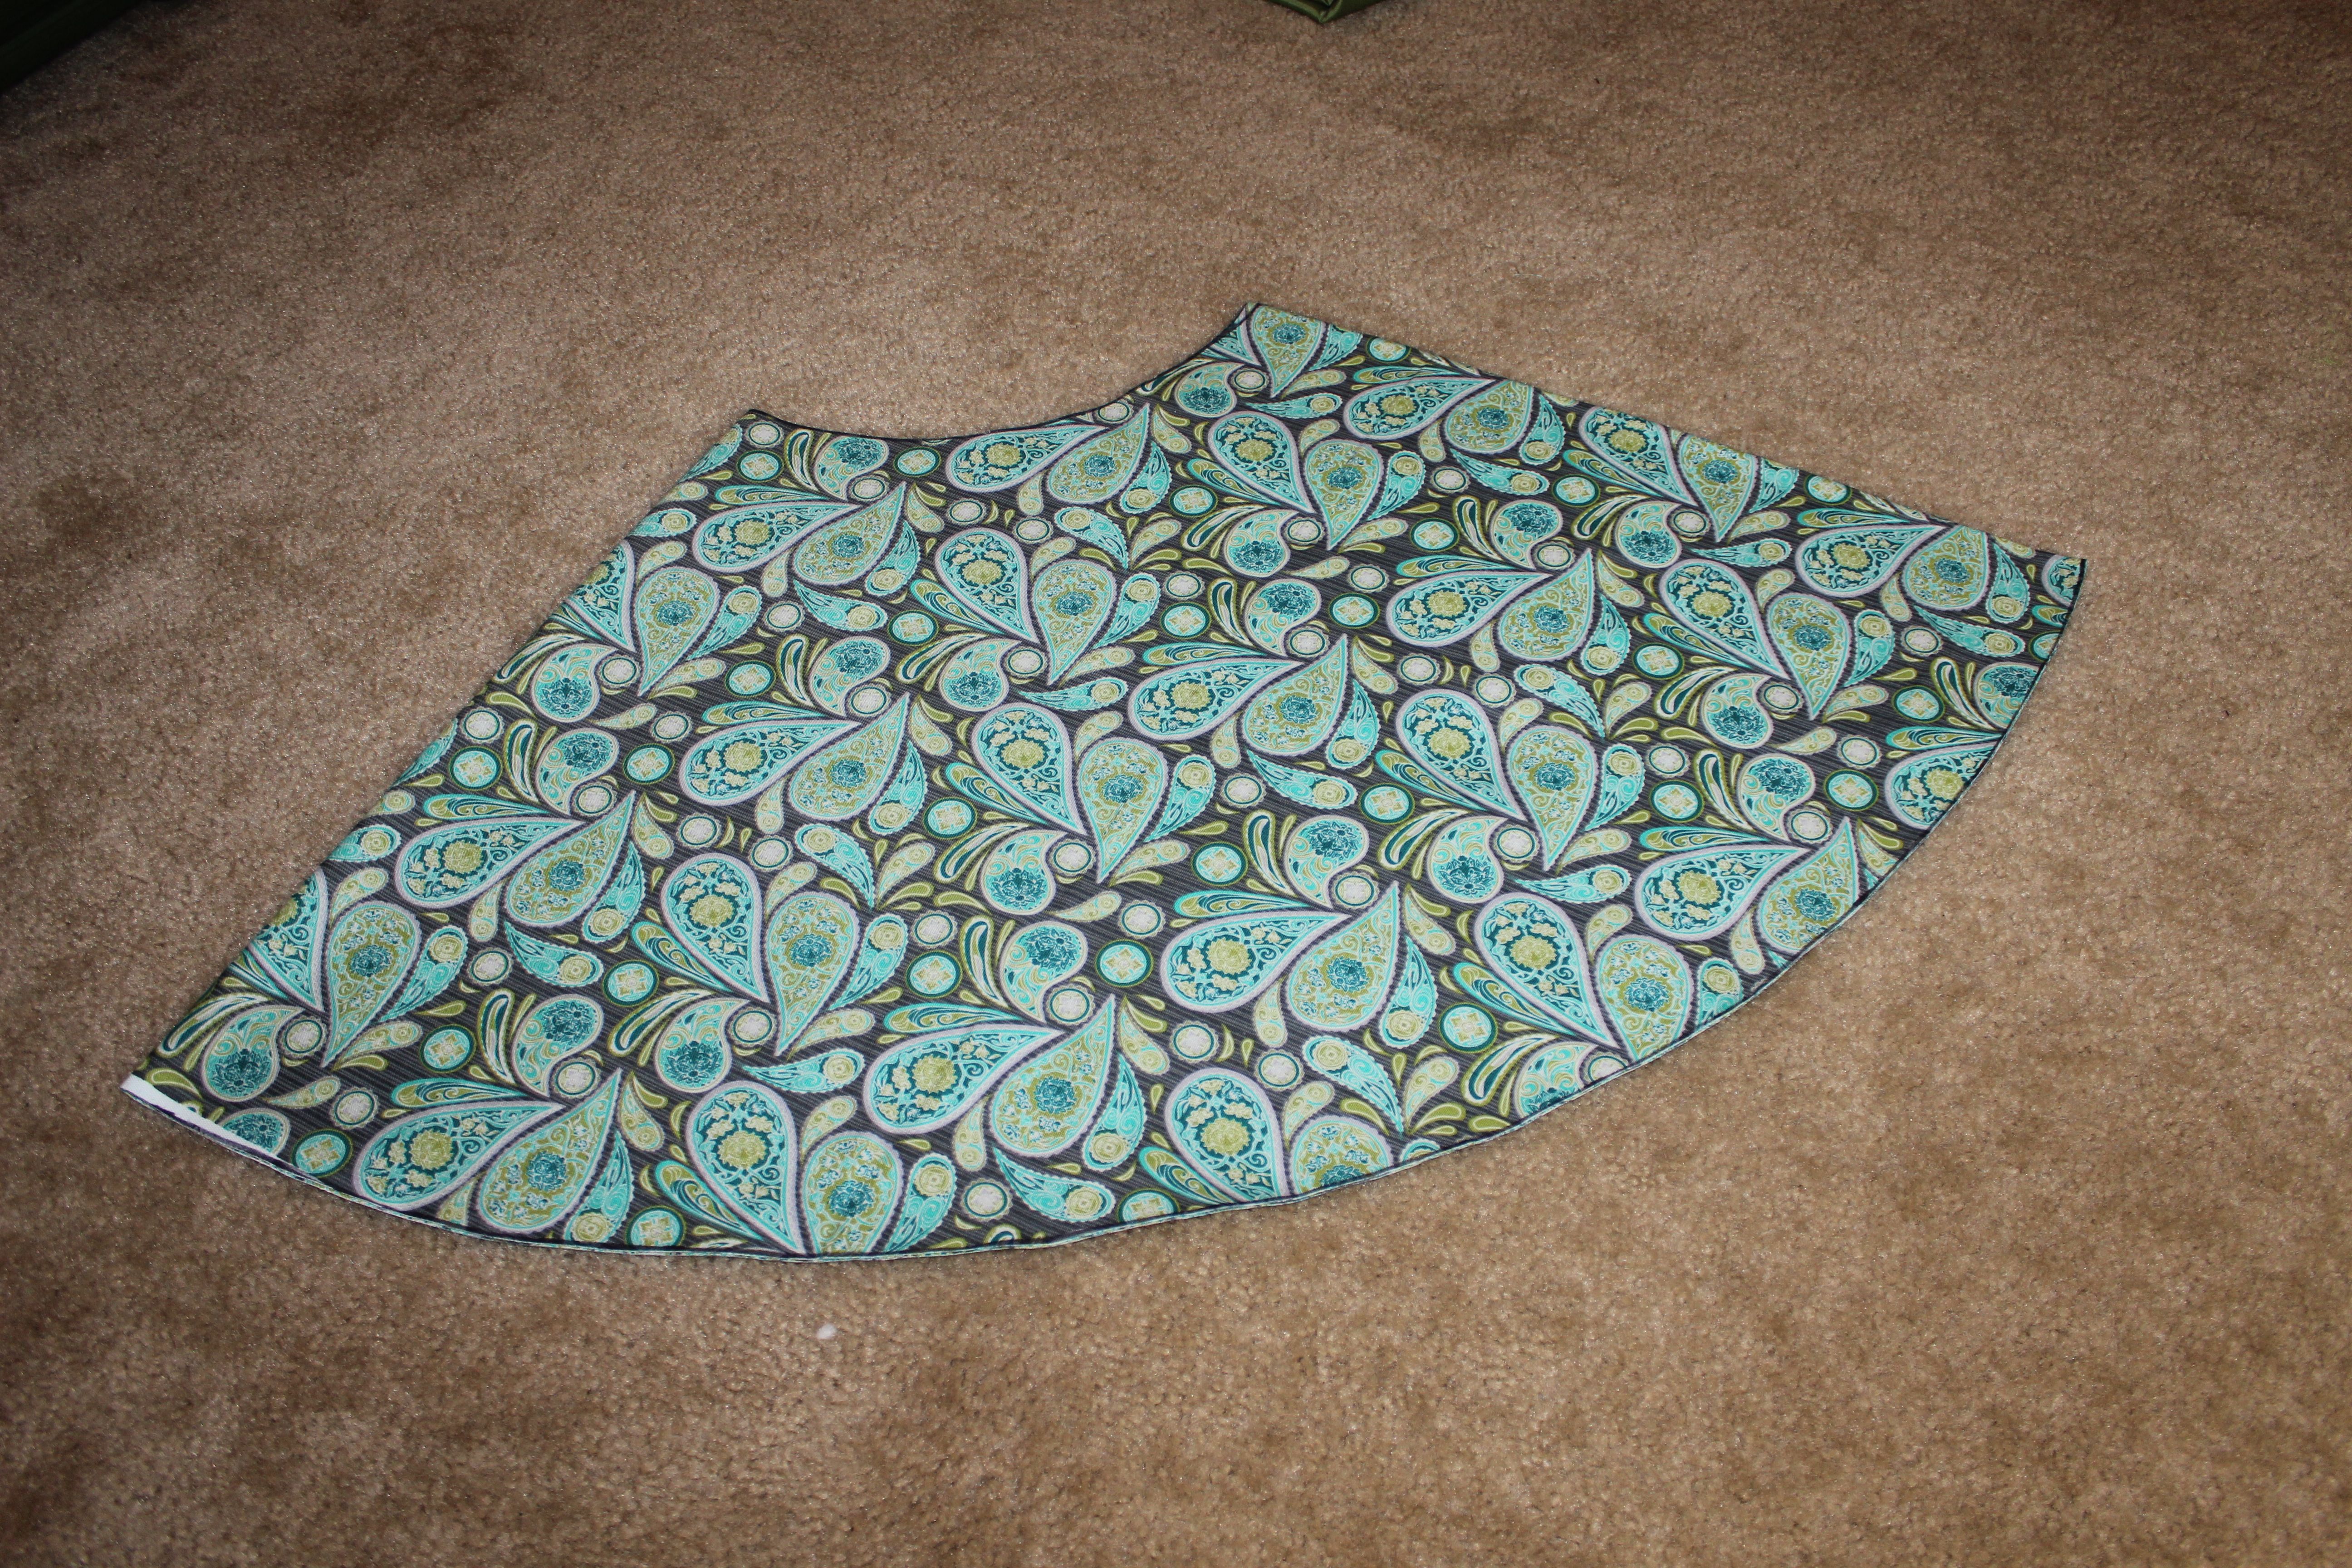
With the fabric flipped to the printed side down, measure 3 inches from the edge of the fabric, pin a 1 inch pleat and repeat until you make it all the way around the skirt.
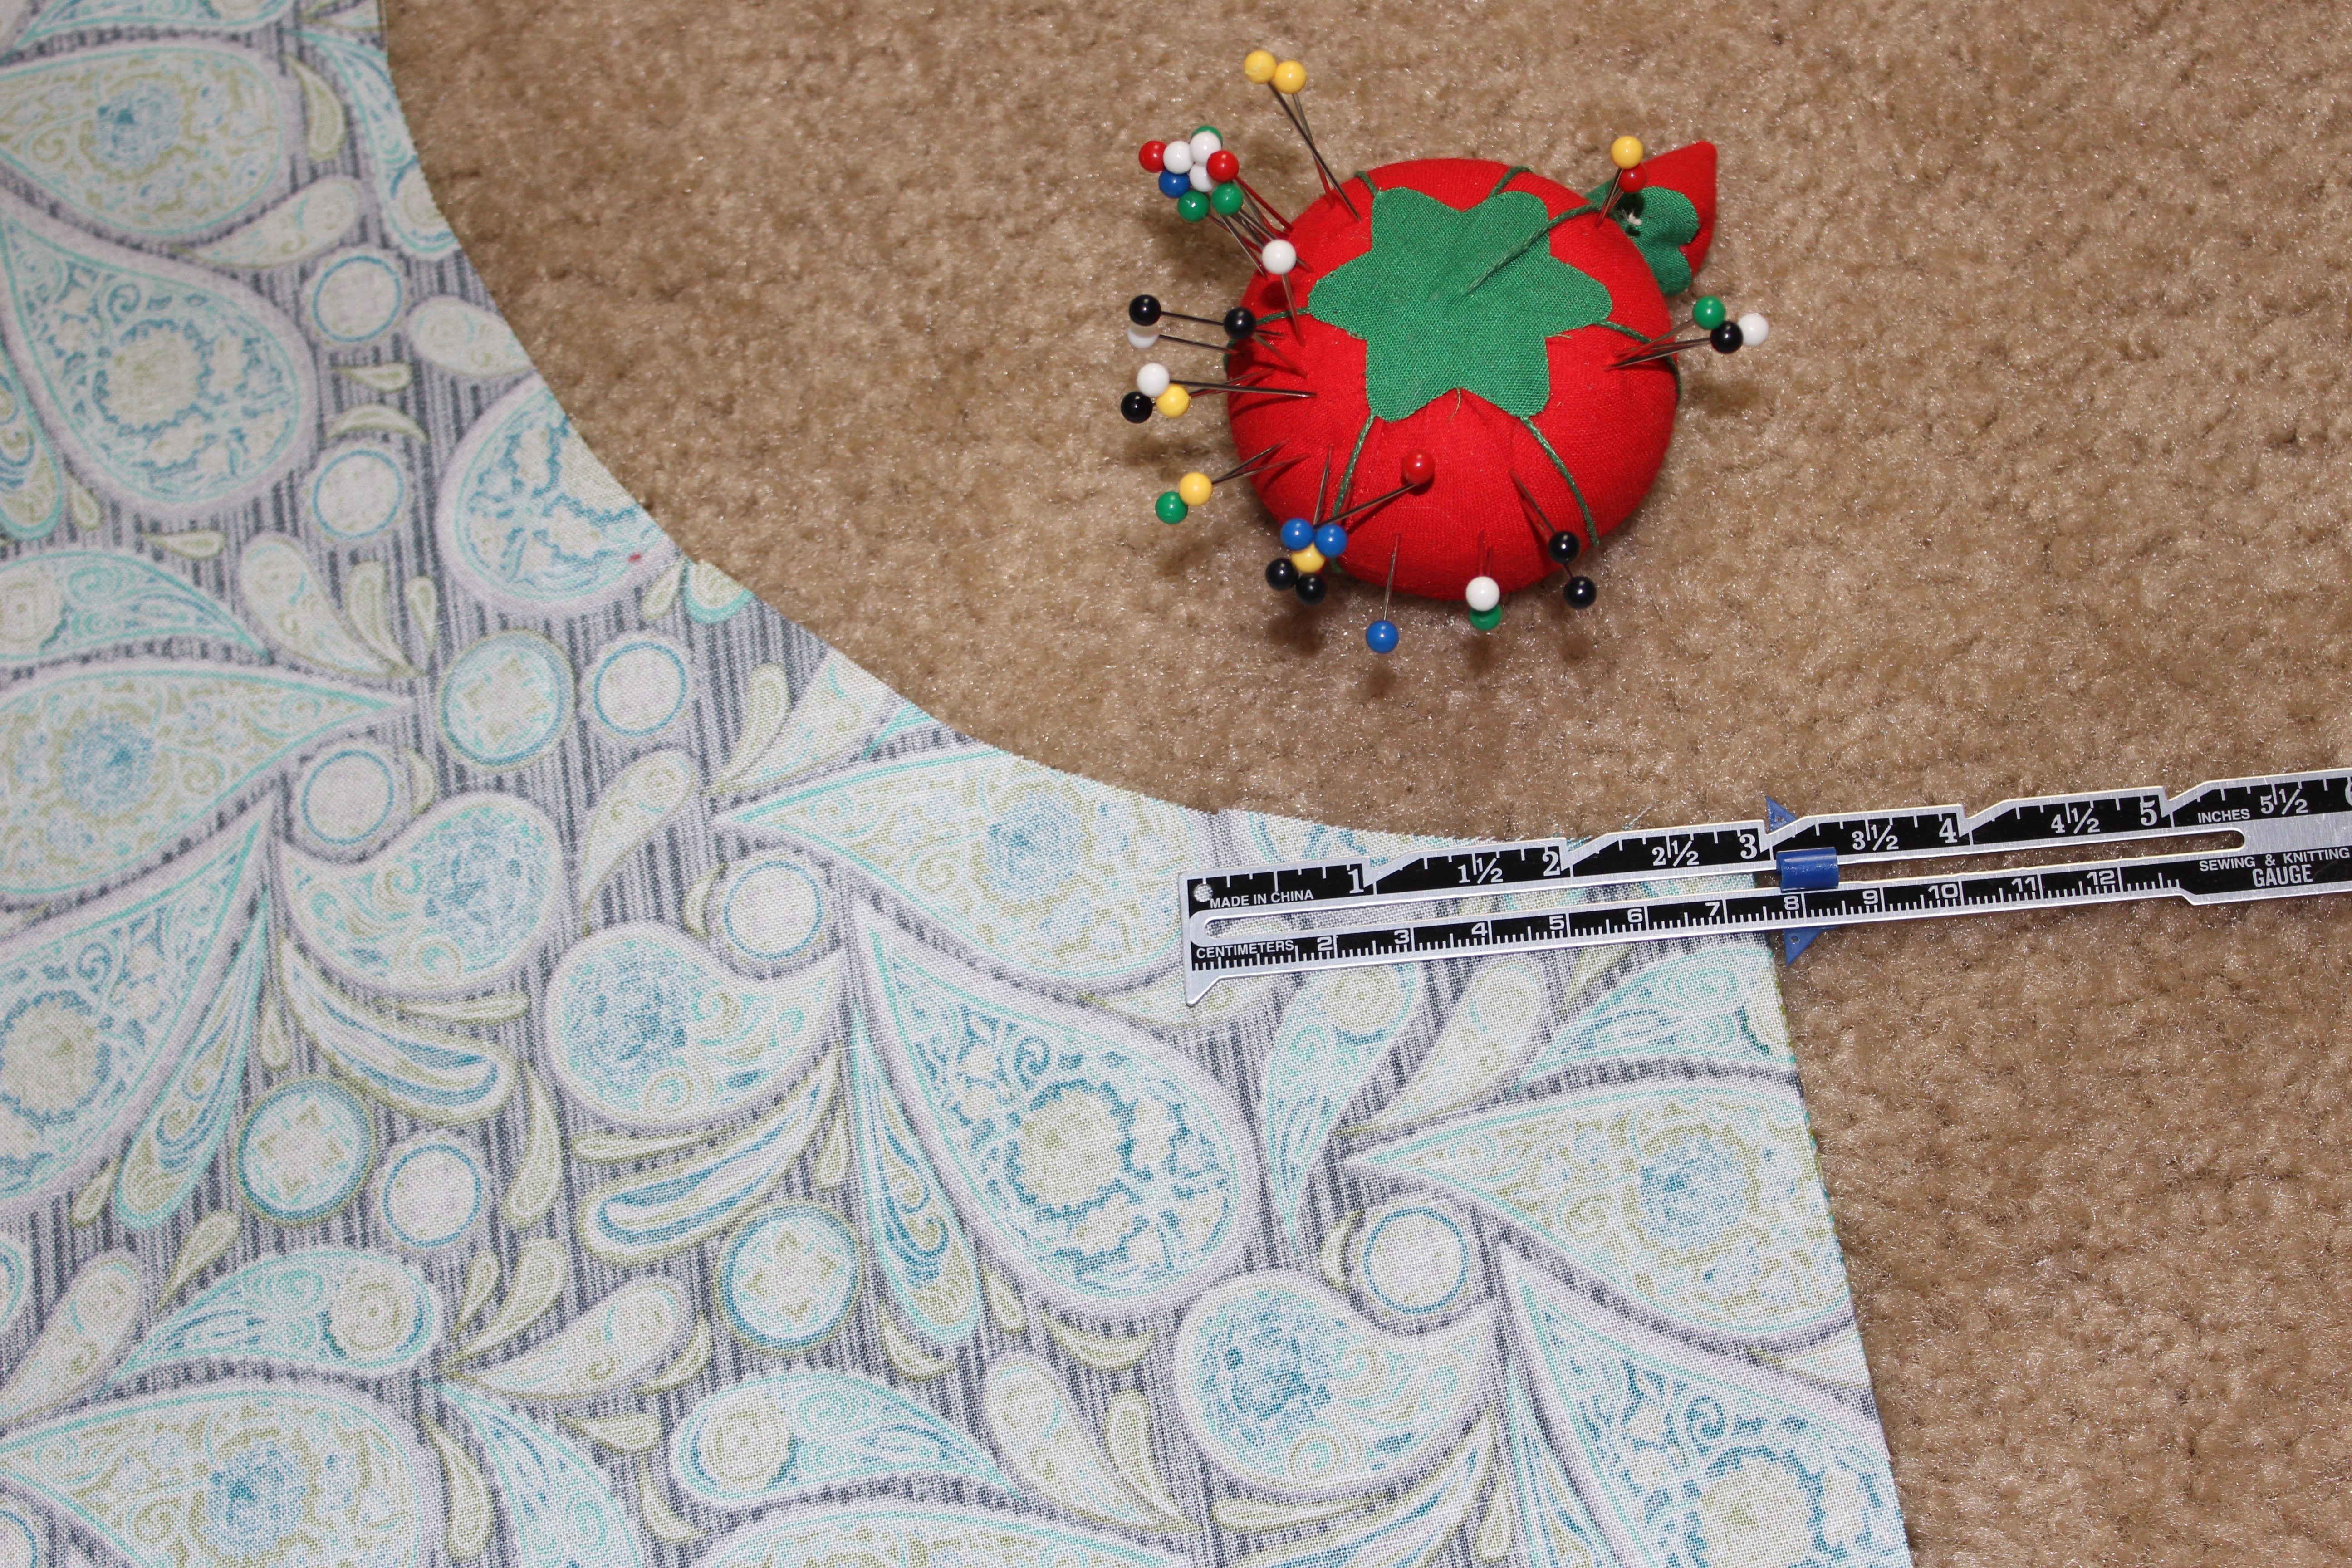
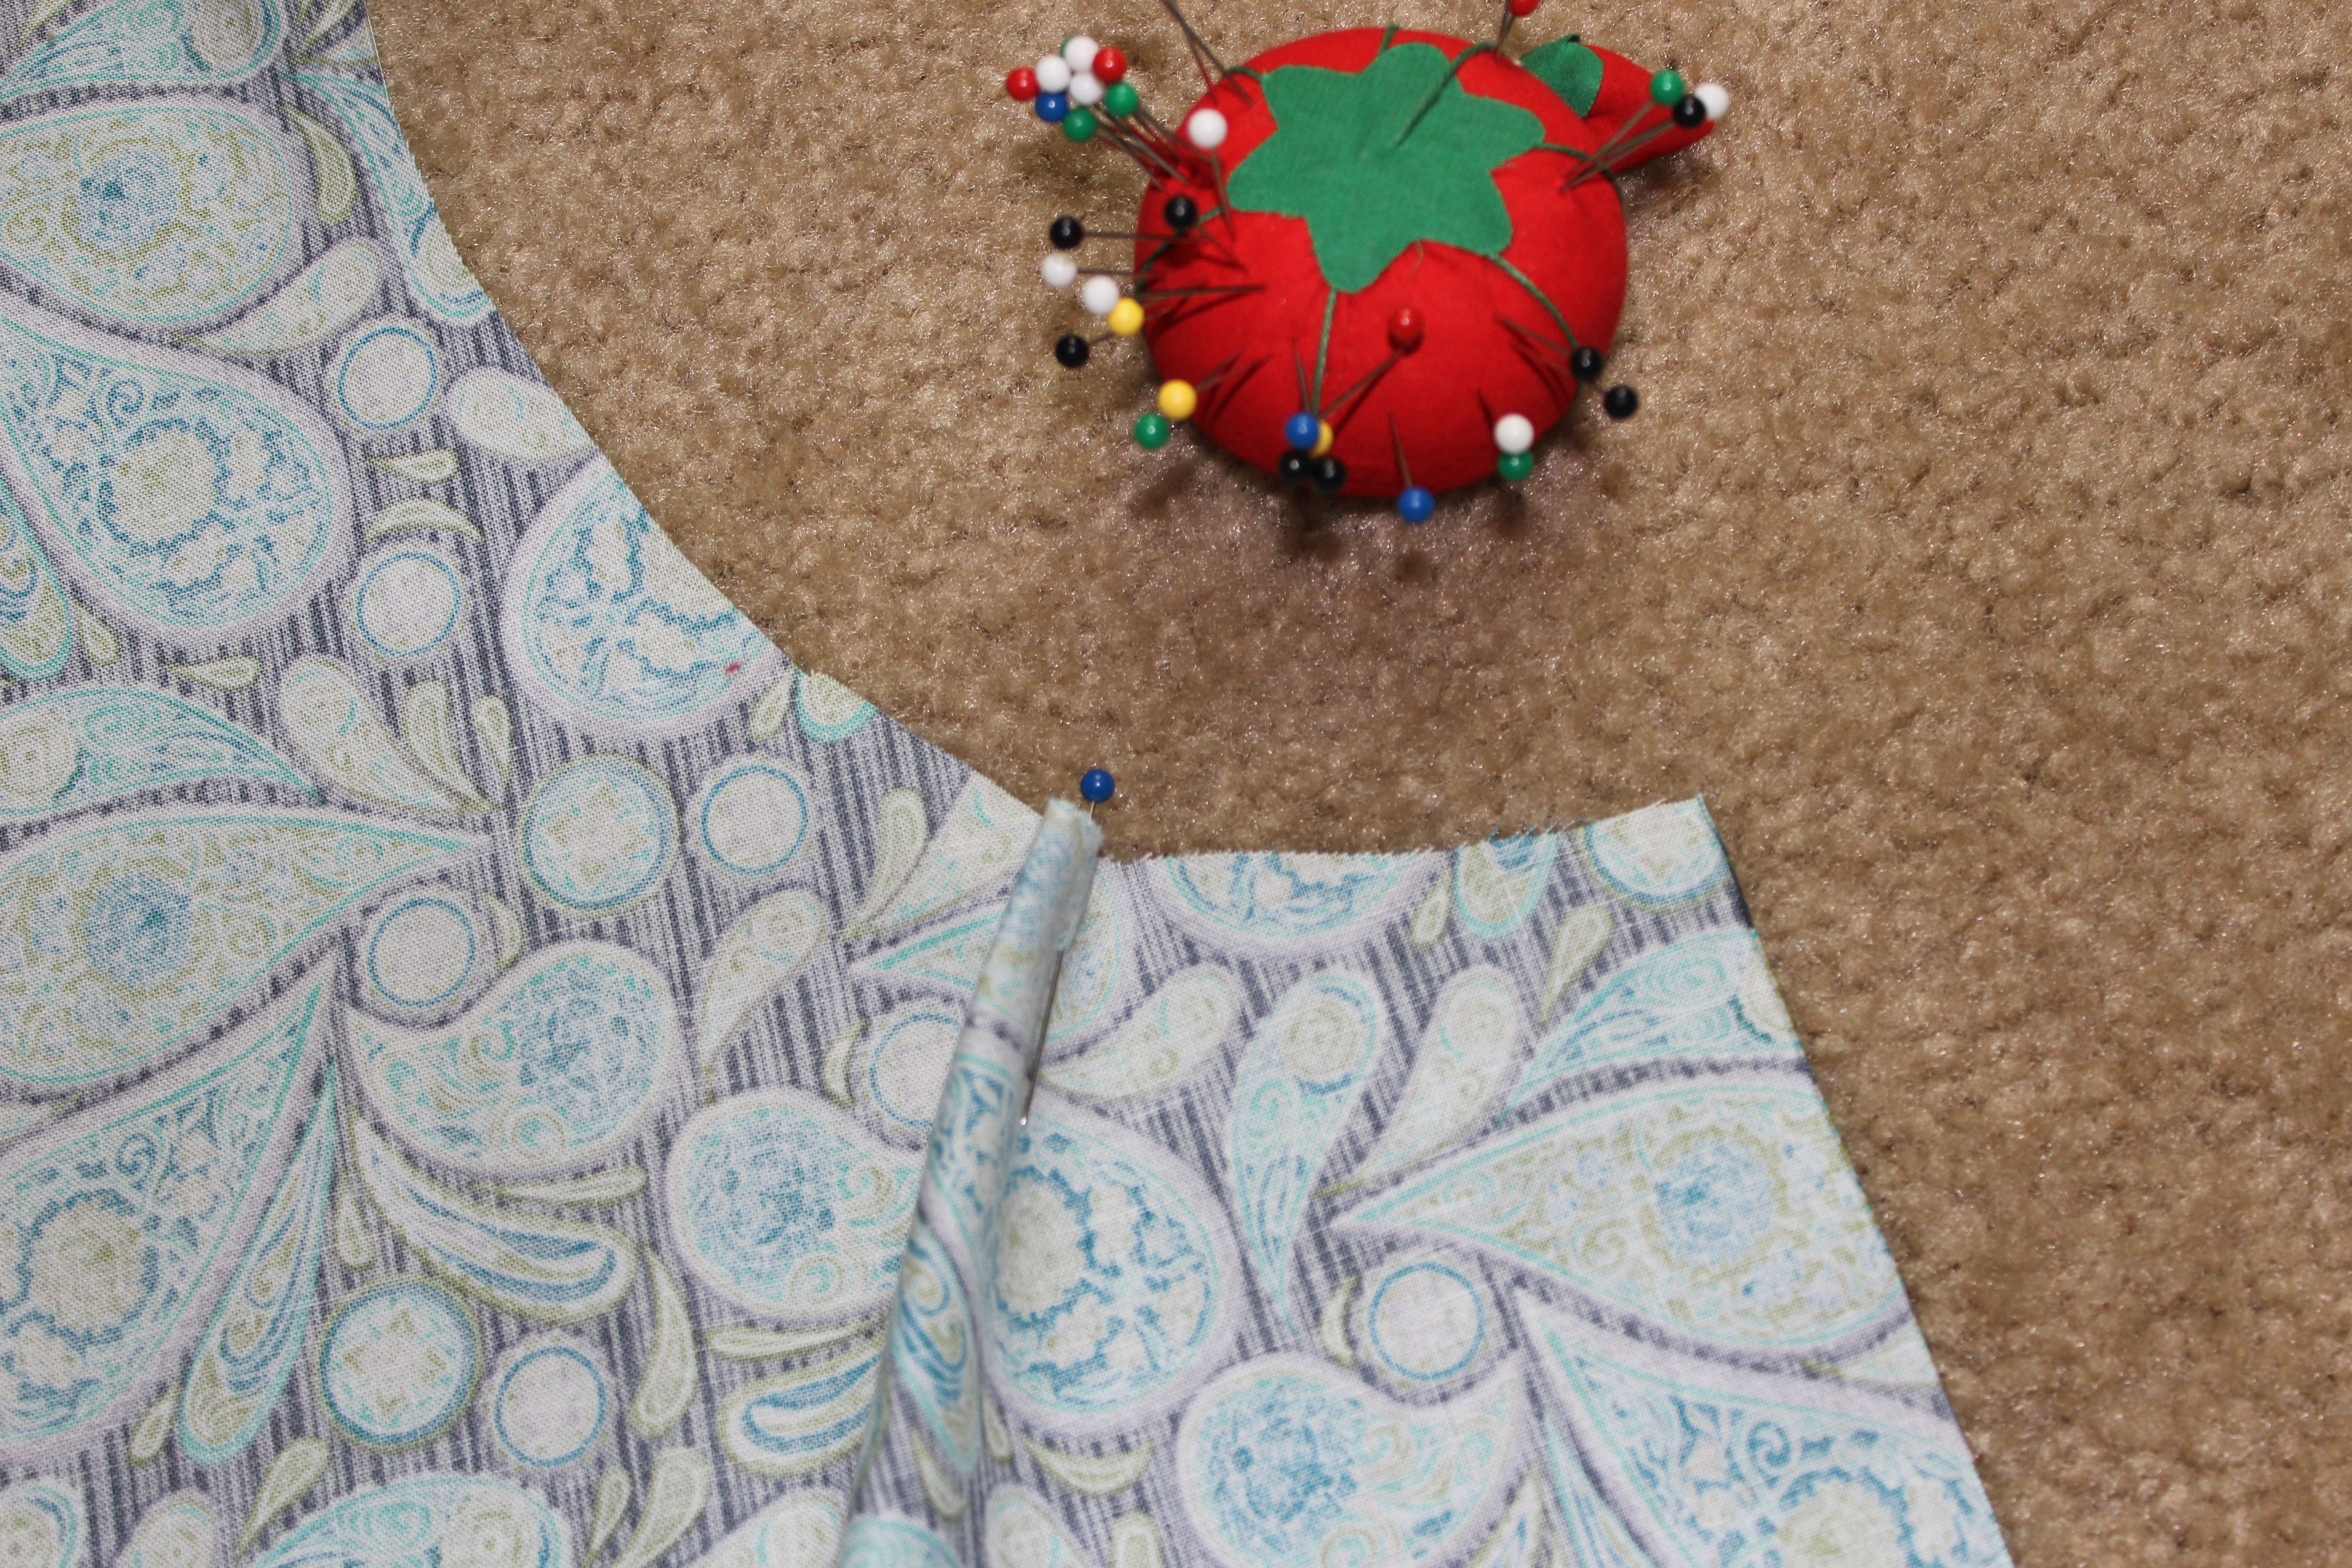
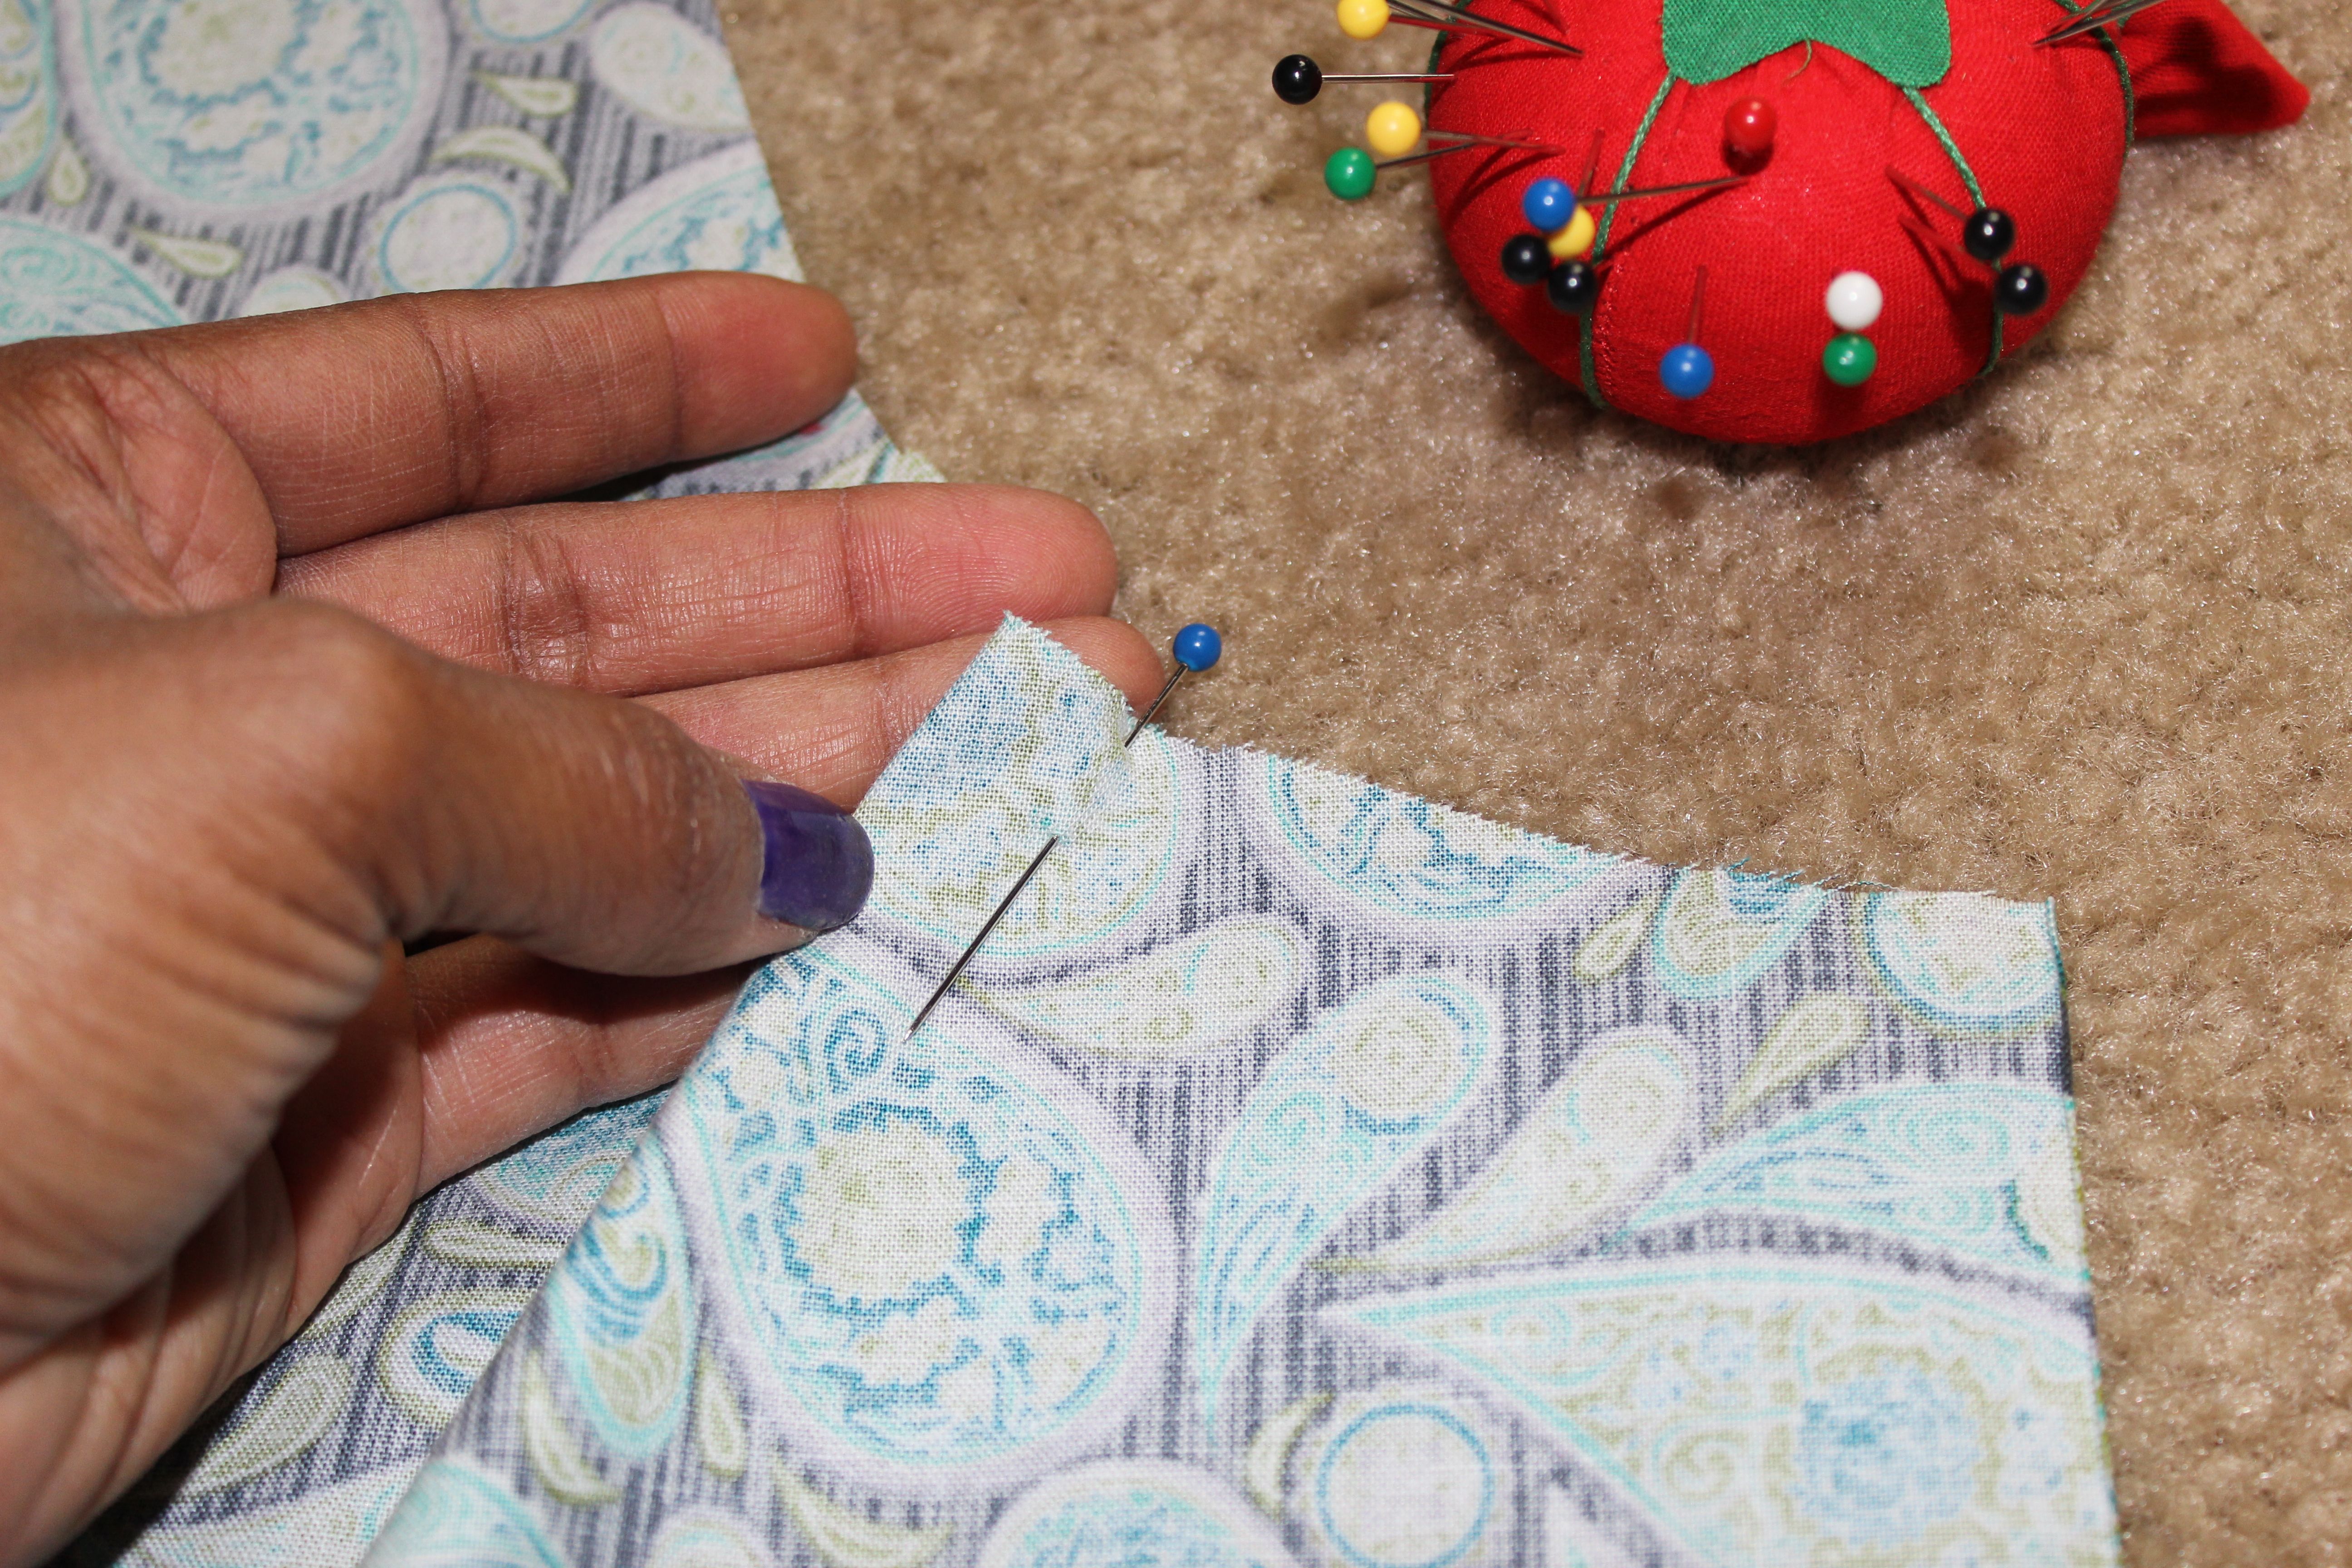
After all the pleats are pinned stitch the pleats 3 to 4 inches long.
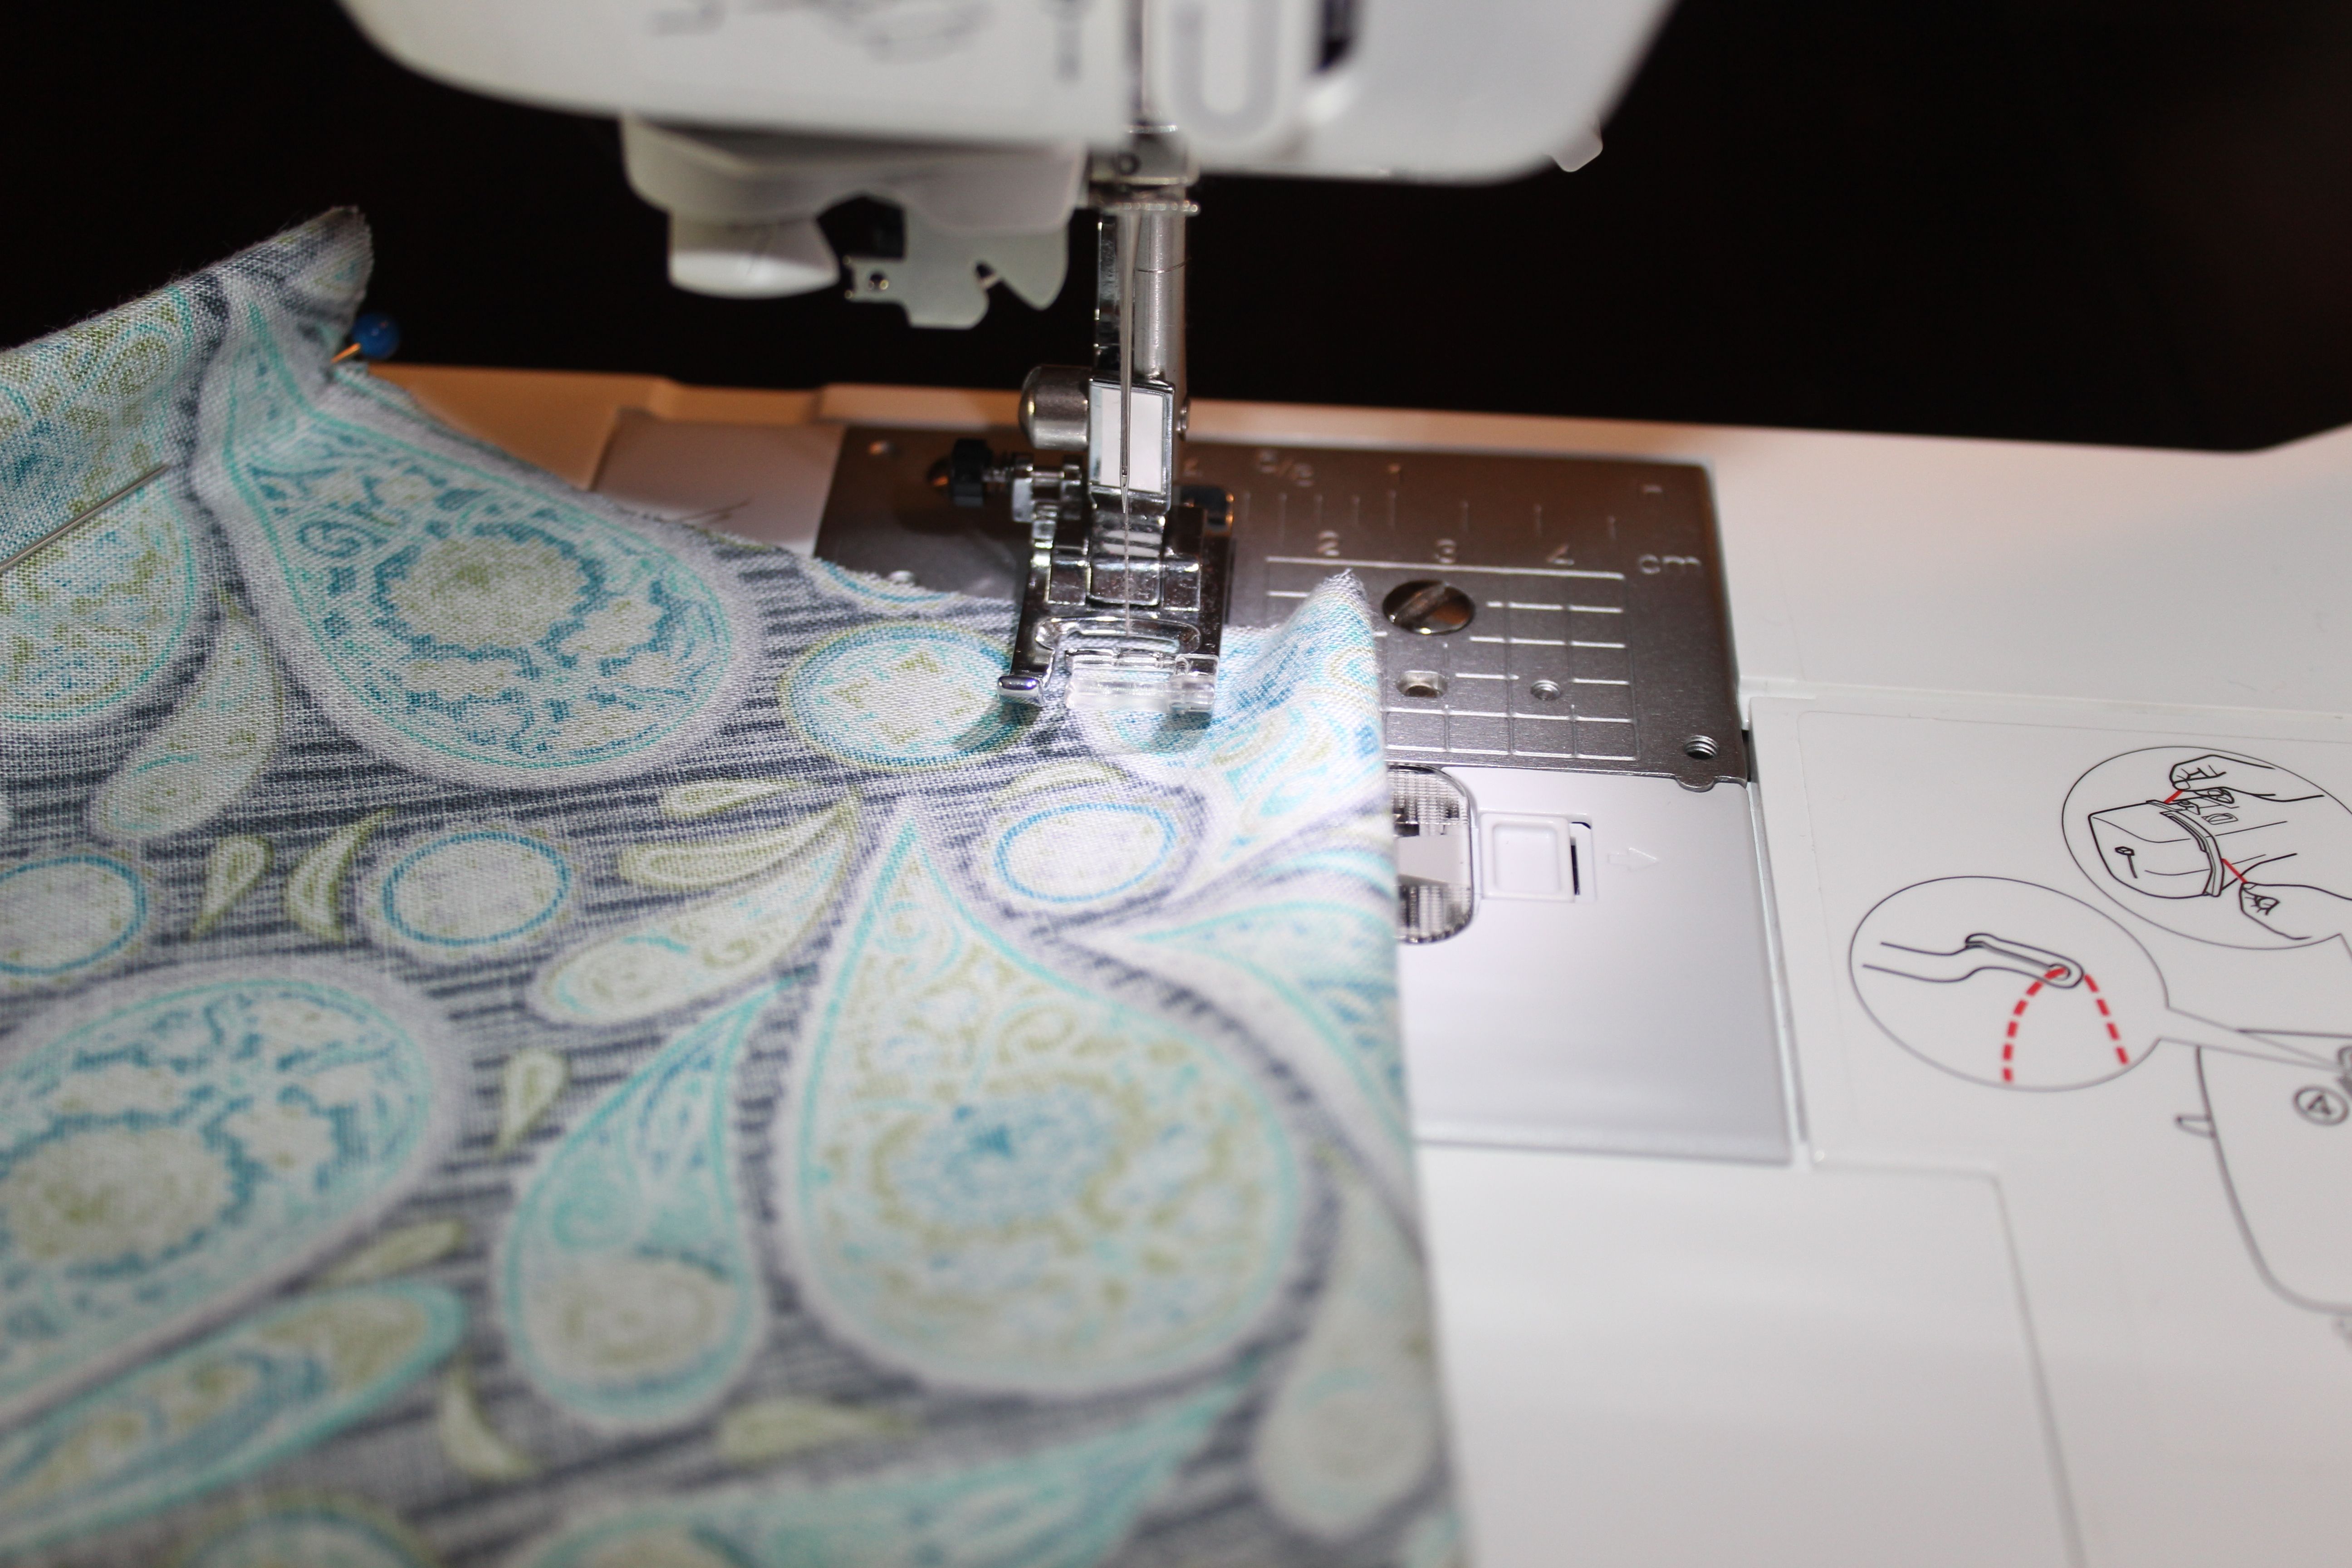
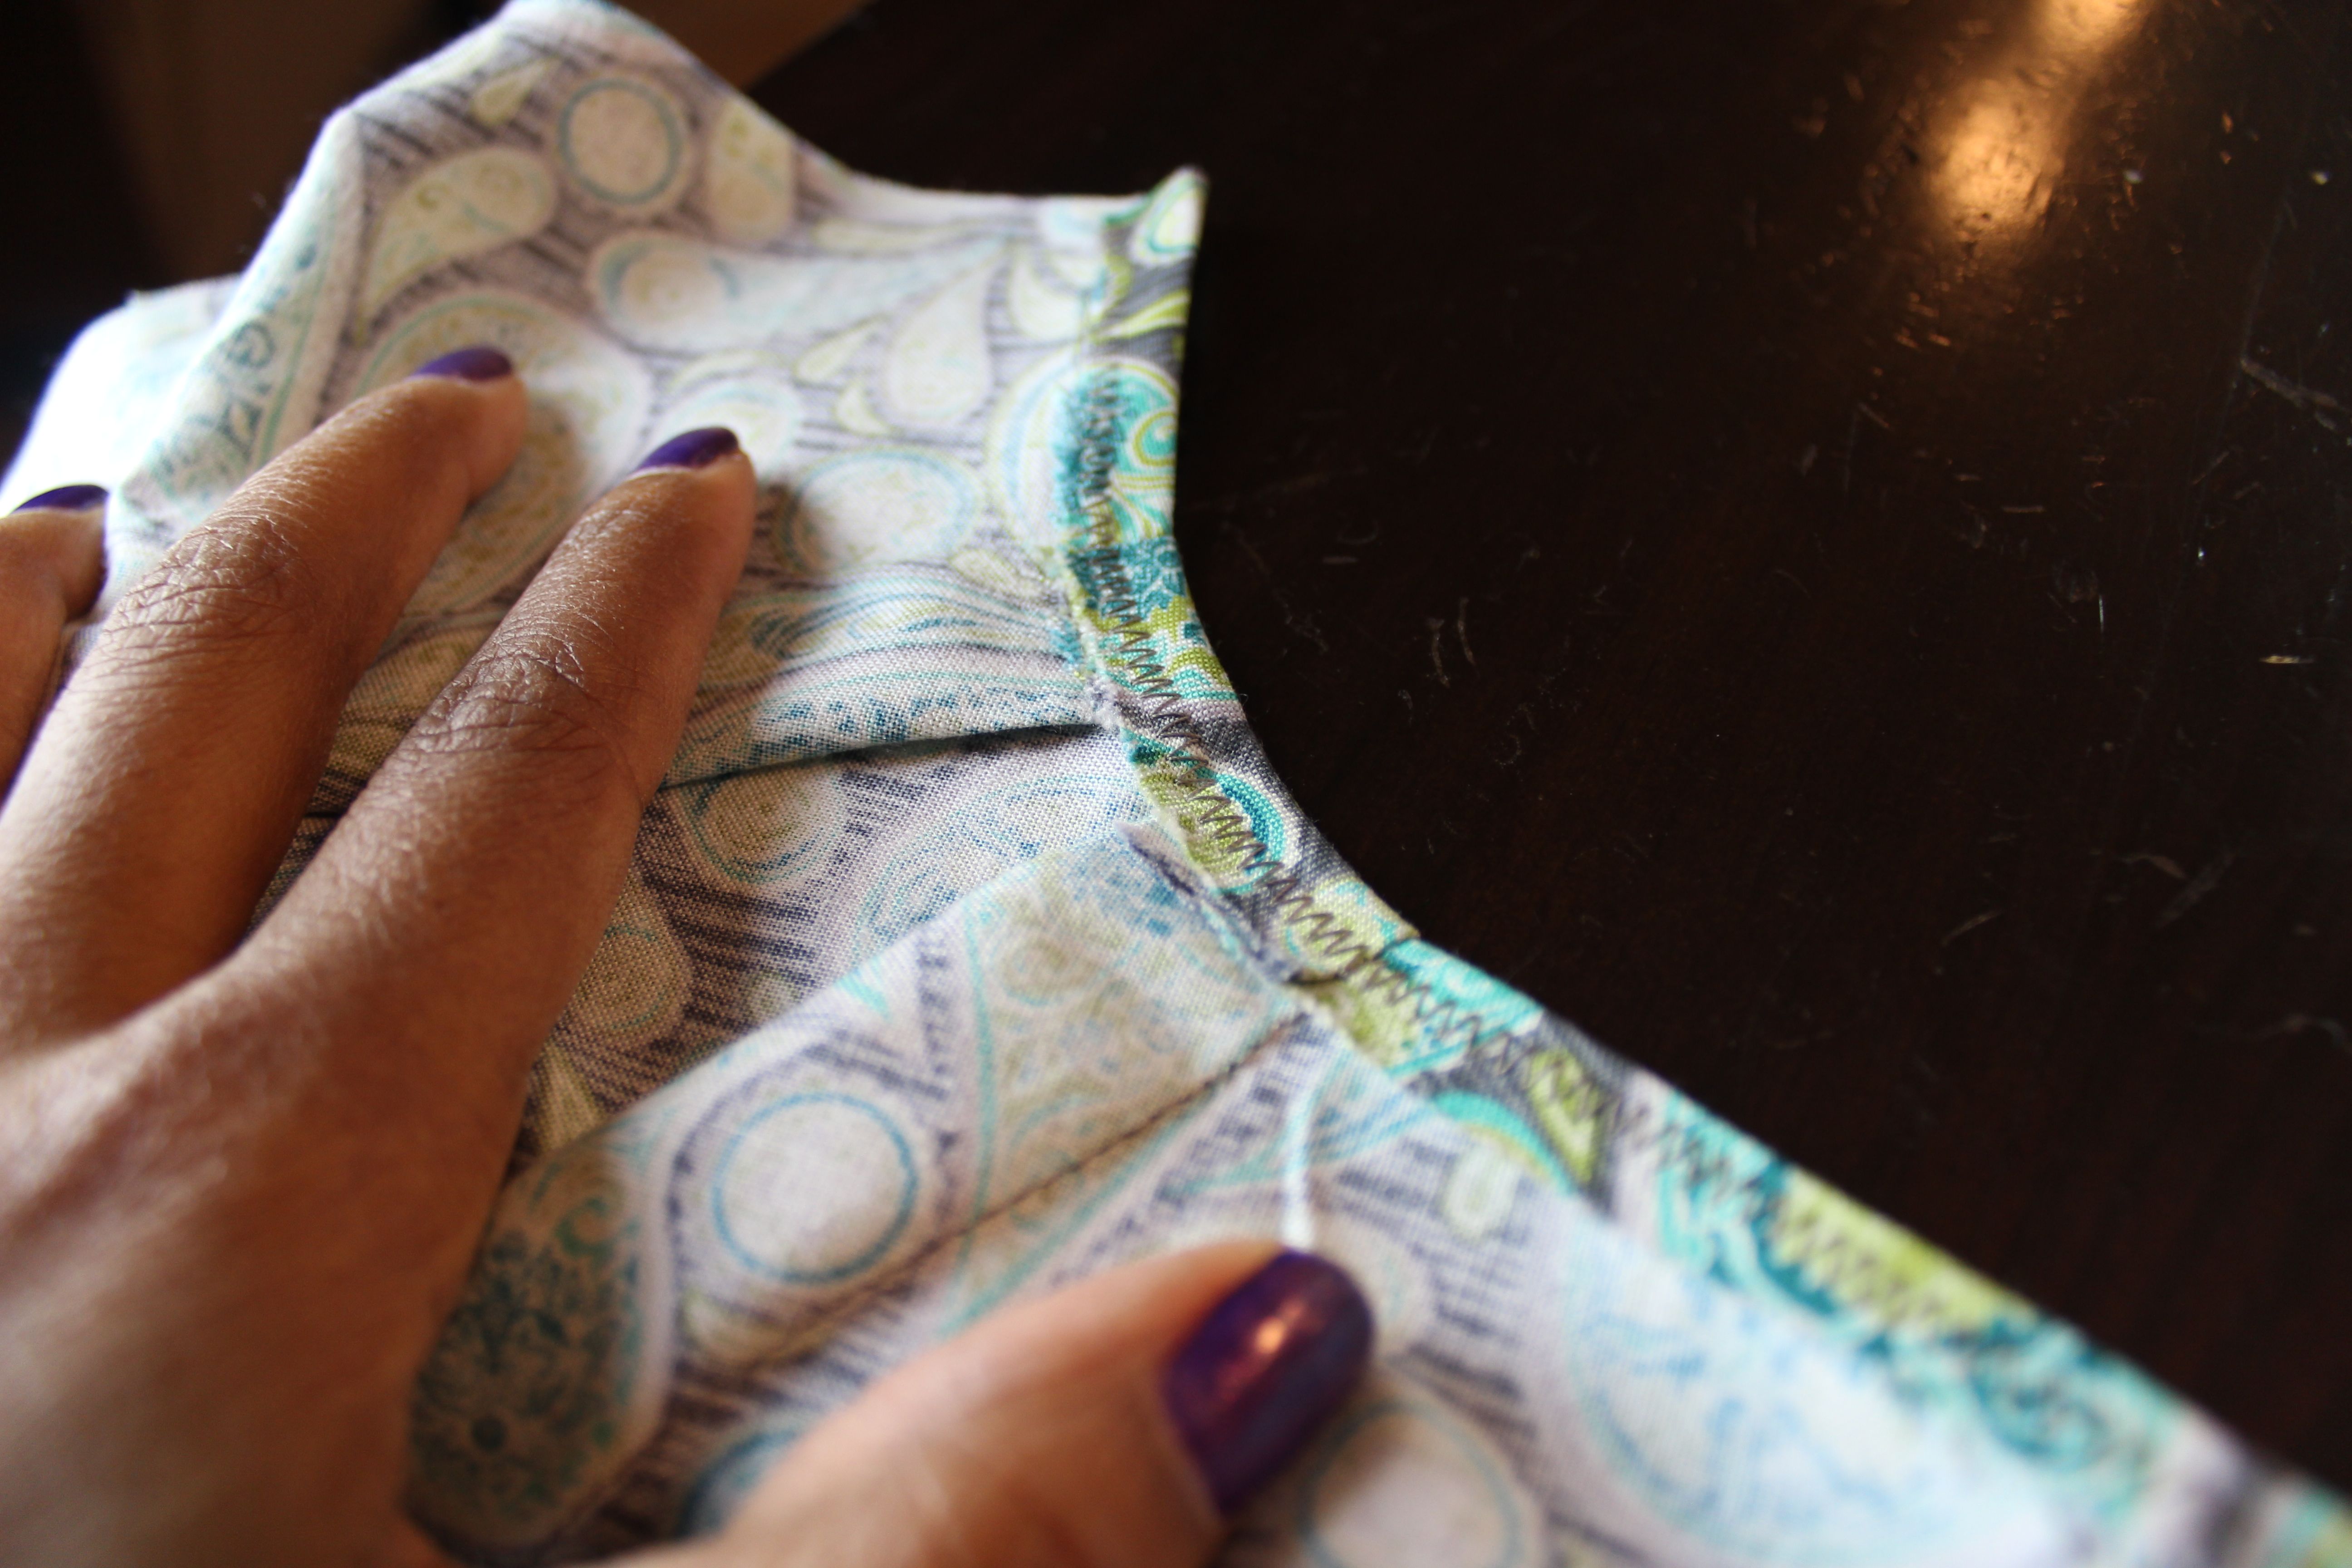
Once the pleats are all done fold the edge down about 1/4 inch. In doing this it gives the garment a cleaner look. I used the zig-zag stitch to stitch it down. This stitch also gives more flexibility and will help prevent the fabric from unraveling, since I do not own a serger.
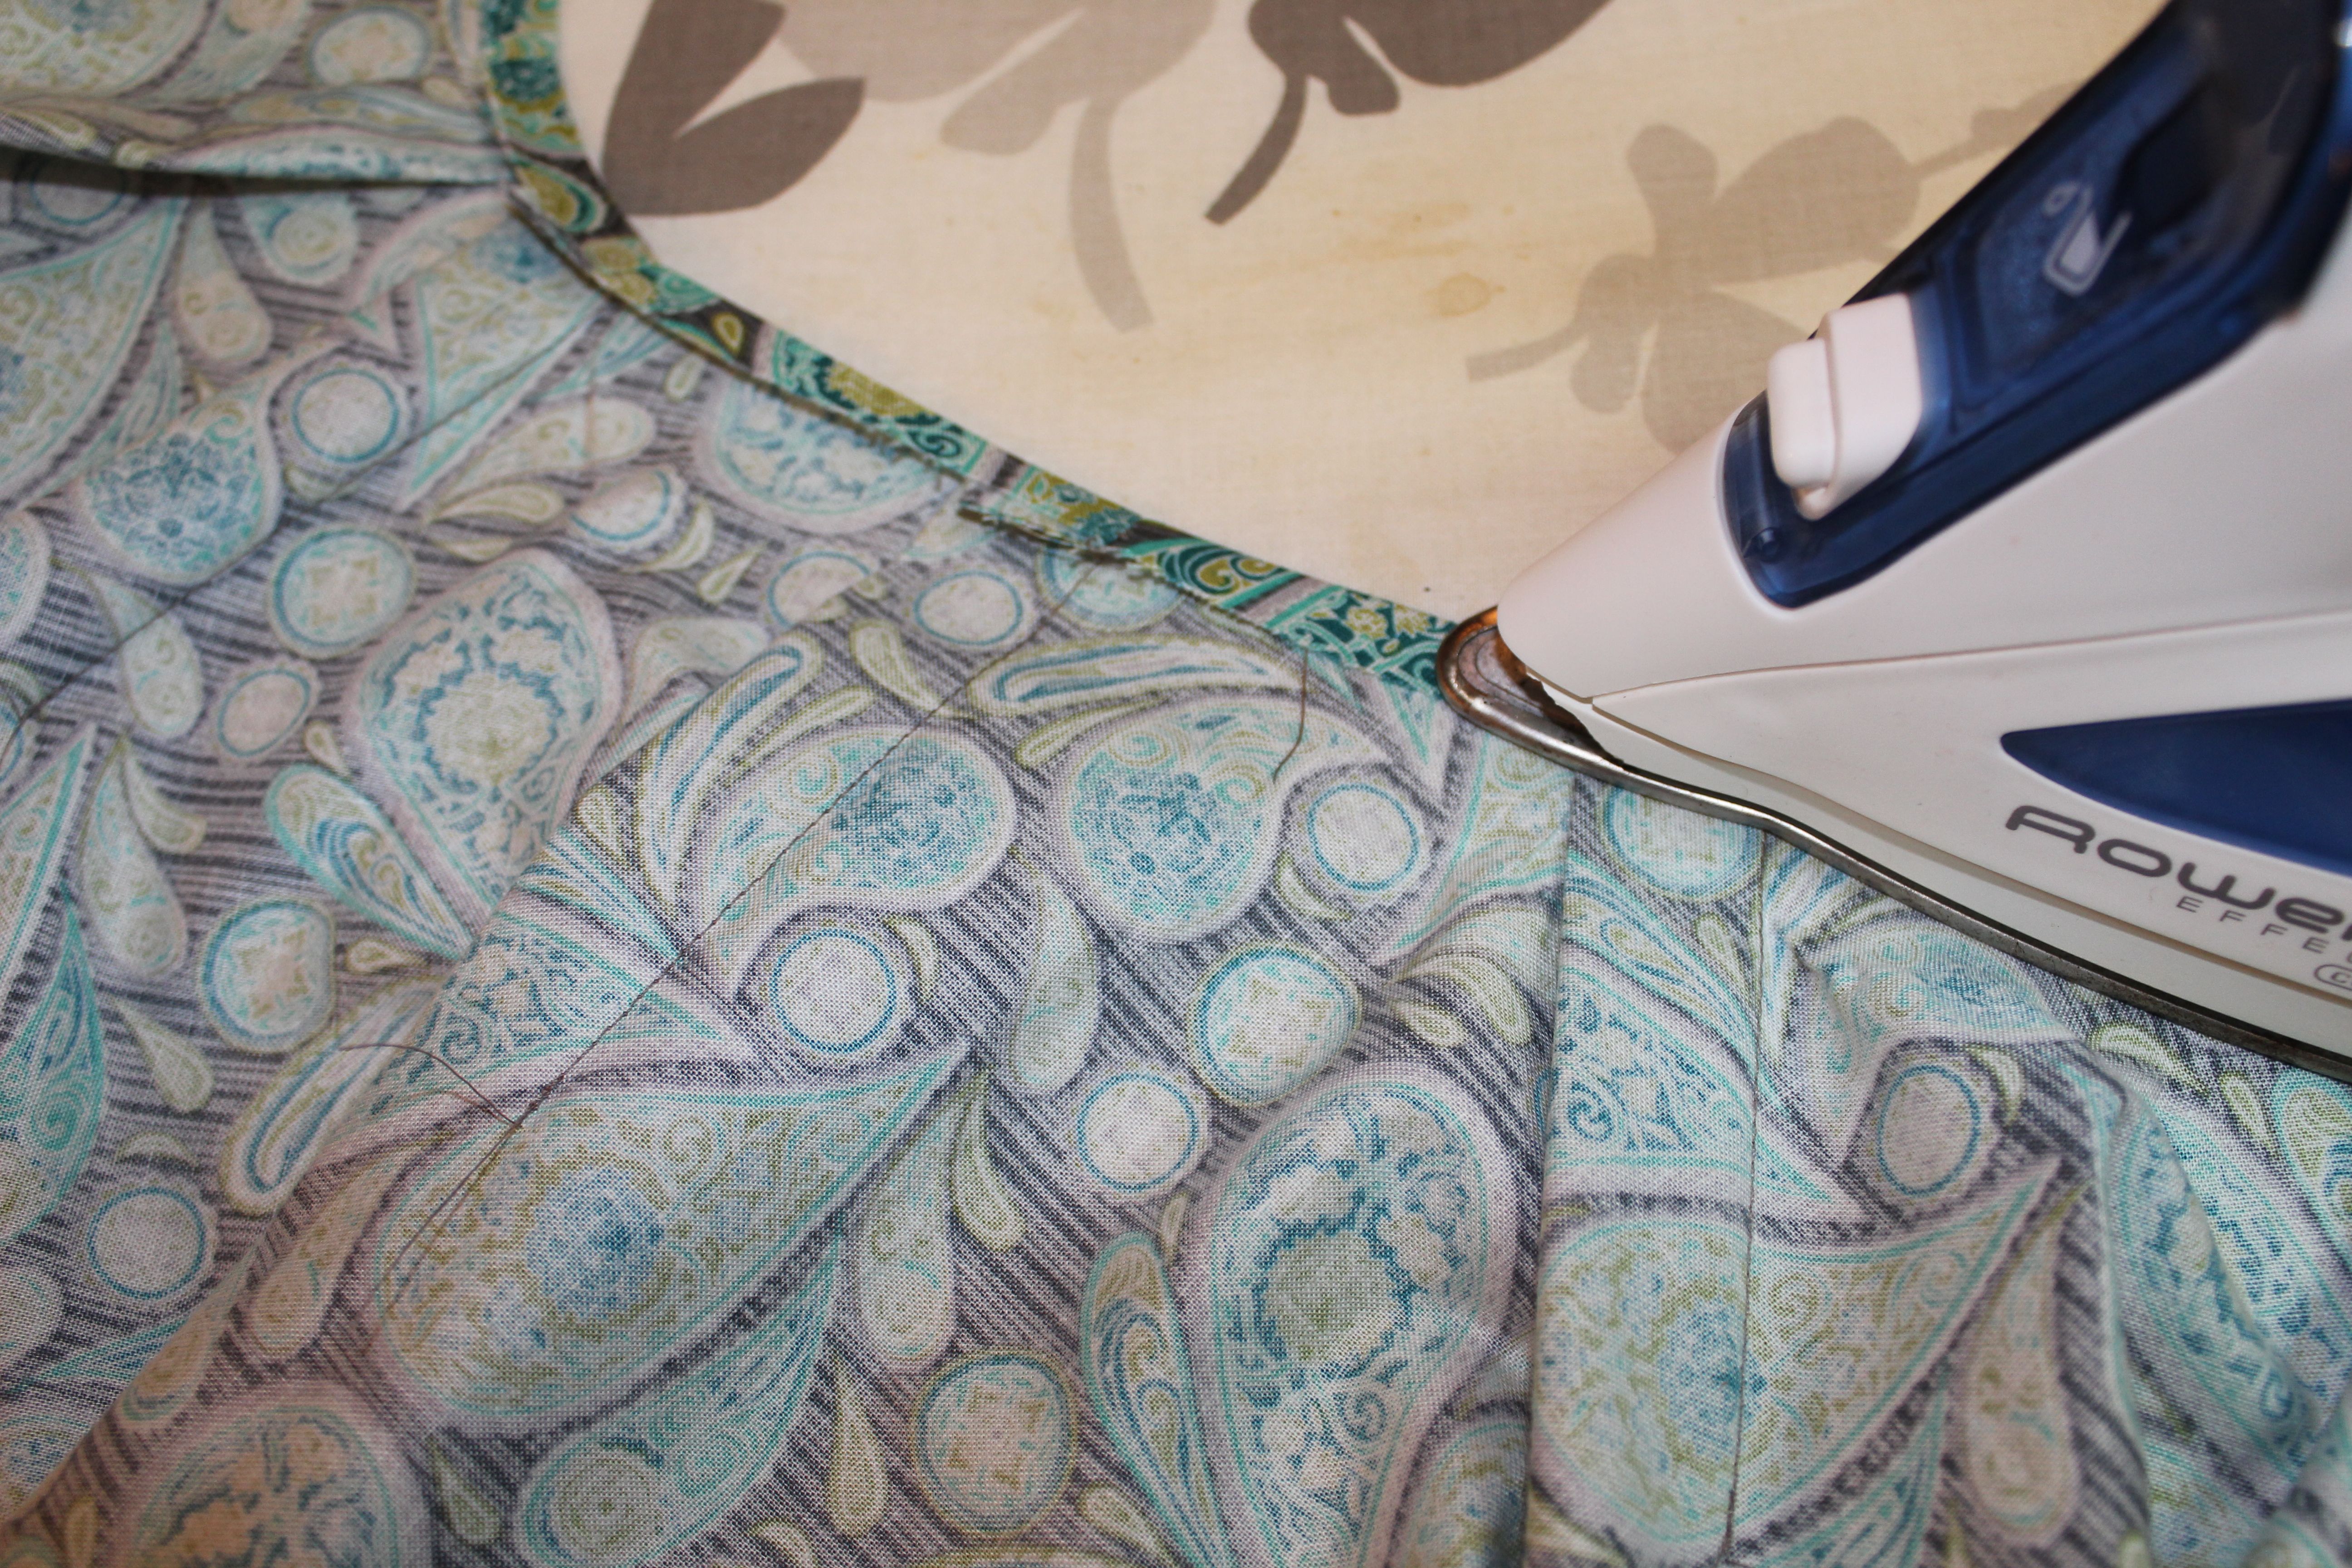
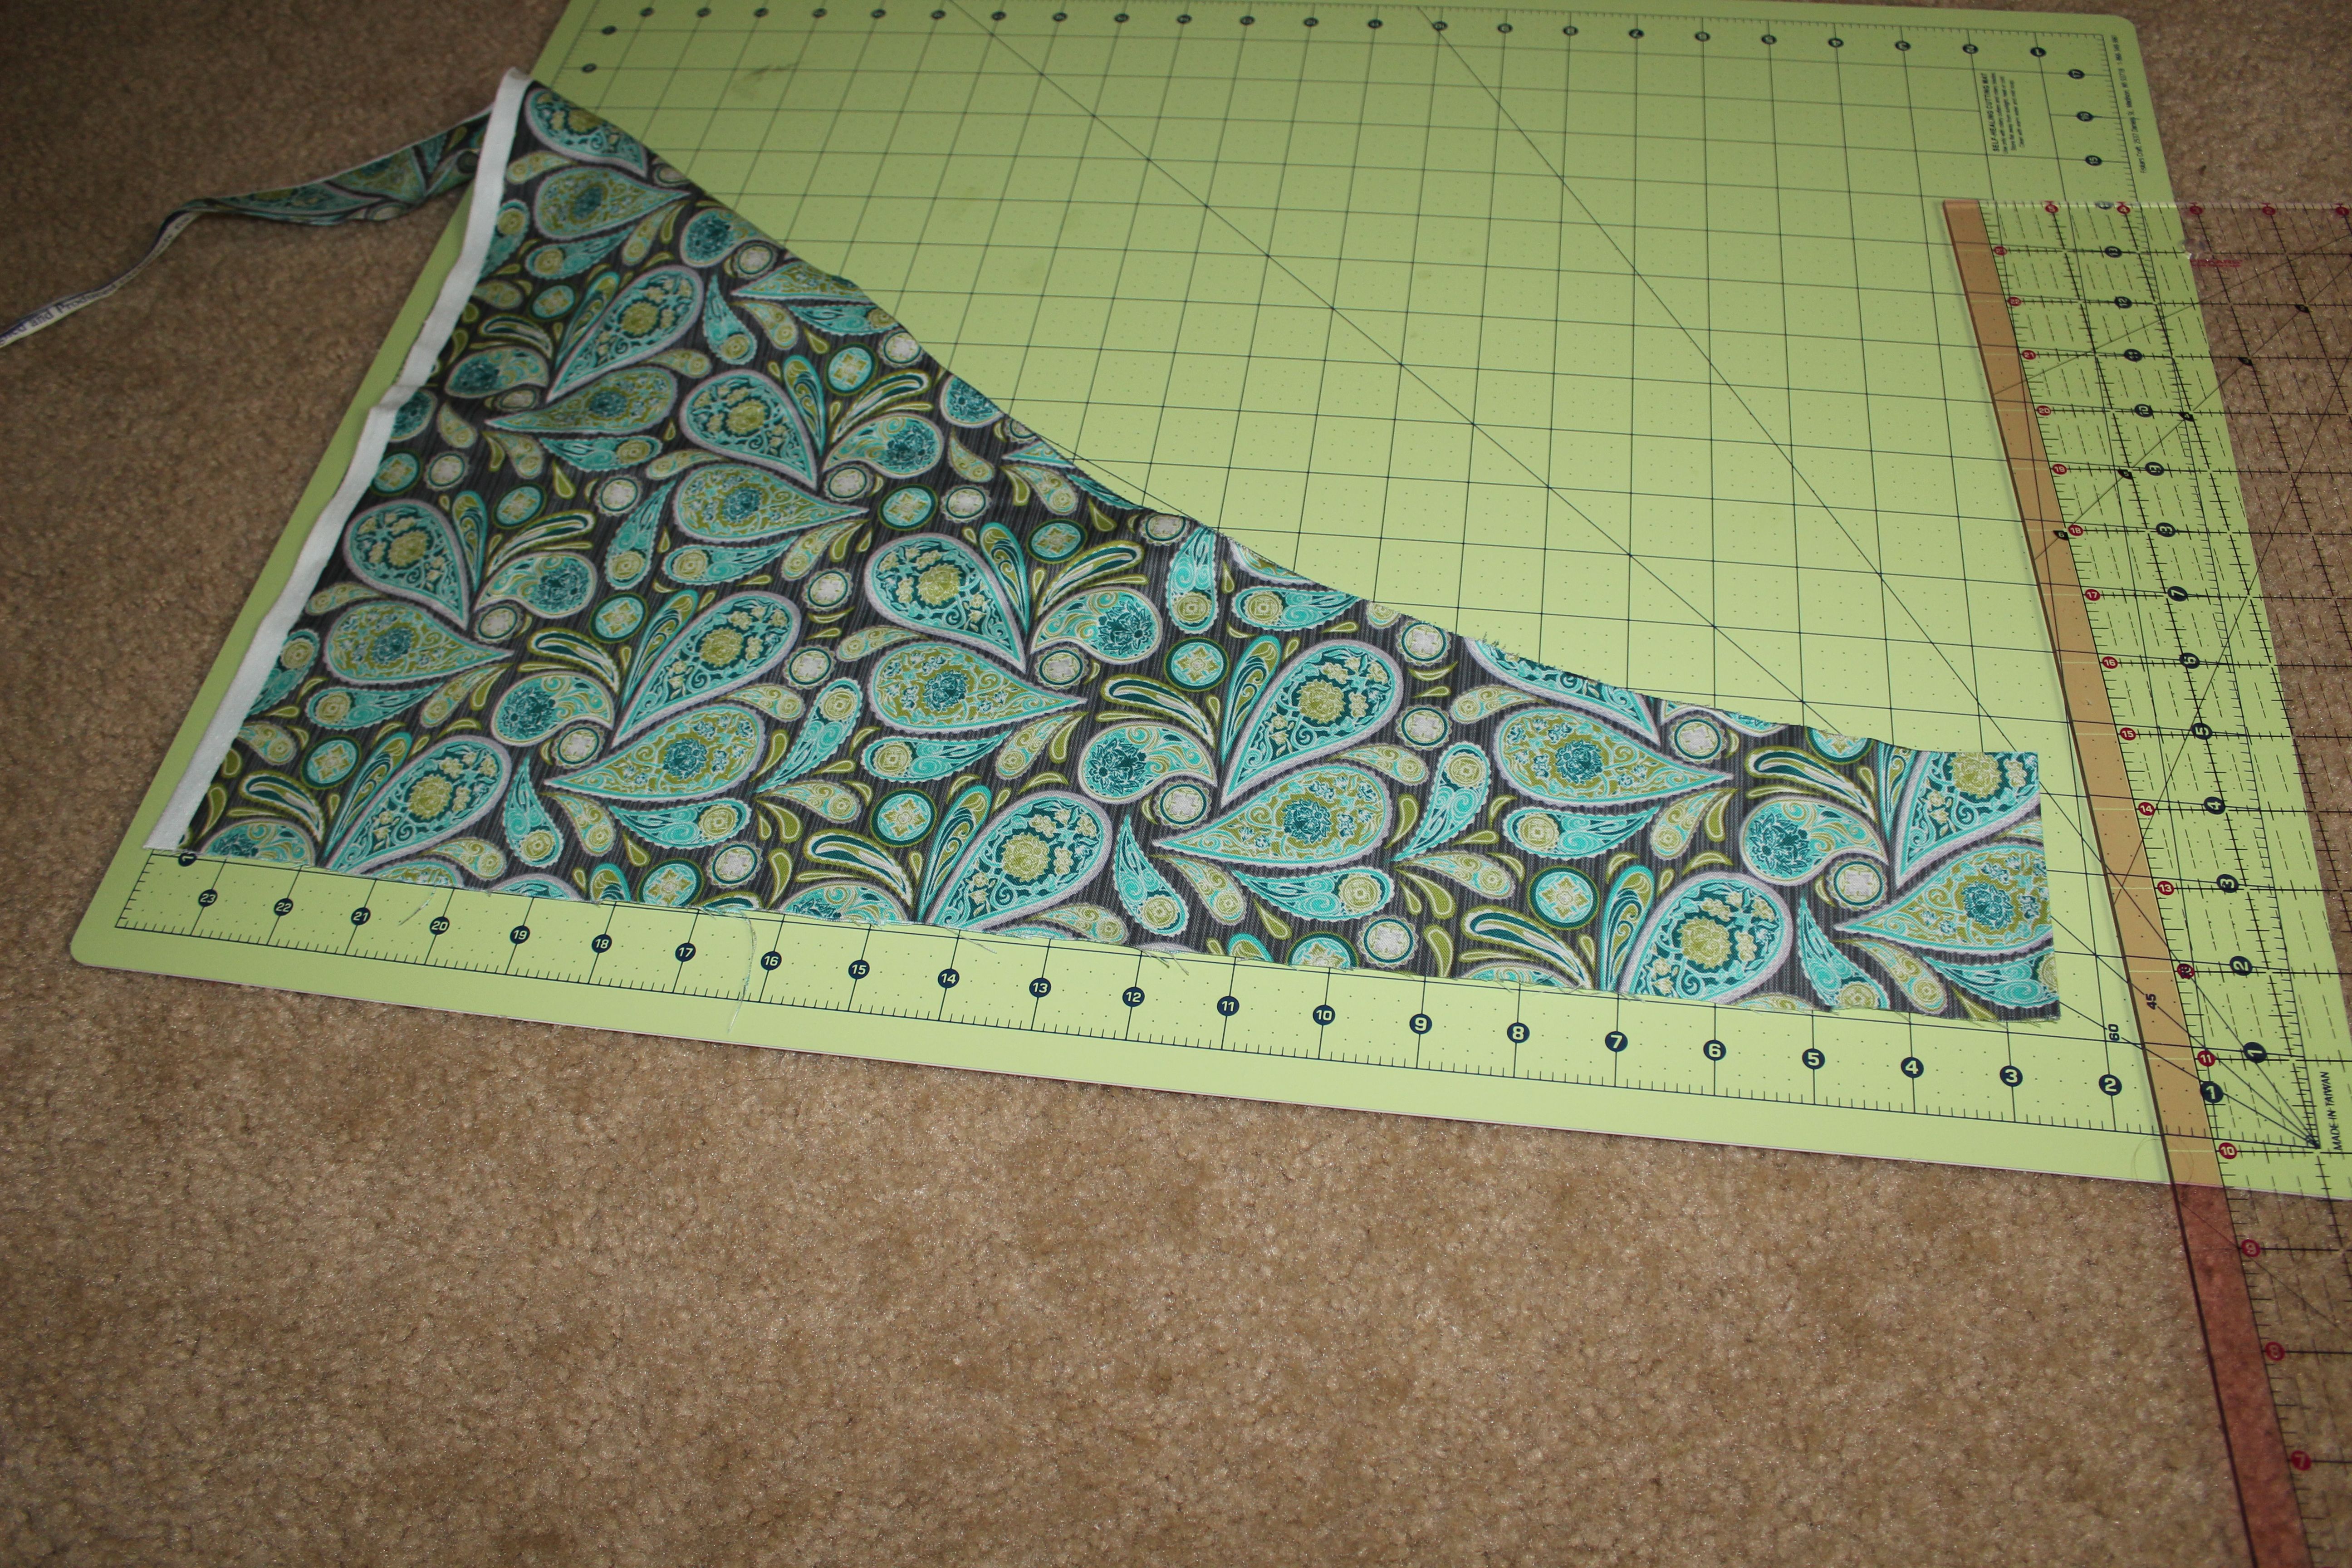
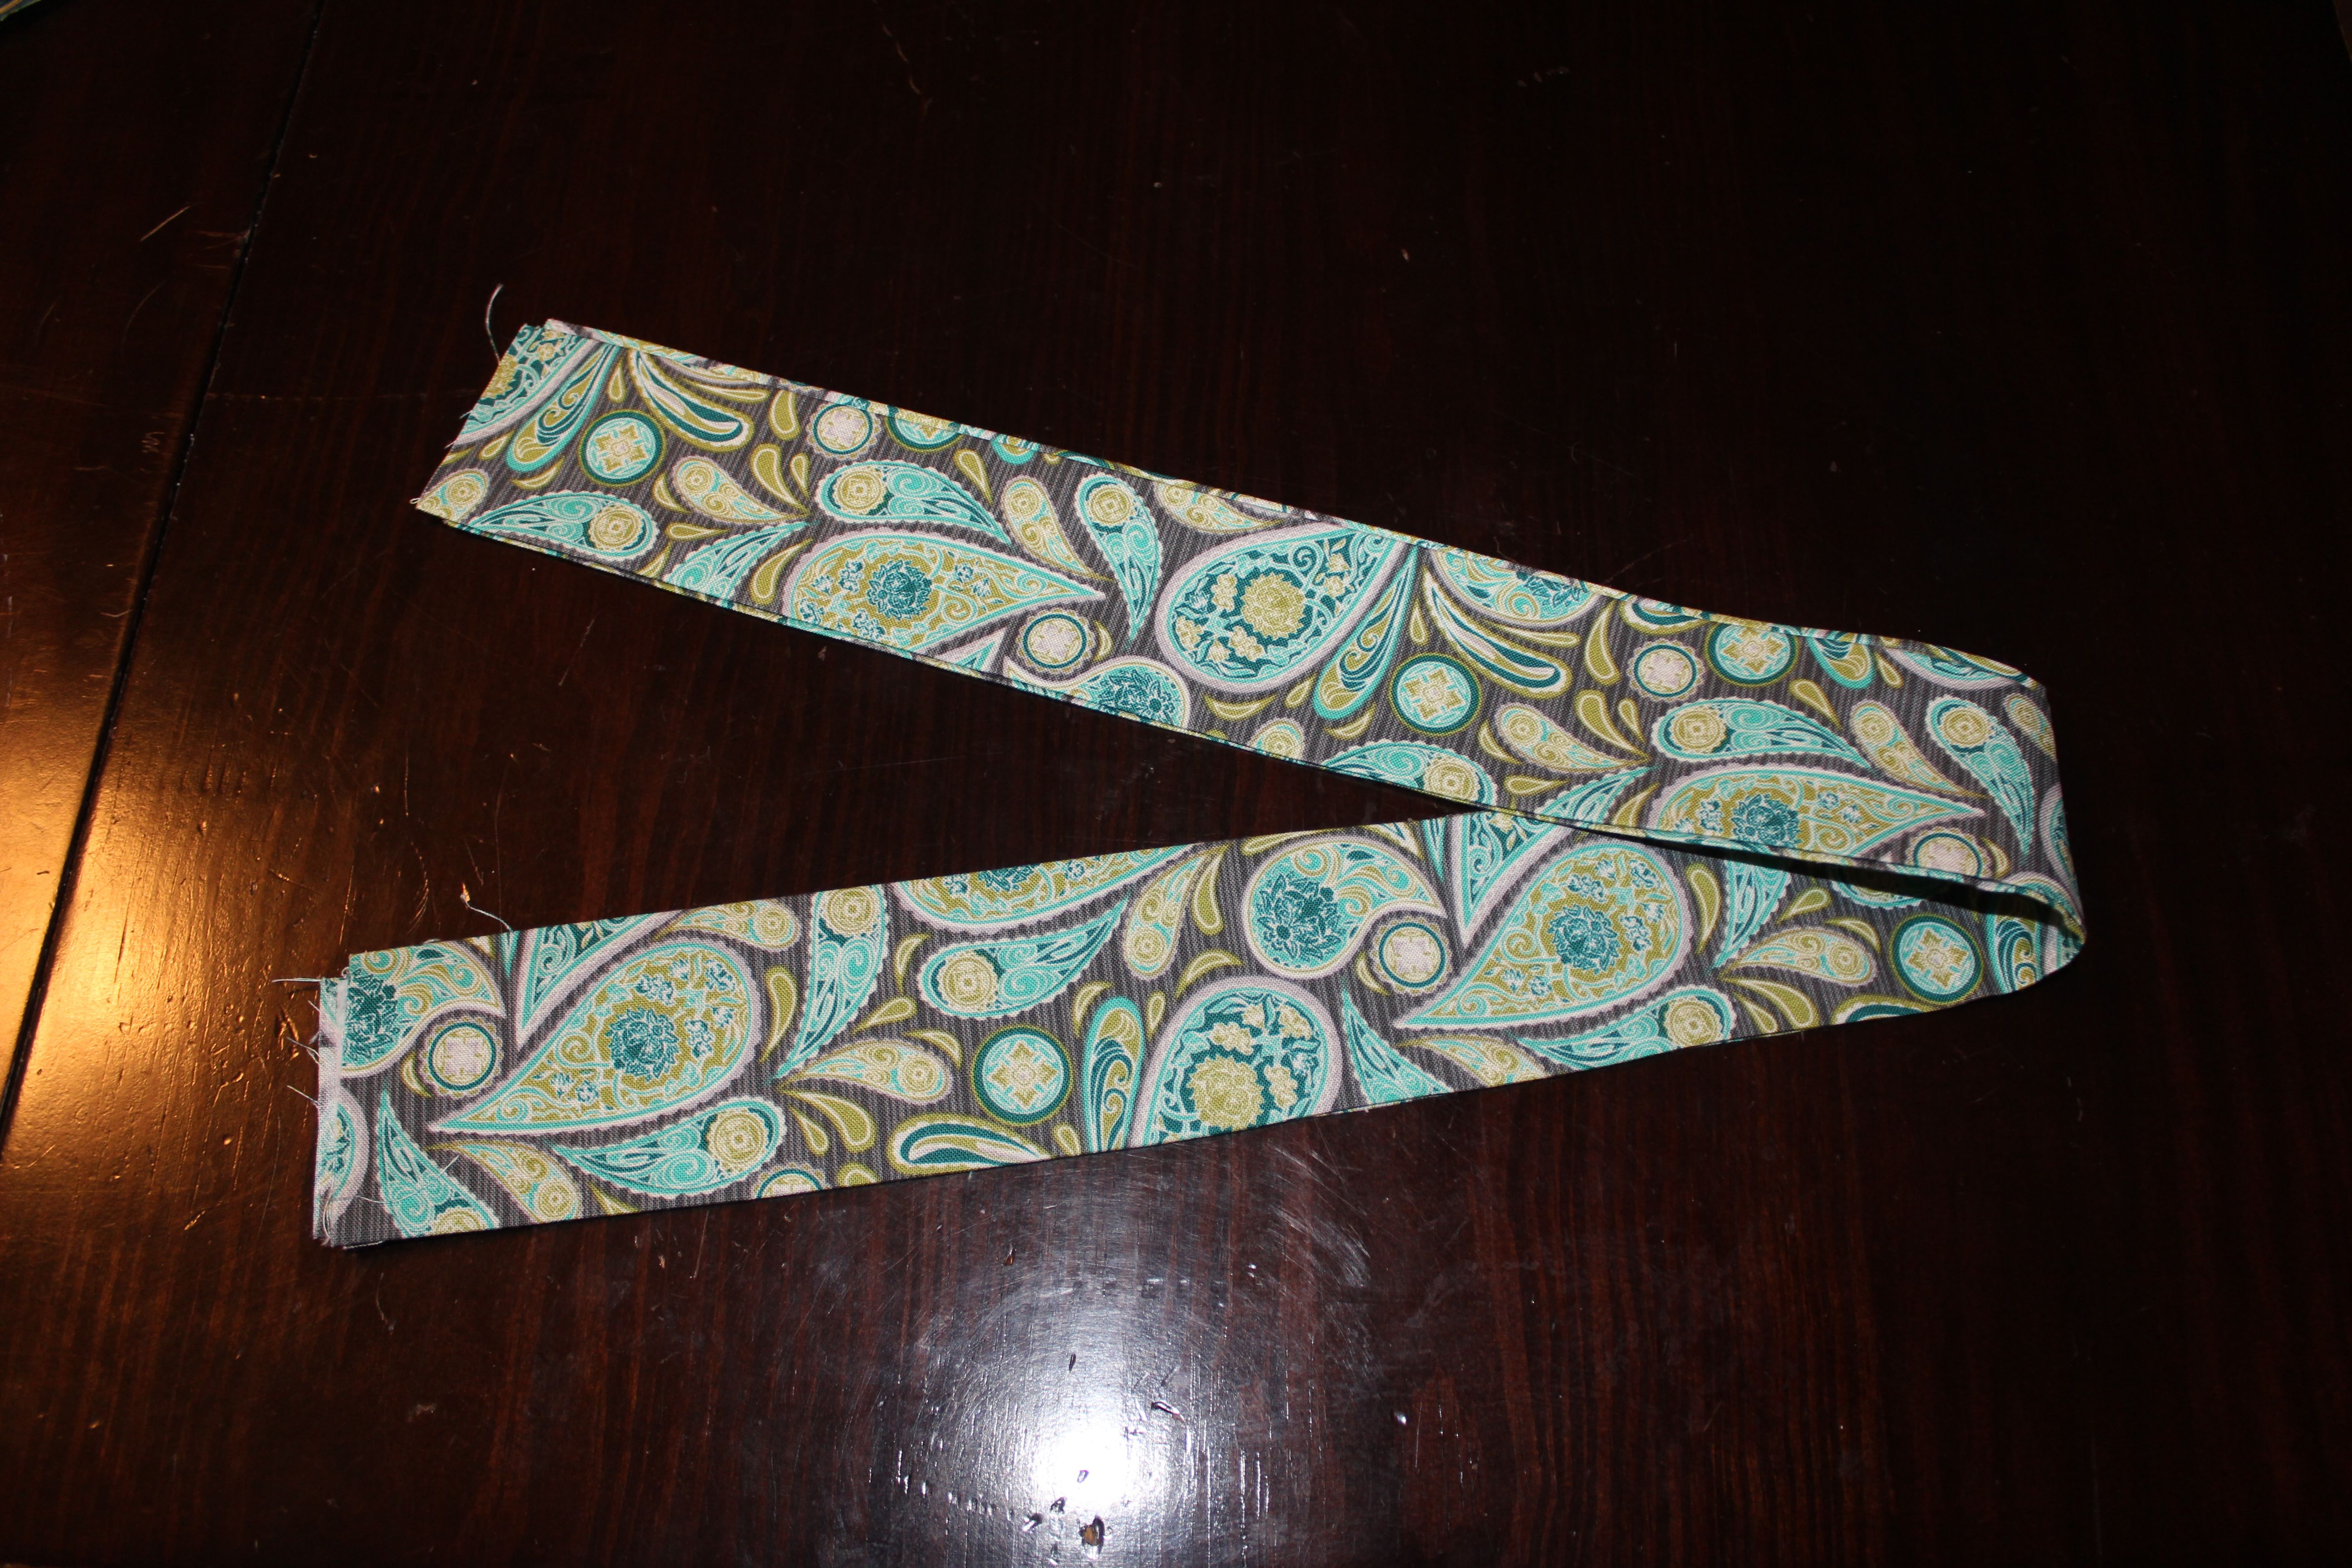
To create the belt effect on this skirt I used the remainder fabric from when I cut out the skirt. Simple cut off the extra fabric making a thick strip. * You will cut two of these.
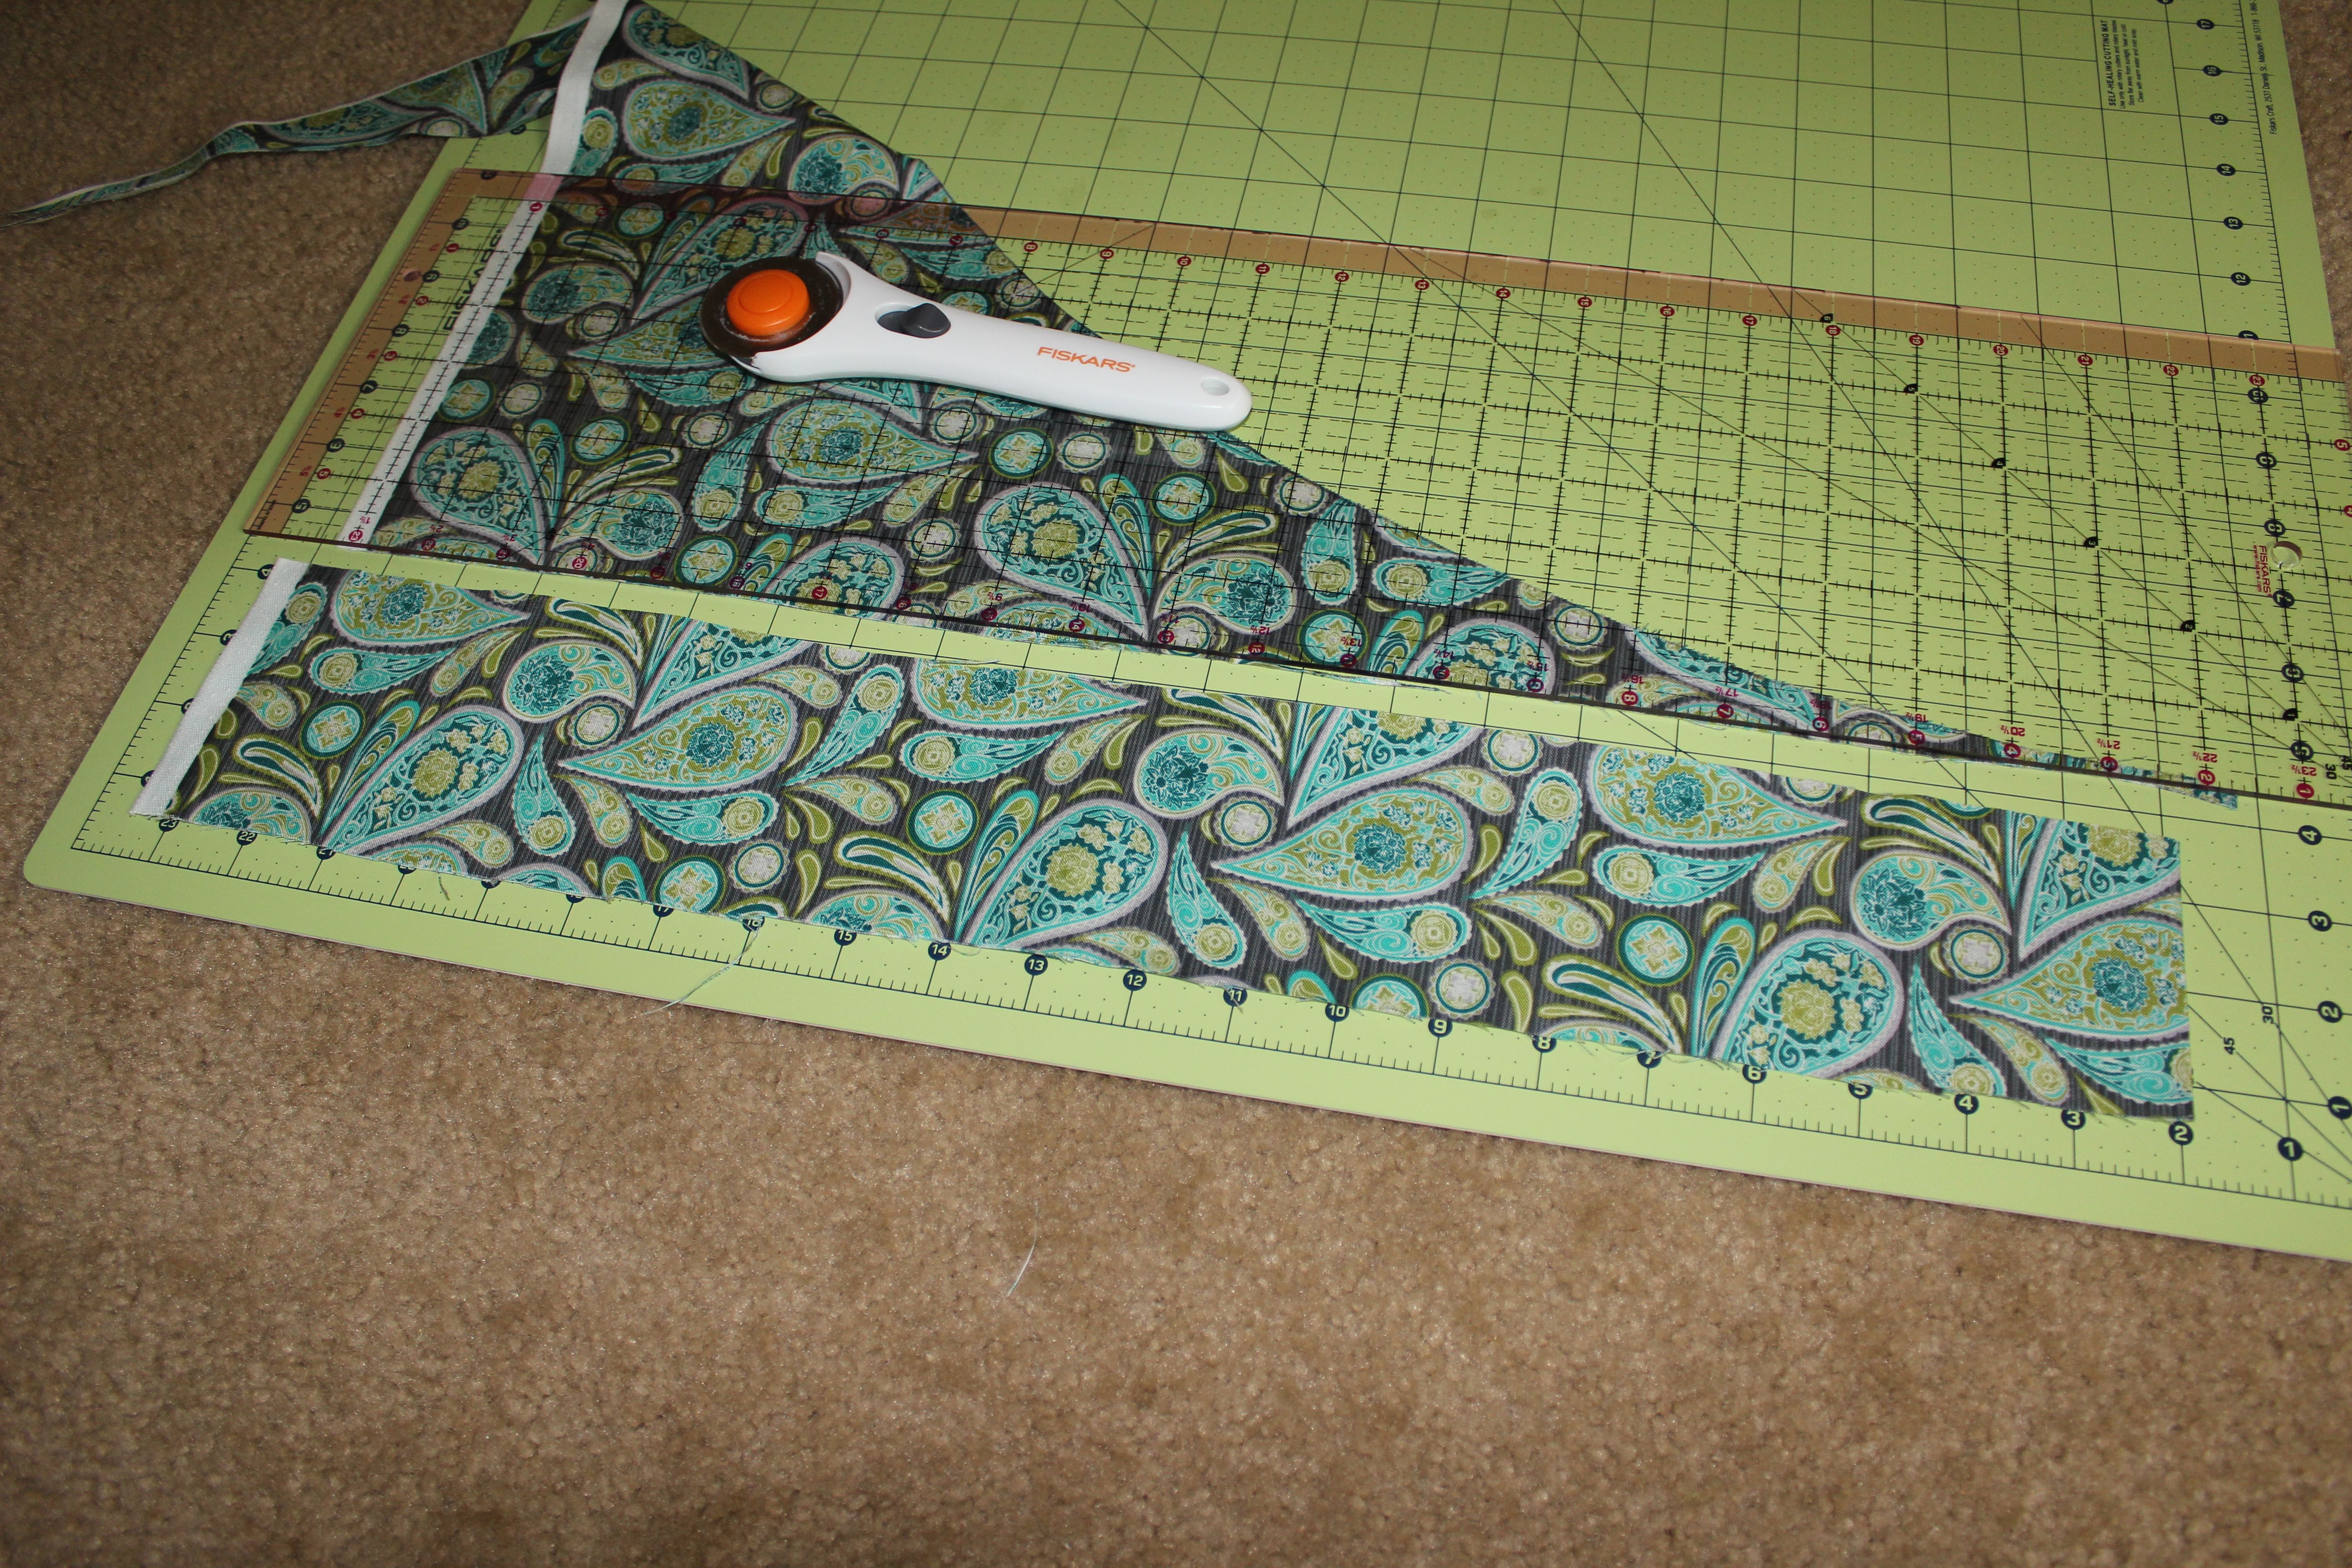
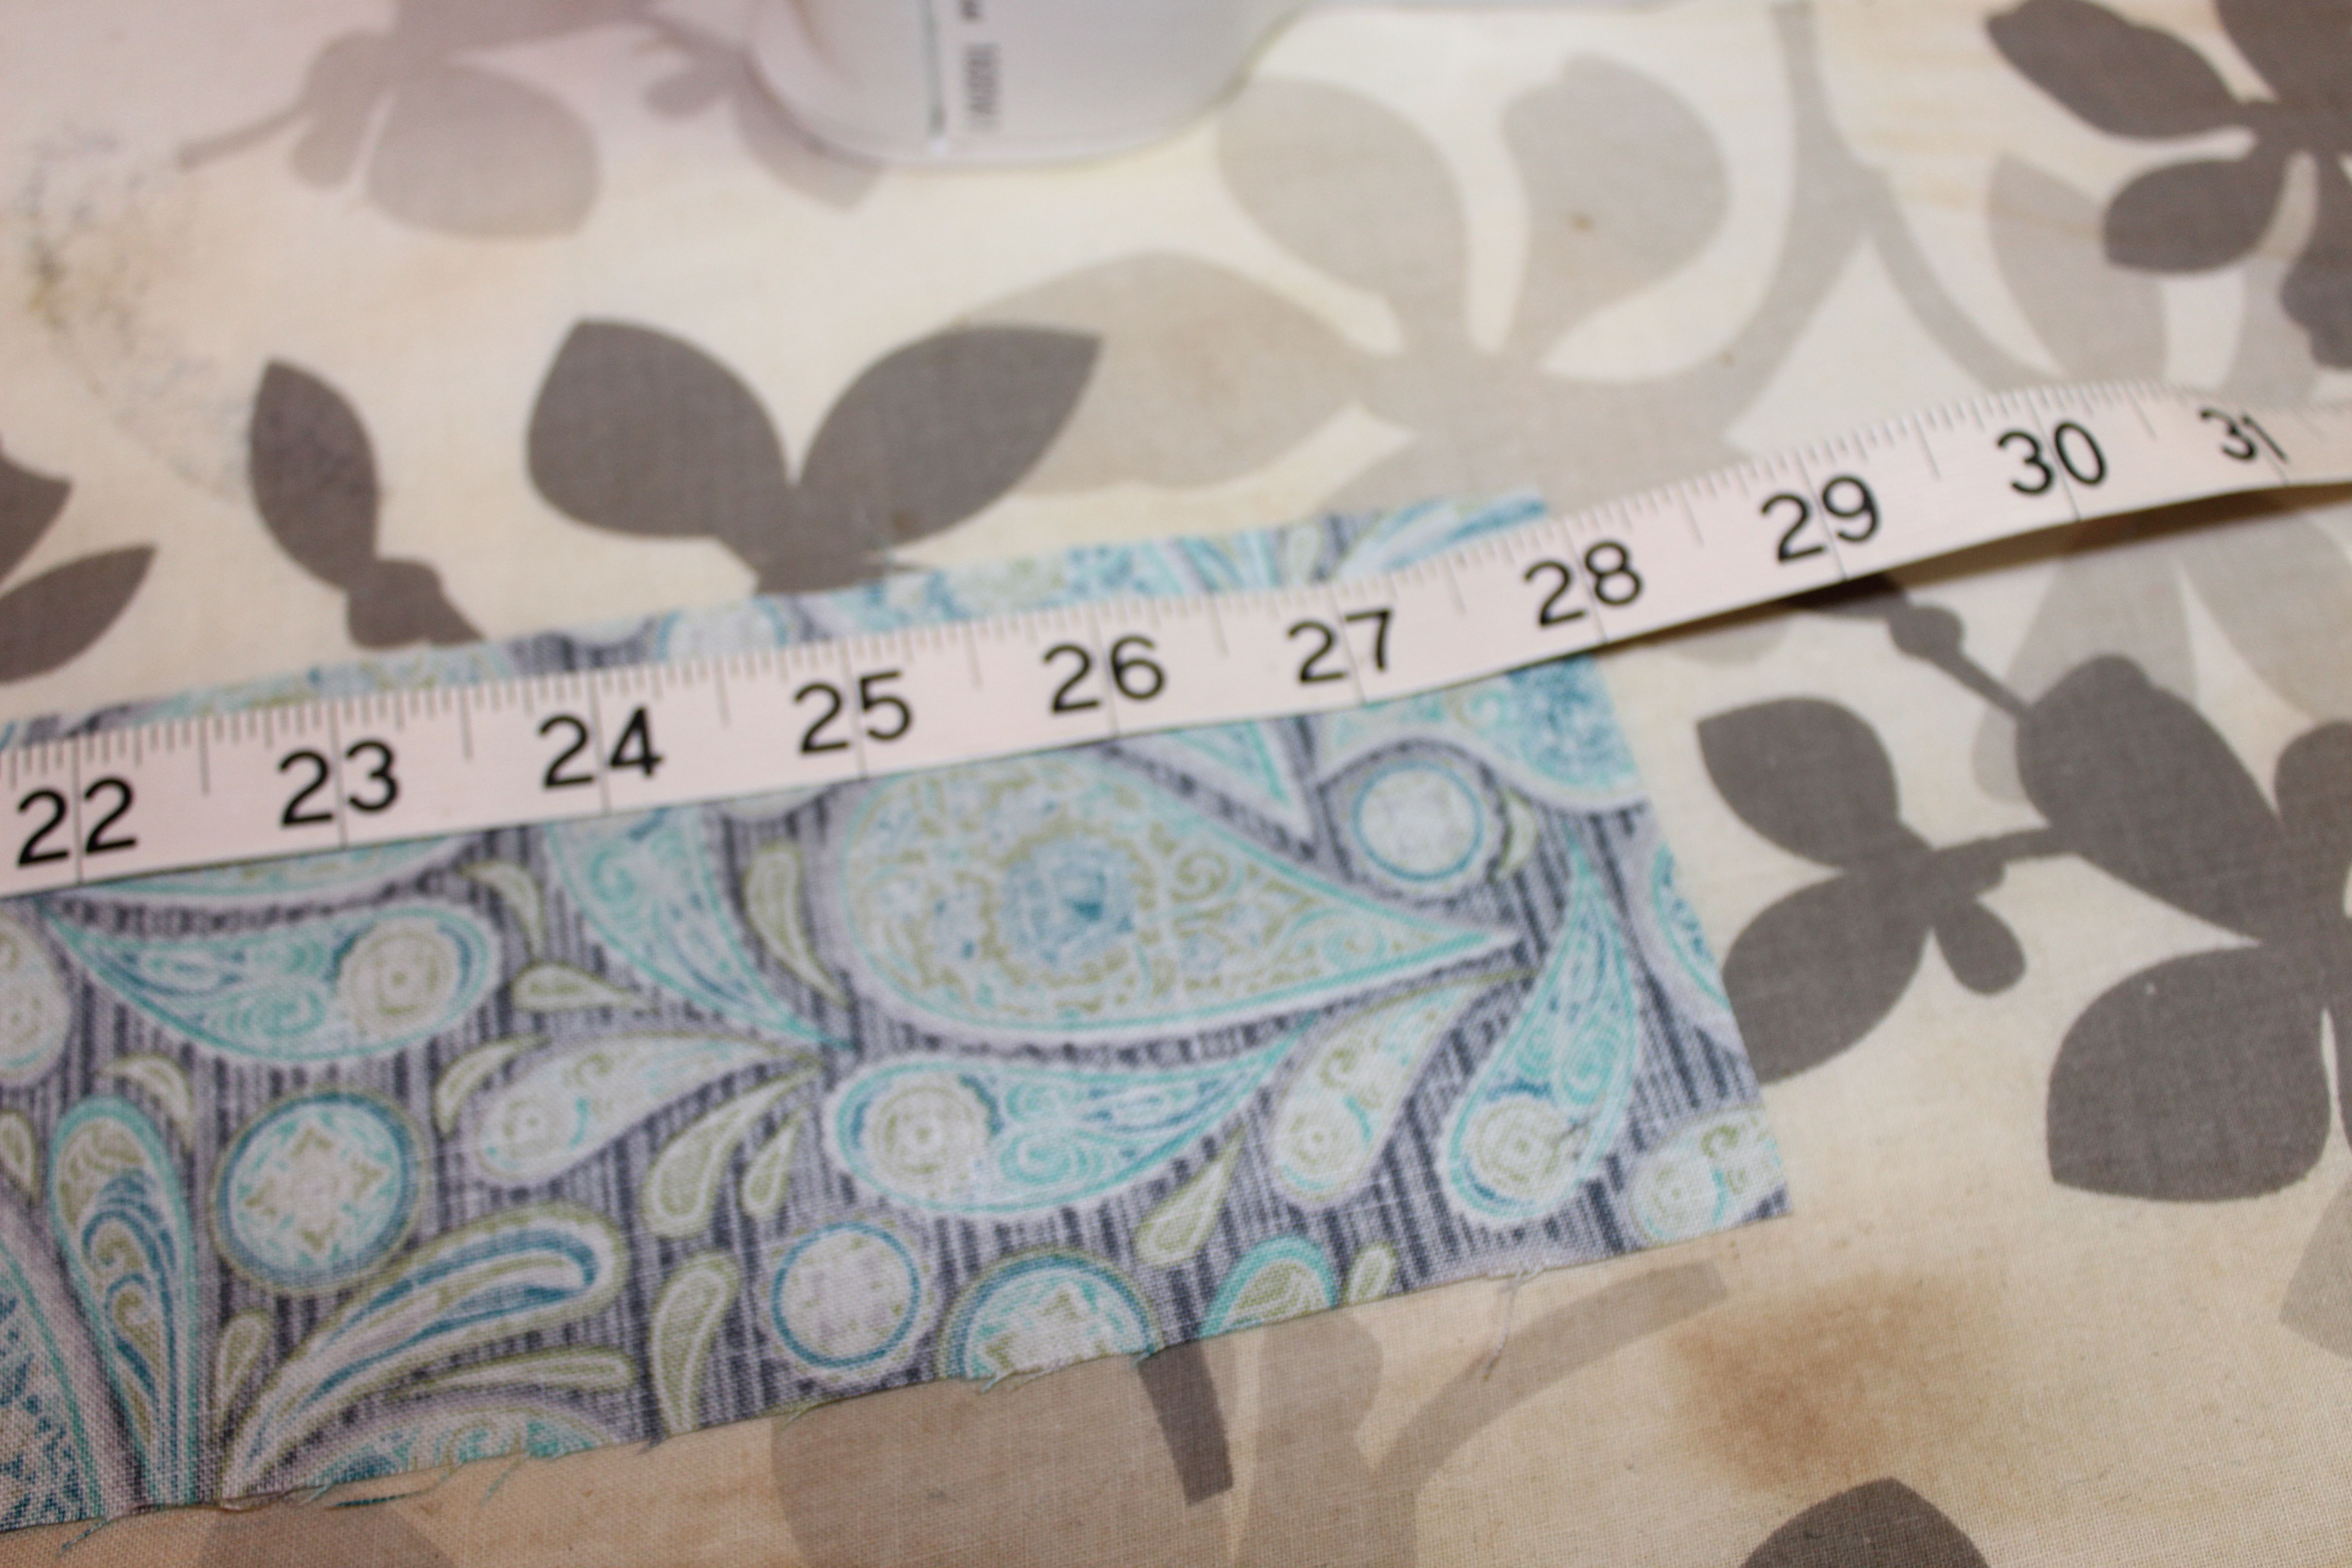
Cut the length of the belt, waist plus 1 inches.
Iron in your edges down to your desired width.
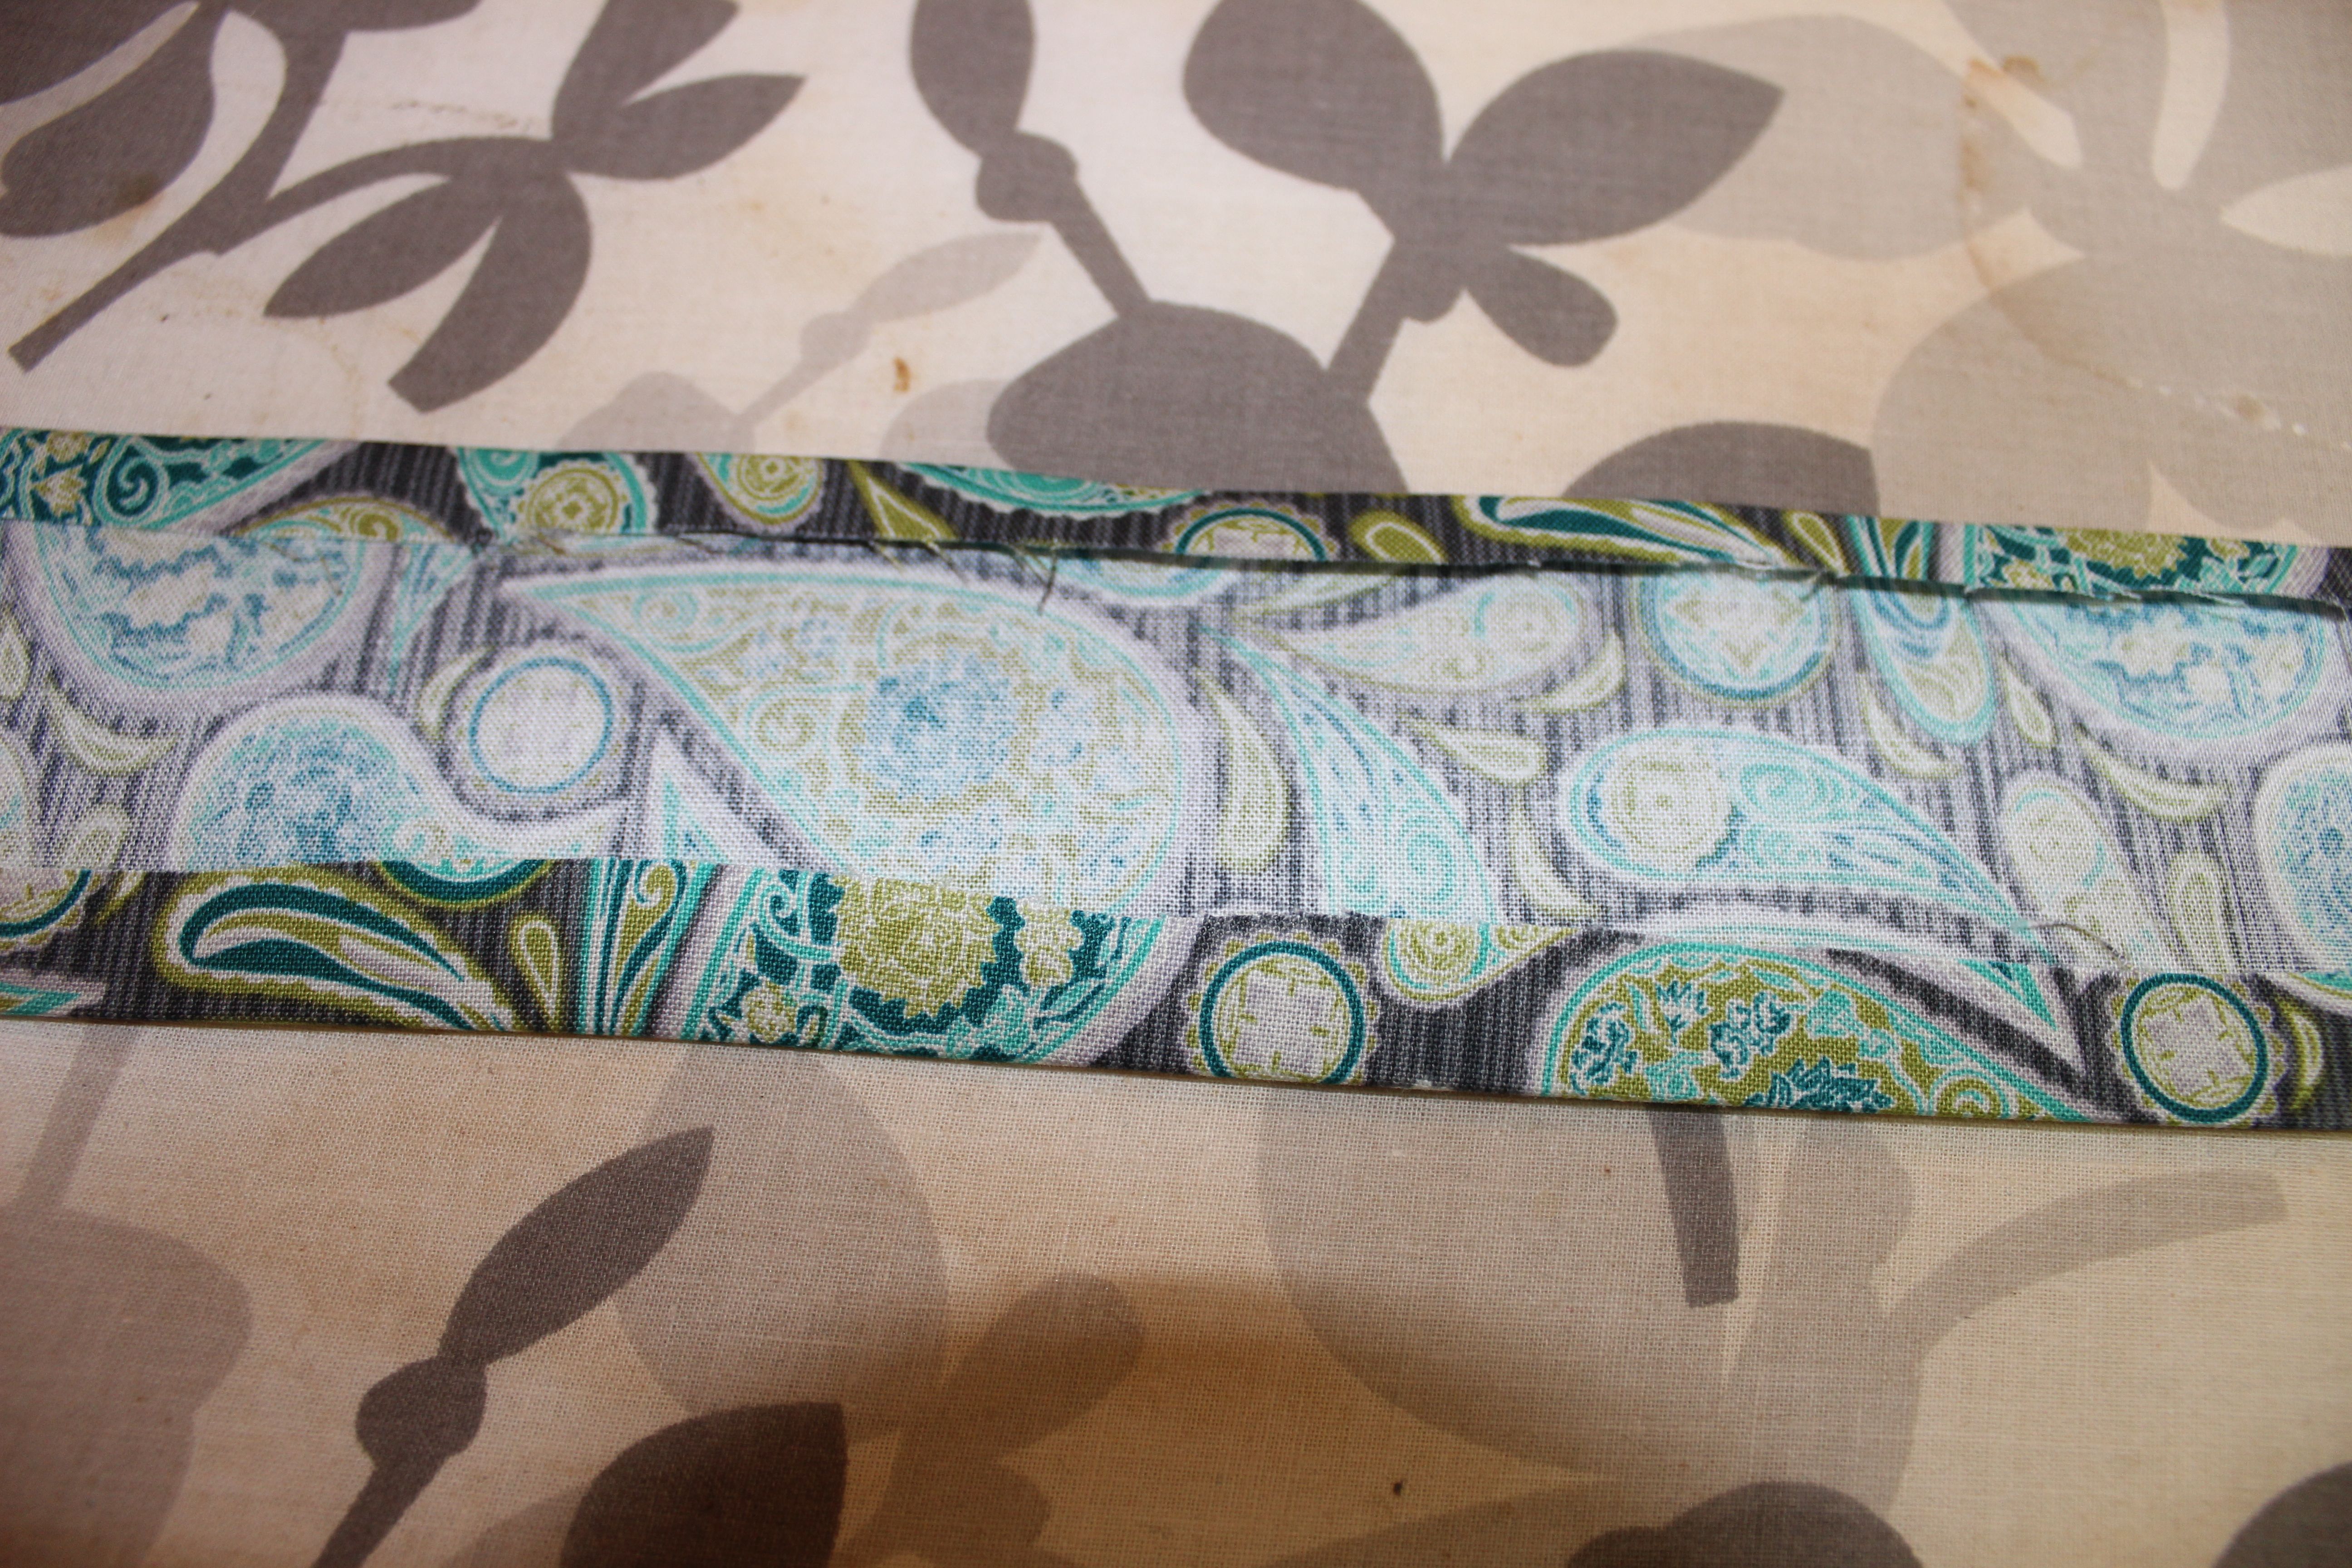
Time to pull out your lightweight interface. I used interface to add support to the belt area. Your going to want to cut the interface thinner than the width of the belt.
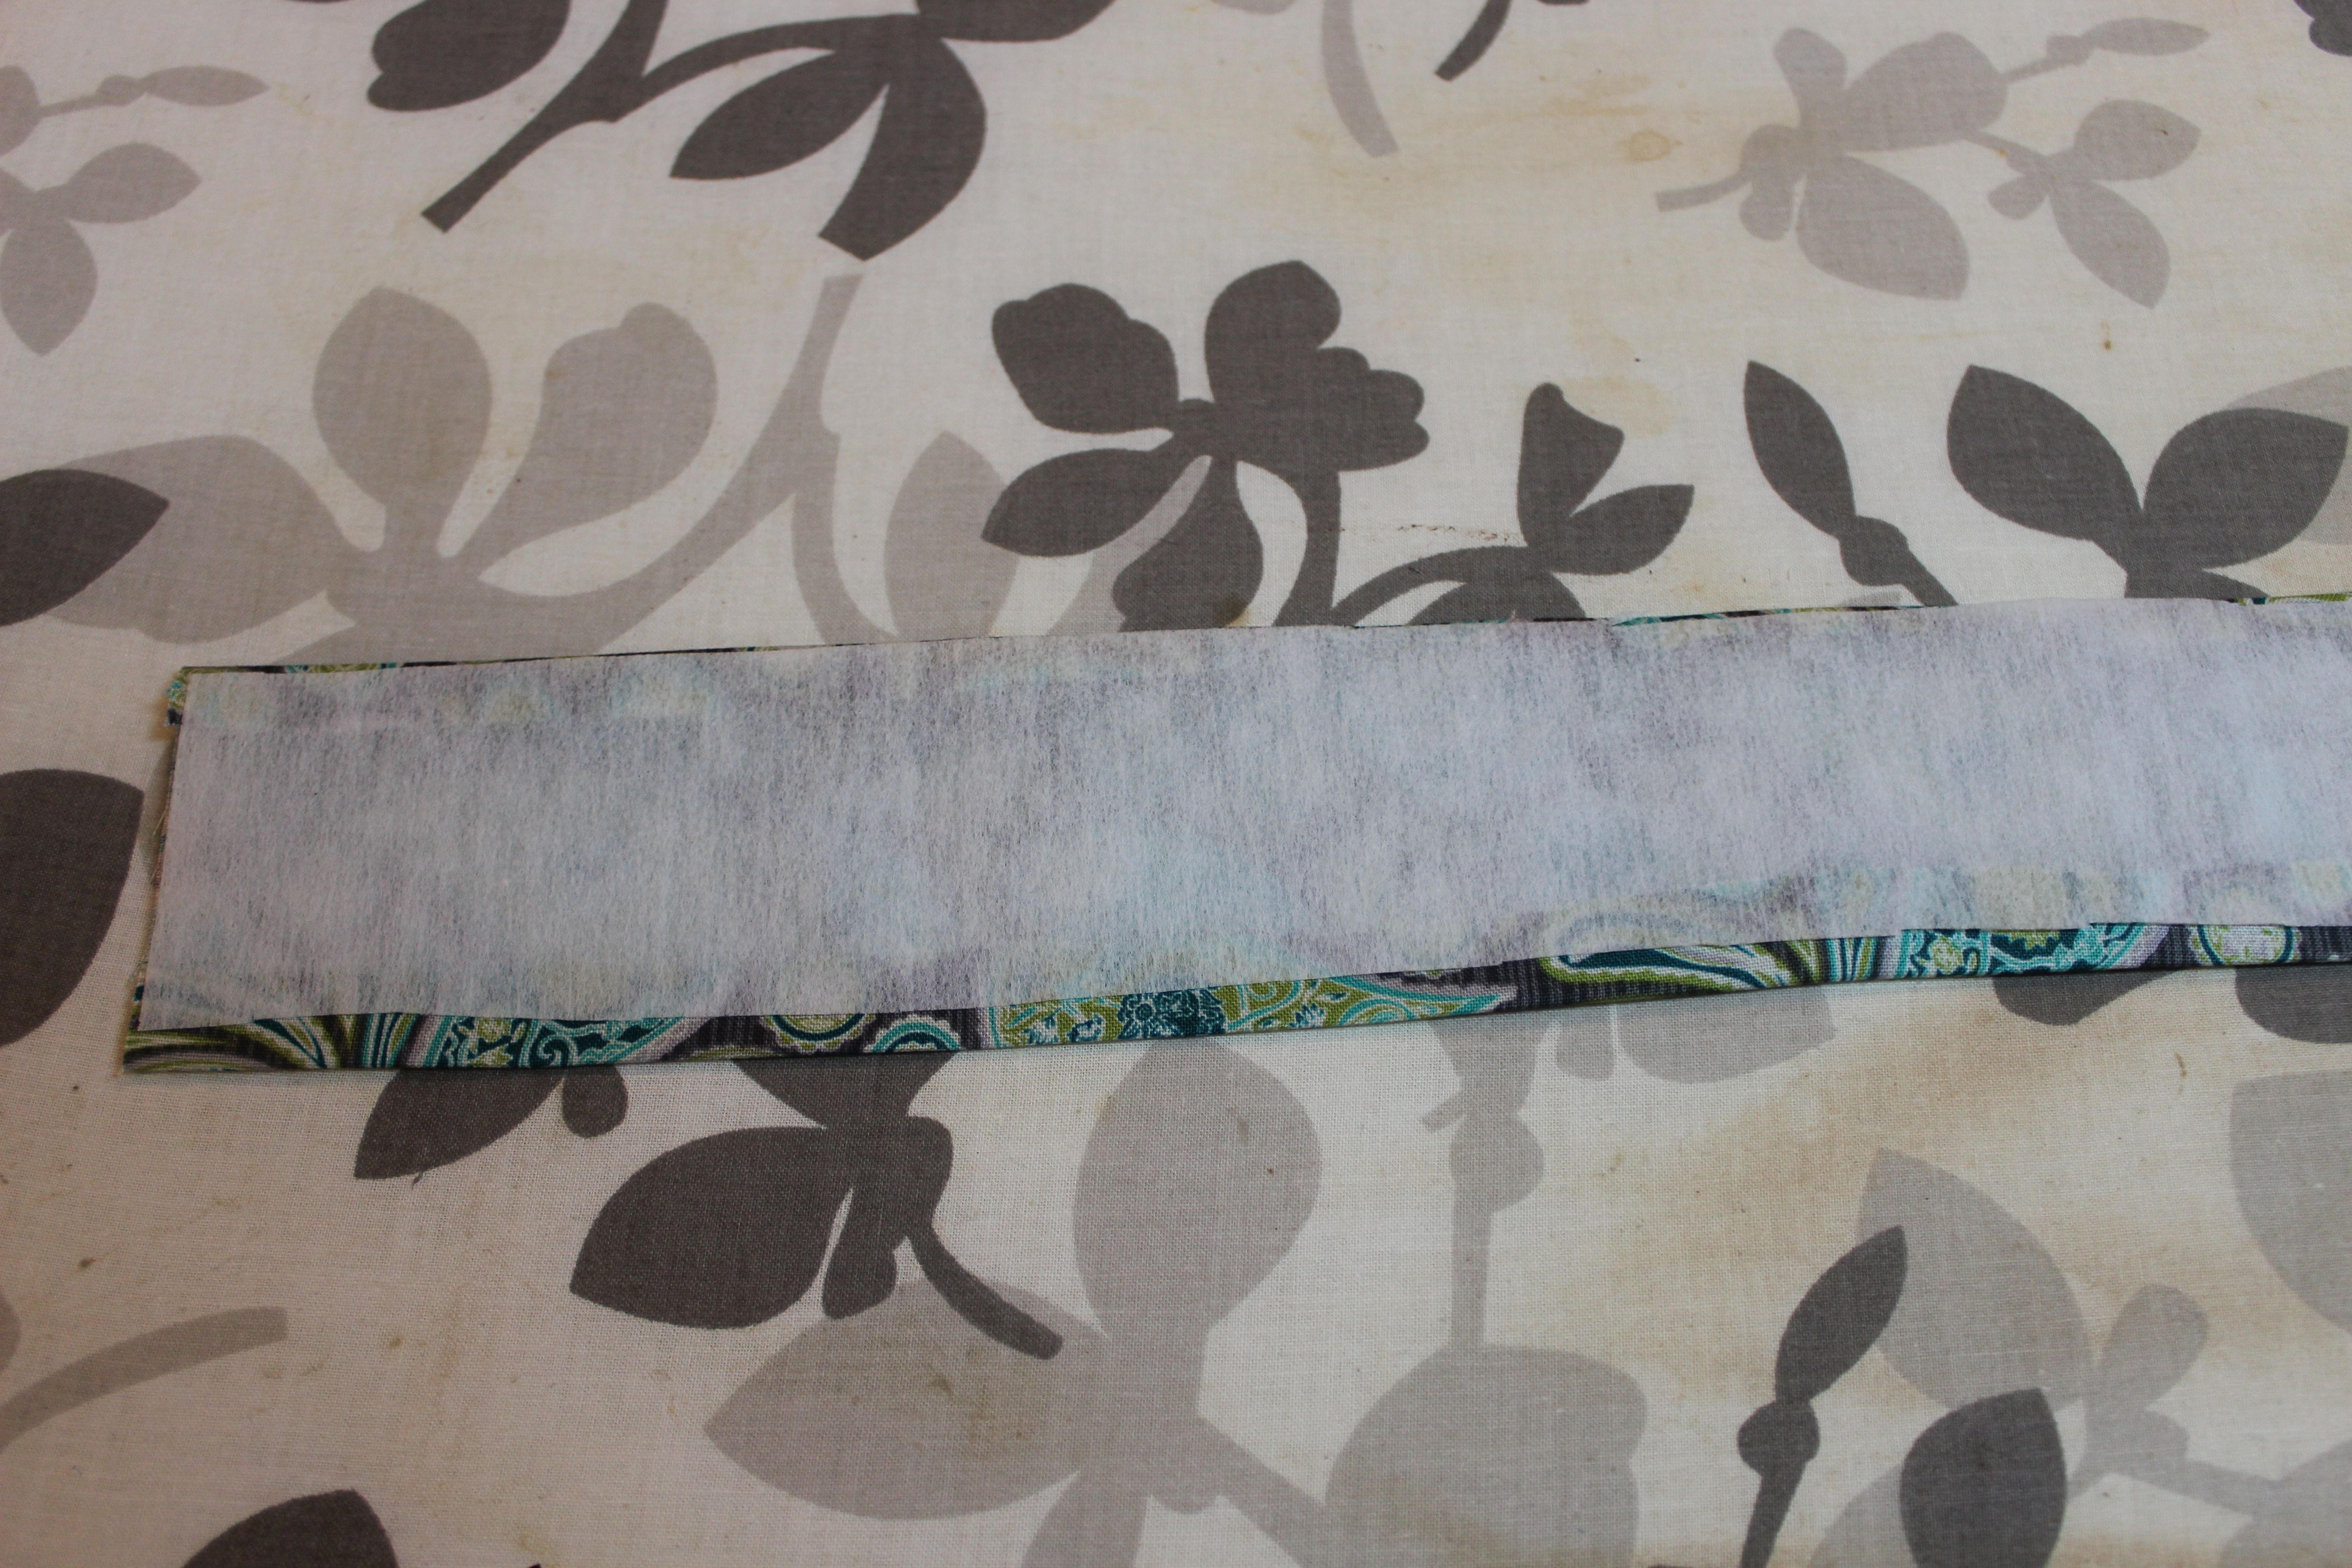
Iron the interface on to one belt. With the Witch Stitchery place a strip along each edge, place the other belt on top of the belt edge with the Witch Stitchery and iron them together. * On my first skirt I had enough material left to simple fold the belt over, place the interface and close off with a straight stitch. If you have enough material I suggest this way it’s much easier!
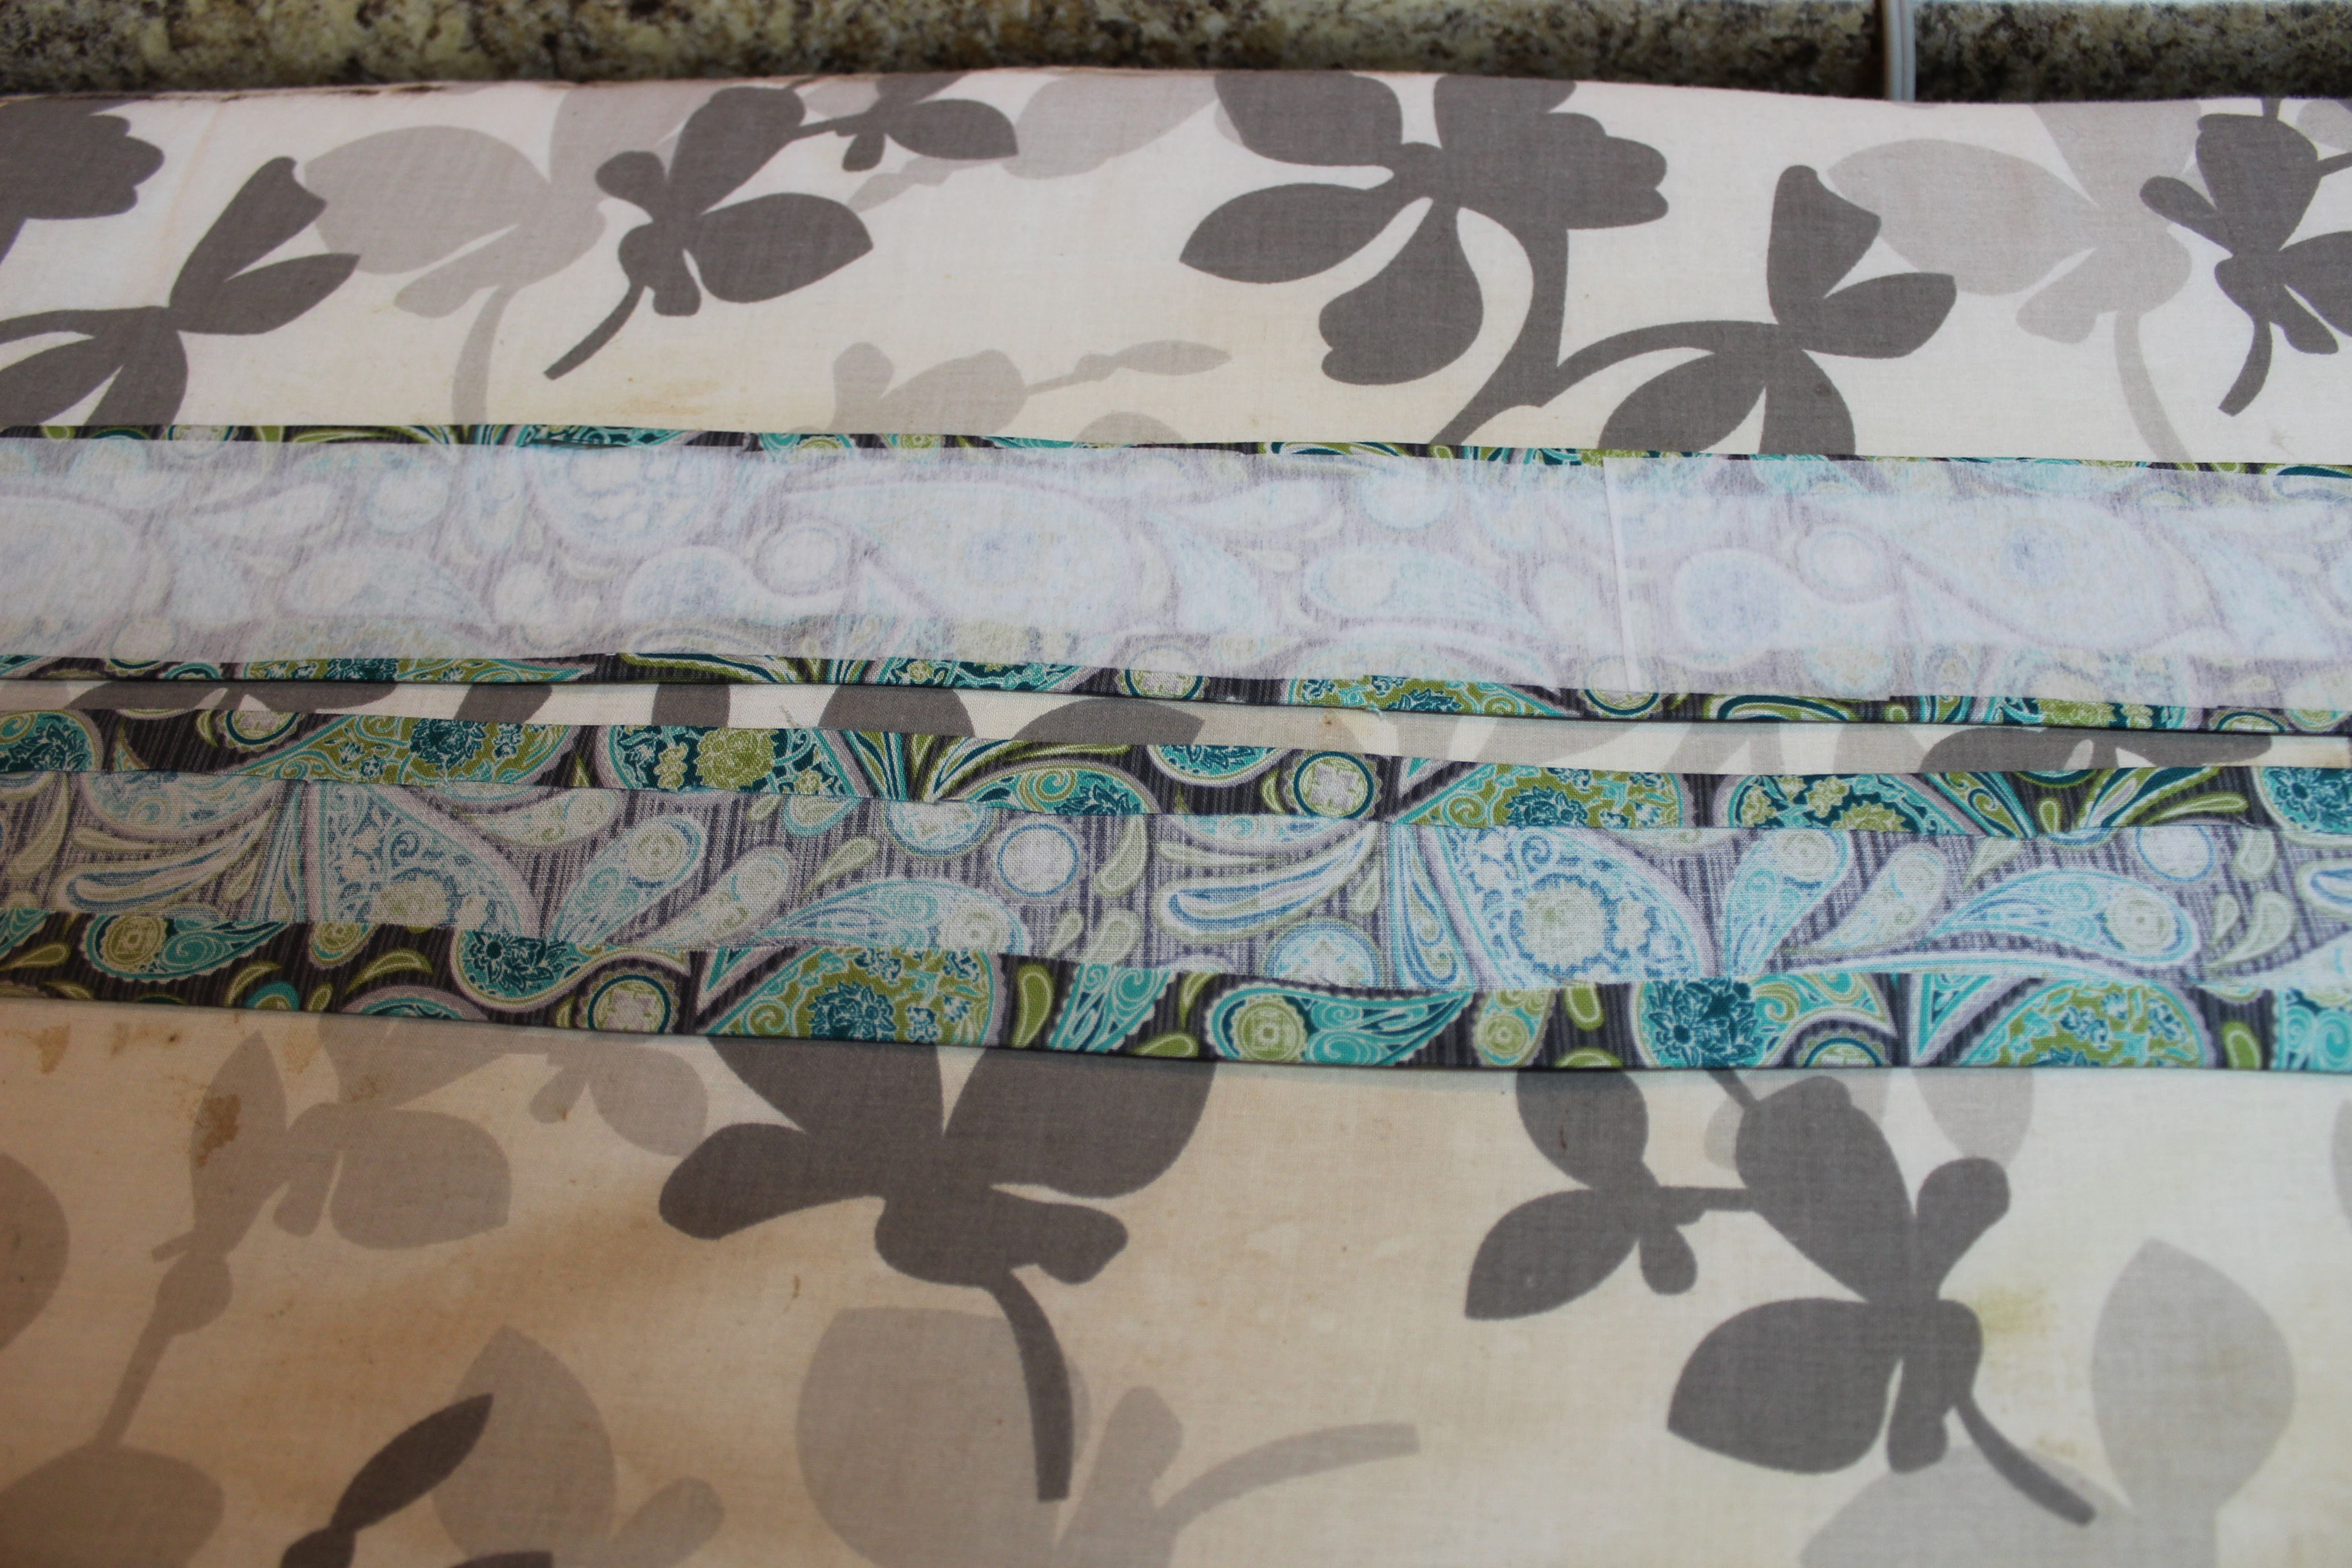
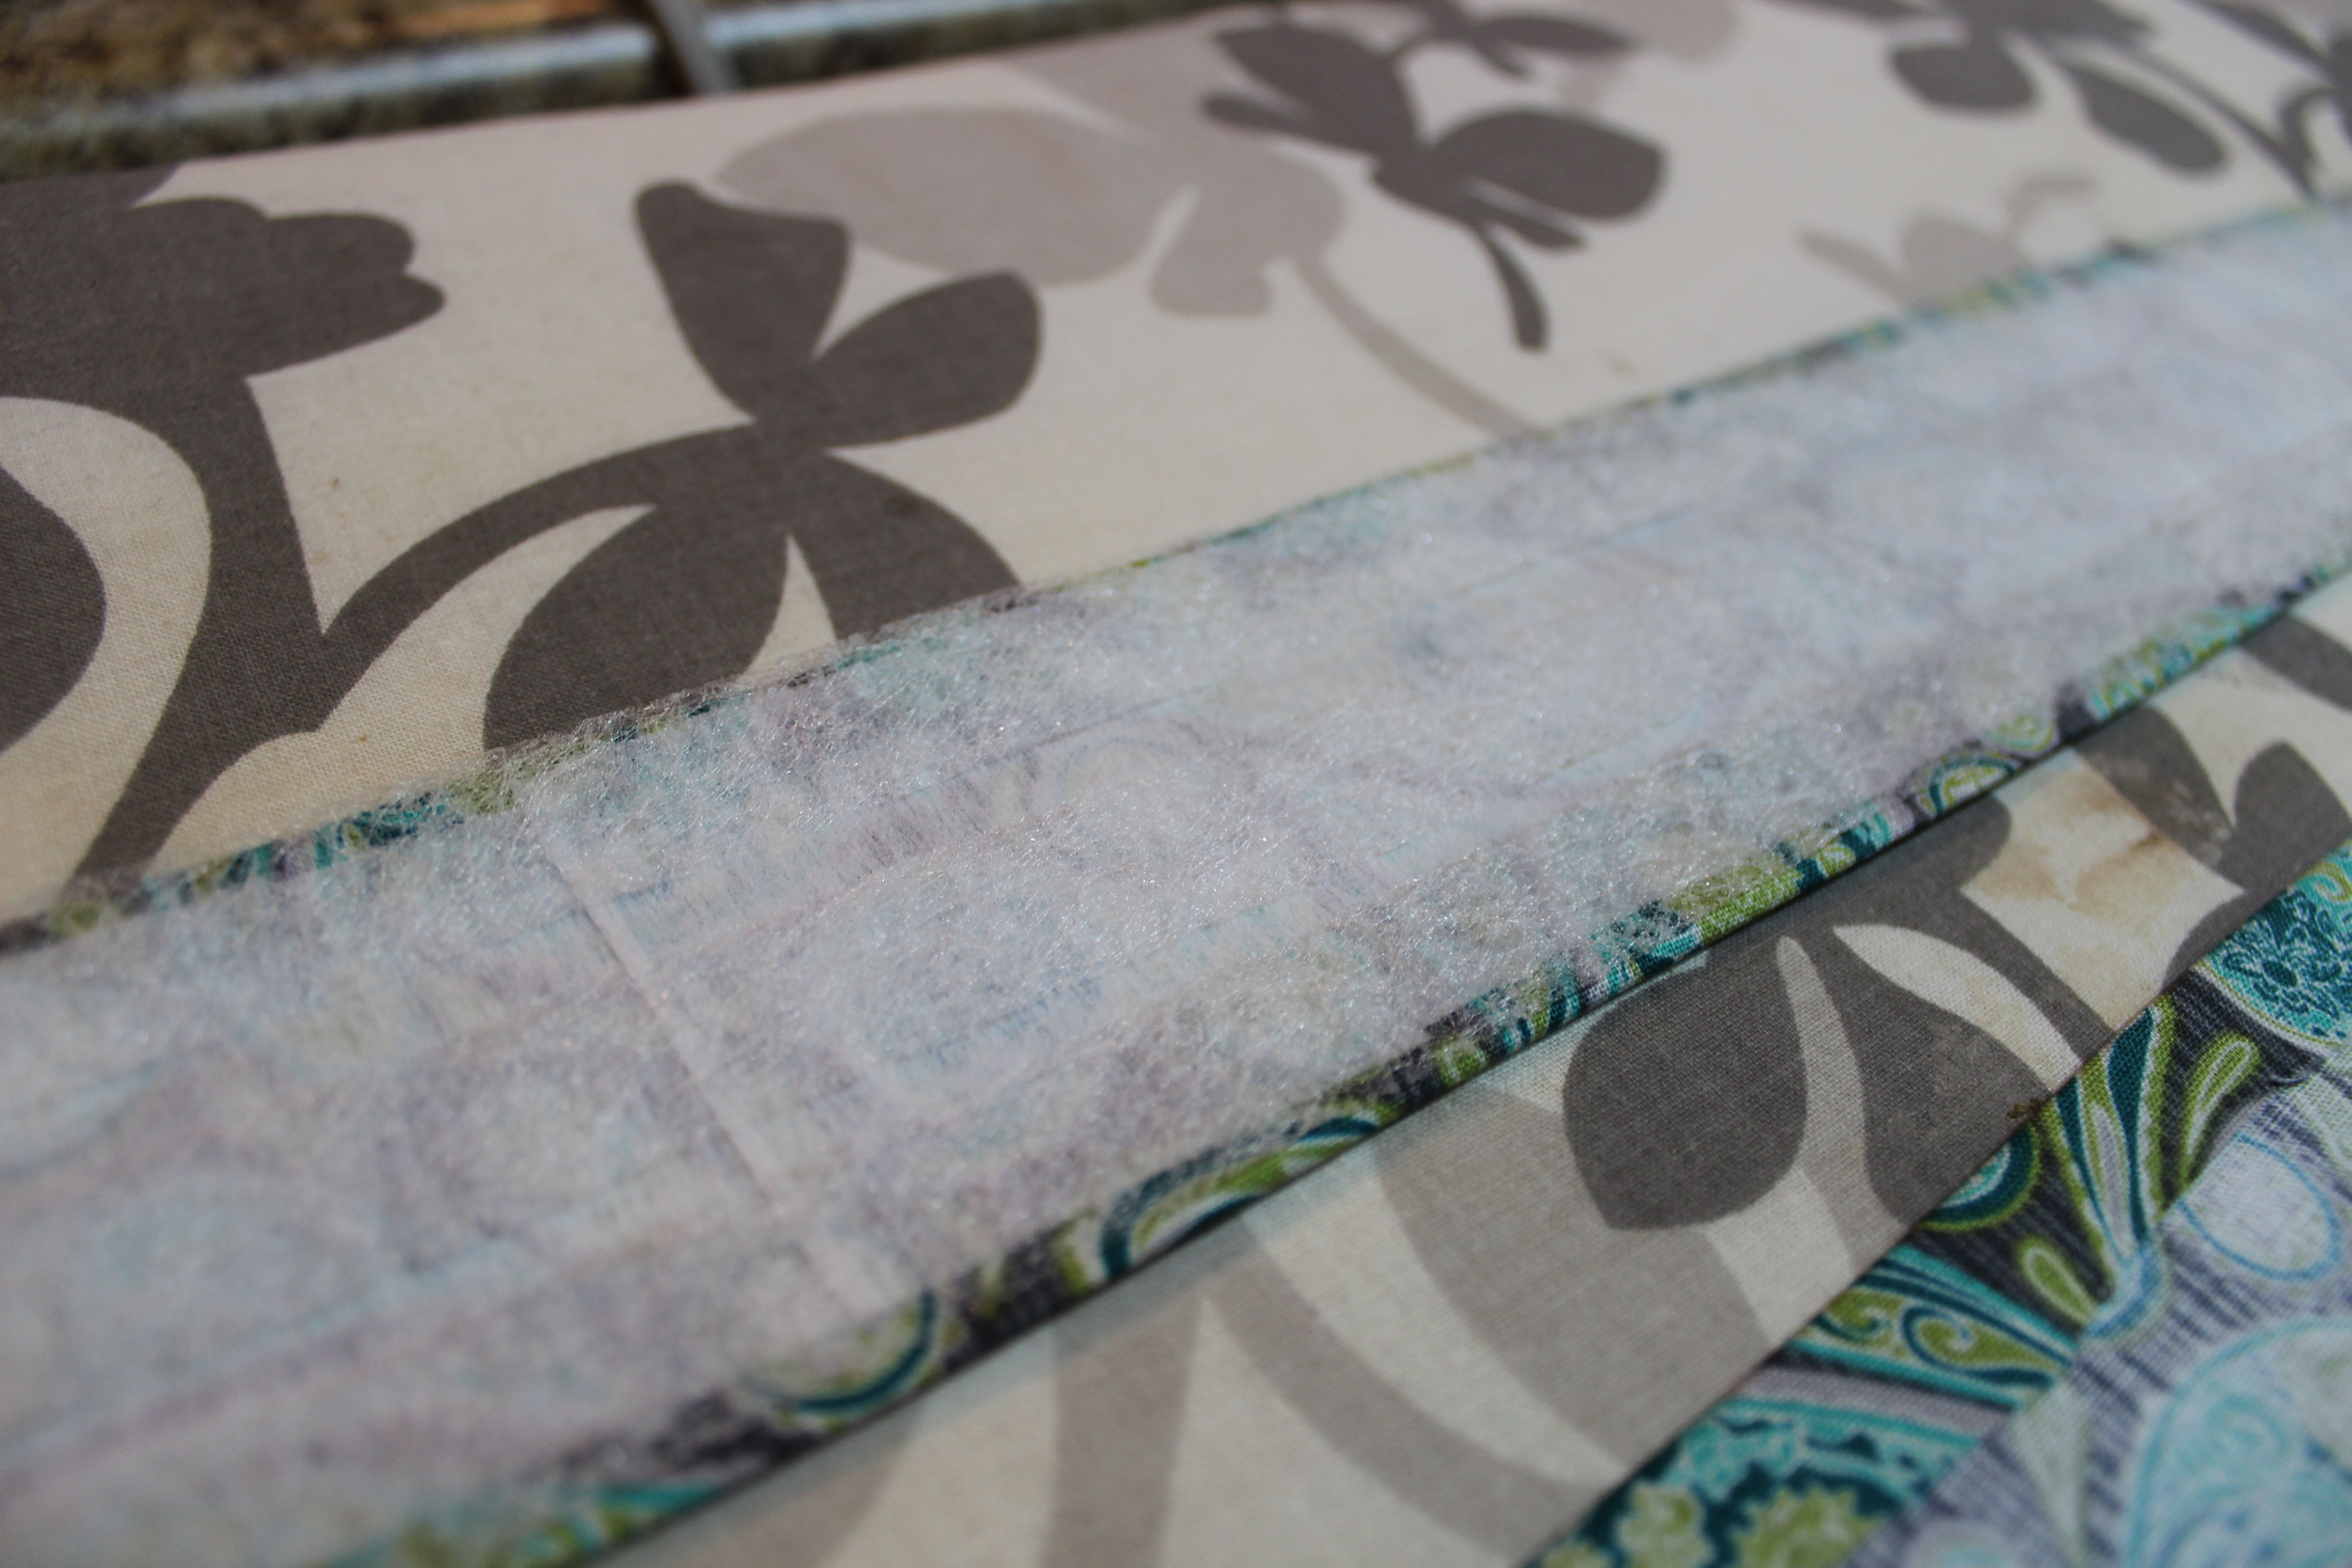
Take the belt and pin it onto the skirt, your going to want the skirt on the inside of the belt. Using a straight stitch sew the belt onto the skirt.
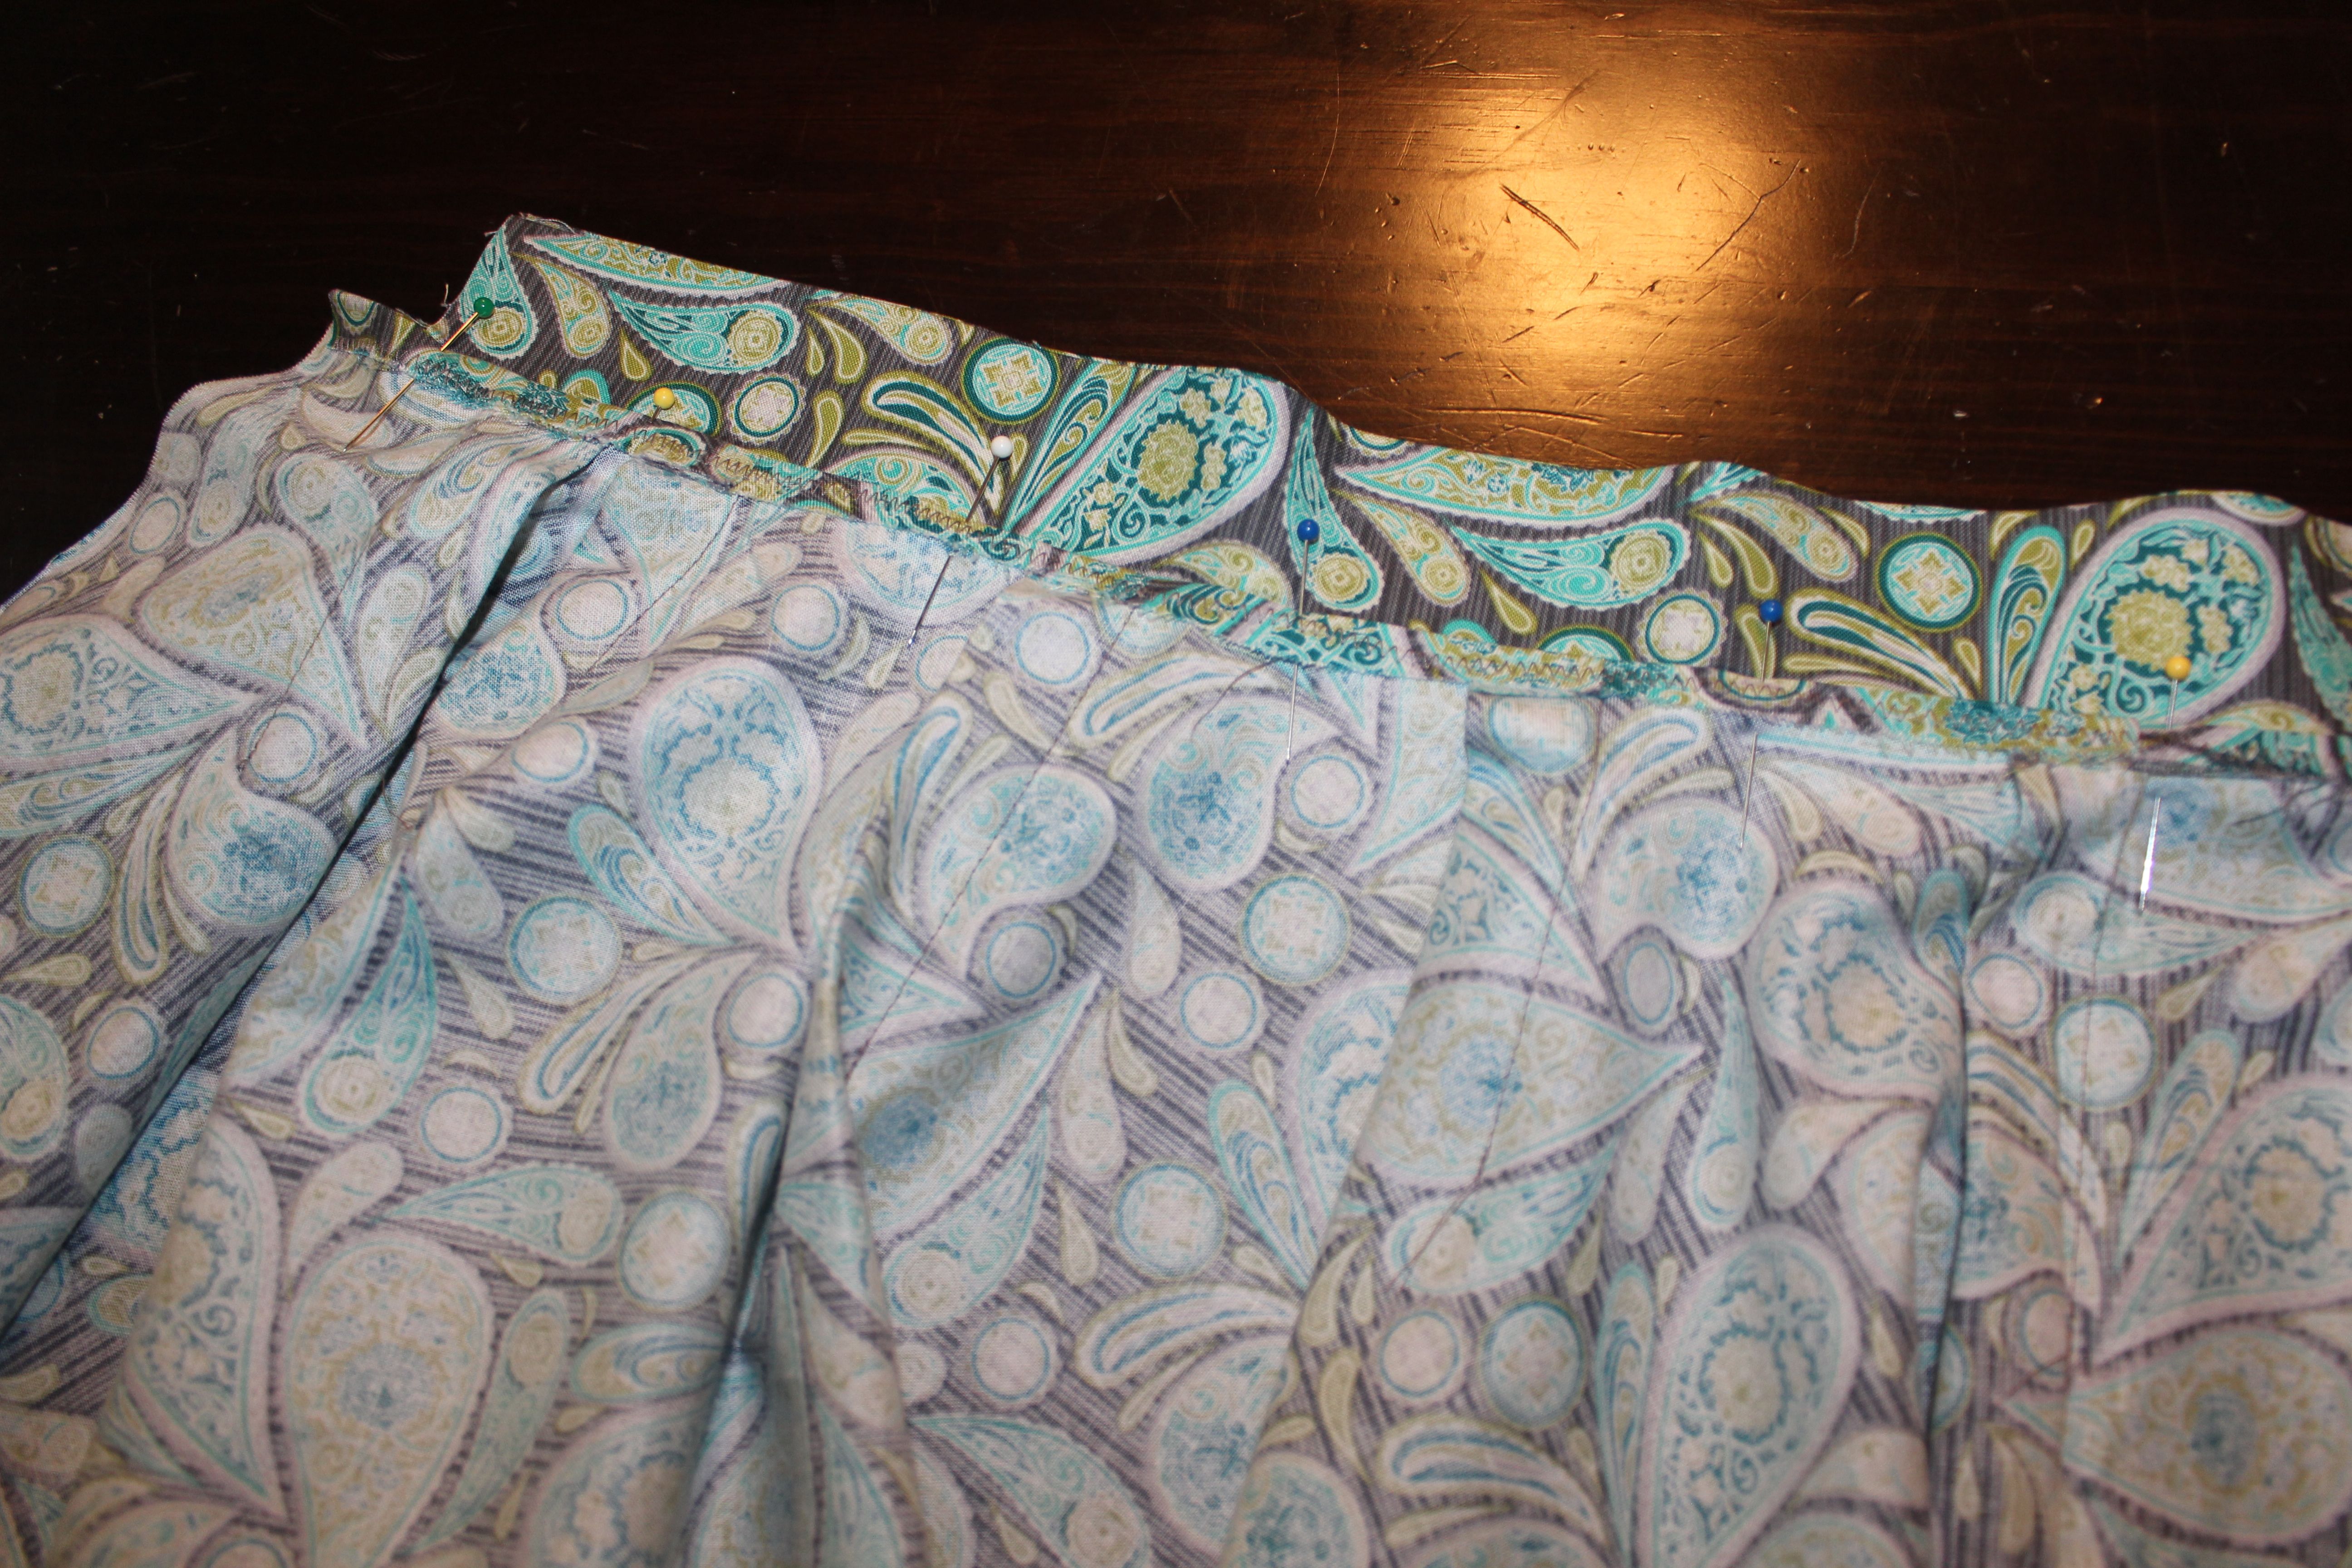
Your skirt might be longer than the belt and that is ok. Place the belt so everything is centered.
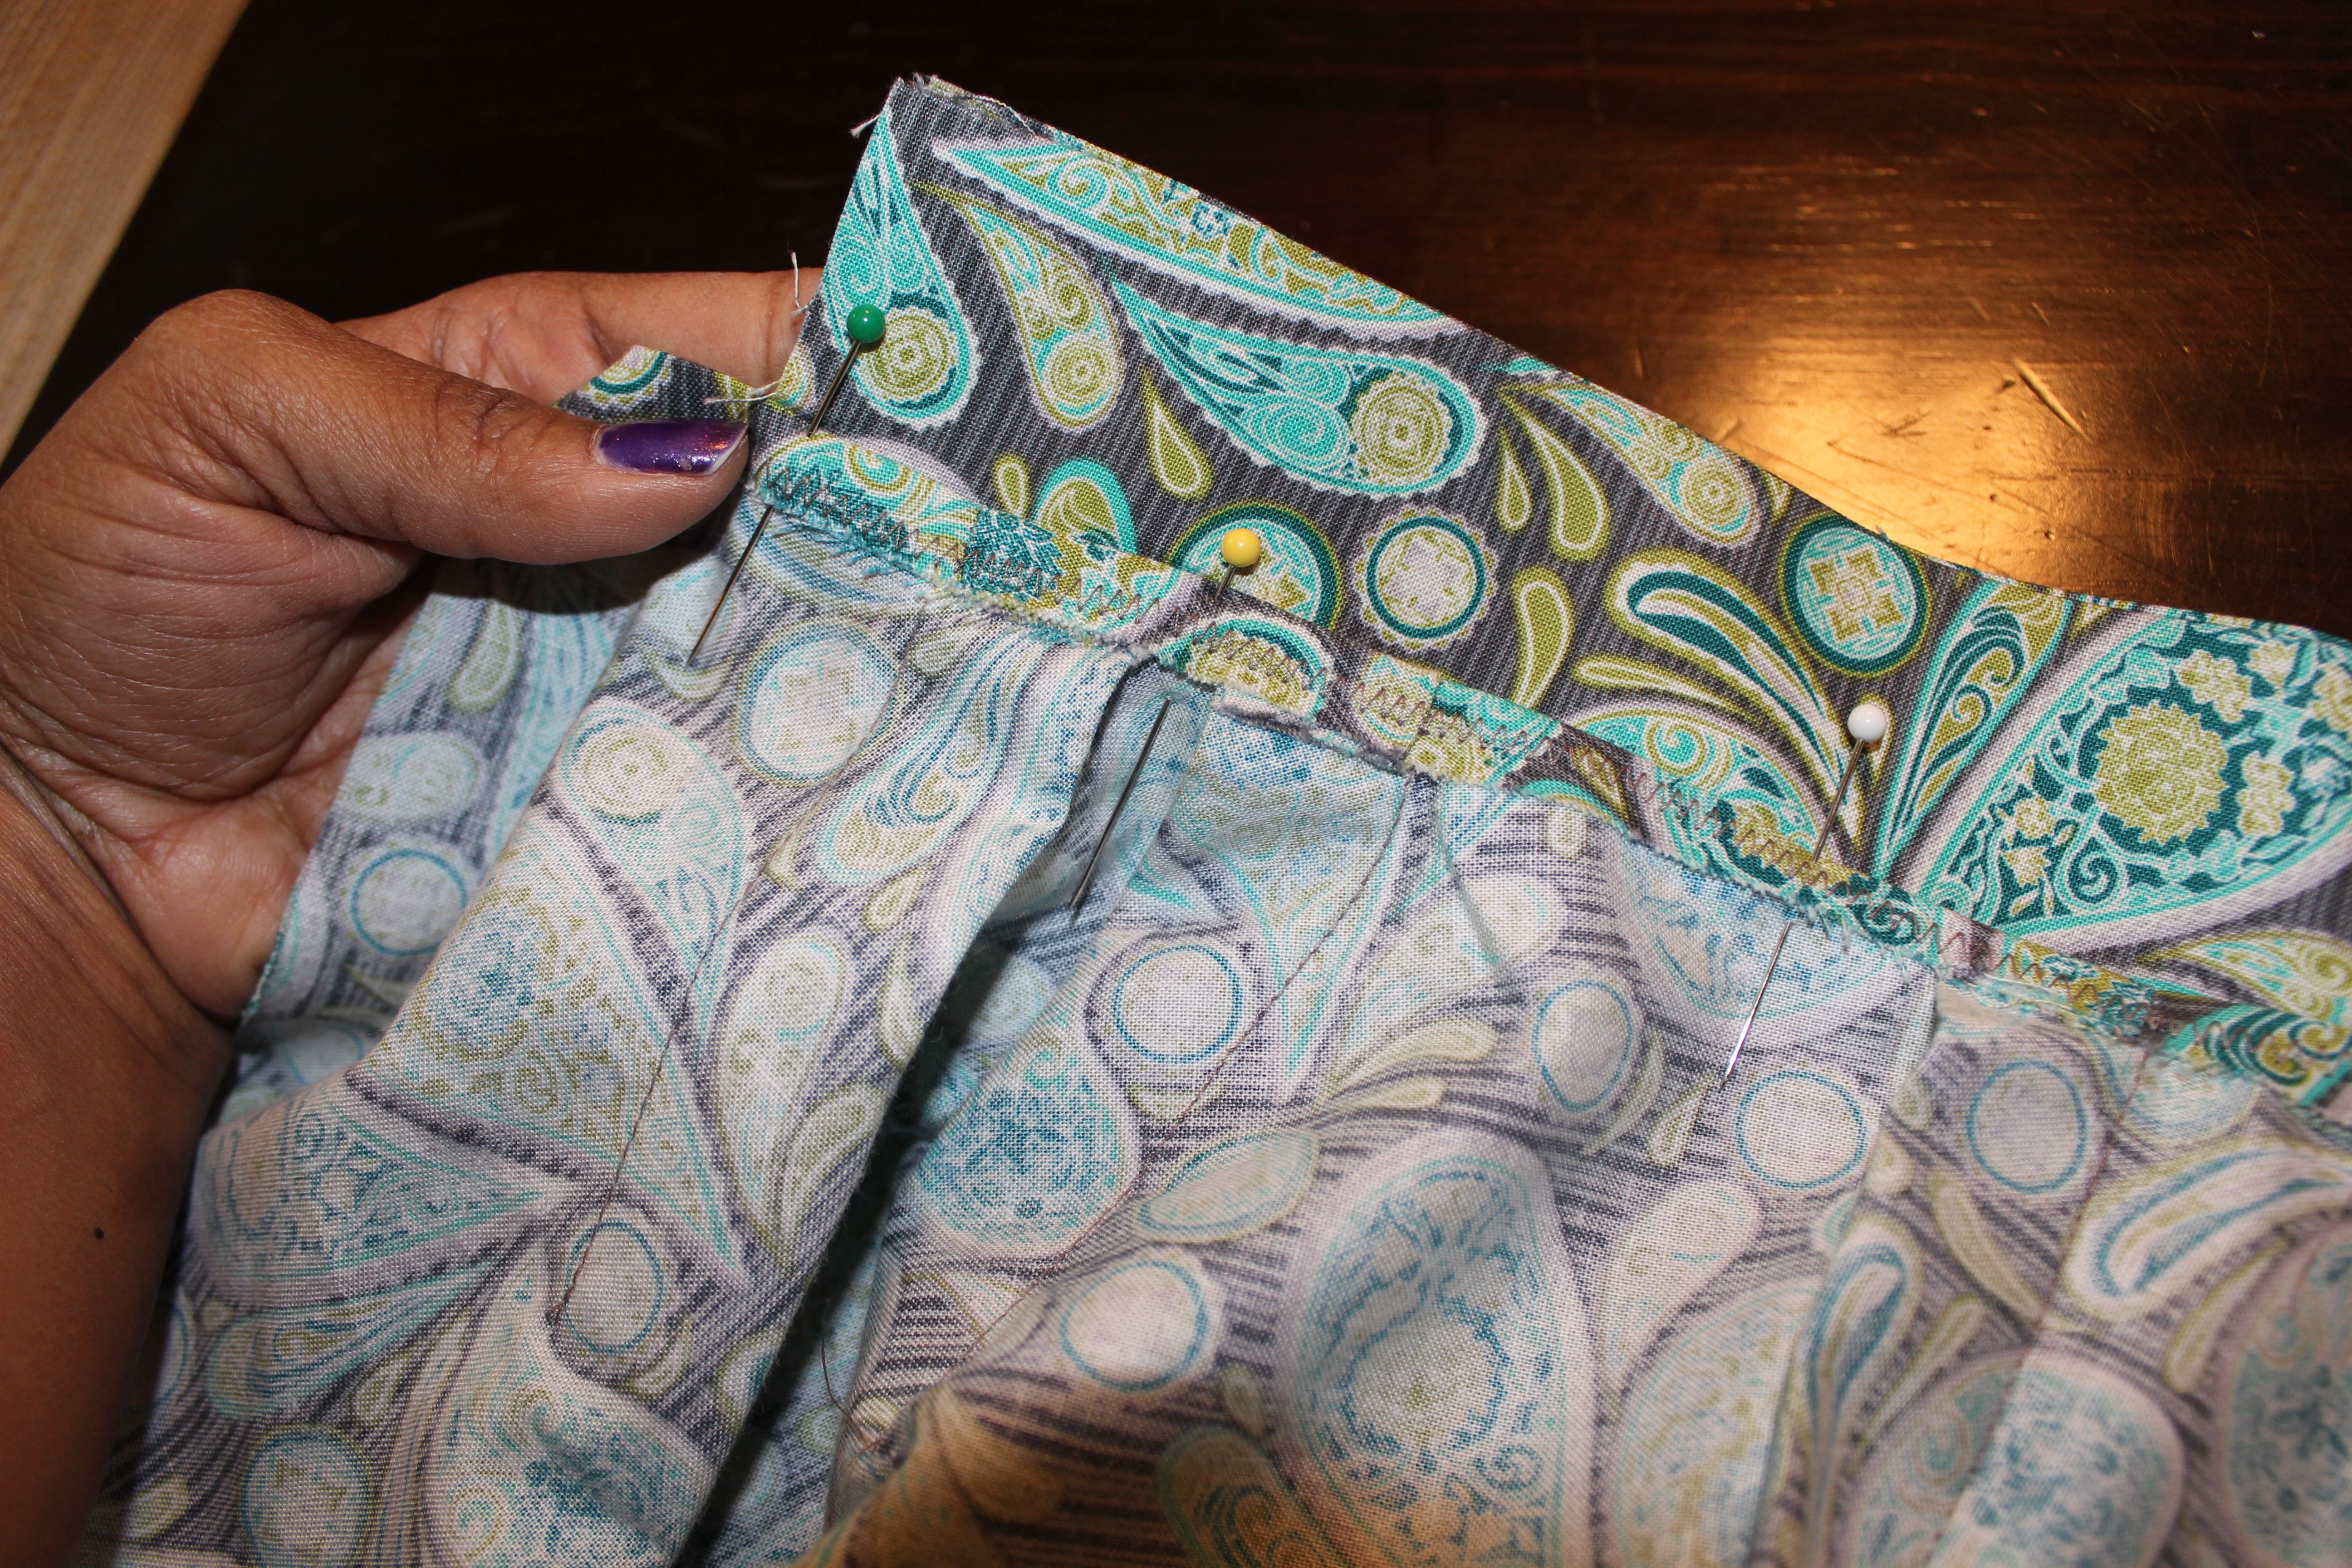
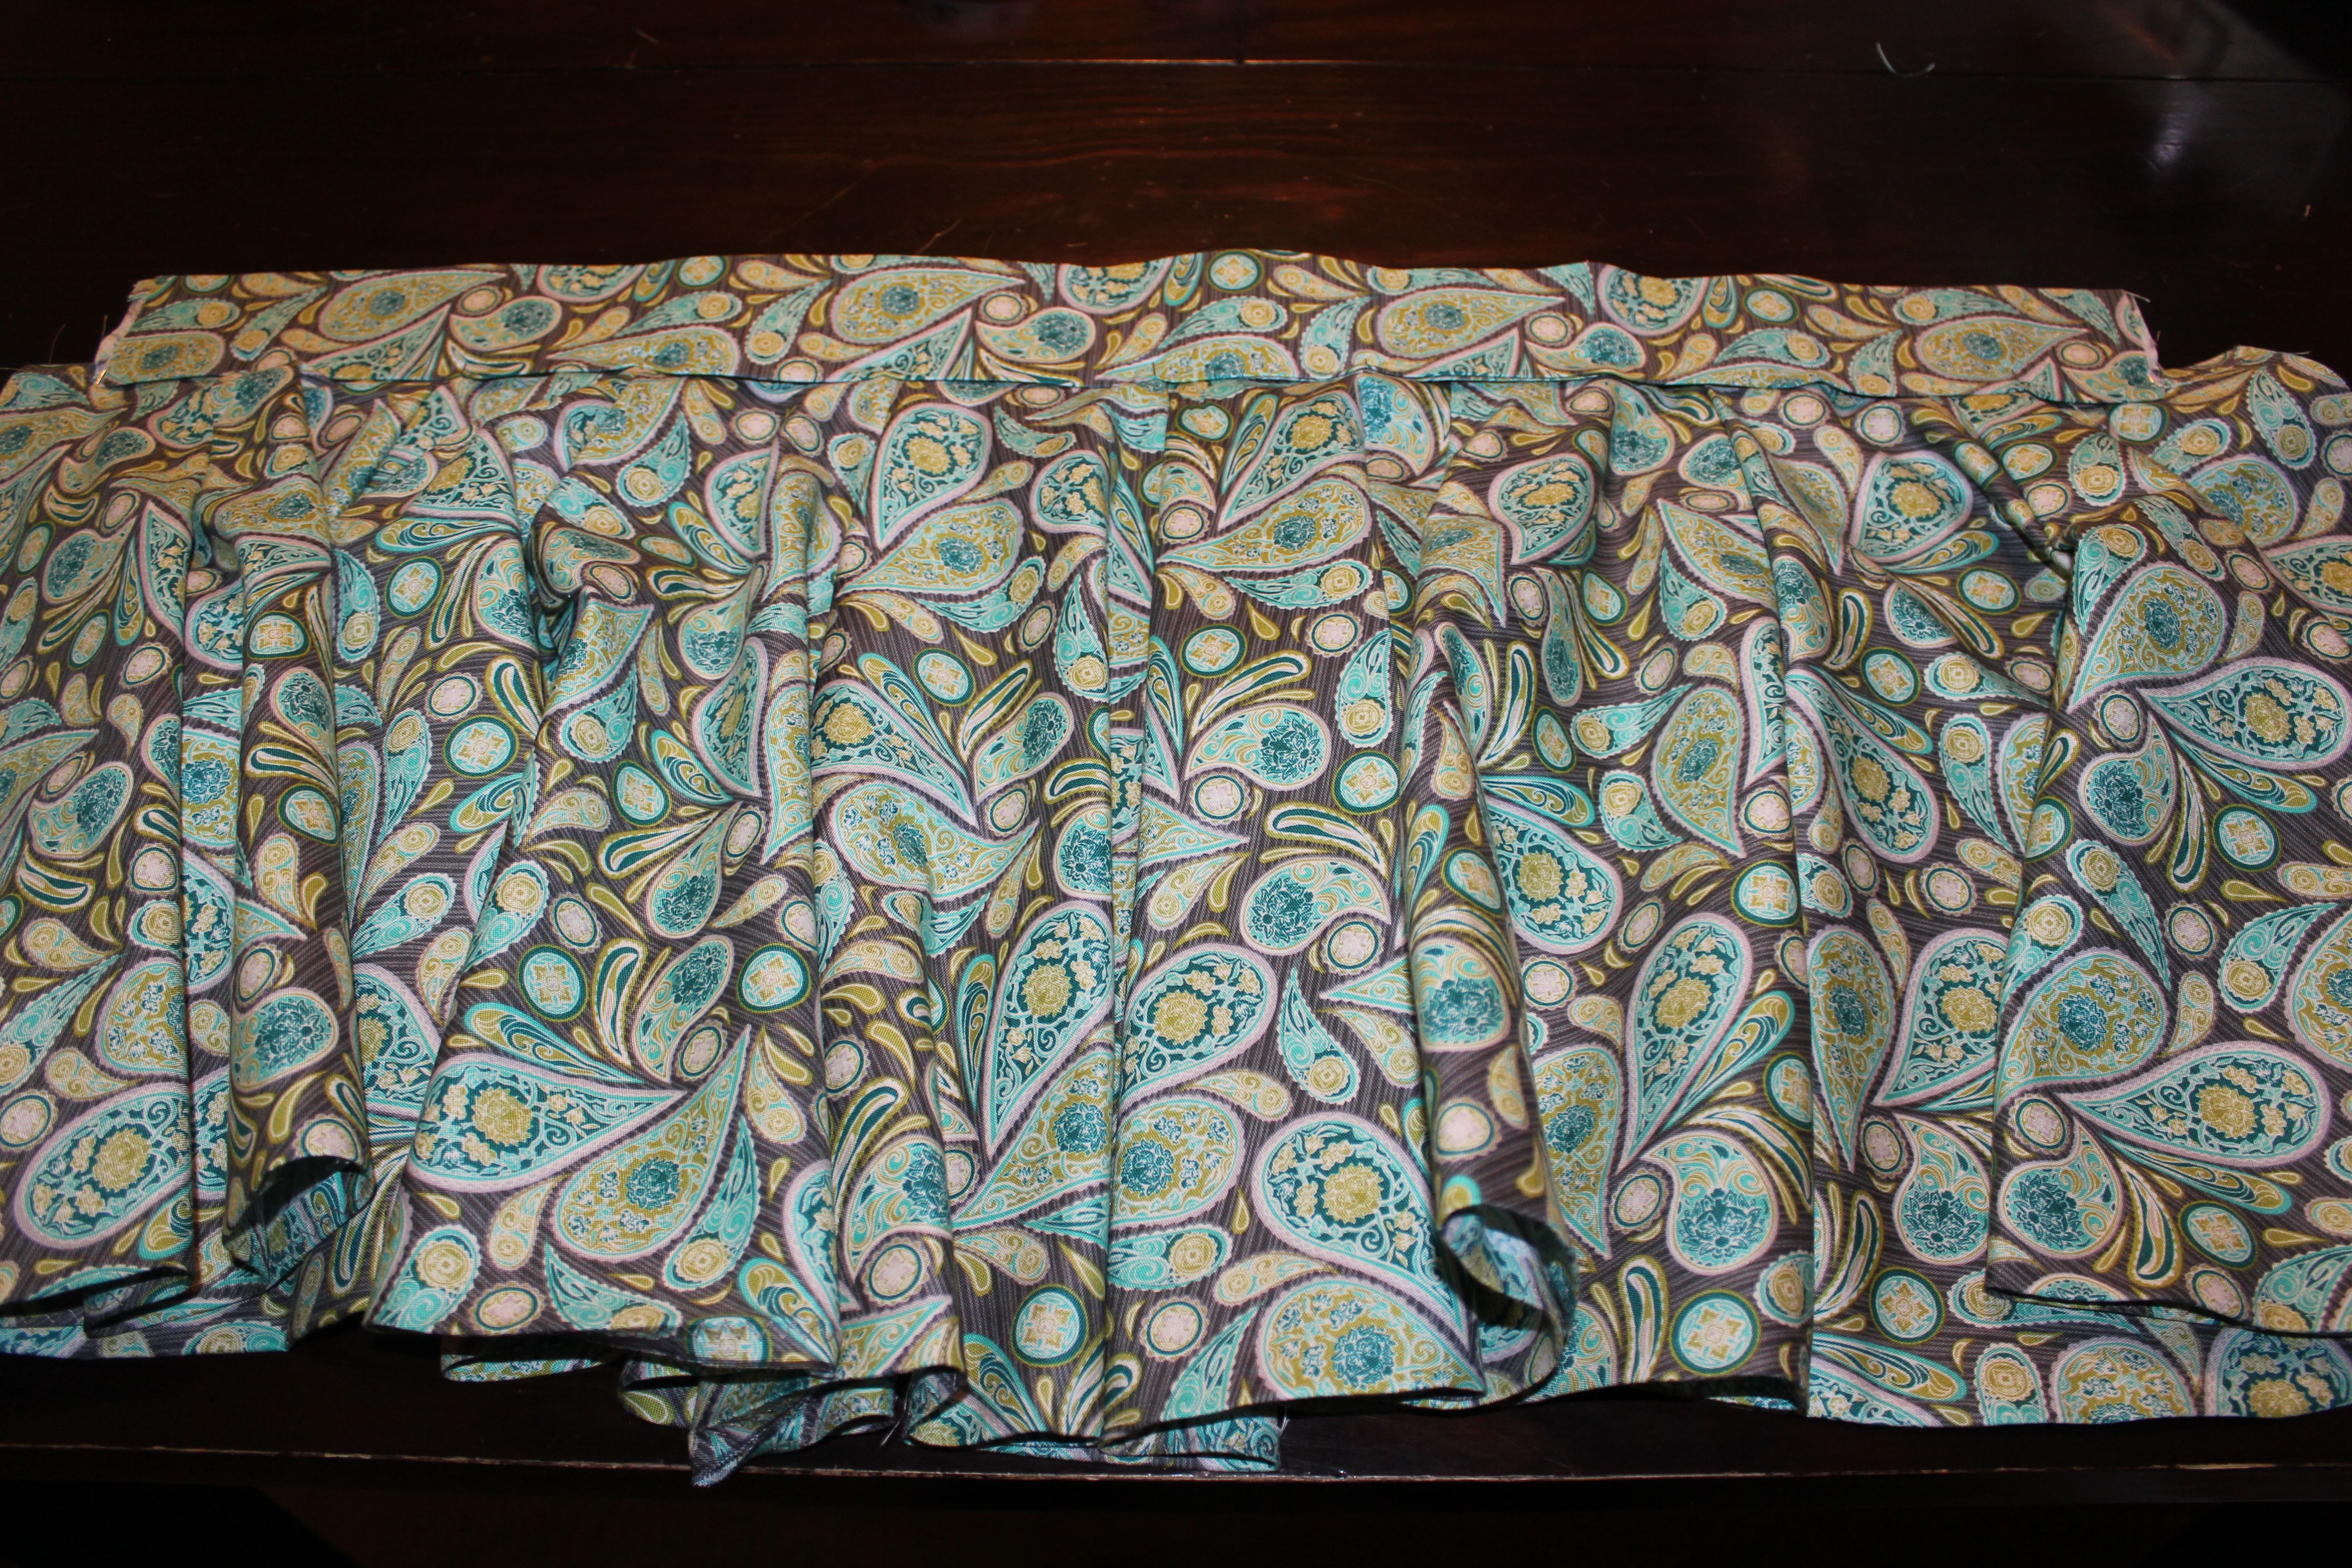
Time to get the zipper on! Fold the end of the belt over about 1/2 inch all the way down the skirt. *If you have a lot of extra fabric just cut it to leave 1/2 inch of material from the fold. Iron in the fold.
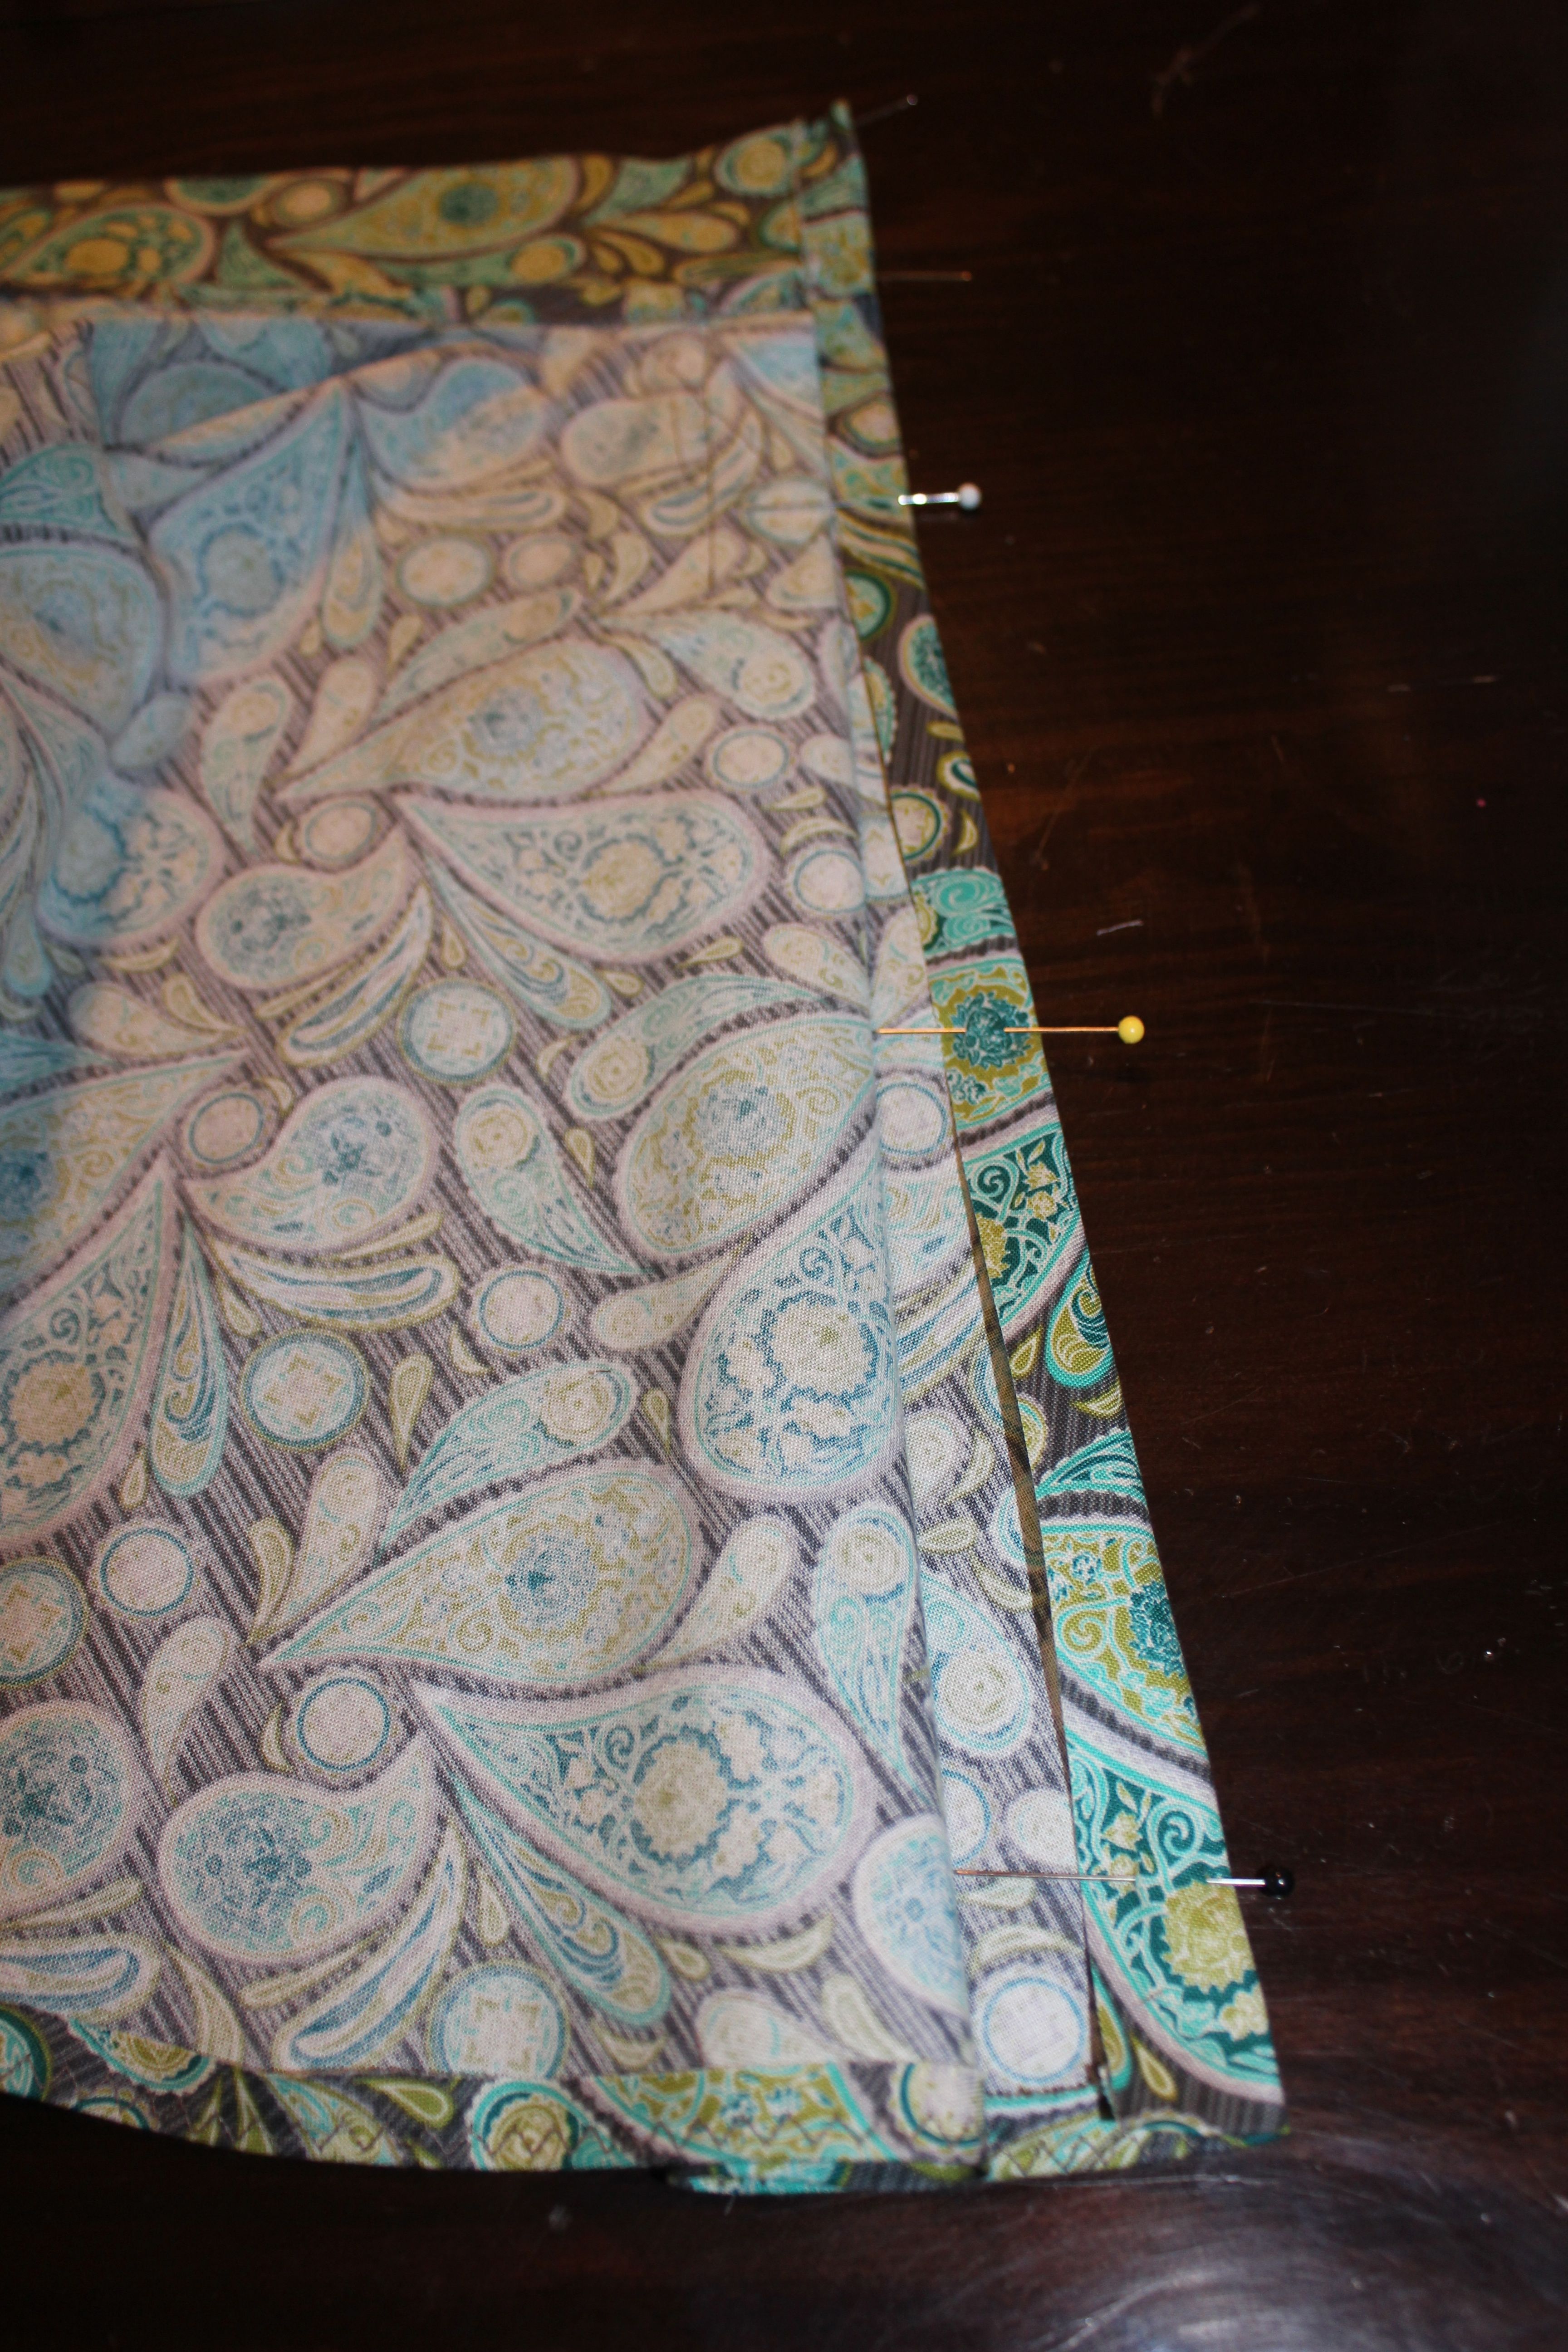
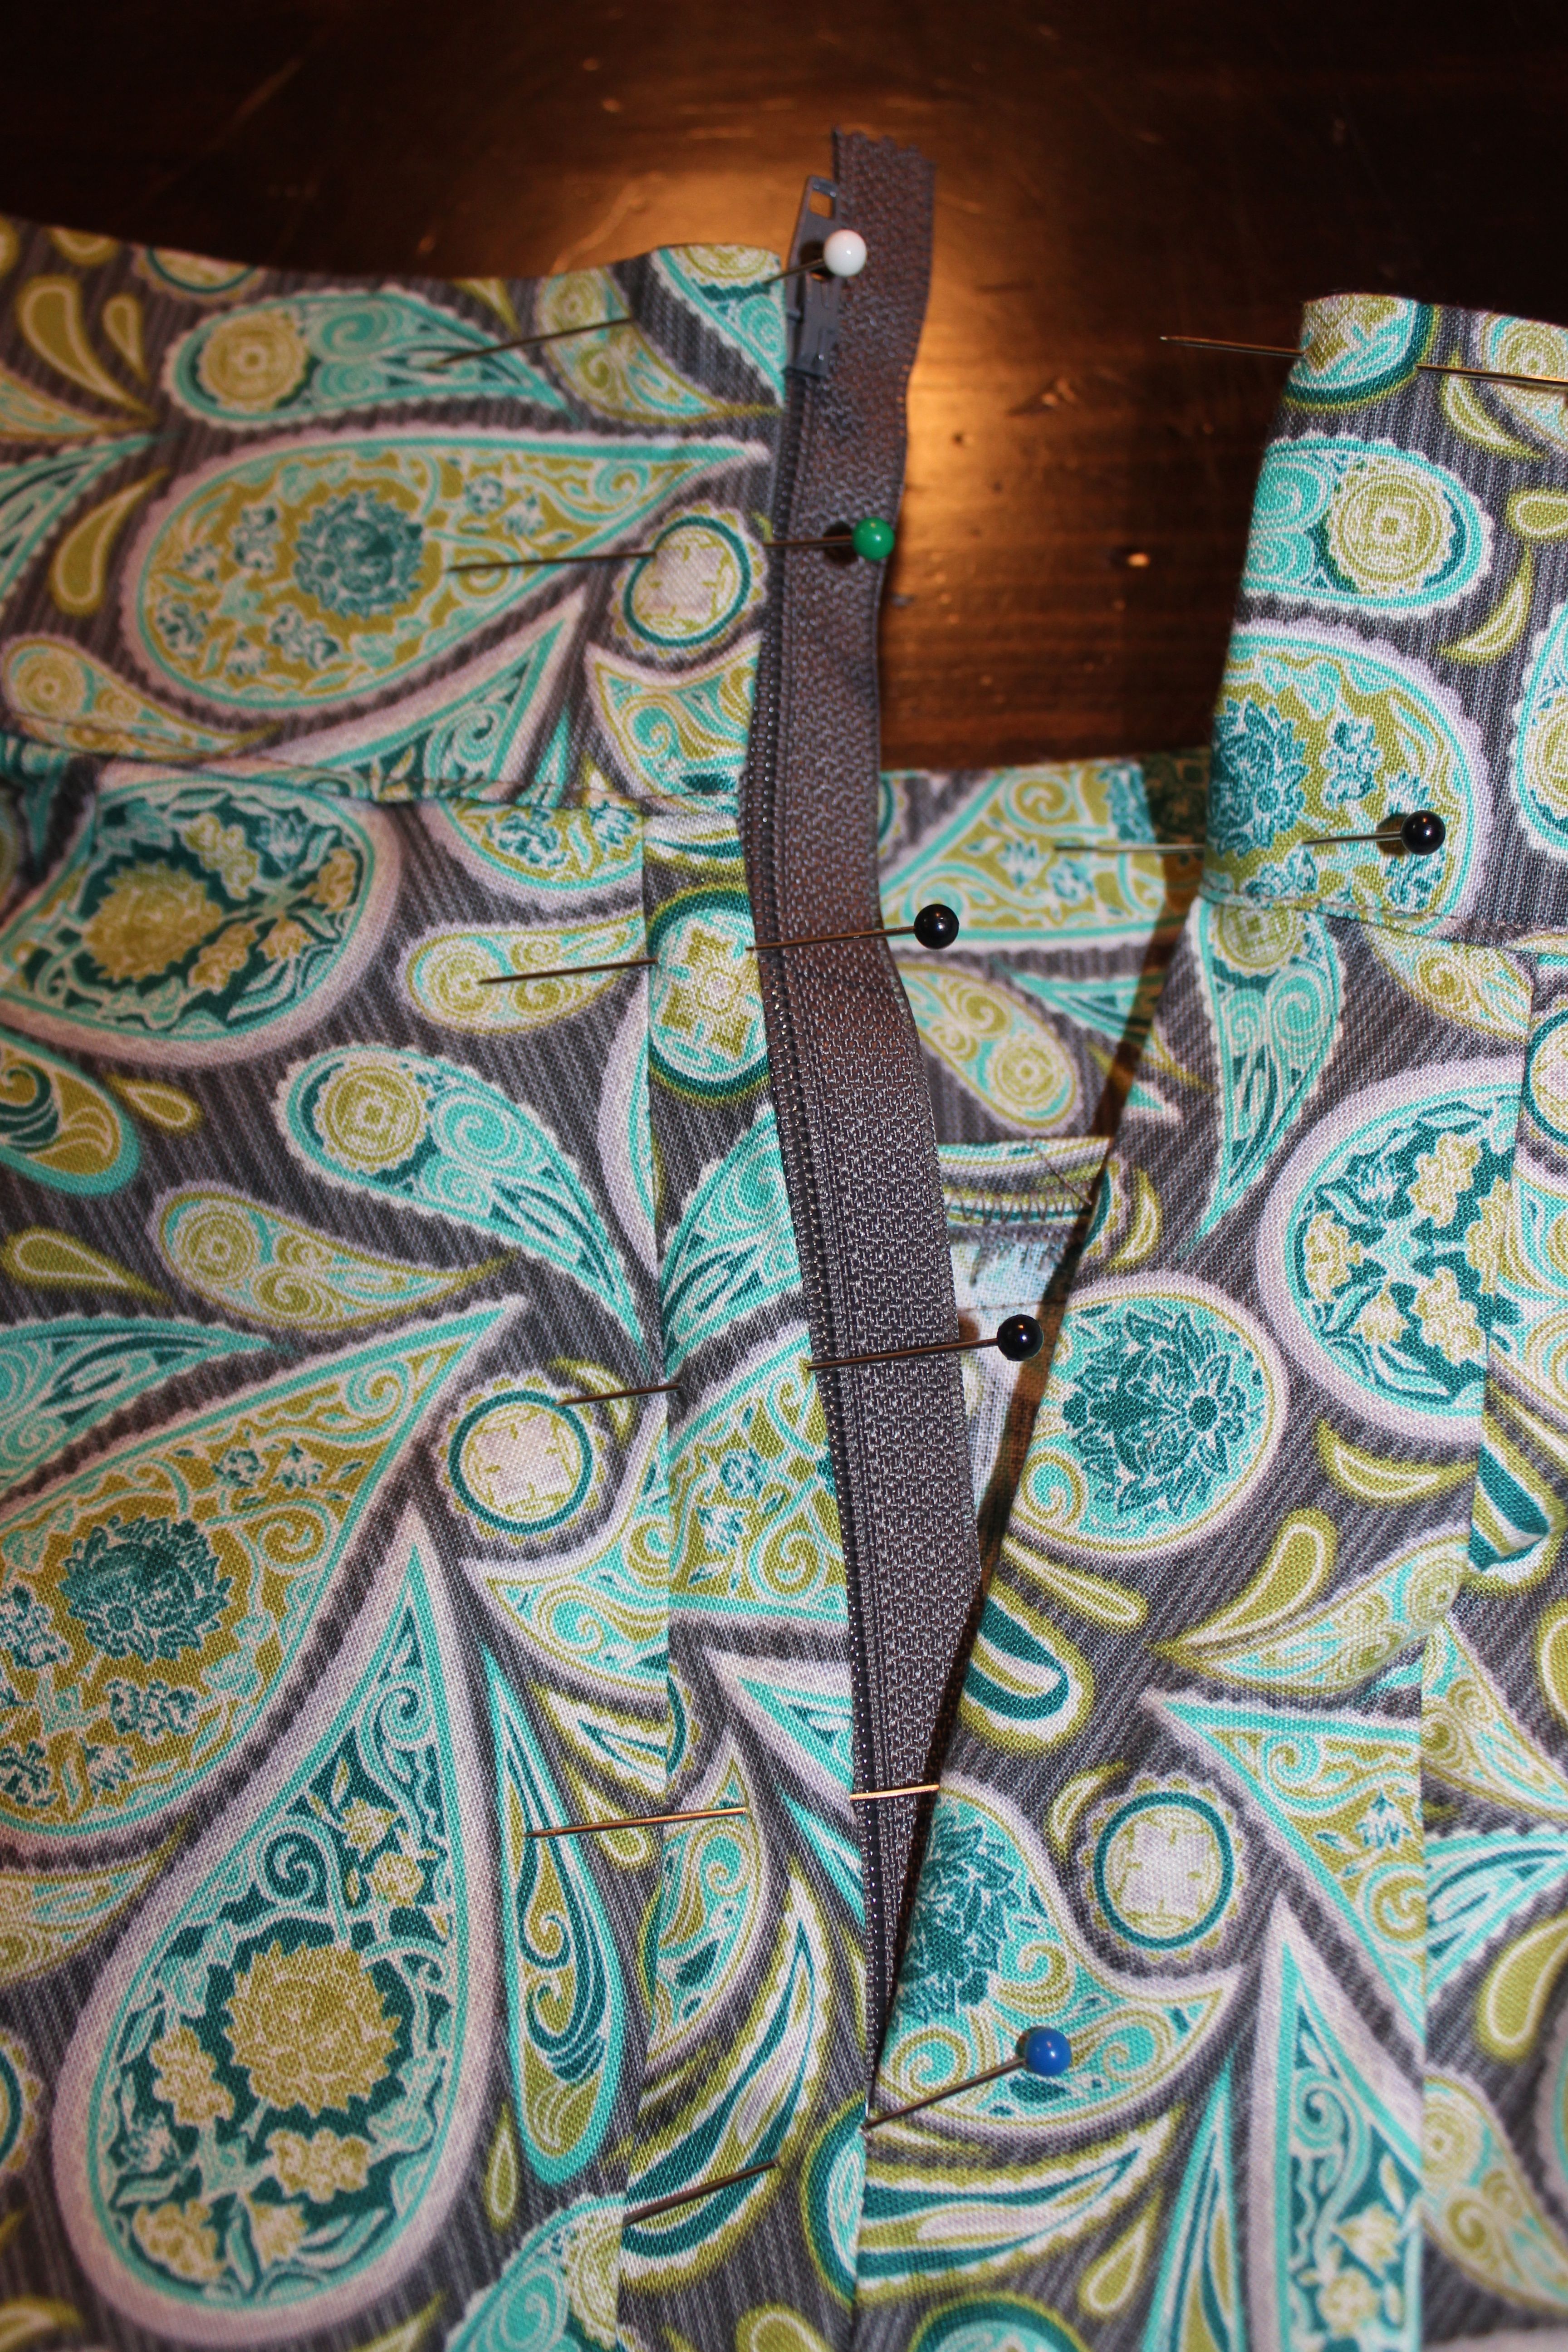
Now you’re going to want to measure the zipper length. Unfold the edges before laying the zipper. Pin the seam all the way up to the zipper. Where the zipper stops place a pin backward so you know where to stop when closing the back of the skirt. Using a straight stitch close the back of the skirt up to your stopping point.

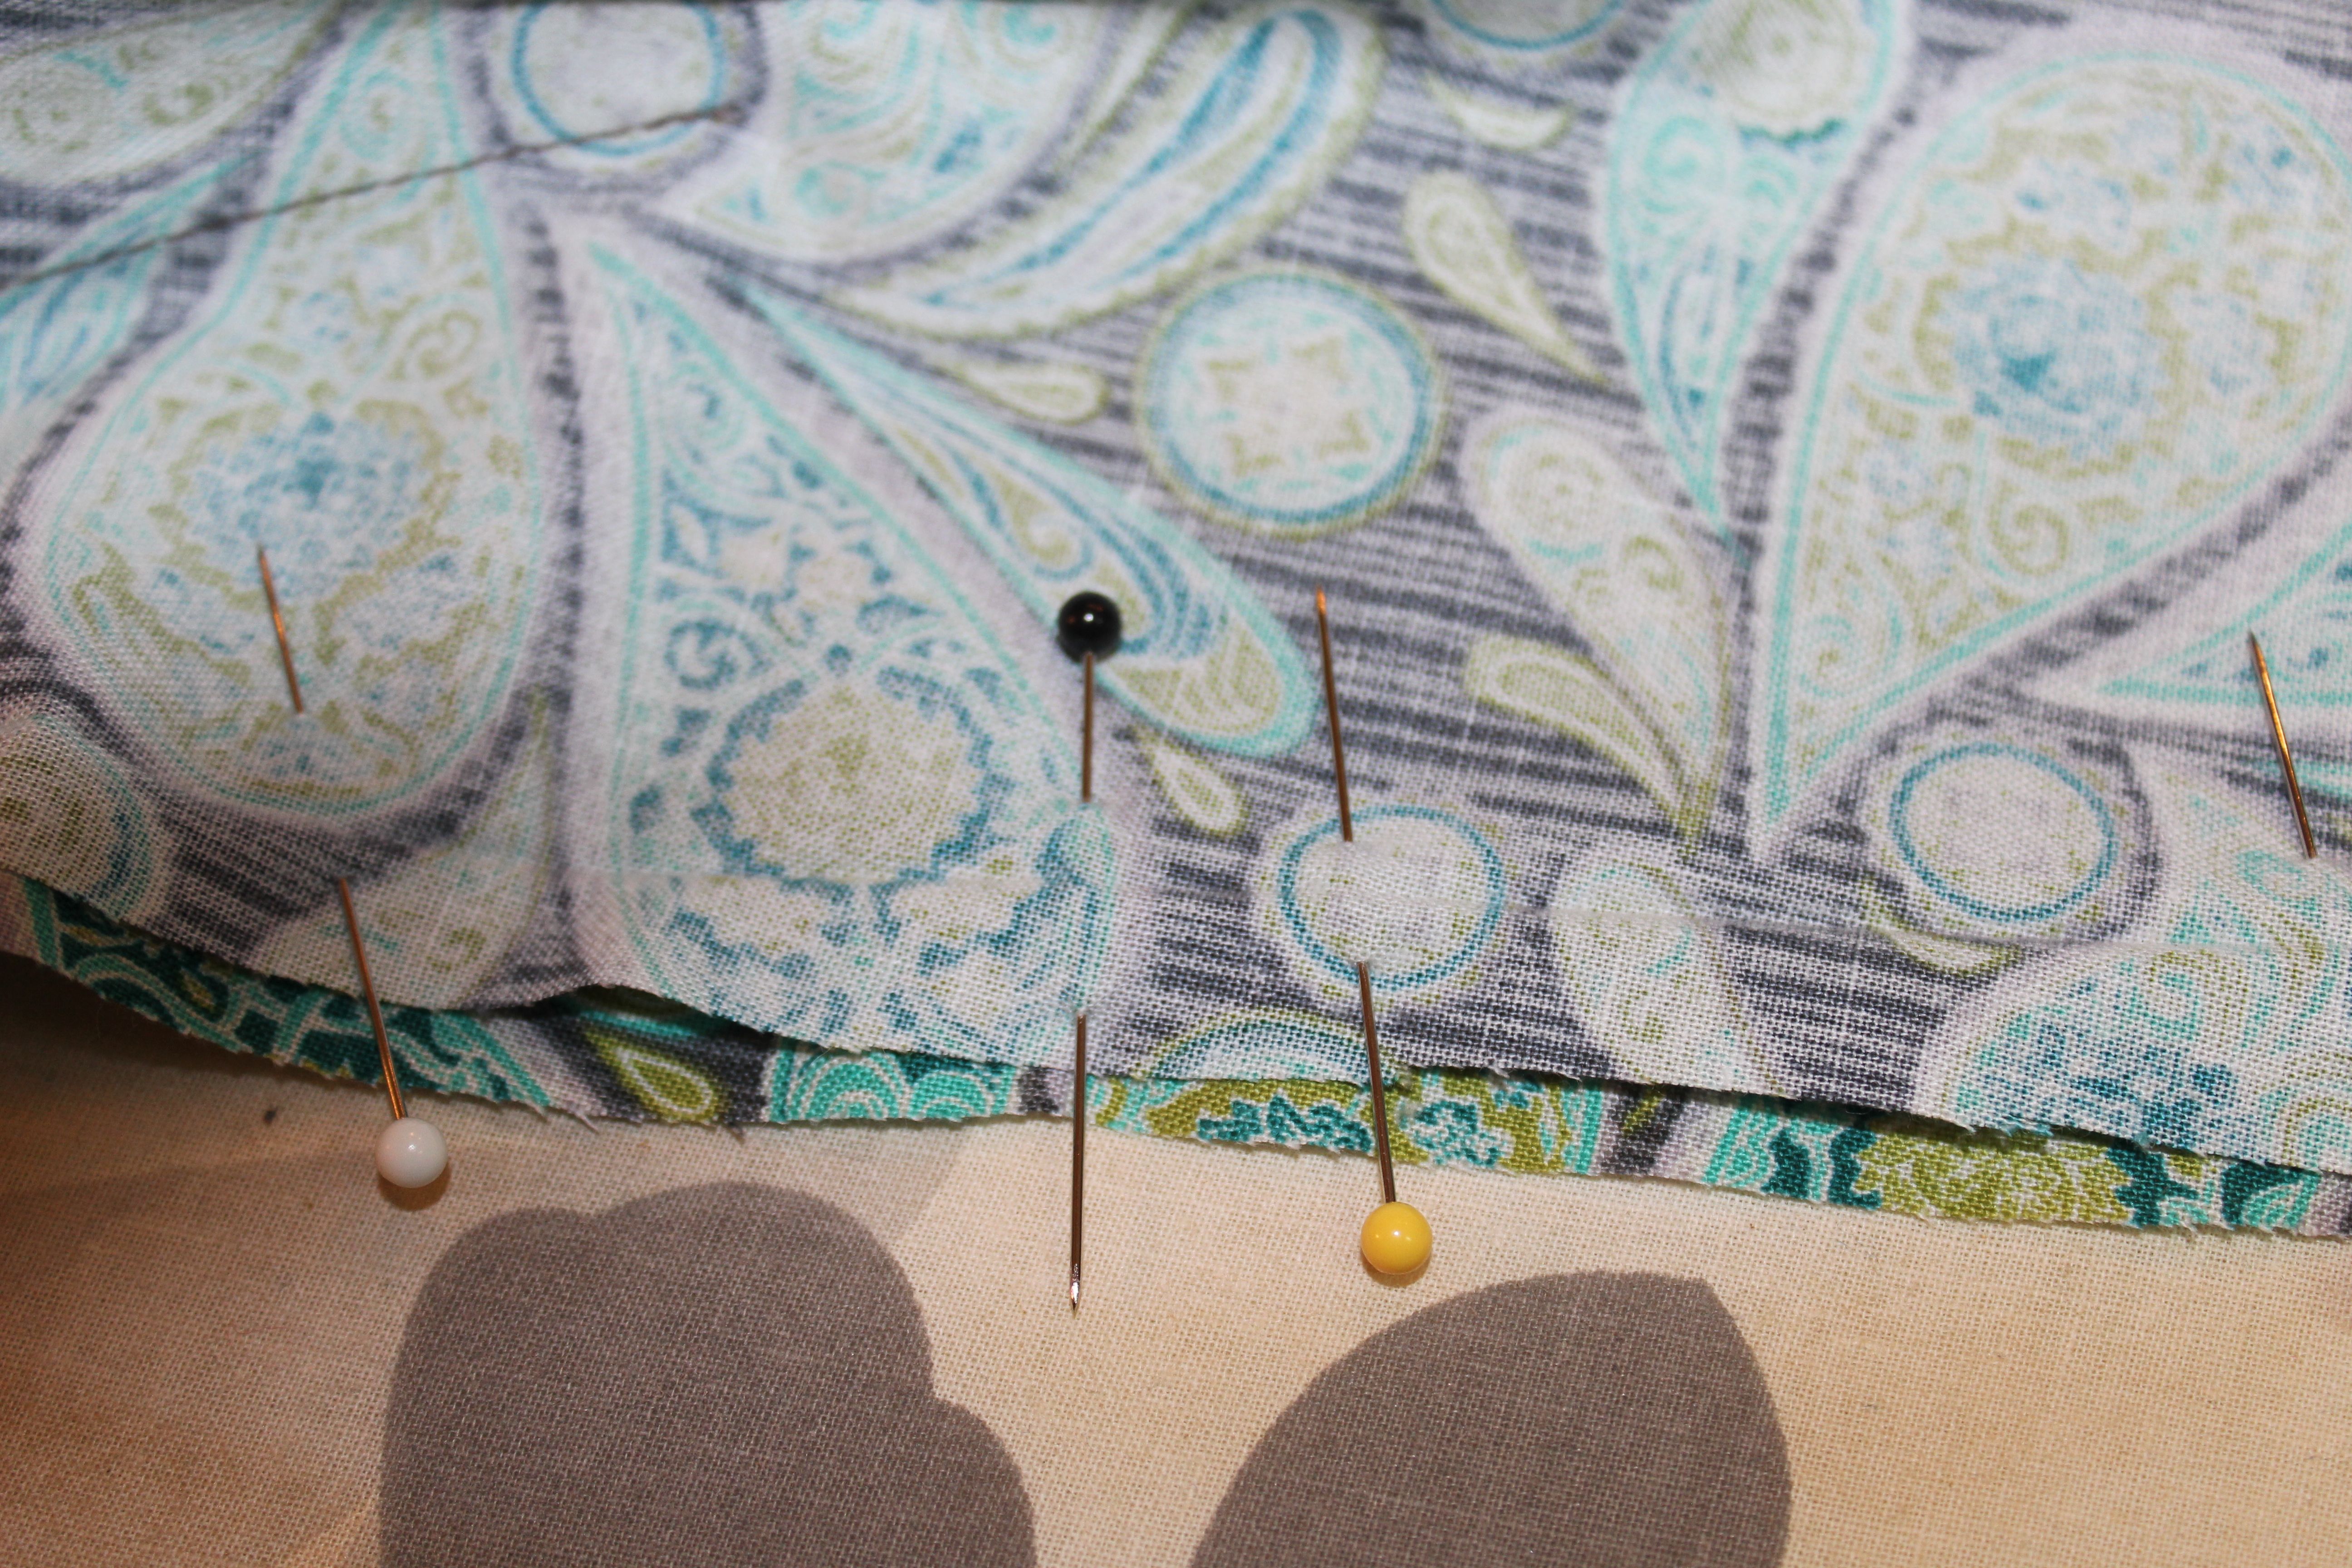
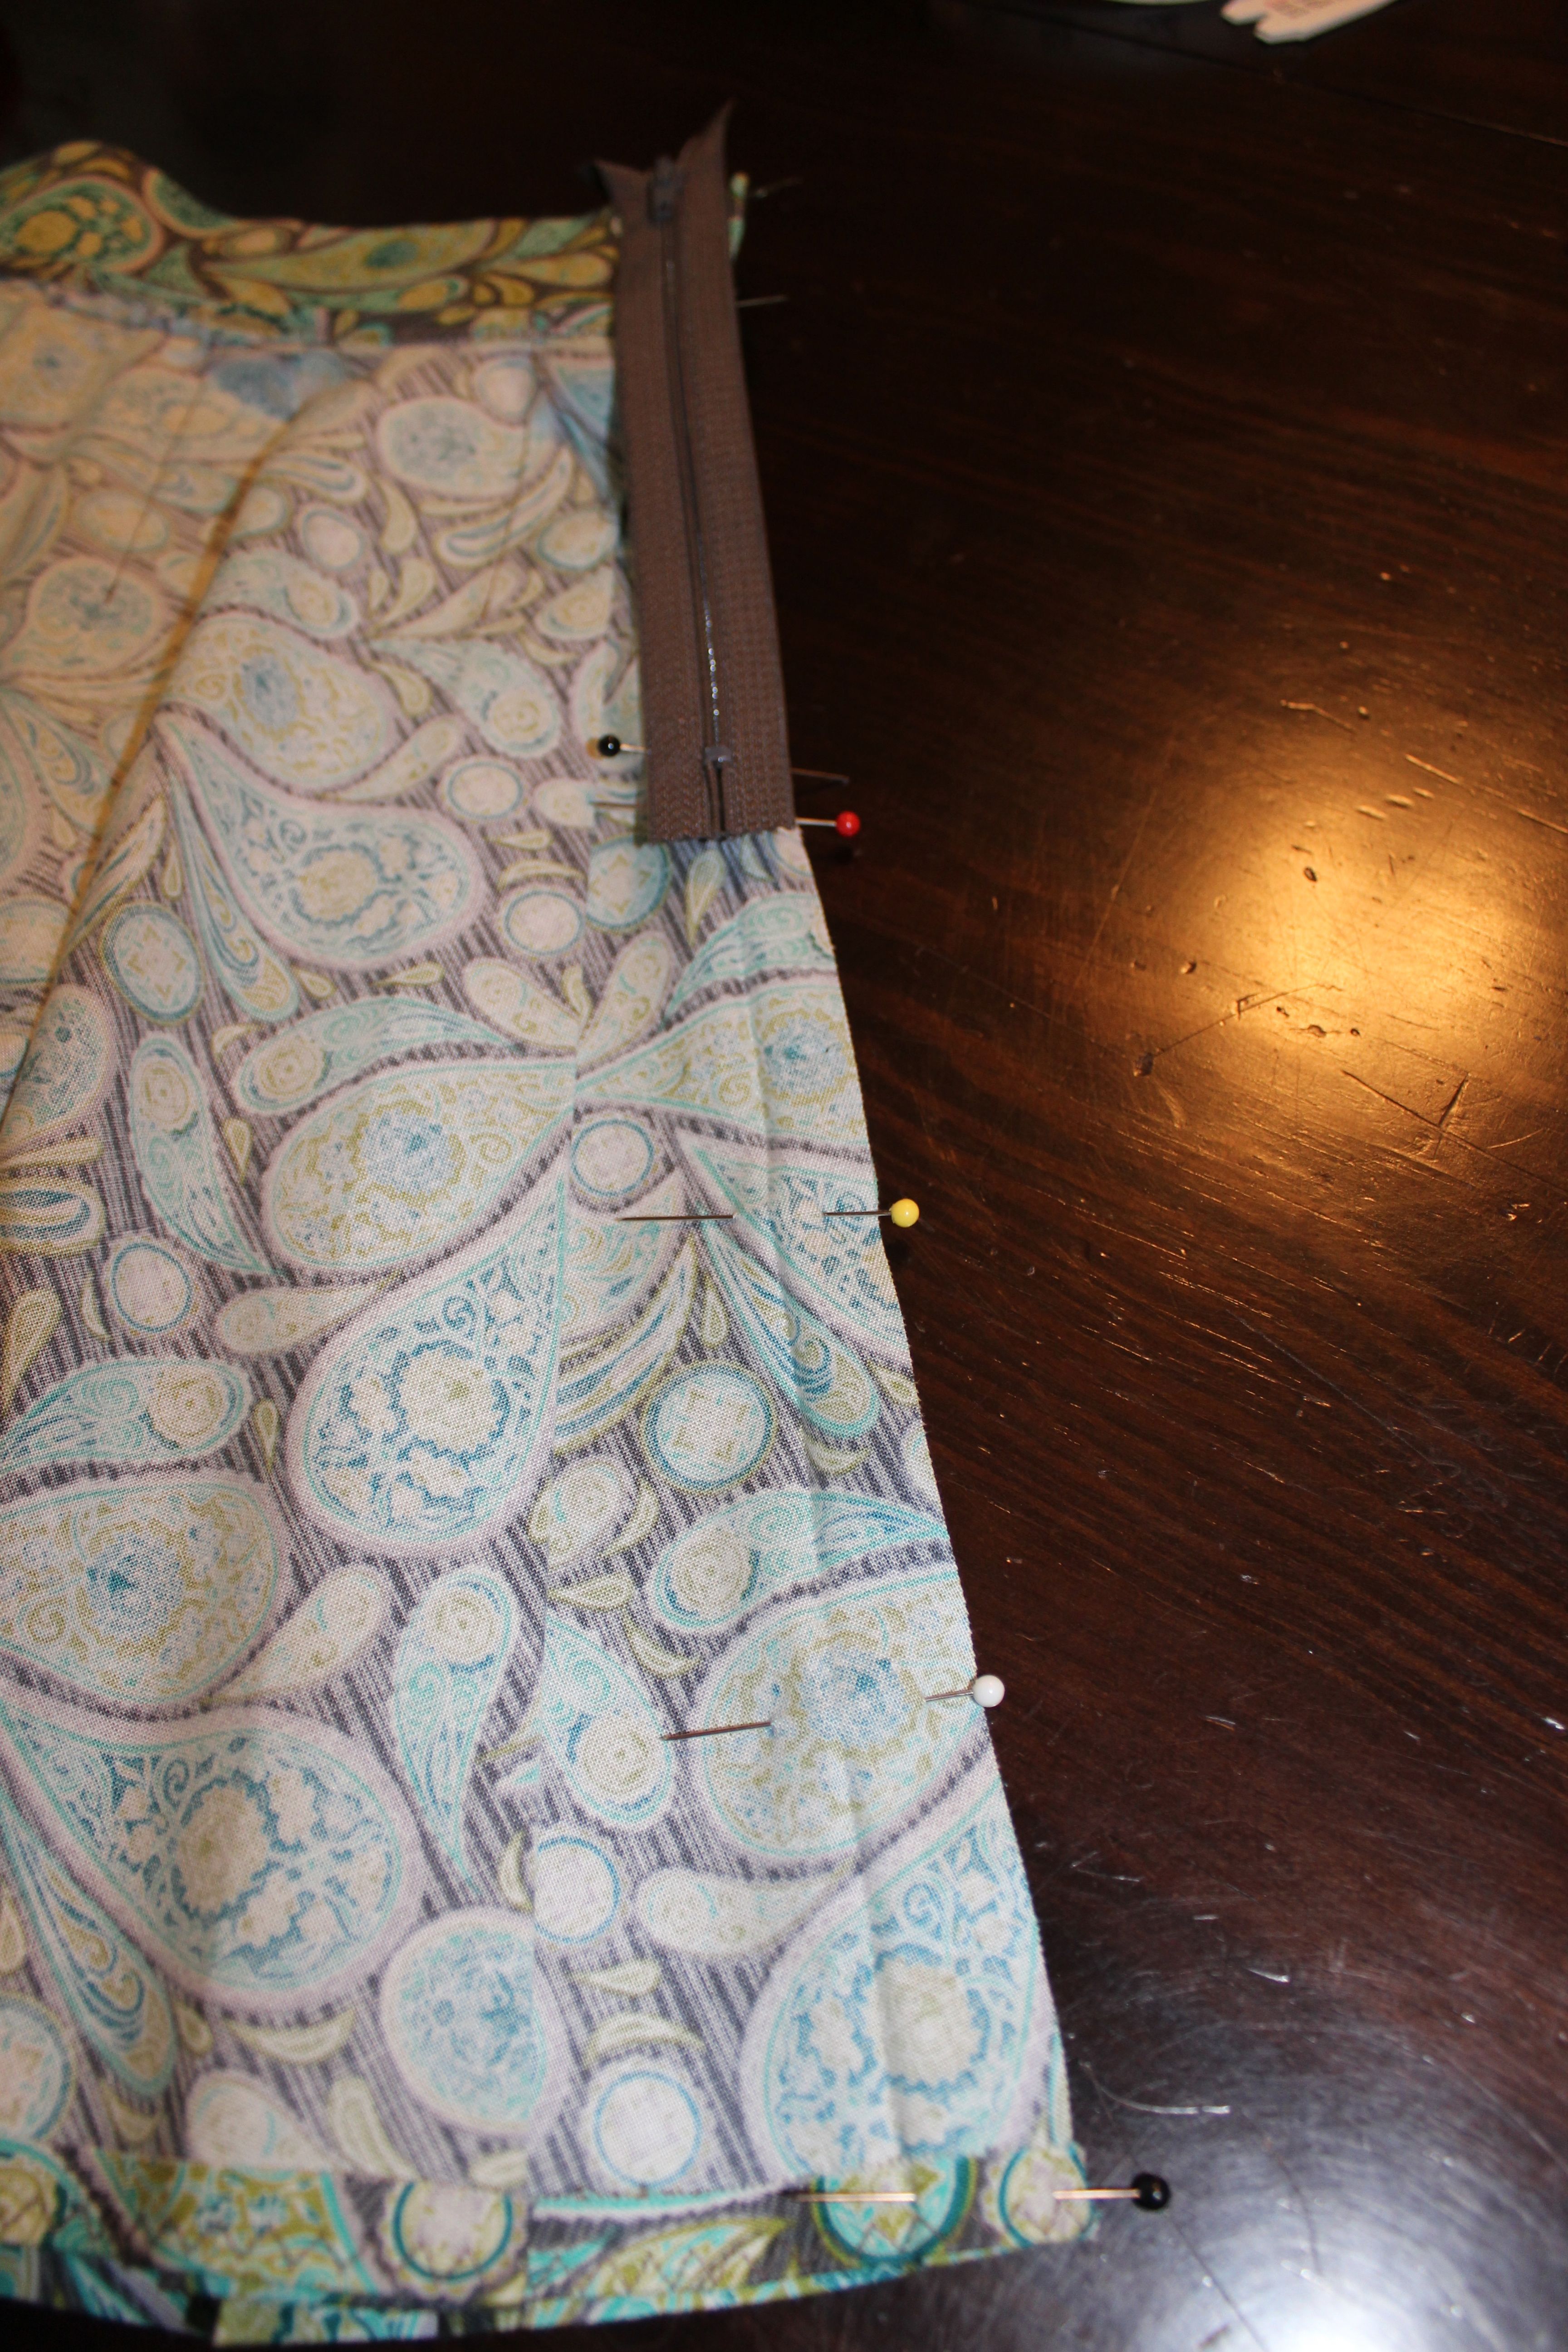
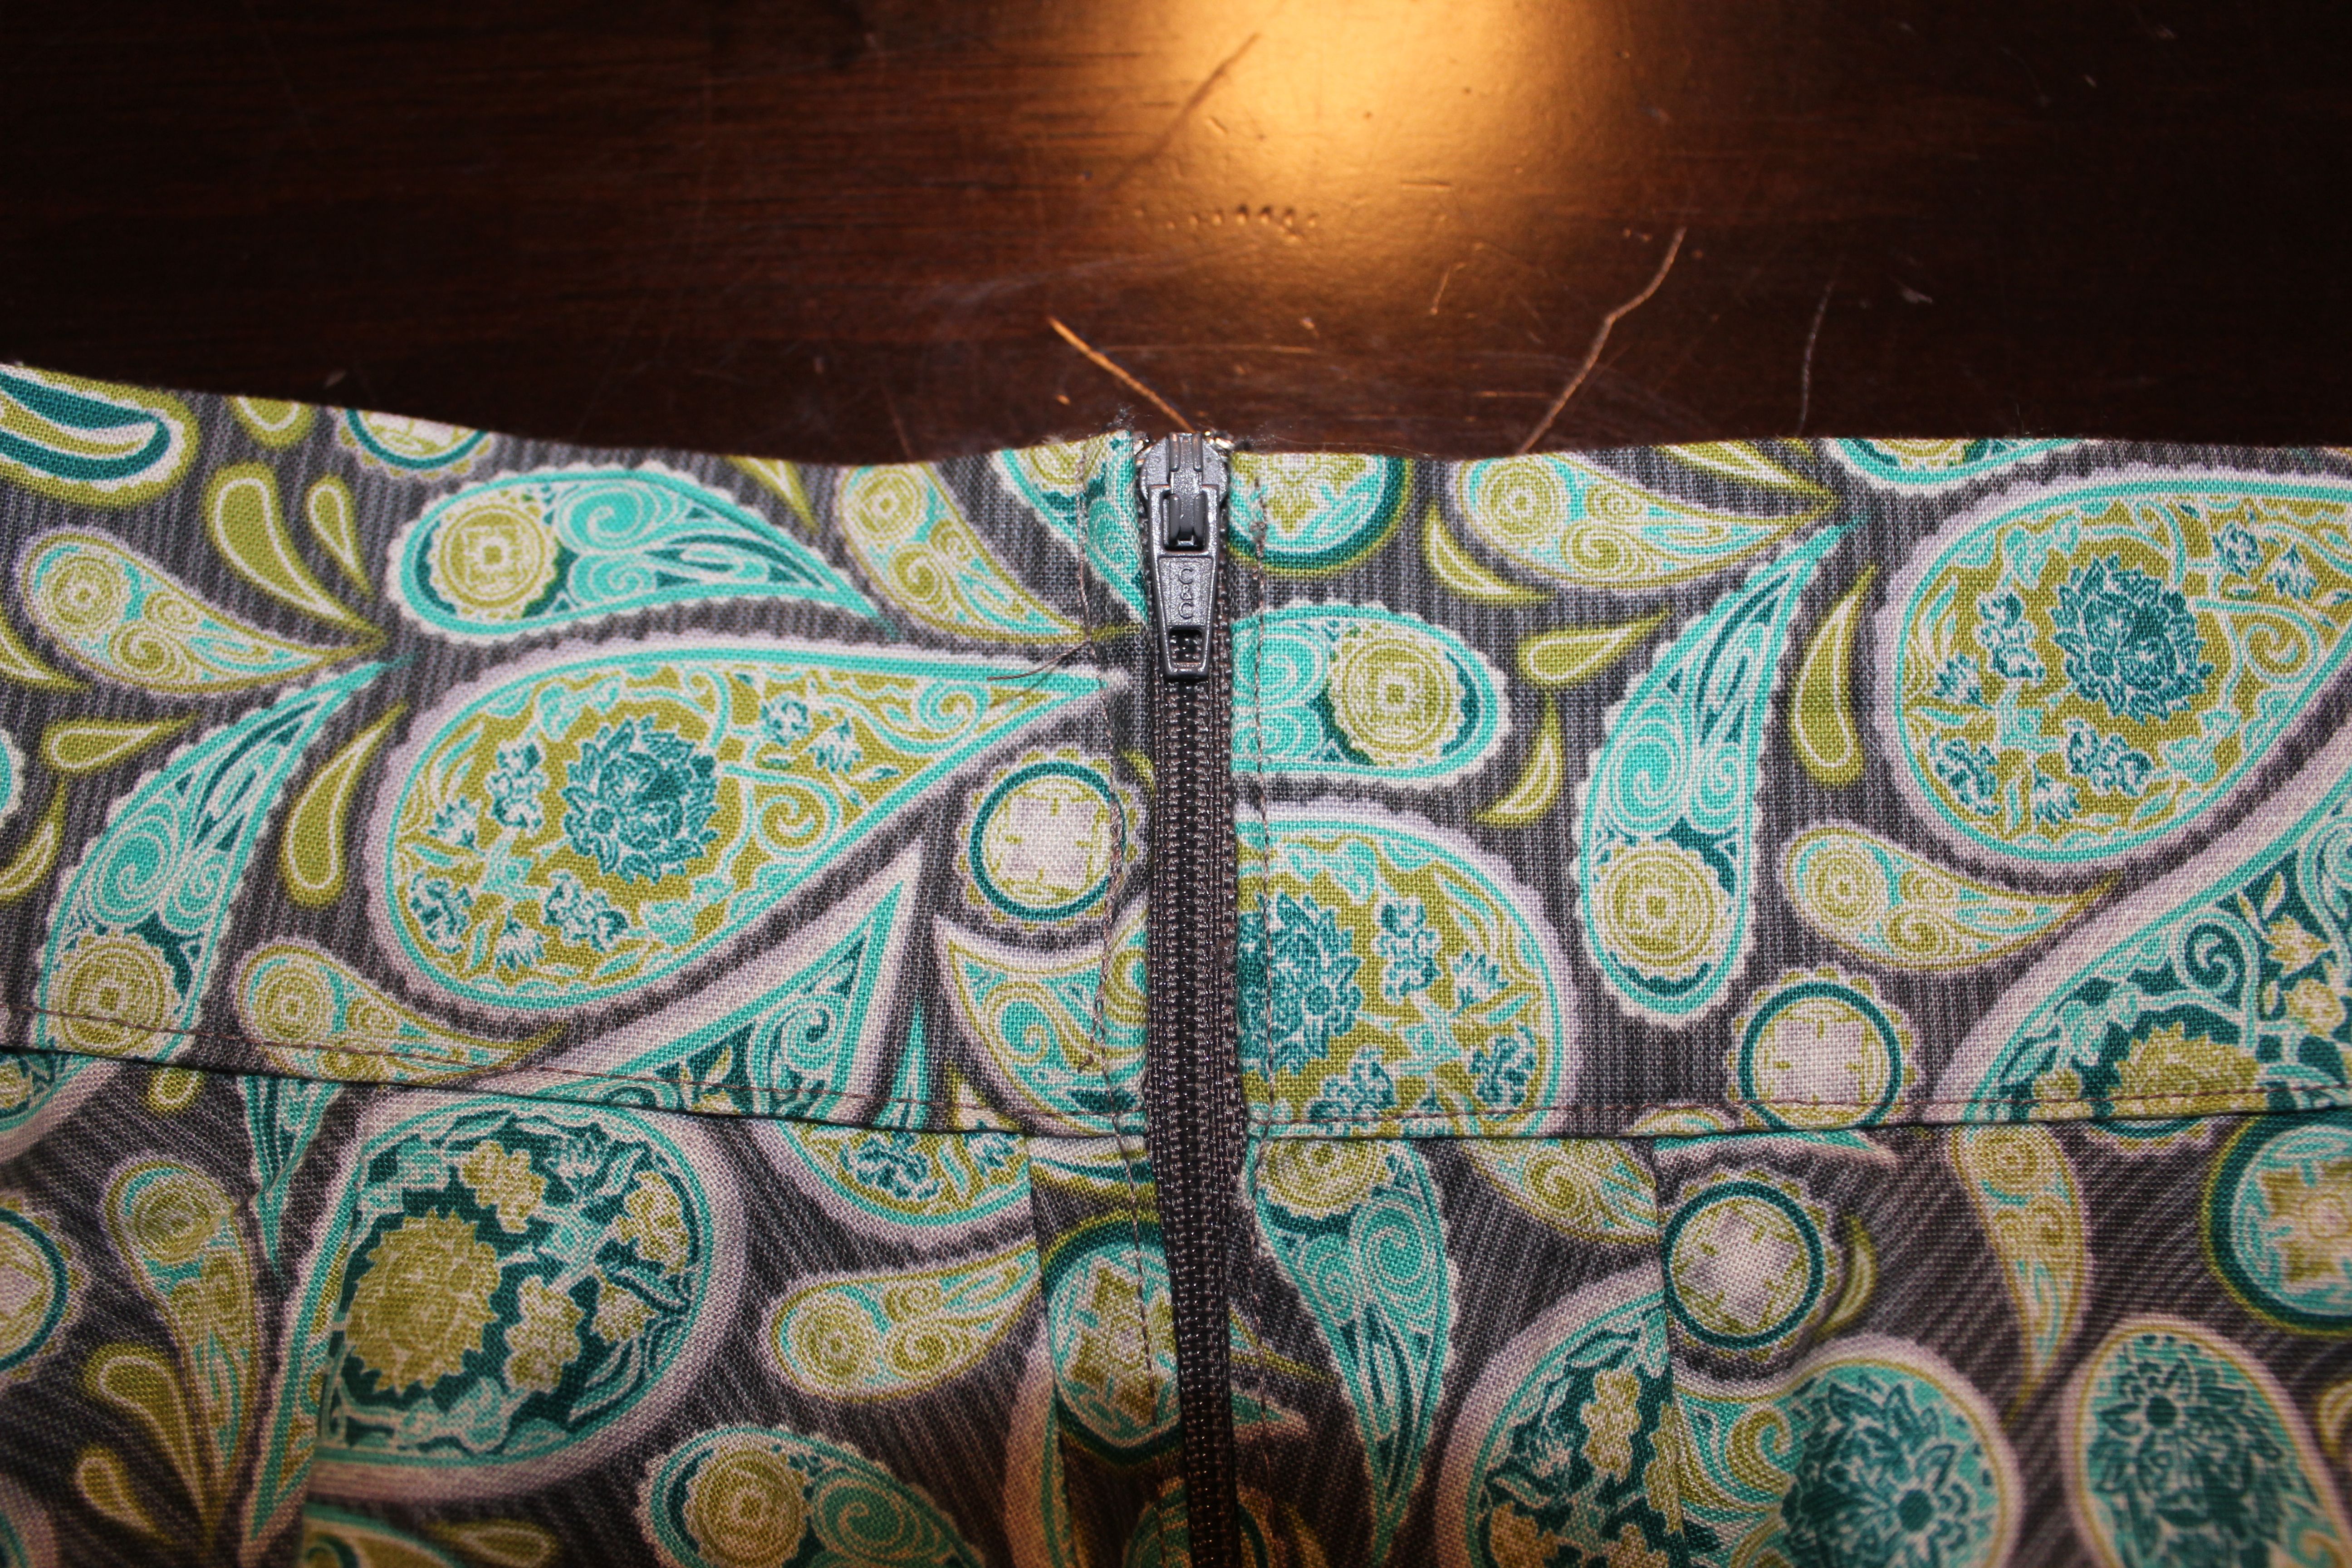
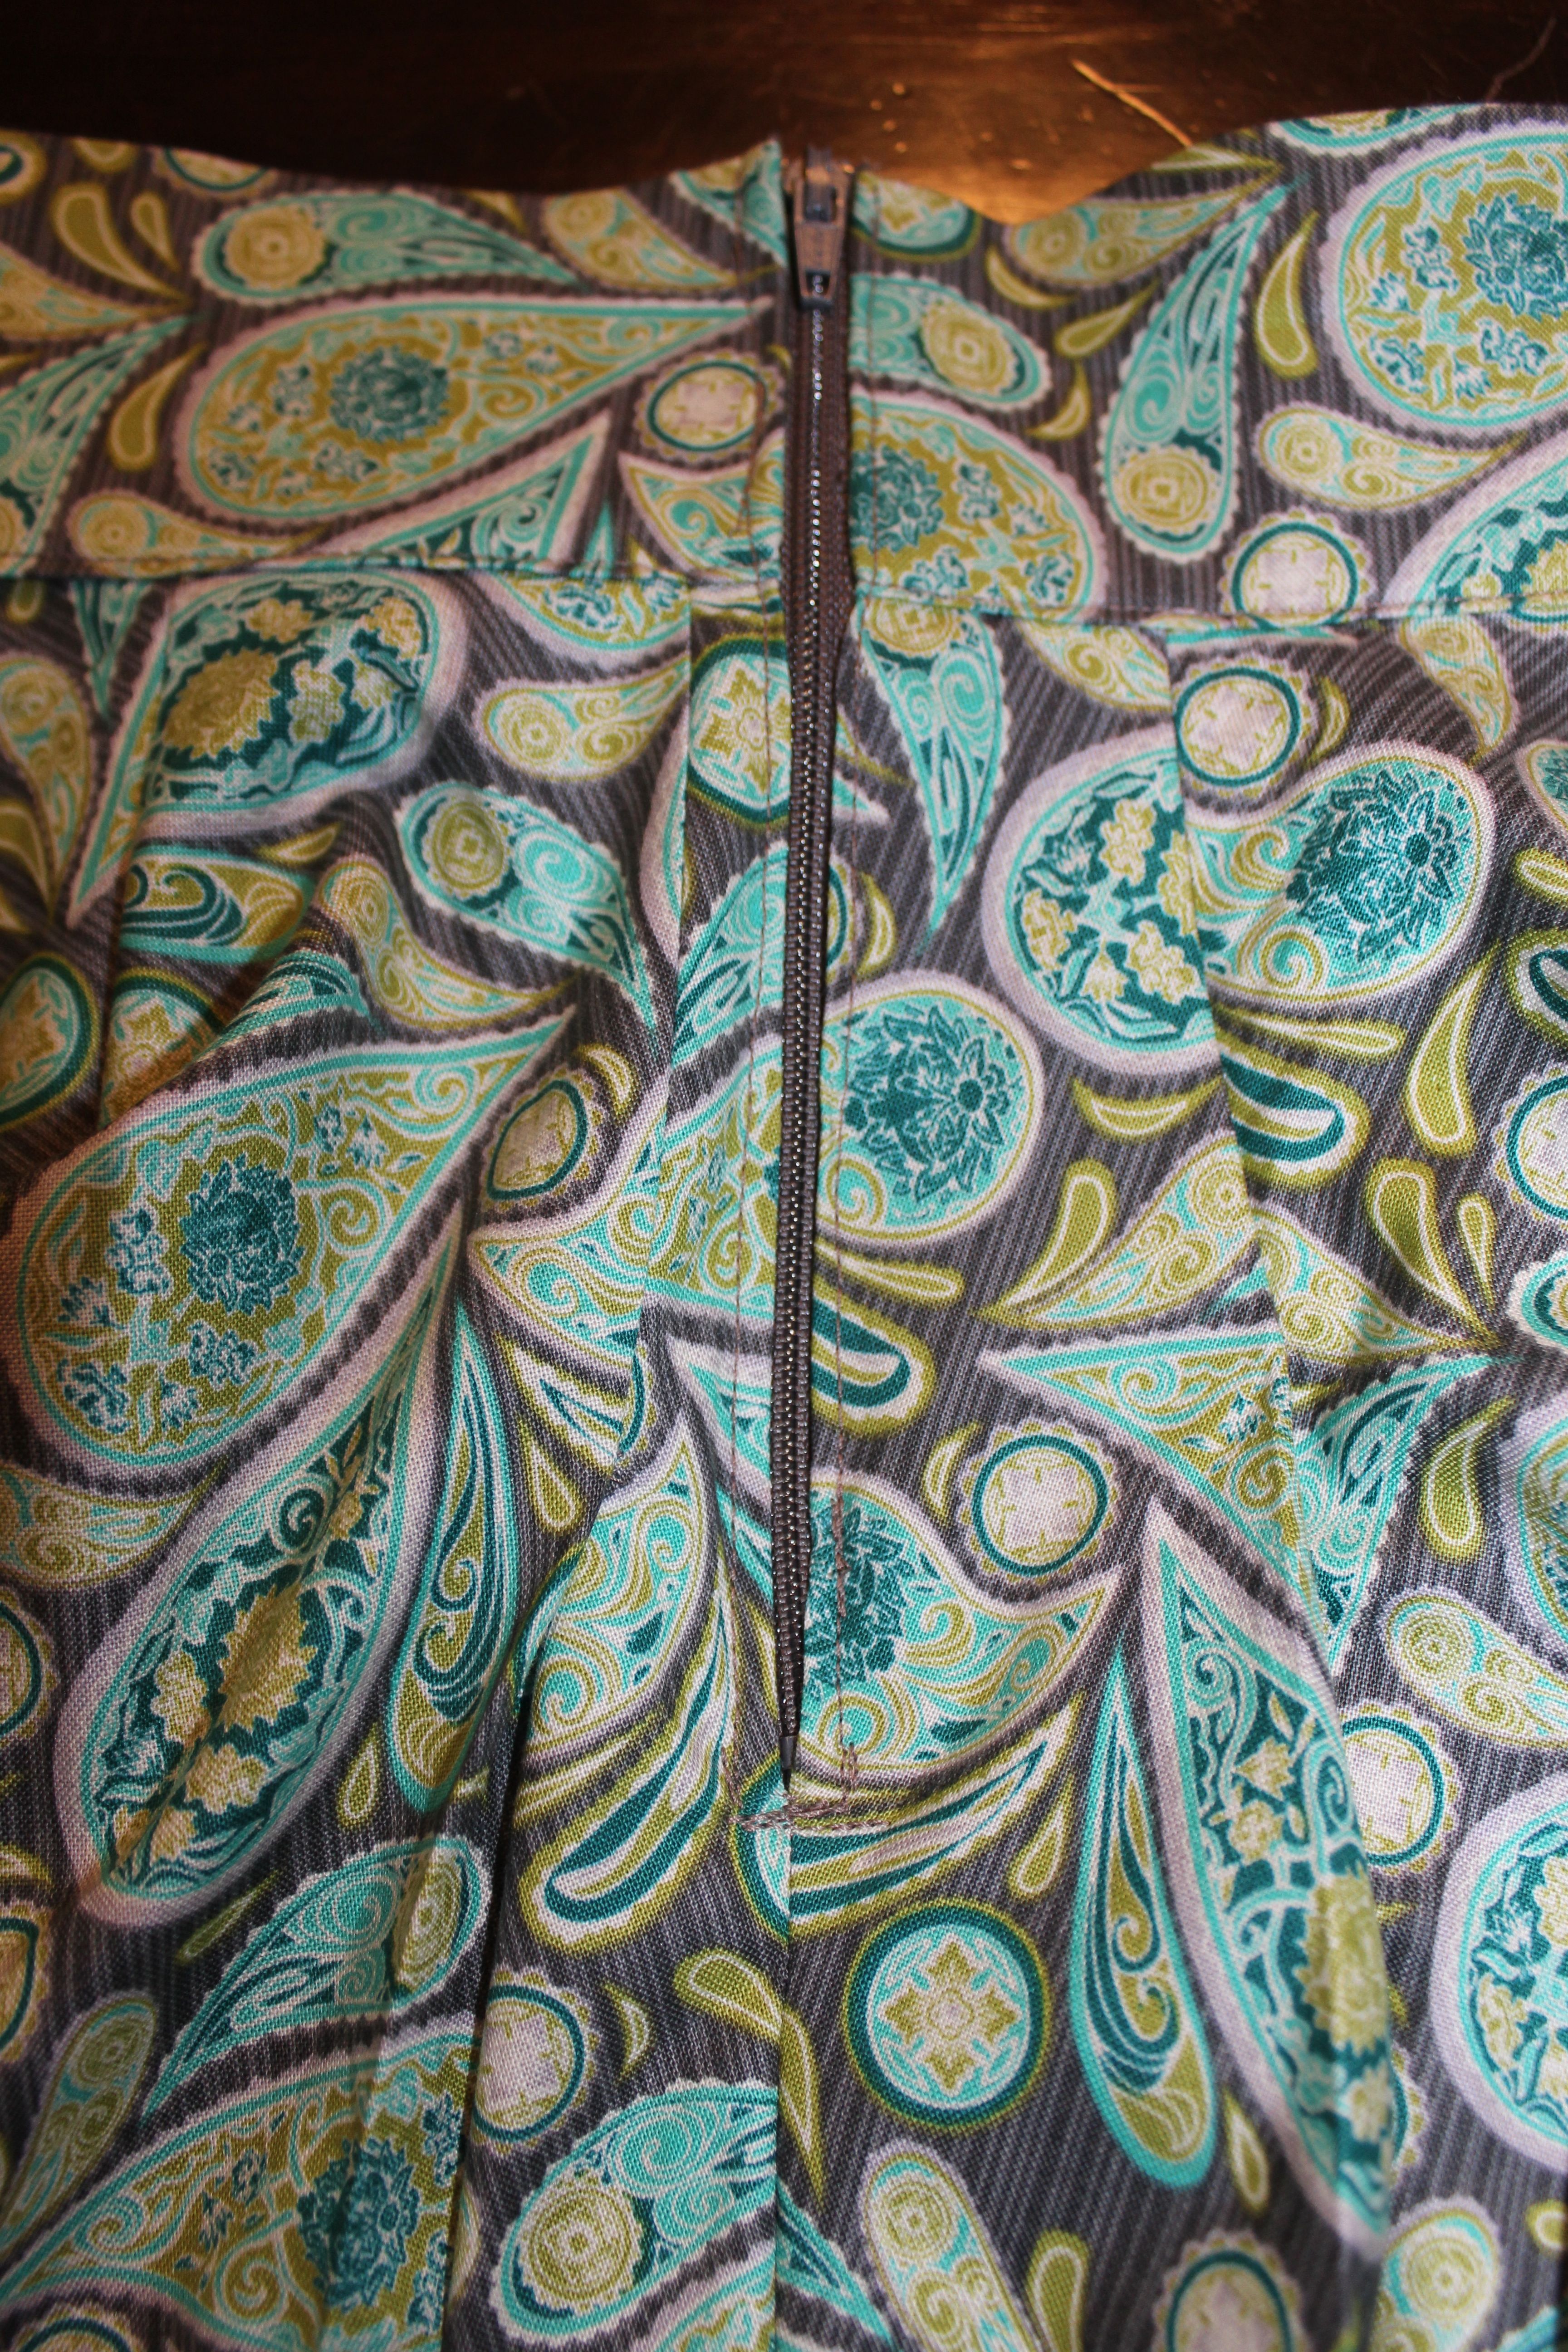
With the back partially closed time to pin in the zipper. Simple fold over the extra part of the zipper at the top or cut it off. Using your zipper foot on your sewing machine attach the zipper.
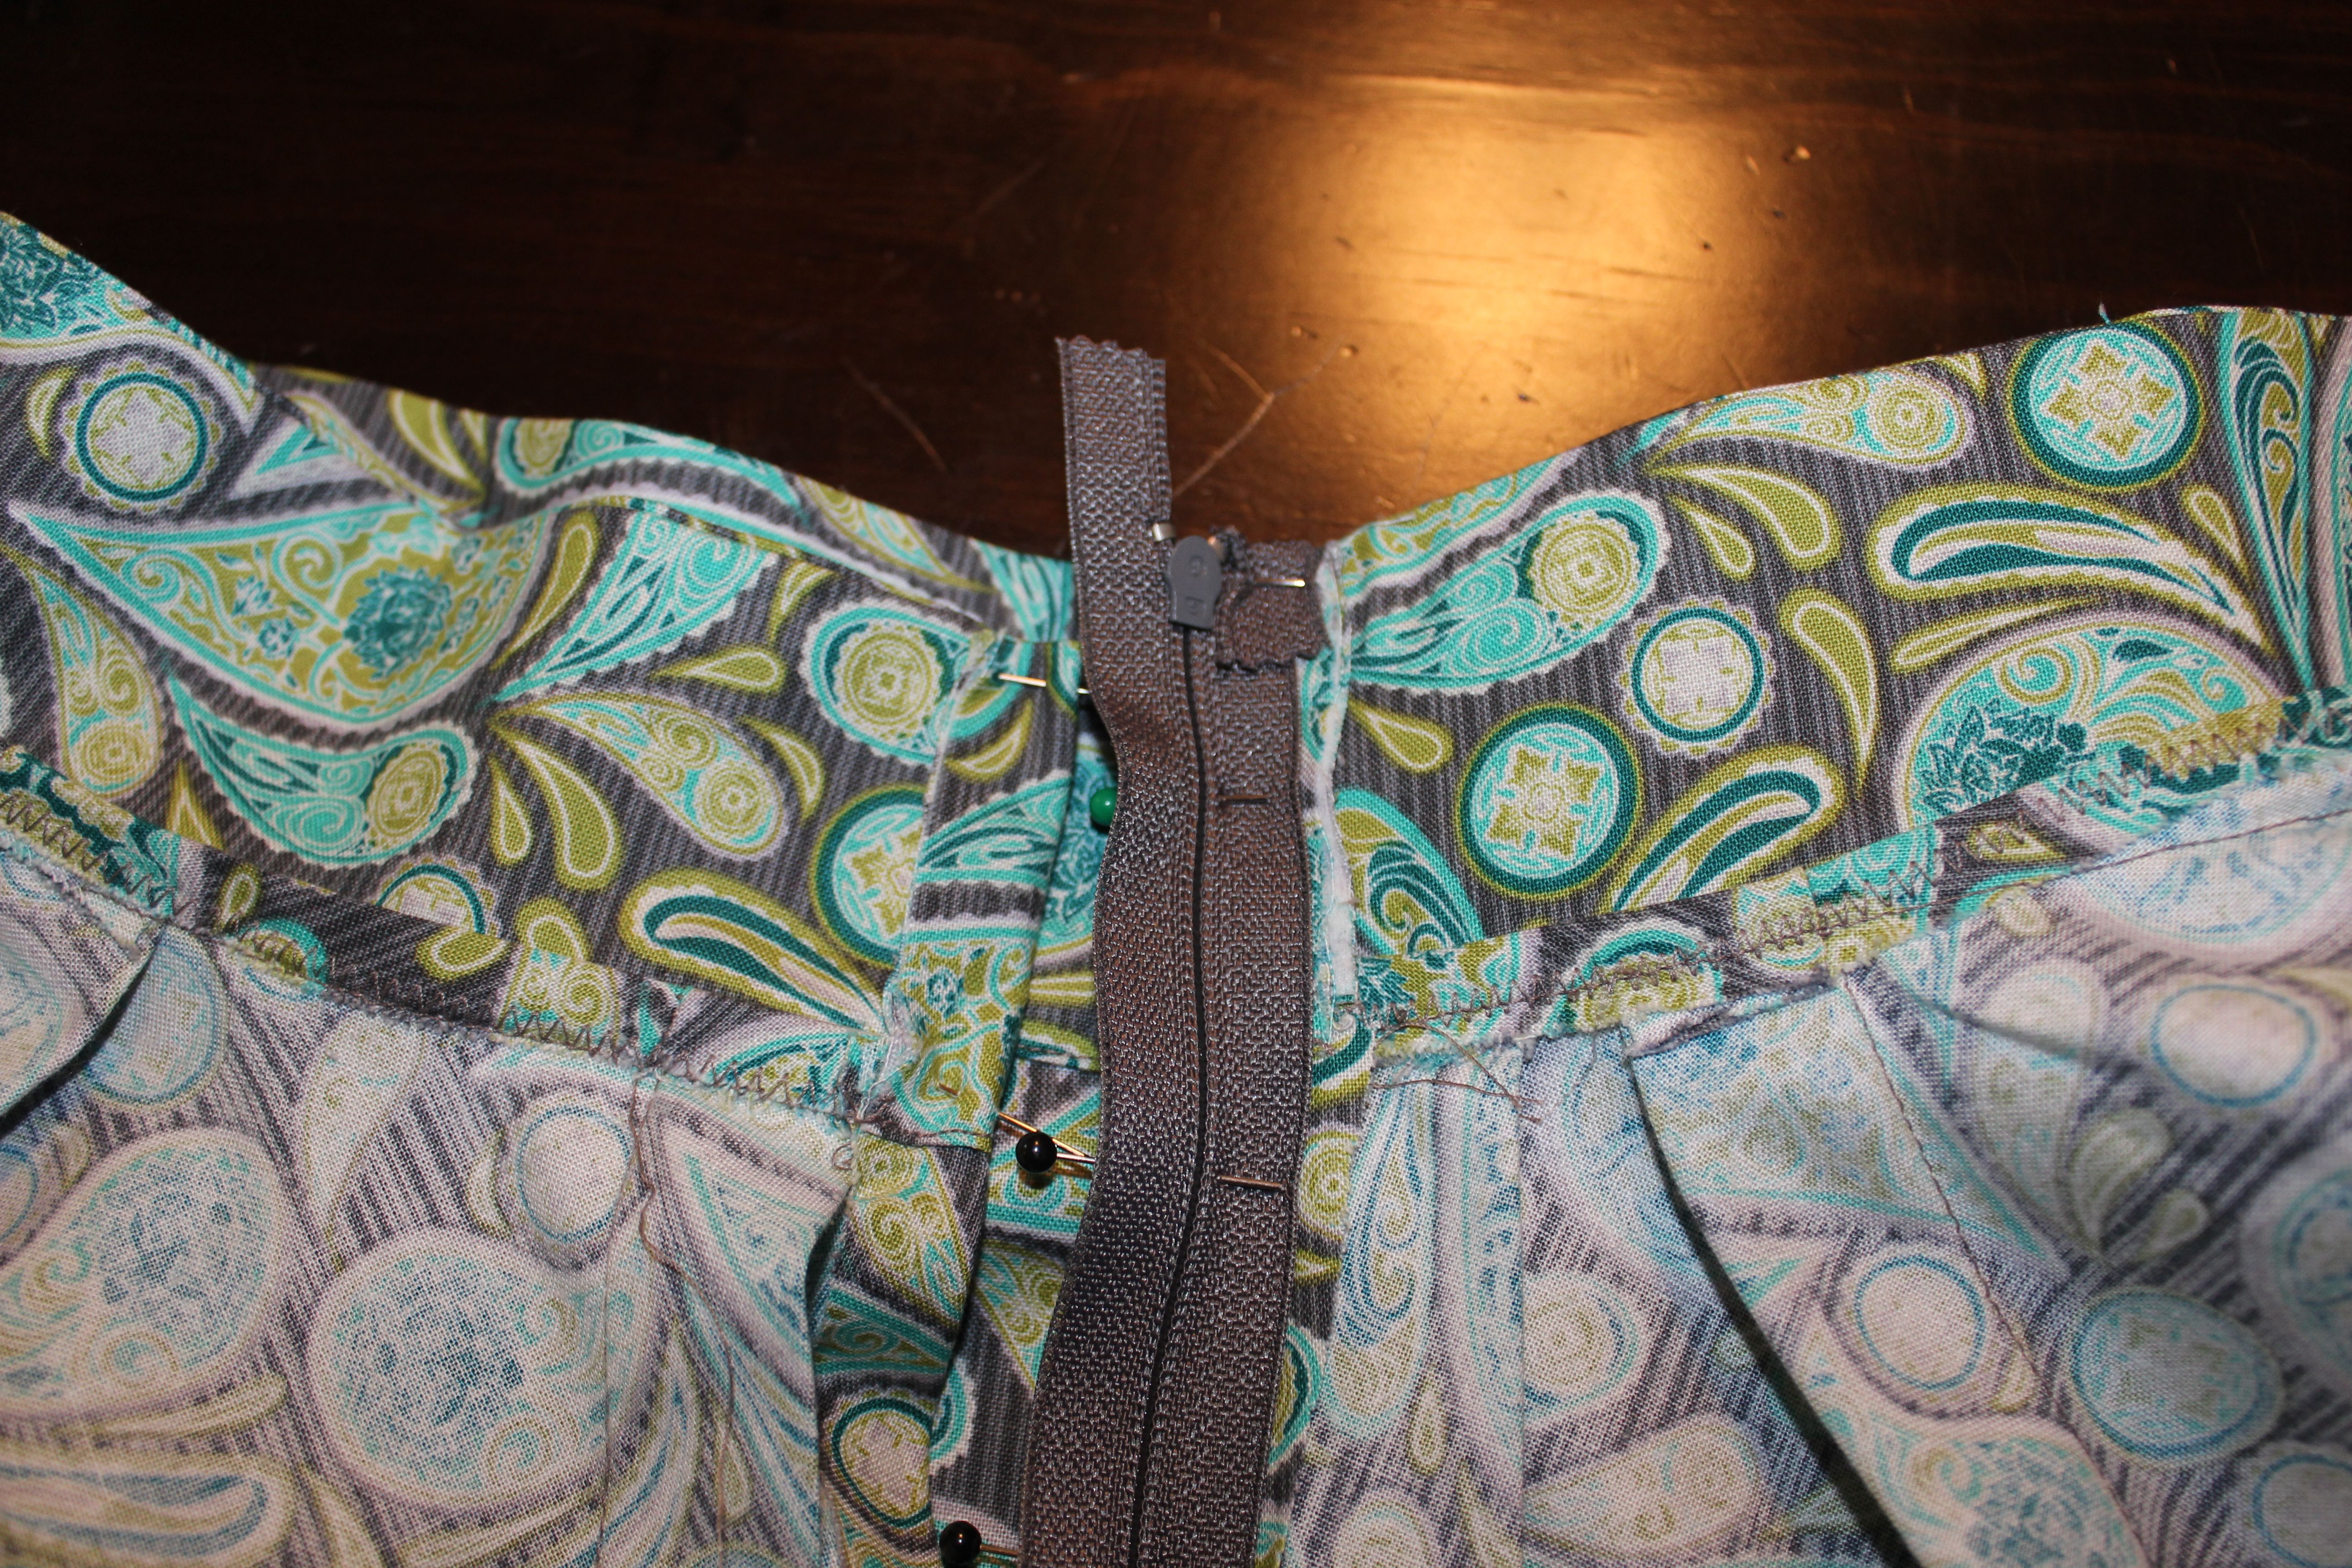
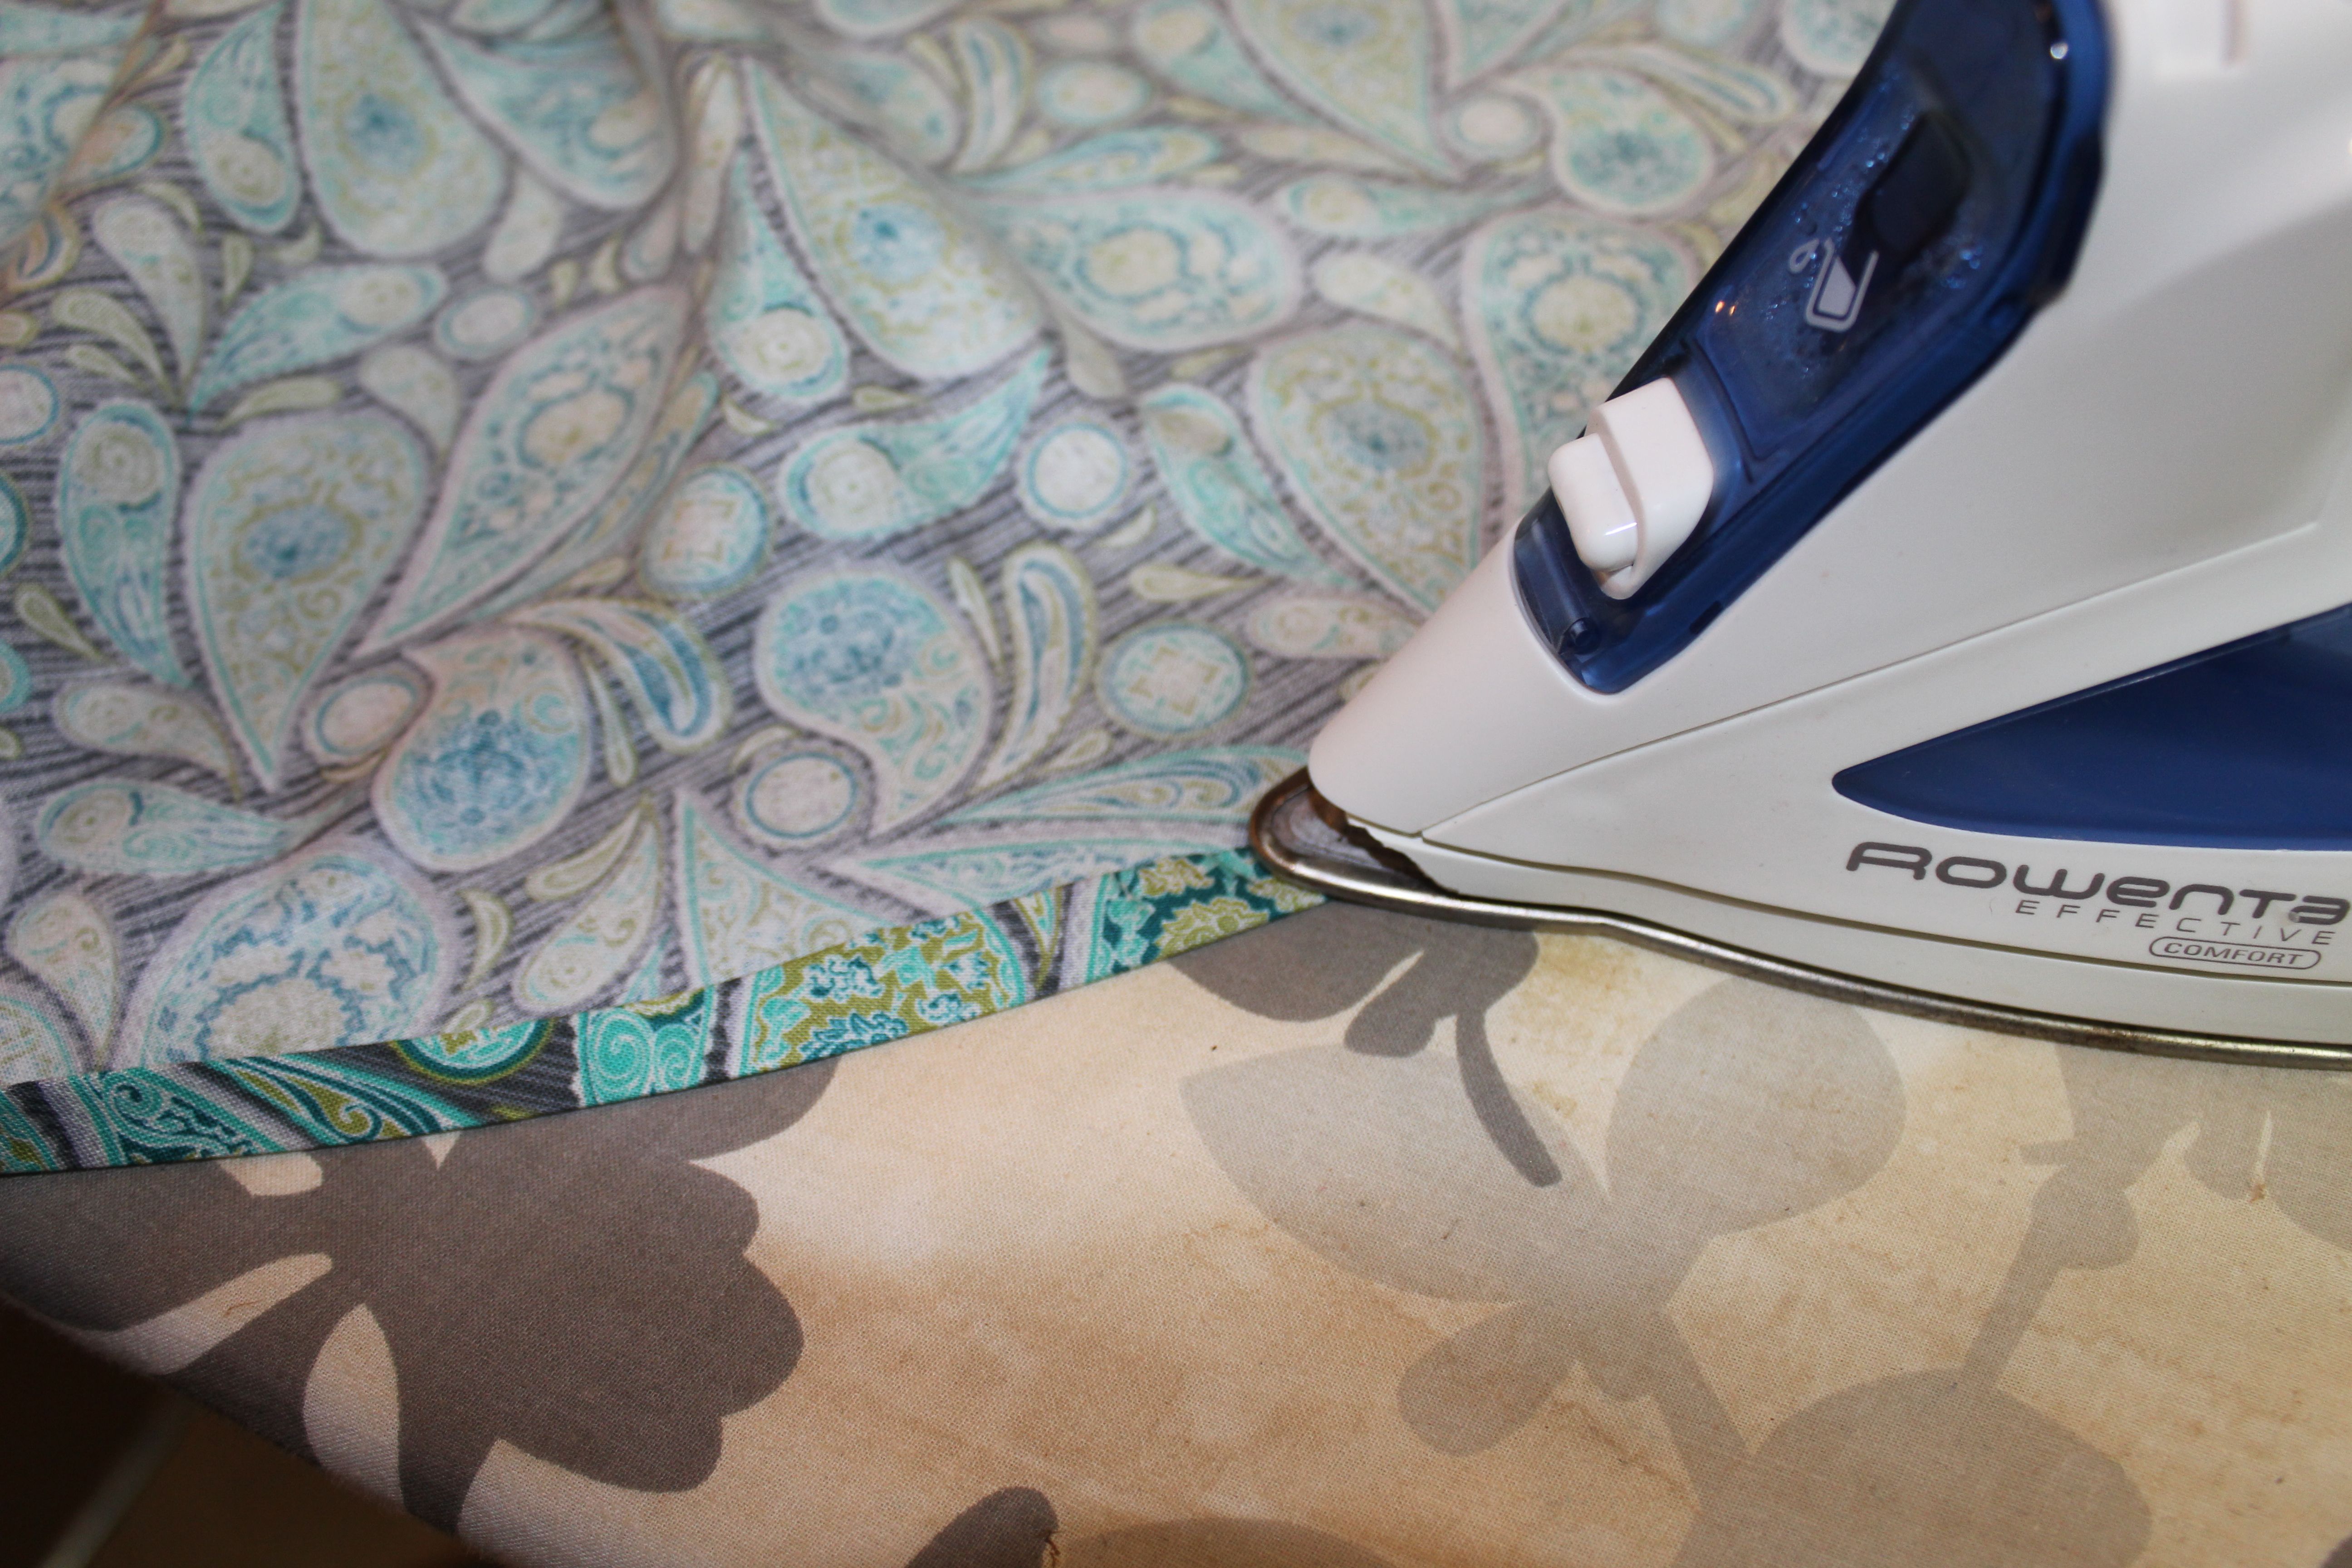
To finish this skirt lets do the hem! Simple iron in 5/8 inch hem along the bottom of the skirt. Repeat and sew with a straight stitch .
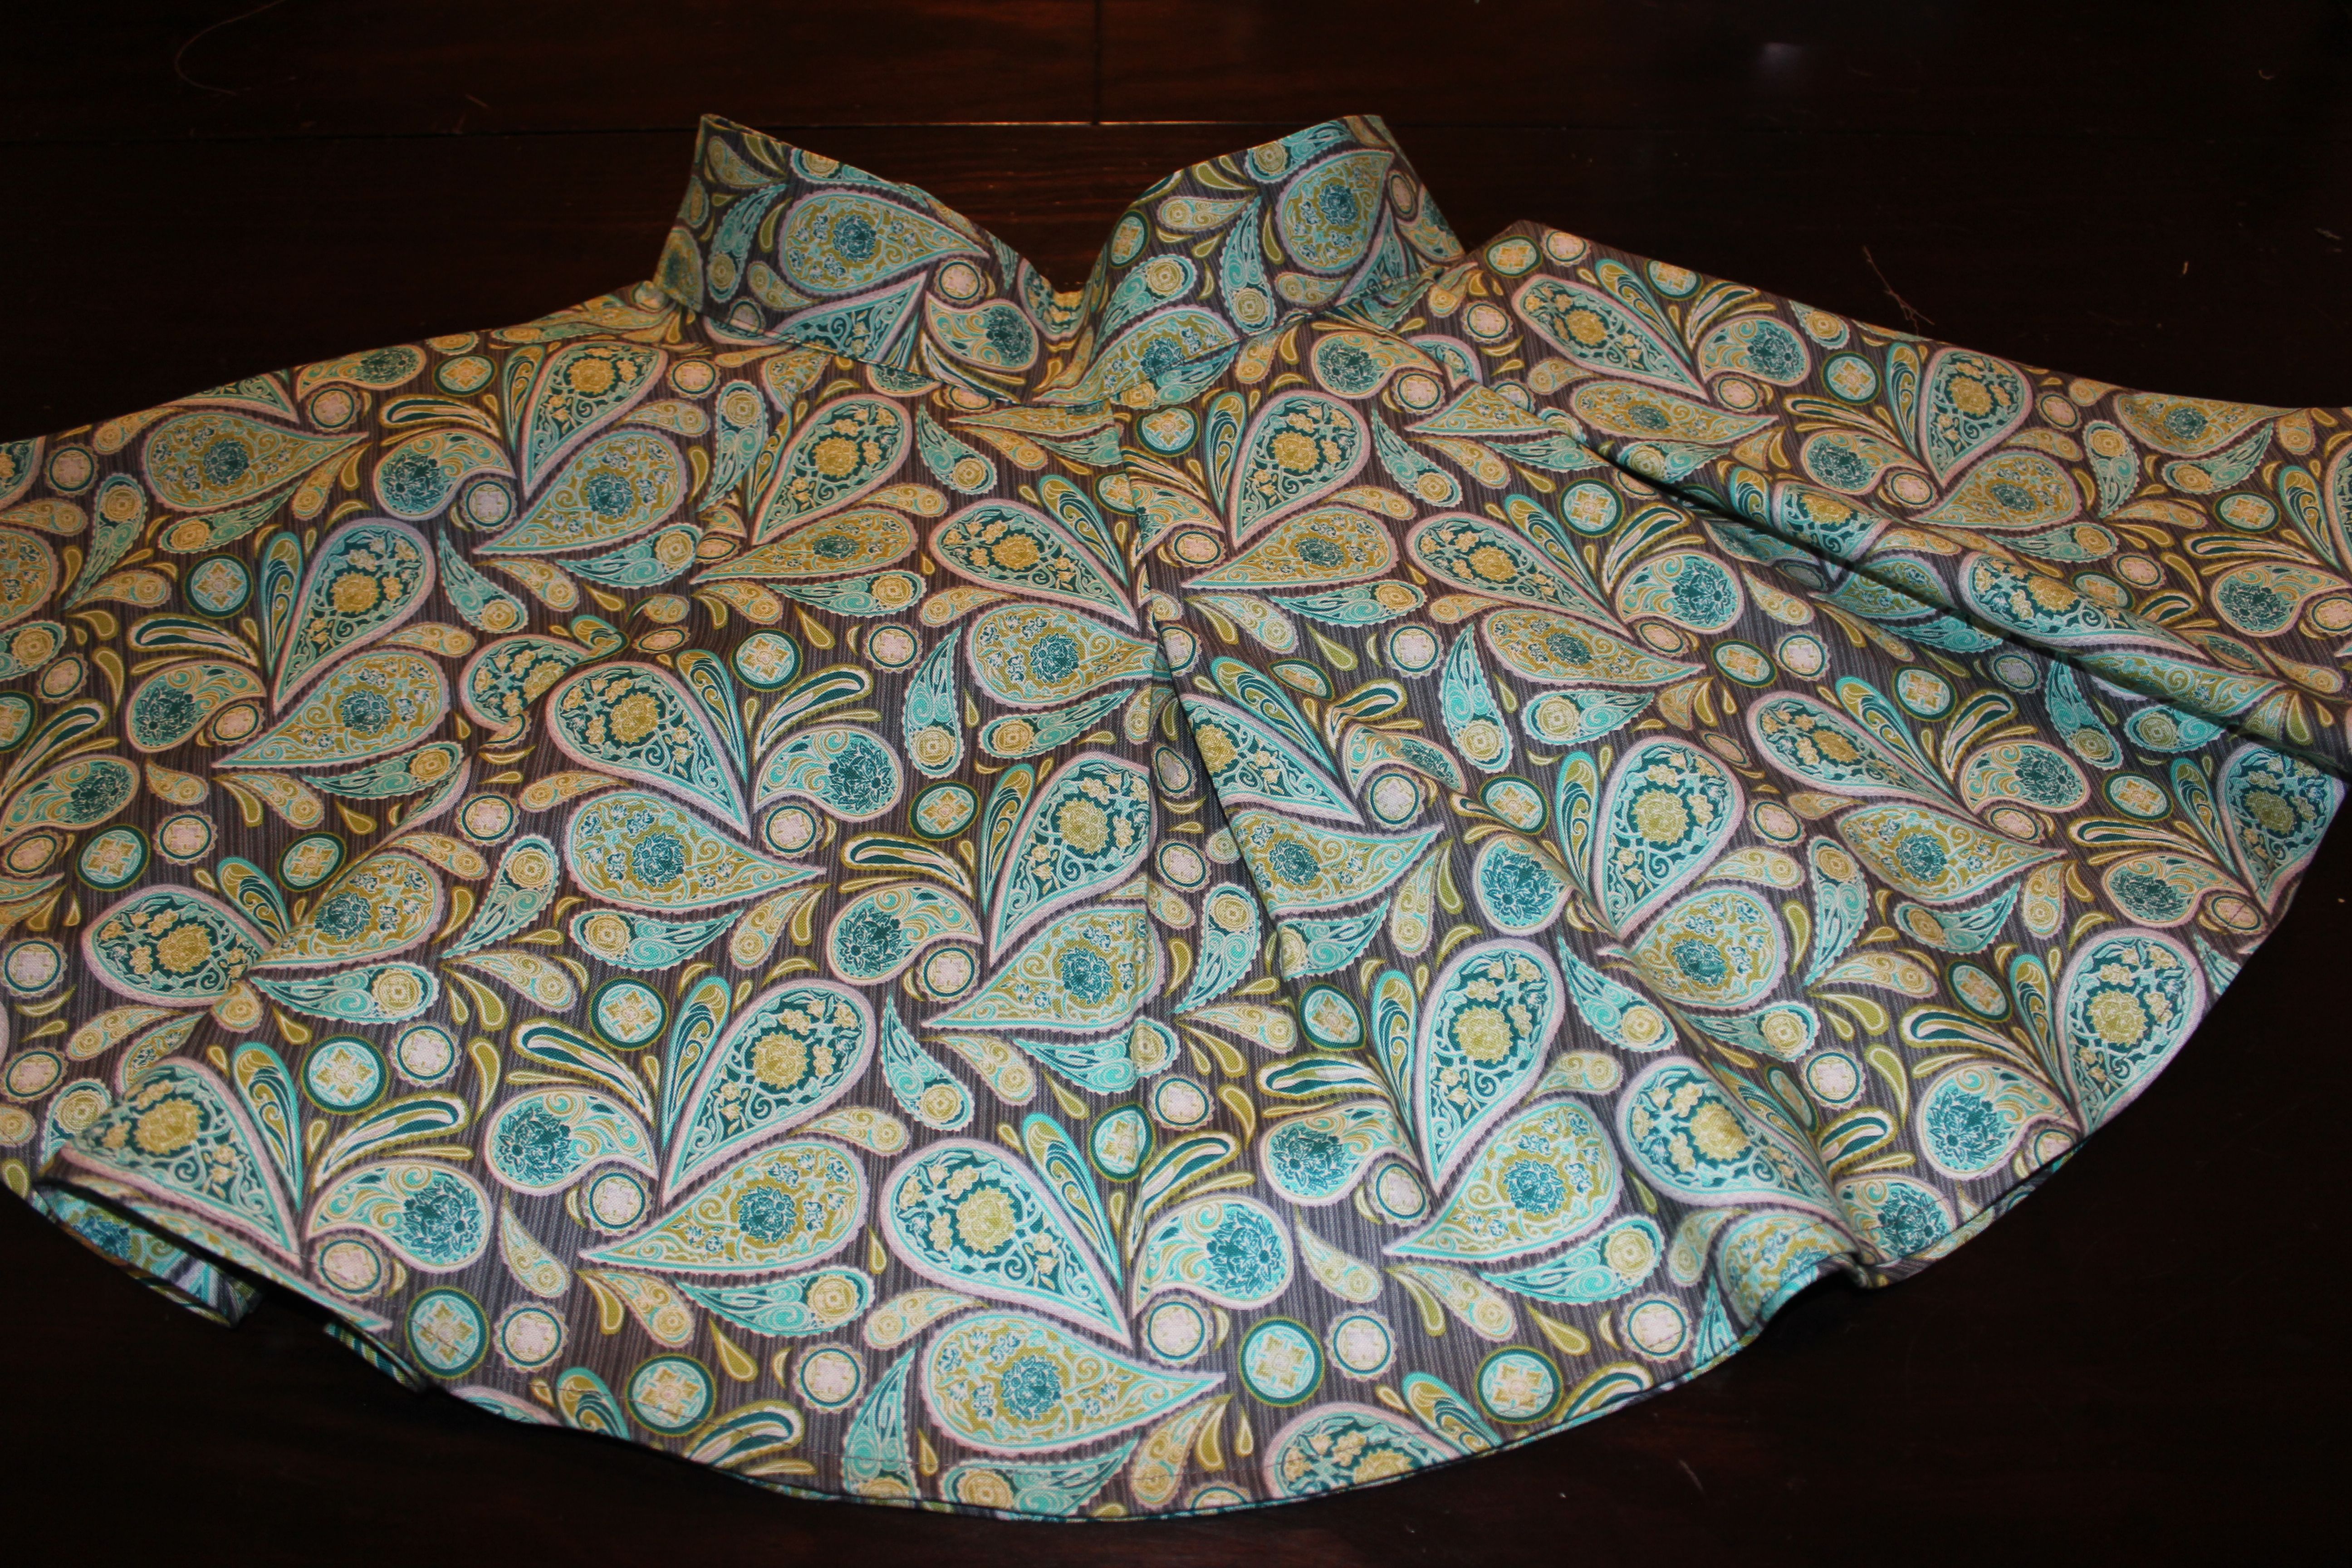
We are done!!!! Here is how I wore my skater skirt…
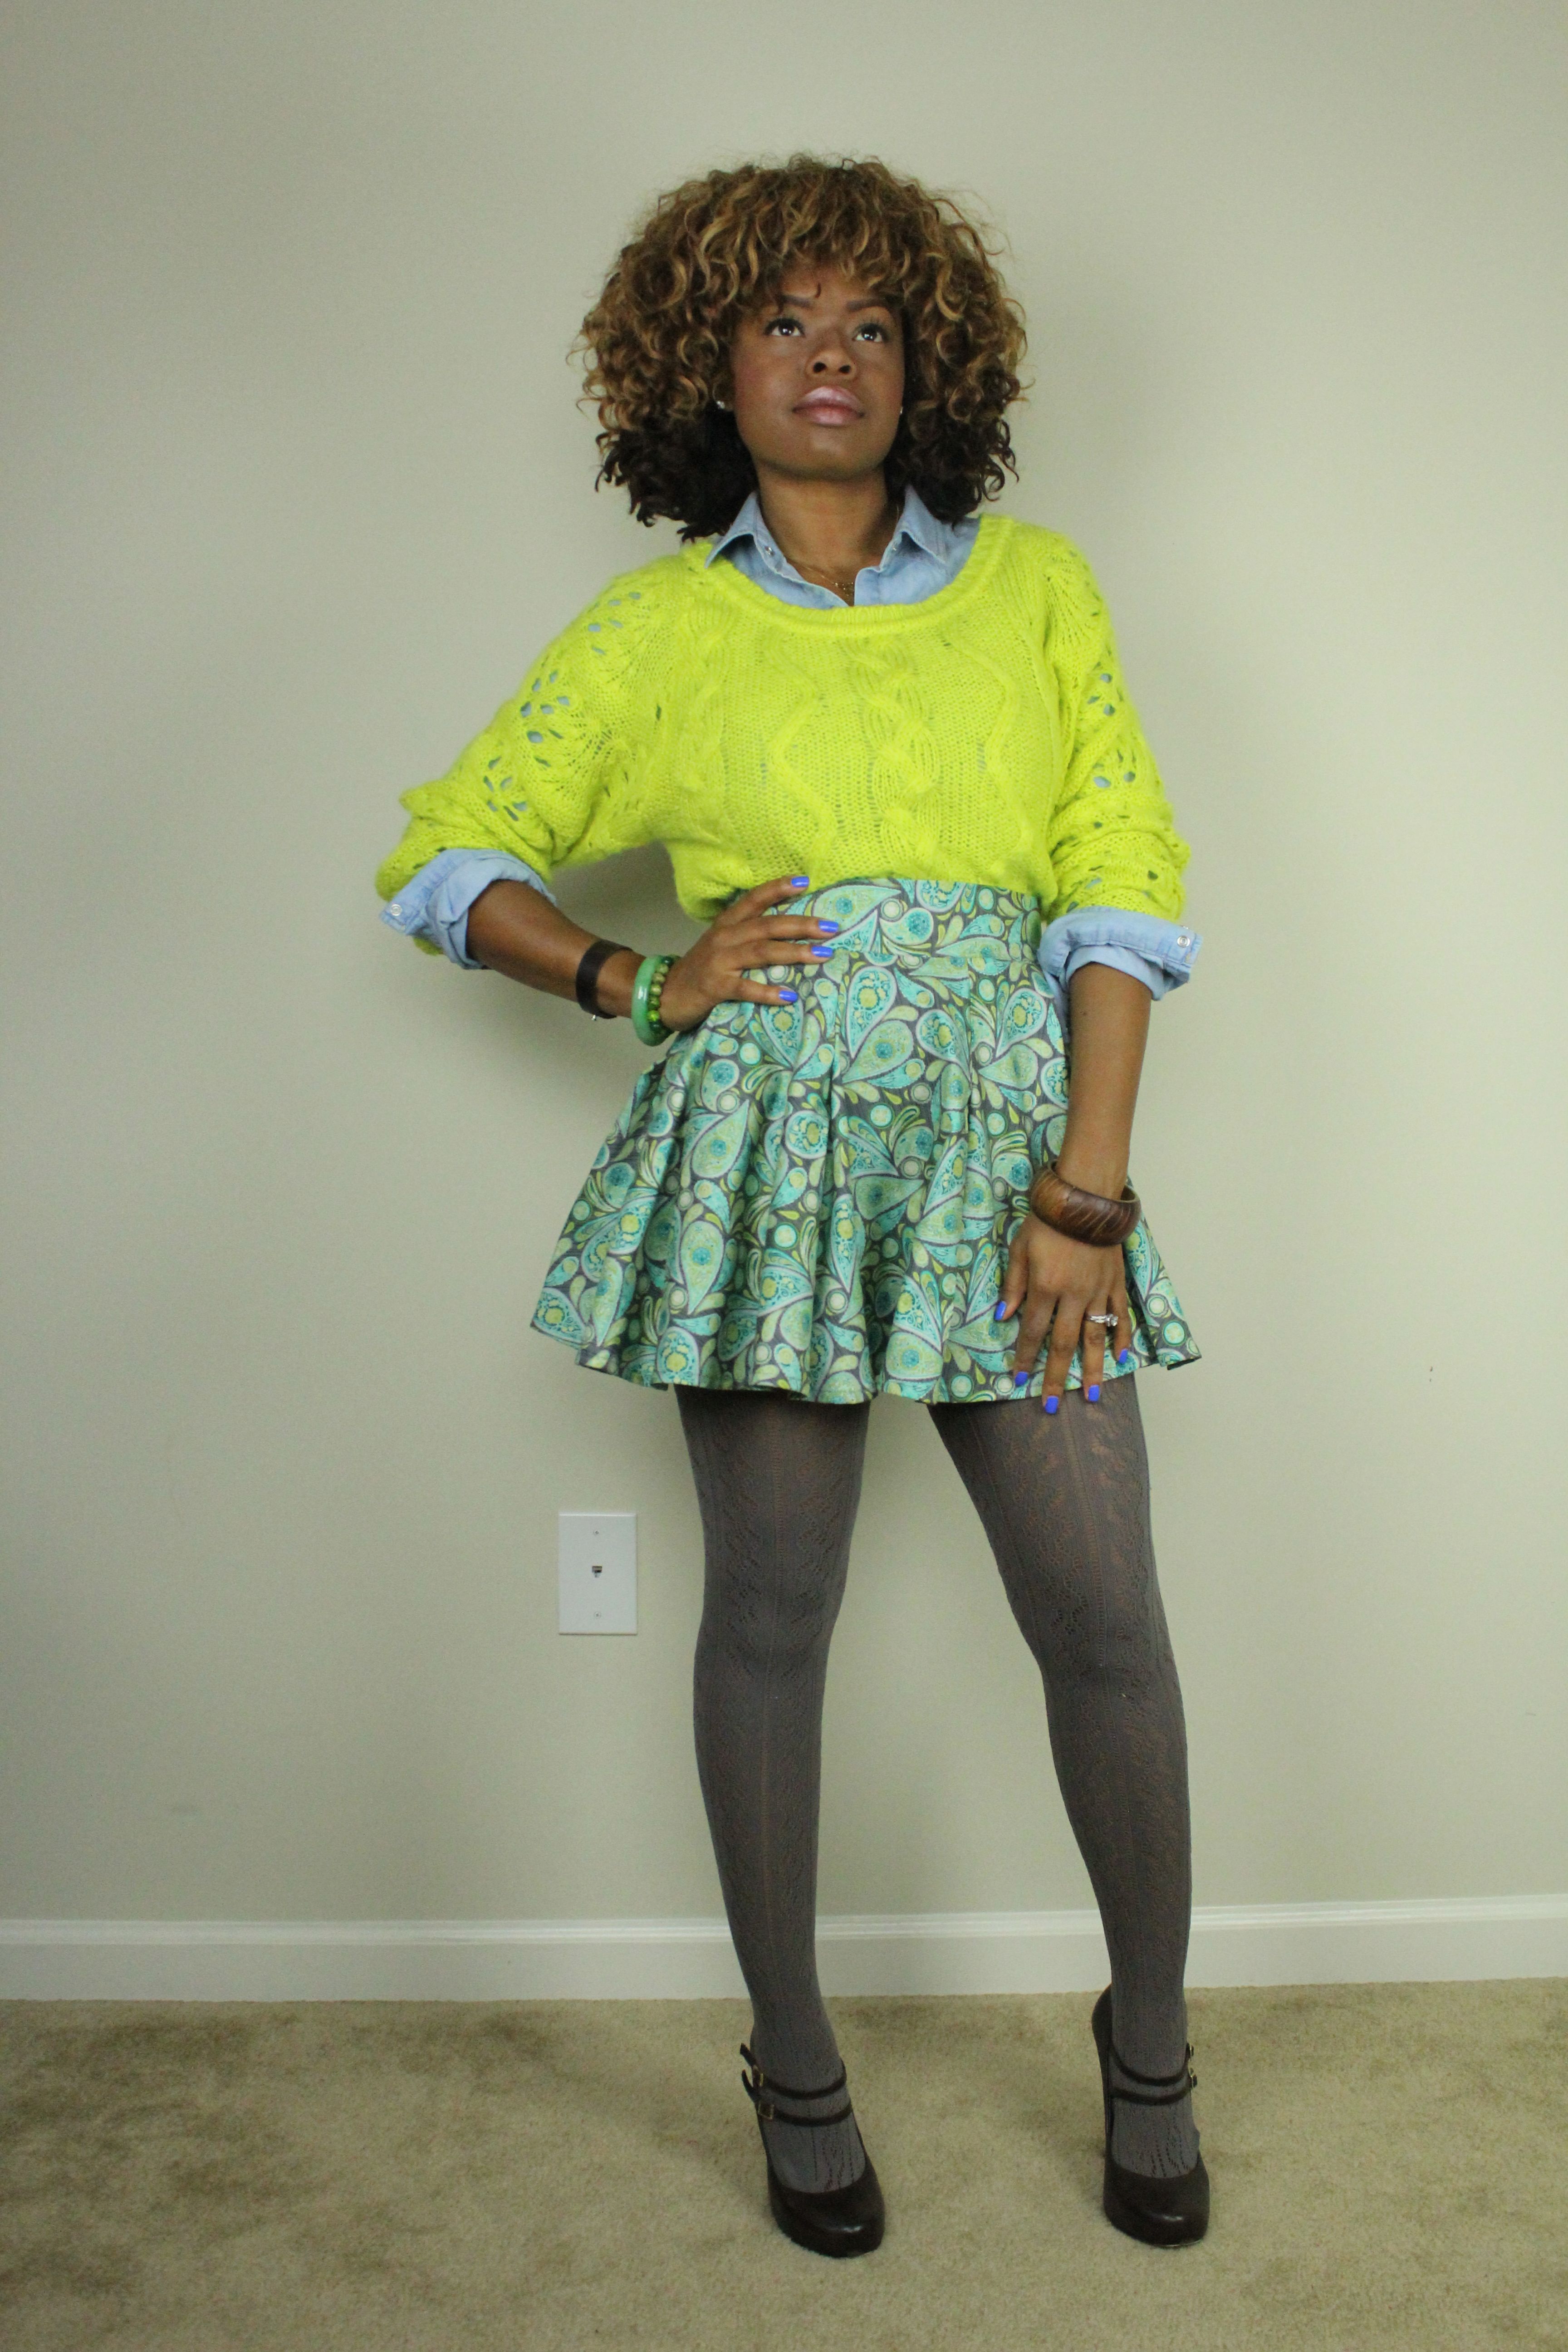
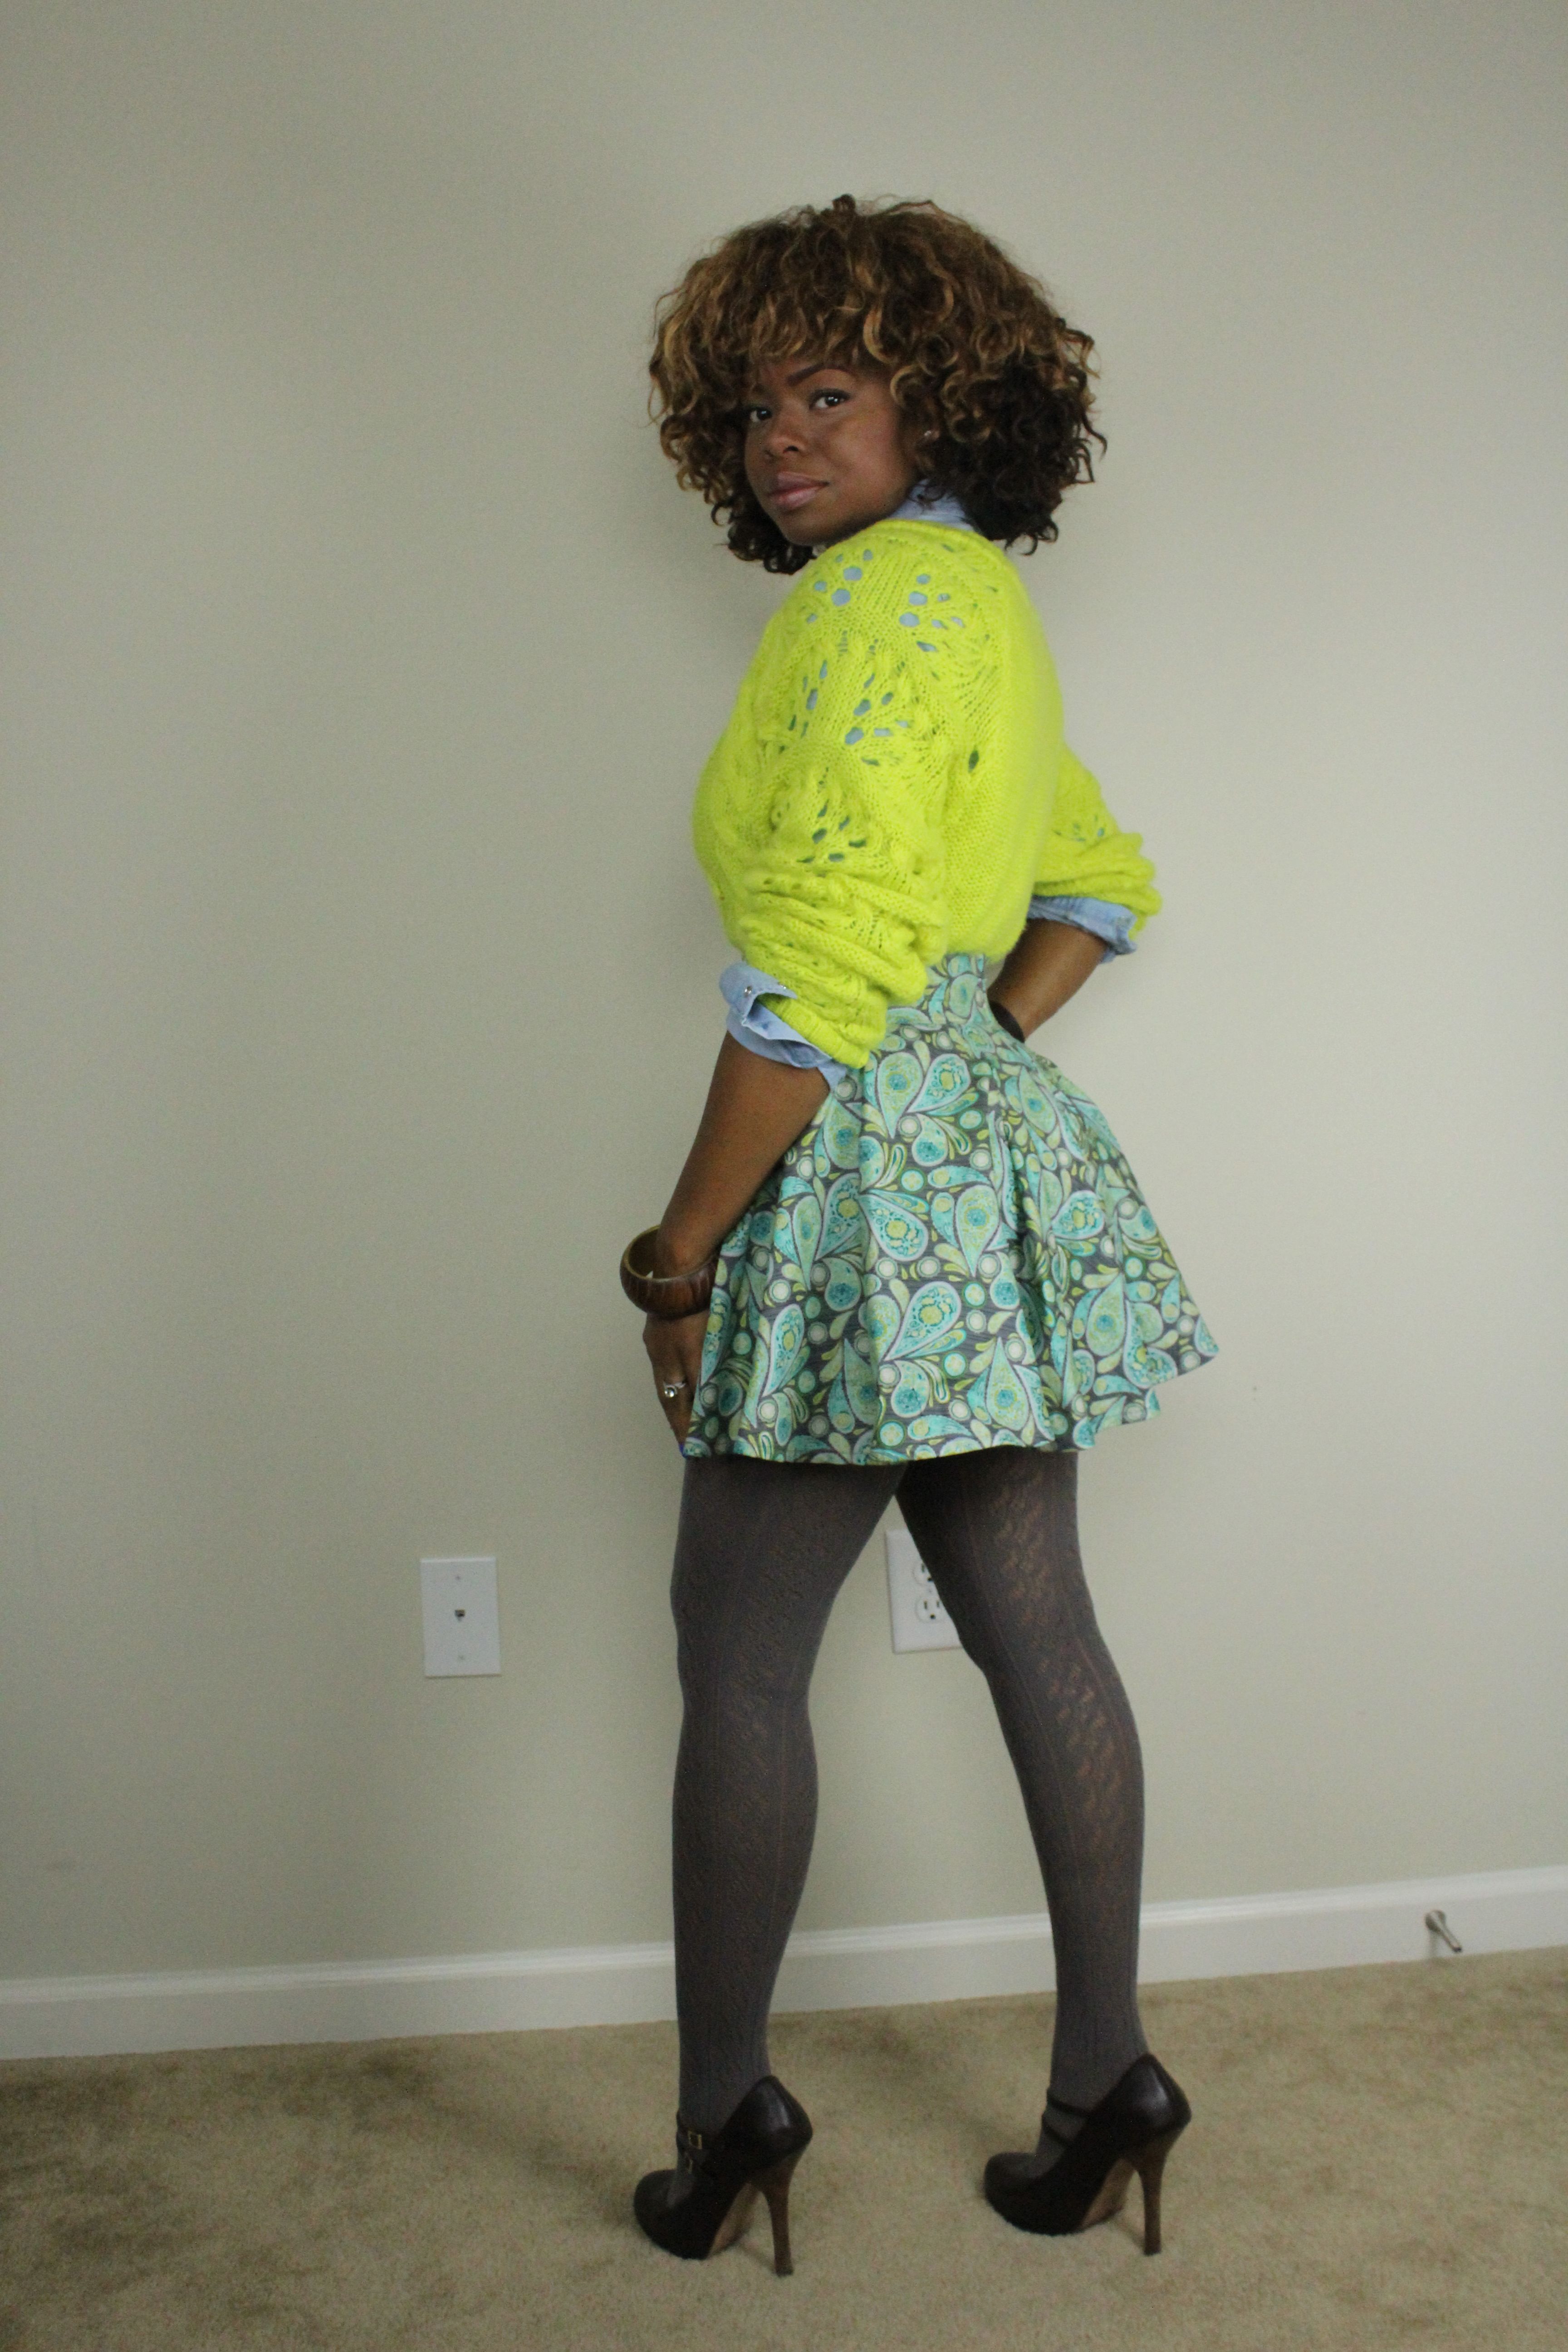
When there is a need there is a way,
~ Maria Antoinette ~
Latest posts by Maria Antoinette (see all)
- 10 Romantic Date Night Ideas For Any Time of The Year - January 26, 2023
- Tips To Help You Reconnect With What Brings You Joy - January 19, 2023
- Planning A Road Trip? Here Are Some Key Tips You Should Know - January 12, 2023



THIS TUTORIAL IS PERFECT. I’ve been wanting a faux leather skater skirt for awhile now and this is just the trick. Thank you so much for making this ♥ P.S. love the outfit 🙂
Lauren!!!
Thank you for taking the time to comment!!! I do these tutorials in hopes of inspiring and helping others…every time I went to find a good DIY on a skater skirt….so much was left out and I was left to figure it out…I hope I eliminate that for you!!! Please stay tuned more fun DIY’s coming up!!!
Perfect! This is such a precise and easy to follow tutorial…love your work and keep it coming!
Renee!!! Thank you for stopping by!!! I really appreciate your comment!!! More to come soon!!!
nice tutorial, since the time i ‘ve been looking for a good one!! i’m happy!
good job!
xo
Dear Inès
Thank you! Im glad it was helpful!
Great! I was looking for a skater skirt. Thanks for the help 🙂
I just have some issues with the hem. I couldn’t make it perfect.
But your post it’s very good. Keep going 🙂
I’m glad the tutorial was helpful!!! Yes hems without an serger can be a challenge I drop the speed on my machine to have more control! Hope that helps and much more to come!! I got a nursery to decorate!!! So lots of goods from that, even if your not expecting great gift ideas!!!
This is awesome! I was looking for a cute skater skirt, but all the ones I saw were to short for my taste. My mom suggested we make one, then we could make it as long or as short as I pleased, and I’m really excited to do it! Thank you for posting such a great tutorial.:)
Yay!! nothing like making your own clothes to your taste!!! Glad the tut was helpful and thank you for stopping by!!!
Hi , great job! Please do you have an idea about colorblock skater skirt? Thanks
Thank you! If I were to go for a color block I would do a solid skirt and a different color belt! Hope that helps!
This is literally perfect! I don’t have any words. Thank you so much, I’m so excited to try this out!!! I’ll definitely subscribe to your blog!!
Awww thank you and I’m glad my tutorial was helpful! Welcome to my blog!
you are fabulous!! I am making this skirt tomorrow 😉
Awww thank you!! Best of luck!
Thanks so much for this tut, it is so much more helpful than all the other ones I looked into! I’m going to make my skirt tomorrow!
Awww thank you!!! I’m glad it was helpful!!! Best of luck in your creation!!
Thanks! I’m modifying this to make it more modest.
Thank you! I’m glad the tutorial was helpful!
This may sound stupid but I never knew we had to divide by 6.28, no one else specified that! Thank you though, this is wonderful
Aww no it doesn’t sound stupid at all!!! I had to do a lot a research on this so Im glad it was helpful!!!
Thank you! I’d started making my own without a pattern so I found a net and came across this – it helped to confirm my ideas on how to do make it! It’s been very helpful!
I am glad this was helpful!!! It’s always nice to have something to follow even when you have a great idea!
Really good tutorial. But why divide by 6.28, where does it come from?
Thank you!!1 I apologize for the delay in replying. i am not sure why you divide it’s what I found when researching waist measurements, maybe its with pleats. Lol not sure but it worked!
because you’re trying to find the radius in order to get that, the equation is waist/(2 x 3.14), the 6.28 is just 3.14 x’s 2.
Awesome! Outfit and skirt looks fab!! Thank you sooo soo soo much for the tutorial!
Thank you! Anytime I am glad the tut was helpful!
How long is your zipper?
I’m not sure it not very long because my skirt isn’t that long… Go off the desired length on your skirt make sure it shorter. How that helps
Great Tut!! Skirts looks awesome and the way you rocked it is Fab!!! Good job!! Thank you kindly for taking the time to inspire!!!!!
Thank you!!!
How long did you make your skirt ?
I tried the skirt on prior to ironing the hem I was happy with the length it fell at my wrist hope that helps I don’t know the exact length.
I had a question that I can’t find the answer to anywhere!!! I’ve tried to make a circle skirt before and the cut looked pretty even and when I folded it over it matched up but when I tried it on it was extremely uneven is that normal or how do you fix it???
I didn’t have this issue if you cut and see directly like I did from start to finish you should be even all the way around make sure to keep the hem the same even when sewing hope that helps
OMG…. If only you knew my excitement right now. I have been online all morning looking for a tutorial for this skirt to wear to church on Sunday but as you stated certain things were left out and those measurements were running me crazy. Something told me to google “Skater Skirt Pattern” and i’ll be darn you came up and of course I knew i’d be in for a treat. You have out done yourself as always doll!!!! Hope you’re enjoying yourself!!! Much Love 🙂
Small world ah!!! How did your skirt turn out?
Hi! Thank you so much for the tute! Most helpful for a beginner like me! I made one last night for my 4 year old, omitting the zipper, but put in elastics instead on the back of waist. I used the maths too, first time using 2pi r in real life lol!! It turned out beautiful and very trirly! Thank you! xx
Awesome glad it worked out for you all!!!
Wonderful tutorial, thank you! I am a beginner and I had been eyeing a skater skirt on a shopping site. I thought it would not be too hard to make it myself and that is how I stumbled upon your page. I can’t wait to get it started. Thank you so much. You look adorable in the finished outfit, btw.
ROX
Awesome…and you’ll love the one you make so much more!!! Best of luck with the project!!!
This is an excellent tutorial, the calculation for making the pleats was perfect. I made a “proof of concept” cotton skirt for my daughter to fit it on her, next I will make one with a stretchy fabric for her dance costume. Thanks for this!!
THANK YOU FOR DOING THIS. I’ve been looking for such a simple pattern/tutorial for so long and this is going to be so helpful. I’m so excited to go buy fabric and start creating! Thanks again!
Thank you for checking me out! Stay tuned I have a lot of easy DIY’s coming!!!
Your tutorial is fantastic. Can you create another turtorial to include matching under pants, either seperate or attached?
When I was in middle school in the 1950’s we called these ‘Skorts’ and they had matching under pants seperate or attached and we used them for Cheer Leading and Pom Pom Girl skirts. I have a grand daughter 55 years later and she loves the skaters skirts. I believe in having some modesty.
This is what I’ve been wanting to stitch for a while…thank you for such a wonderful tutorial…the skirt looks great on you…………. 🙂
I would love to make my own skater skirt, but because of my figure I would like to make it a tad longer in the back to accommodate for this. In a way, the skirt would look like a high-low skirt, but rather than the back being ankle-length, I only want it about an inch longer than the front so that when I put it on the whole skirt looks like it’s the same length. Do you have any tips on how I can adjust the tutorial to fit this need?
You would make the circle longer and when hemming make the length changes then…so in the front hem more and let it get longer towards the back…pin and try on prior to sewing to see if it works…hope this helps. Sometimes sewing is all about trying it on and working from there. You are in control and making this for yourself! 🙂